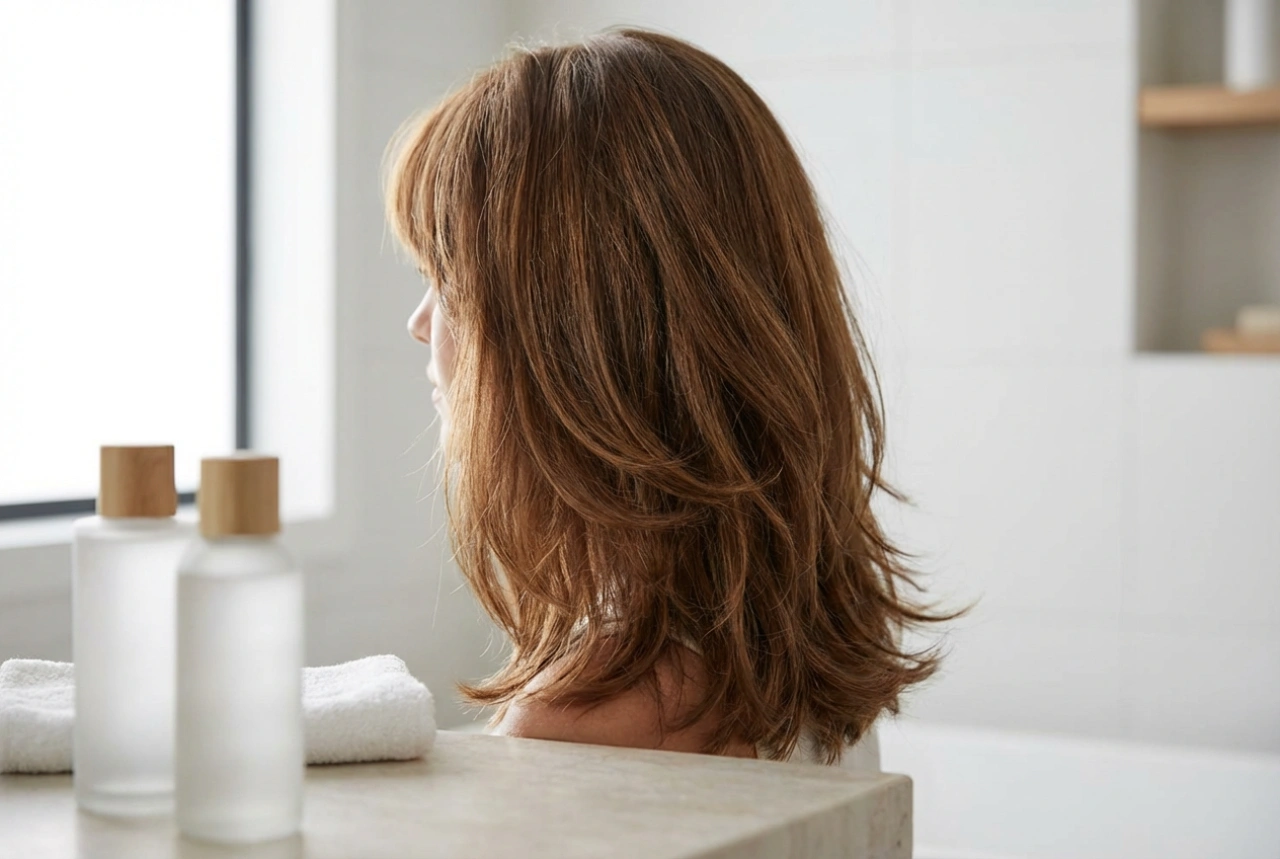


Achieving lasting, natural-looking volume at the roots can often feel like an uphill struggle, particularly for those with fine or flat hair. While traditional blow-drying and backcombing offer temporary lift, they often fall flat after a few hours. This is where the modern application of a hair crimper comes into play. By focusing on the under-layers of the hair, near the roots, this styling tool creates a hidden support structure that lifts the top layers. The subtle, crimped texture acts like a scaffold, giving the hair a bouncy, full-bodied appearance that lasts throughout the day without the need for excessive styling products.
The Evolution of the Hair Crimper: From Retro Waves to Modern Volume
For many, the mention of a hair crimper conjures up images of bold, zigzag patterns from past decades. However, modern styling techniques have completely reimagined how this tool is used. Today, crimping is less about creating visible geometric waves throughout the hair and more about strategic texture placement. By using a crimper with narrow plates, you can target specific areas—namely the root section—to build structure where it is needed most. This technique is highly favoured for creating a natural, polished aesthetic that enhances the hair's natural body.
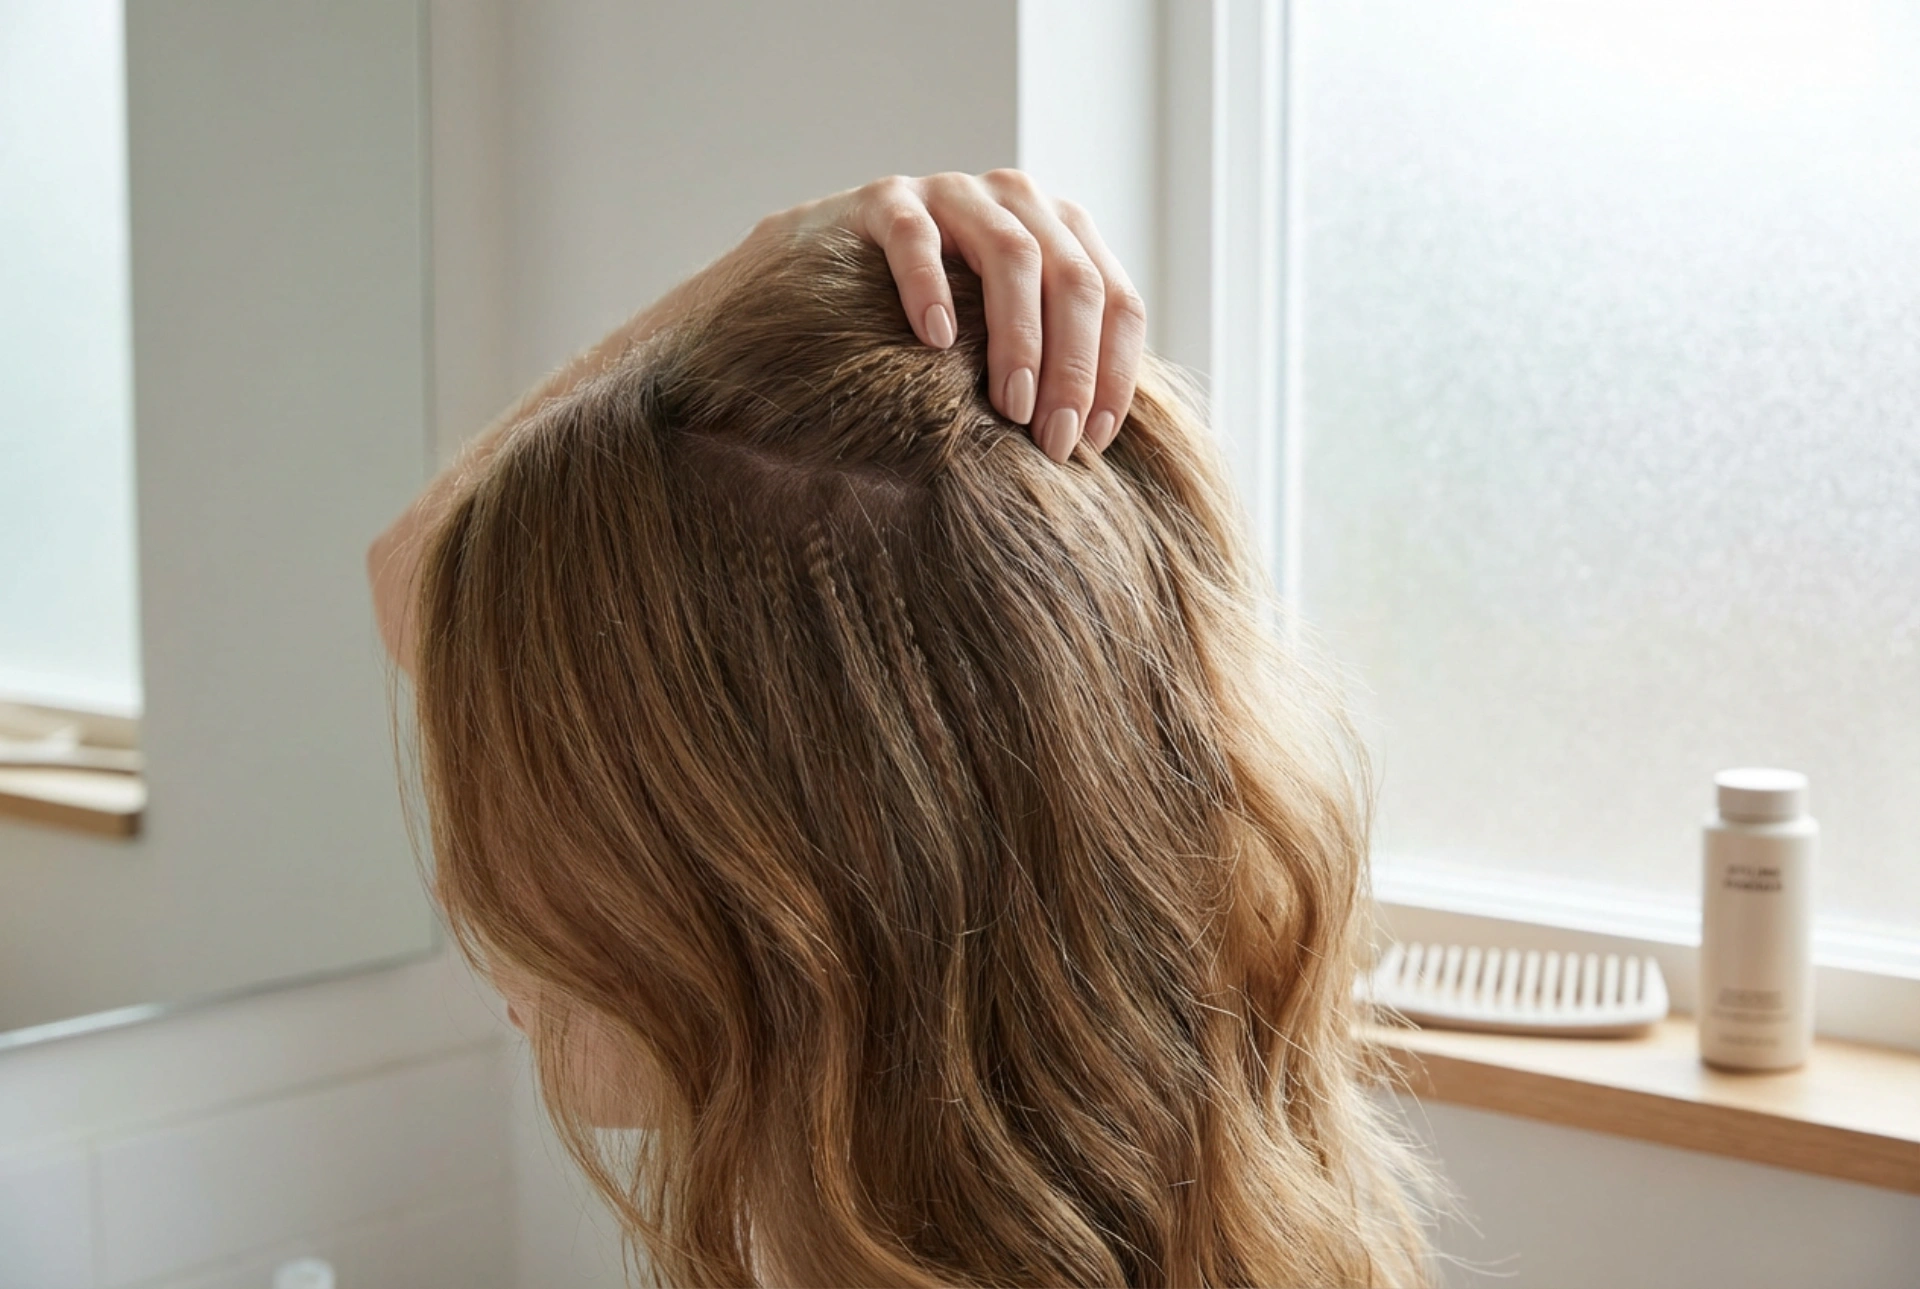
The secret lies in the texture itself. Crimped hair has a larger physical surface area and more friction than smooth hair. When placed strategically underneath the top, visible sections of your hair, these textured strands prevent the hair from lying flat against the scalp. This creates an immediate, long-lasting lift that withstands humidity, wind, and the weight of your own hair.
Step-by-Step Guide: How to Lift Hair at the Roots
To achieve a seamless, professional finish at home, it is essential to follow a structured approach. The goal is to keep the crimped sections completely hidden beneath a smooth outer layer of hair.
- Section the hair: Start by parting your hair as you normally would. Pin away a top section of hair along your parting (about two to three centimetres wide). This section will remain completely smooth and uncrimped to cover the textured layers beneath.
- Select the under-layers: Take a thin horizontal sub-section of hair directly underneath the parted layer. Gently lift this section perpendicular to your scalp.
- Apply the crimper: Place the crimping iron close to the scalp, taking care not to touch the skin. Gently clamp the plates down for two to three seconds, then release. Do not drag the iron down the hair shaft; instead, lift and move it if you wish to crimp slightly further down. Generally, crimping just the first two centimetres from the root is sufficient for volume.
- Repeat and layer: Work your way down the sides and back of your head, crimping only the under-layers. Always leave the topmost layer of hair untouched.
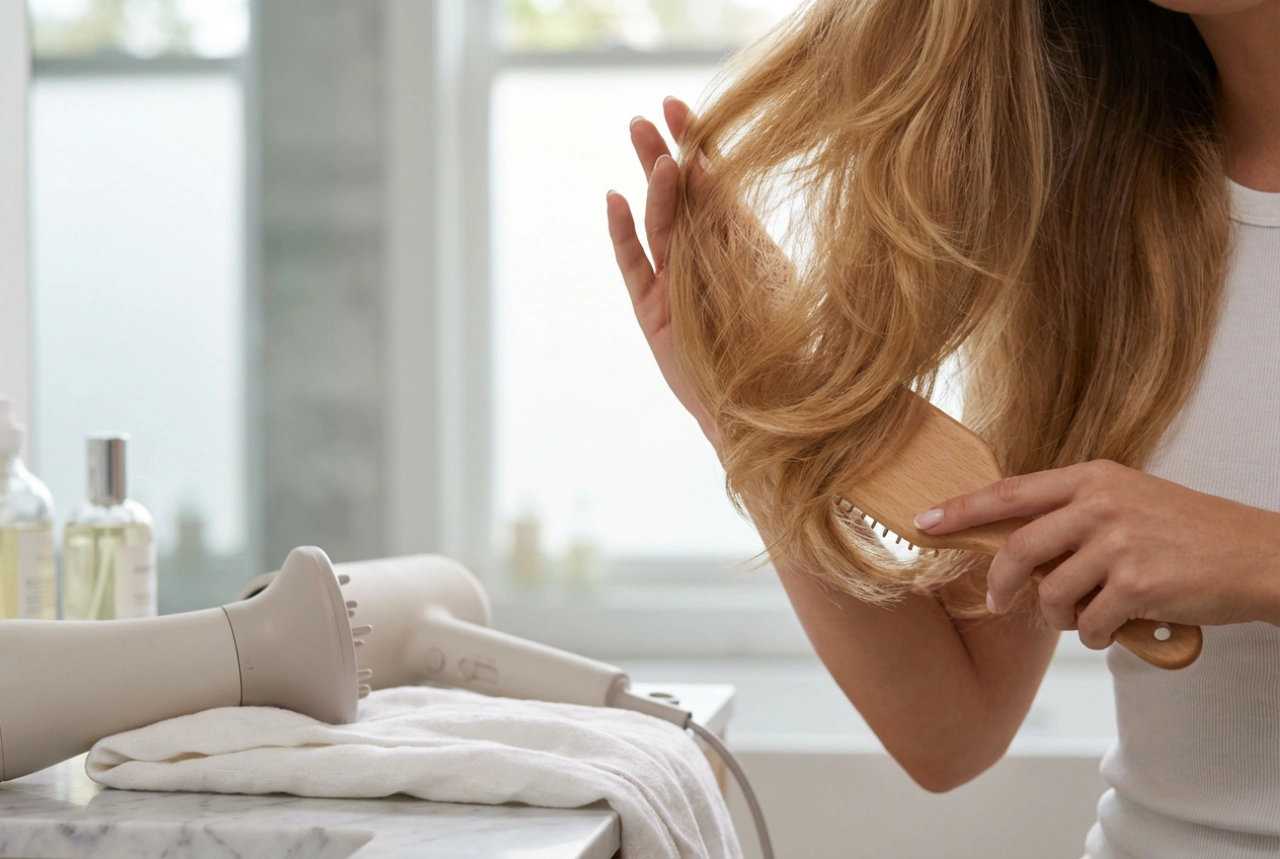
- Blend and style: Once you have finished crimping the designated root sections, let down the top layer of hair. Gently brush through with a wide-tooth comb or soft bristle brush to blend the smooth and textured sections together.
Heat Protection and Hair Health
As with any heat styling method, preserving the health and integrity of your hair is paramount. Because crimping involves direct heat application close to the roots, taking the proper precautionary steps will ensure your hair remains soft, shiny, and undamaged.
Always begin with completely dry hair. Applying heat to damp or wet hair can cause severe moisture loss and structural damage. Before you begin styling, apply a lightweight heat protection spray or serum evenly throughout your locks. Look for formulas that offer protection up to high temperatures while keeping the hair light and free from heavy residue. Additionally, adjust the temperature of your styling tool according to your hair type. Fine or colour-treated hair requires a lower heat setting, while thicker, coarser hair may need a slightly higher temperature to lock in the texture effectively.
Creating All-Over Texture for Updos and Braids
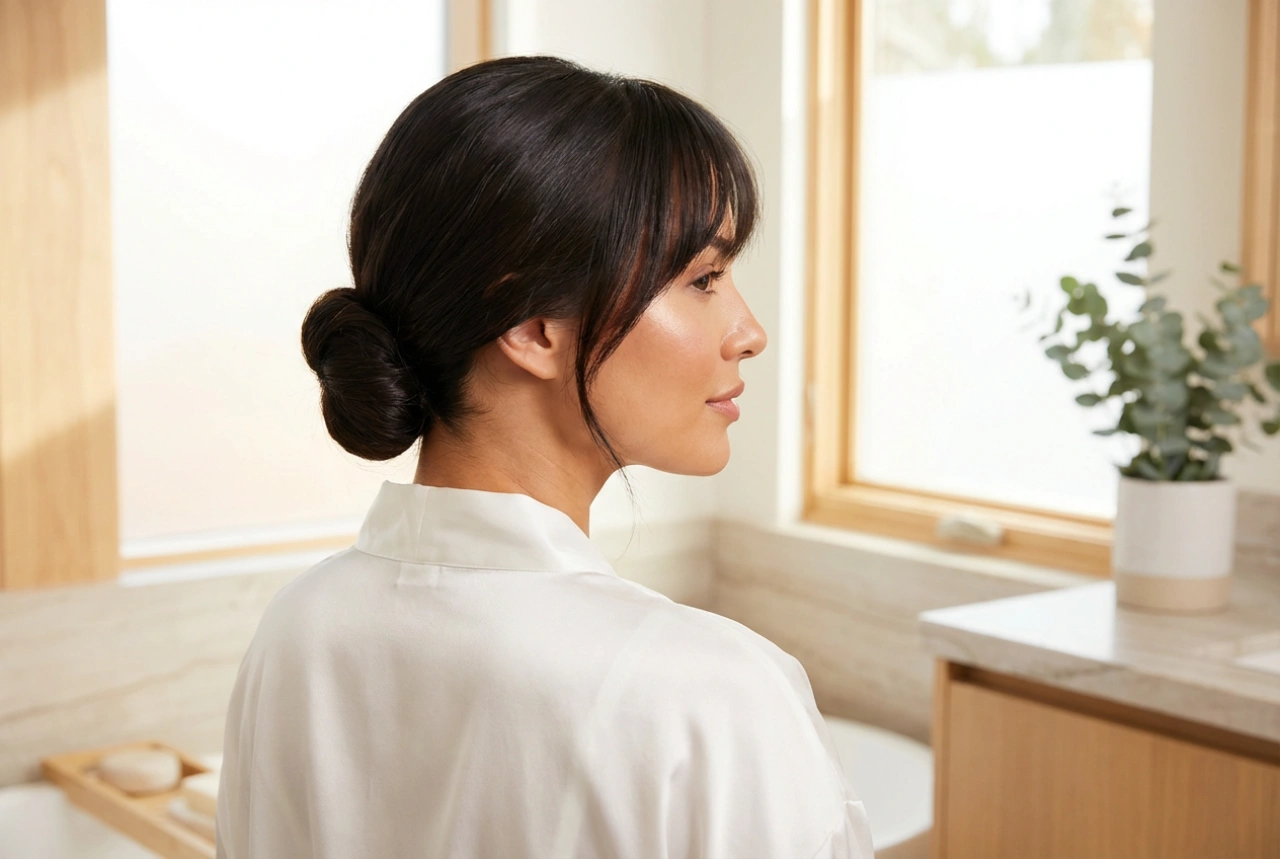
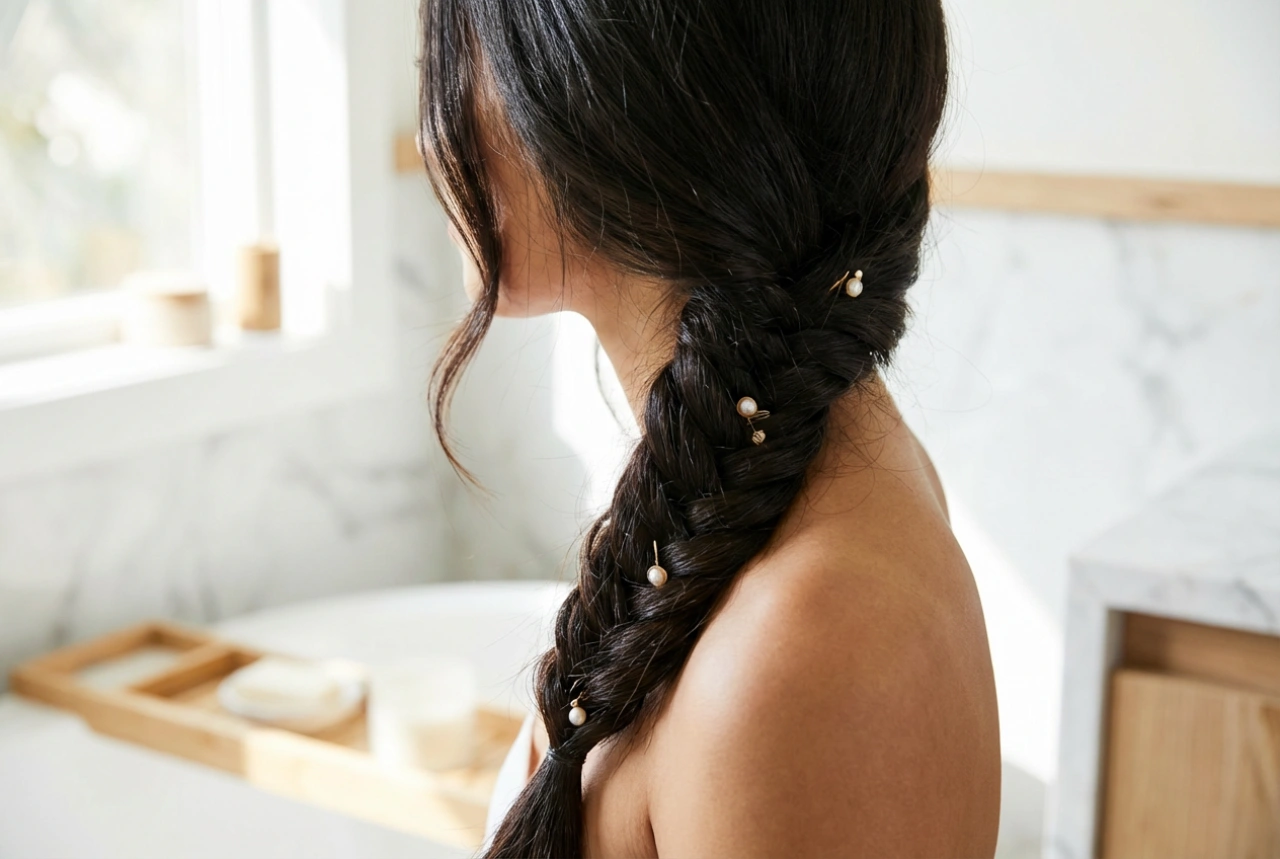
Beyond root volume, a hair crimper is an invaluable tool for preparing the hair for various hairstyles, such as braids, buns, and updos. Fine, silky hair often lacks the grip required to hold pins and intricate styles in place. By crimping the mid-lengths and ends of the hair, you introduce a tactile texture that makes the hair far easier to manipulate.
When braiding crimped hair, the braids appear significantly thicker, fuller, and more defined. Similarly, buns and ponytails gain a modern, textured finish that looks effortlessly chic. For these styles, you do not need to hide the crimped texture; instead, embrace the uniform, wavy pattern as an intentional design element that adds depth and visual interest to your overall look.
Maintaining Your Volume Throughout the Day
Once you have achieved your desired lift, maintaining it requires very little effort. Because the crimped texture provides physical support, you will find that you need far fewer styling products, which keeps the hair feeling light and clean. If you find your hair tends to lose volume due to natural oils, a light dusting of volumising powder or a quick spritz of dry shampoo at the roots can help absorb excess moisture and refresh the lift. Avoid heavy oils or heavy silicones near the scalp, as these can weigh down the roots and counteract the structural benefits of the crimping technique.