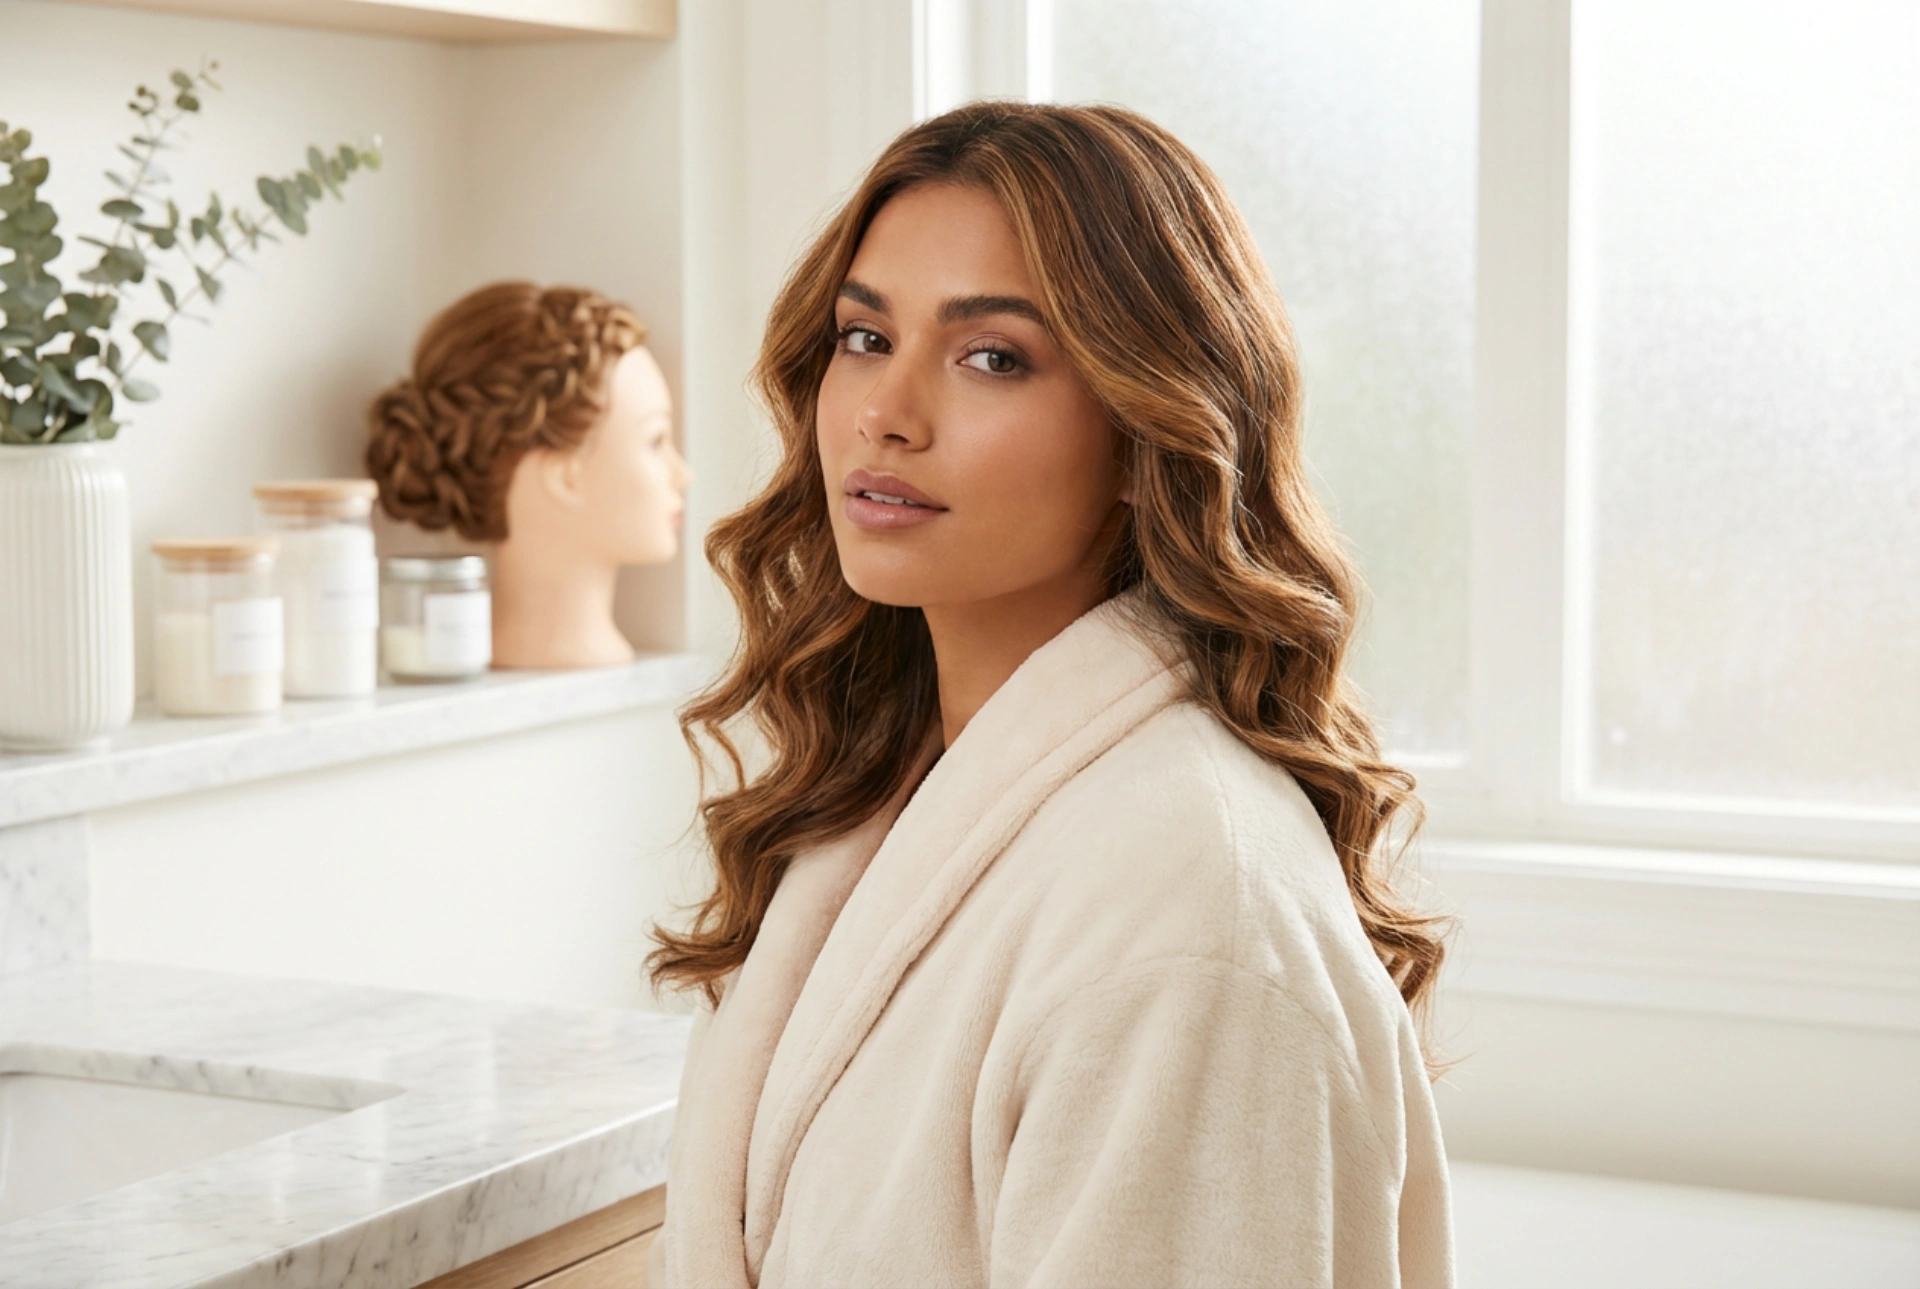


An eighteenth birthday is a milestone worth celebrating in style. Your hairstyle is a key part of your overall look, allowing you to express your personality and feel your most confident. Medium-length hair offers fantastic versatility, providing enough length for elegant updos while being manageable enough for beautiful waves and curls. Achieving a radiant, sophisticated yet youthful look, as reflected by beautifully styled soft waves, is entirely within reach. This guide will walk you through preparing your hair and creating three stunning styles at home, perfect for your special day.
Preparing Your Hair for the Perfect Style
A great hairstyle starts with a great foundation. Proper preparation will not only make styling easier but also help your chosen look last all through the celebration. Don't skip these essential steps.
Step 1: Cleanse and Condition
Start with clean, fresh hair. Wash your hair the day before or the morning of the event, depending on what works best for your hair type. Some find that slightly 'lived-in' hair holds a style better. Use a volumising shampoo and a lightweight conditioner, focusing the conditioner on the mid-lengths and ends to avoid weighing down the roots. Rinse thoroughly with cool water to seal the hair cuticles and enhance shine.
Step 2: Protect and Prime
Before any heat styling, protecting your hair is non-negotiable. Apply a heat protectant spray evenly from roots to ends on towel-dried hair. This creates a barrier between your hair and the heat, minimising potential damage. If you have fine hair that struggles to hold a curl, you can also apply a texturising mousse or spray to add some grip and volume.
Style 1: Effortless Glamour with Soft Waves
Soft, flowing waves are a timeless choice that looks both relaxed and put-together. This style is perfect for highlighting the natural movement and shine of your hair.
- Section Your Hair: Once your hair is completely dry, divide it into manageable sections. A good starting point is to create a top and bottom section, securing the top part with a clip.
- Start Waving: Take a one-to-two-inch piece of hair from the bottom section. Using a curling wand or a straightener, clamp the hair a few inches from the root. If using a wand, wrap the hair around the barrel, leaving the last inch or two of the ends out for a more modern, undone look. If using a straightener, clamp the hair, turn the tool 180 degrees away from your face, and glide it down the hair shaft.
- Alternate Directions: For a more natural, less uniform finish, alternate the direction you wrap the hair around the barrel with each new section. Curl some pieces away from your face and others towards it.
- Cool and Set: Let the waves cool down completely before touching them. This is crucial for setting the shape. Once cool, gently run your fingers through your hair to loosen the waves. Avoid using a brush, as it can pull out the definition. Finish with a light mist of flexible-hold hairspray to keep everything in place without stiffness.
Style 2: Classic Elegance with Defined Curls
For a more formal and glamorous look, defined curls add volume and bounce. This style has a celebratory feel and photographs beautifully.
- Choose Your Tool: A curling iron with a clamp is often best for creating defined, uniform curls. A barrel size of around one inch is ideal for medium-length hair.
- Create the Curls: Working in small, one-inch sections, clamp the end of the hair in the curling iron and roll it up towards the root. Hold for 5-10 seconds, depending on your hair's thickness and the tool's heat setting.
- Pin to Set: For maximum longevity, as you release each curl from the iron, carefully roll it back up into its shape and secure it against your scalp with a small clip or bobby pin. This allows the curl to cool and set in a tight, defined shape.
- Release and Finish: Once all your hair is curled and has completely cooled, remove the pins. Gently tilt your head to one side and then the other to let the curls fall naturally. You can use your fingers to separate them slightly, but avoid over-brushing. A spritz of a medium-hold hairspray will provide bounce and hold.
Style 3: A Sophisticated and Simple Updo
An updo feels instantly special and keeps your hair neatly off your face, letting your makeup and outfit shine. This twisted low bun is elegant and surprisingly easy to achieve with medium-length hair.
Step 1: Create a Base
Start by creating some texture in your hair using one of the methods above, or work with your natural texture. A bit of wave or curl will give the updo more volume and make it look softer. Gather your hair into a low, loose ponytail at the nape of your neck and secure it with a hair elastic.
Step 2: Twist and Secure
Split the ponytail into two equal sections. Twist each section individually in the same direction (e.g., both to the right). Then, twist these two sections together in the opposite direction (e.g., to the left). This creates a simple rope braid. Wrap this braid around the base of the ponytail to form a bun, and secure it firmly with bobby pins. Tuck the ends under the bun and pin them in place.
Step 3: Finishing Touches
Gently pull on small sections of the bun to make it appear fuller and more 'undone'. You can also pull out a few thin, face-framing tendrils at the front to soften the look. Check for any loose ends and add extra pins where needed. A final mist of strong-hold hairspray will ensure your elegant updo lasts all night long.


