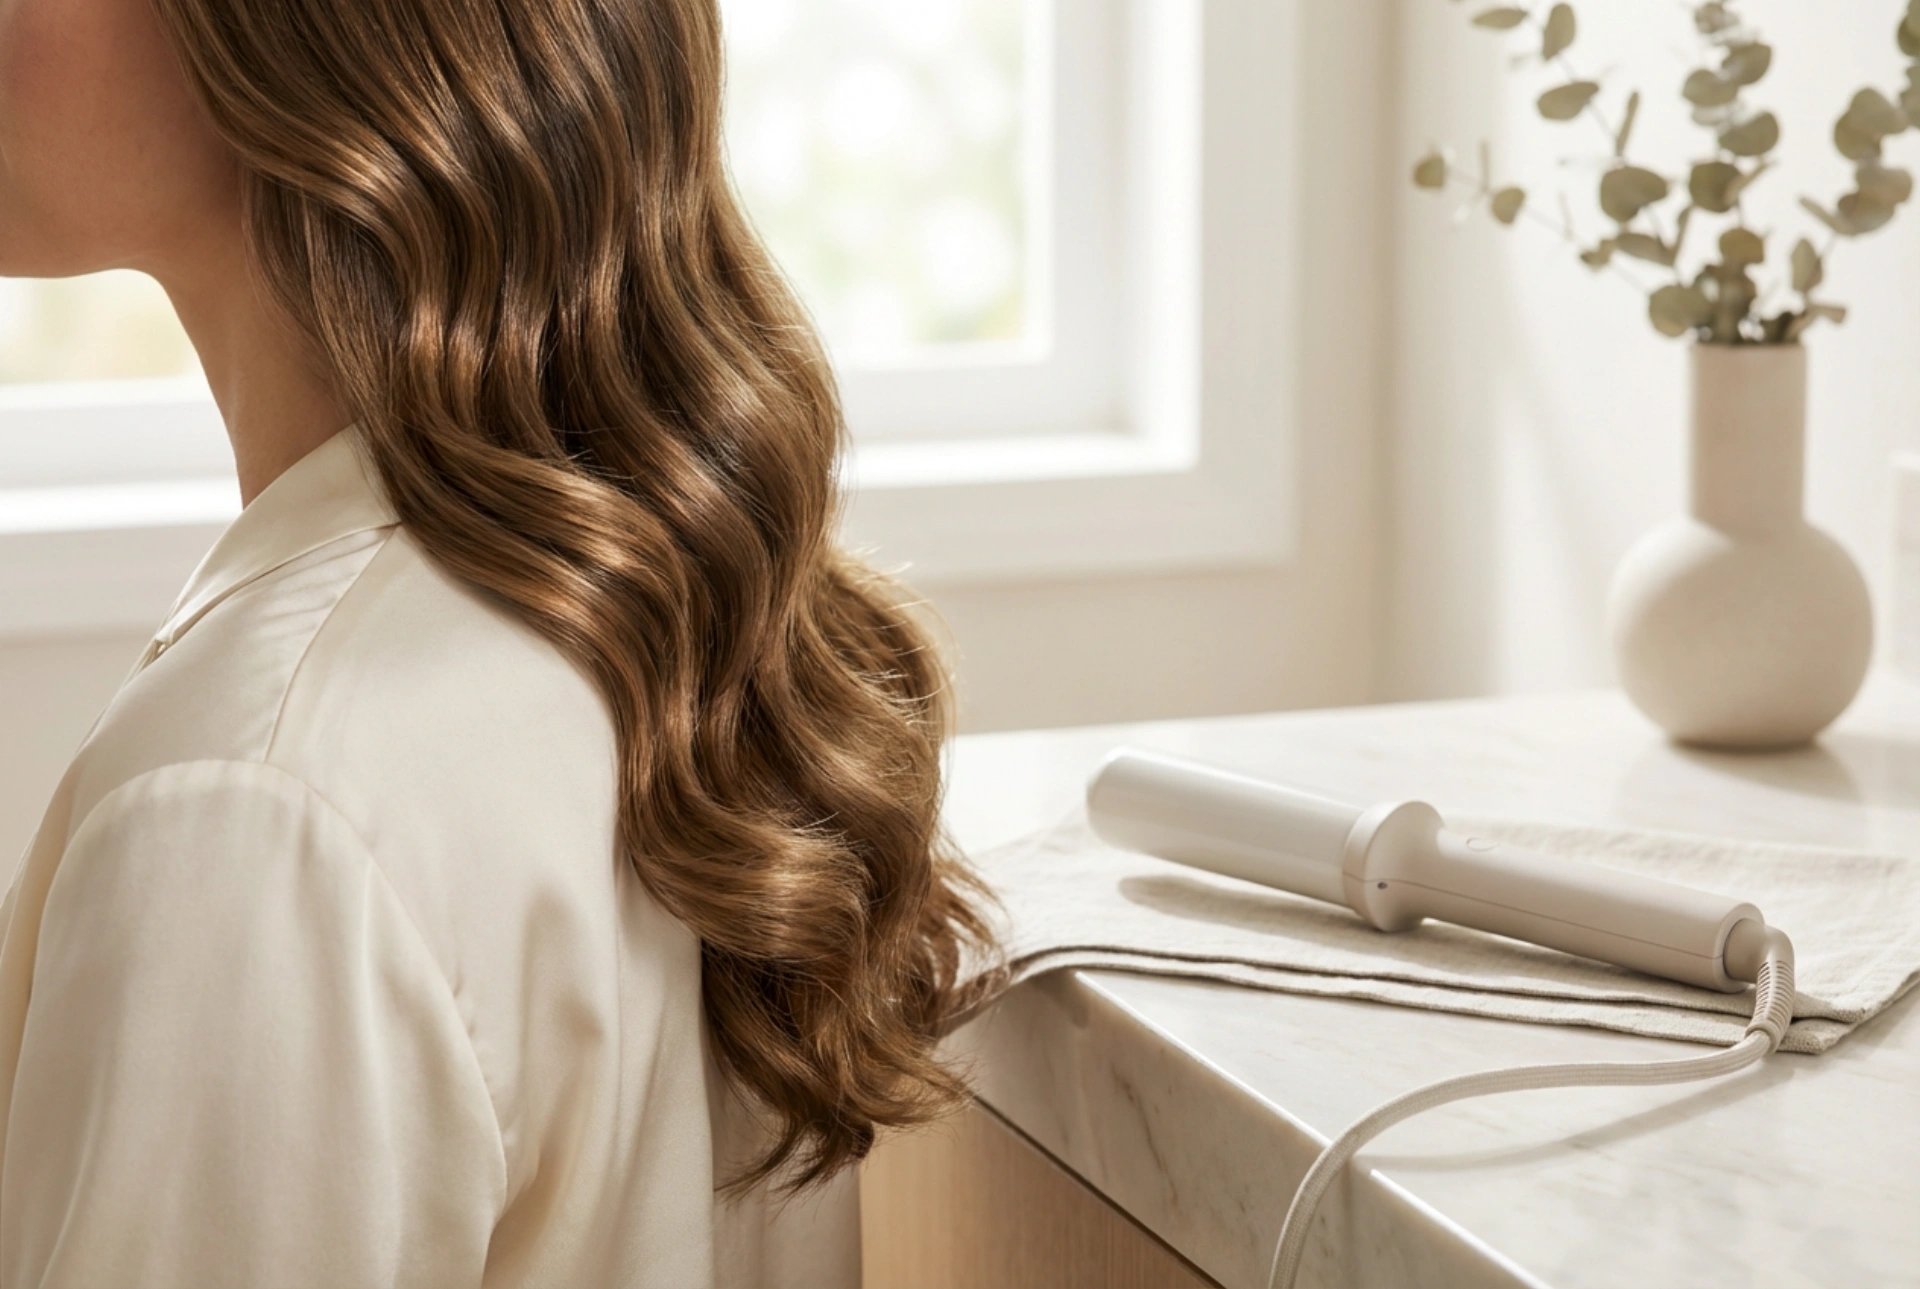


Voluminous, glossy waves that cascade effortlessly over the shoulders are the epitome of elegance. This timeless look, often referred to as 'glam waves', adds a touch of sophistication to any appearance. While it may seem like a style reserved for professional salons, you can achieve these beautiful, soft waves at home with the right tool and technique. The key is a thick barrel curling iron, which allows for the creation of large, flowing waves rather than tight curls, all while being mindful of your hair's health.
Why Choose a Thick Barrel Curling Iron?
The diameter of your curling iron's barrel directly influences the type of curl you create. For the sought-after glam waves effect, a larger barrel (typically 32mm or wider) is essential. Unlike smaller barrels that produce tight ringlets, a thicker tool creates a much softer, more natural-looking bend in the hair. This is ideal for those with medium to long hair who desire volume and movement over defined curls. Furthermore, the larger surface area can help distribute heat more evenly across the hair section, which, when used correctly, can contribute to less concentrated heat exposure.
Preparing Your Hair for Styling
Proper preparation is crucial for both achieving the perfect style and protecting your hair from damage. Following these preliminary steps will set you up for success.
Start with Dry Hair
Never use a curling iron on damp or wet hair. Applying high heat to wet hair can cause the water inside the hair shaft to boil, leading to significant damage, breakage, and a 'fried' texture. Ensure your hair is 100% dry before you begin styling. If you've just washed it, blow-dry it thoroughly or let it air-dry completely.
Always Use a Heat Protectant
This is a non-negotiable step in any heat styling routine. A good heat protectant spray creates a protective barrier between your hair and the hot tool. It helps to seal the hair's cuticle, reduce moisture loss, and minimise the damaging effects of high temperatures. Mist the product evenly throughout your hair, from roots to ends, and gently comb it through to ensure full coverage.
Section Your Hair
Styling your hair in one large mass is inefficient and leads to inconsistent results. For a polished, uniform look, divide your hair into manageable sections. Use clips to secure the parts of your hair you aren't currently working on. A common method is to create a top and bottom section, and then divide each of those into a left and right side, working with smaller 1-2 inch subsections from there.
Step-by-Step Guide to Creating Glam Waves
With your hair prepped and ready, you can now begin styling. Remember that patience and a steady hand are your best friends here.
- Select the Right Temperature: Not all hair types require the highest heat setting. In fact, using excessive heat is one of the quickest ways to cause damage. If you have fine or colour-treated hair, opt for a lower temperature setting. Thicker, coarser hair may require a medium to high setting, but always start low and increase only if necessary.
- The Wrapping Technique: Take a 1-2 inch wide section of hair. Open the clamp of the curling iron and wrap the hair flat against the barrel, starting from a few inches down from the root. For the classic glam wave look, wrap all sections away from your face. Hold the end of the hair section with your fingers and keep it off the barrel to protect your tips.
- Hold and Release: Do not hold the hair on the iron for too long. A duration of 8-10 seconds is usually sufficient. To check if it's ready, you can gently touch the hair on the barrel (be careful!) to feel how warm it is. Once heated, gently unwind the hair or open the clamp and let the curl fall into the palm of your hand.
- Let It Cool: Letting the curl cool in your hand for a few seconds before releasing it completely helps the wave to set. This simple step can dramatically increase the longevity of your style.
- Repeat and Alternate: Continue this process section by section. For a more modern and less uniform look, you can alternate the direction of the curl on some layers, curling some sections away from the face and others towards it.
Finishing Touches for a Lasting Style
Once all your hair is curled, the final steps are what transform the individual curls into cohesive, glamorous waves.
First, and most importantly, allow all the curls to cool down completely. This can take 10-15 minutes. If you brush or touch them while they are still warm, the waves will fall out almost immediately. Once cool, gently run your fingers or a wide-tooth comb through the curls. This will break them up and blend them together to create that signature soft, flowing wave pattern. To finish, you can spritz a light-hold hairspray to provide gentle hold without making the hair stiff, or apply a small amount of shine serum to the ends to add gloss and combat any flyaways.


