


Attending a wedding is a wonderful occasion, and looking your best is part of the celebration. While a professional stylist can work wonders, it is entirely possible to create a beautiful, elegant hairstyle in the comfort of your own home. Whether you have long, medium, or even shoulder-length hair, a few simple techniques can result in a polished look that is perfect for a wedding guest. From romantic, flowing waves to a chic and simple updo, you can achieve a sophisticated style with just a few tools and a little practice.
Preparation is the Foundation for a Lasting Style
Before you begin styling, proper preparation is crucial for ensuring your hairstyle looks great and lasts throughout the day and into the evening festivities. Rushing this step can lead to a look that falls flat before you even leave the house.
Key Preparation Steps:
- Wash Wisely: It is often better to wash your hair the day before the event. Freshly washed hair can be too soft and slippery, making it difficult to hold a style. Second-day hair has a little more texture and grip. If you must wash it on the day, use a volumising mousse or a texturising spray to add some hold.
- Protect Your Hair: If you plan to use any heat styling tools, such as a curling tong or straighteners, always apply a heat protectant spray. This creates a barrier between your hair and the heat, minimising potential damage. Distribute it evenly from the roots to the ends on damp or dry hair.
- Gather Your Tools: Having everything you need within reach will make the styling process much smoother. Your toolkit should include: a good quality hairbrush, a fine-toothed comb for sectioning, bobby pins that match your hair colour, small clear hair elastics, and a reliable hairspray.
Romantic Waves for an Effortless Look
Soft, romantic waves are a timeless choice for a wedding. They look elegant yet effortless and suit almost any dress style. This style works particularly well on medium to long hair.
Creating Waves with a Curling Tong:
- Section Your Hair: Begin with dry, brushed hair. Divide your hair into manageable sections. Clipping the top half of your hair up and working on the bottom section first is usually the easiest method.
- Curl in Sections: Take a one to two-inch section of hair. Wrap it around the barrel of your curling tong, holding it away from your face for a more open and modern look. Hold for about 8-10 seconds, depending on your hair's thickness and the tong's temperature, then gently release.
- Alternate Directions: For a more natural, less uniform look, you can alternate the direction of the curls as you work your way around your head.
- Let it Cool: This is a vital step. Do not touch or brush the curls while they are still warm. Let them cool down completely, as this helps to set the shape.
- Loosen the Waves: Once all your hair is curled and completely cool, gently run your fingers or a wide-toothed comb through the curls to loosen them into soft waves. Avoid using a brush, as this can pull out the curl too much. Finish with a light mist of a flexible-hold hairspray to keep the waves in place without making them stiff.
Chic and Simple Updos
An updo is a practical and sophisticated option. It keeps your hair neatly off your face and neck, which is ideal for a long day or a warmer climate. These simple styles prove you do not need complex braiding skills to look polished.
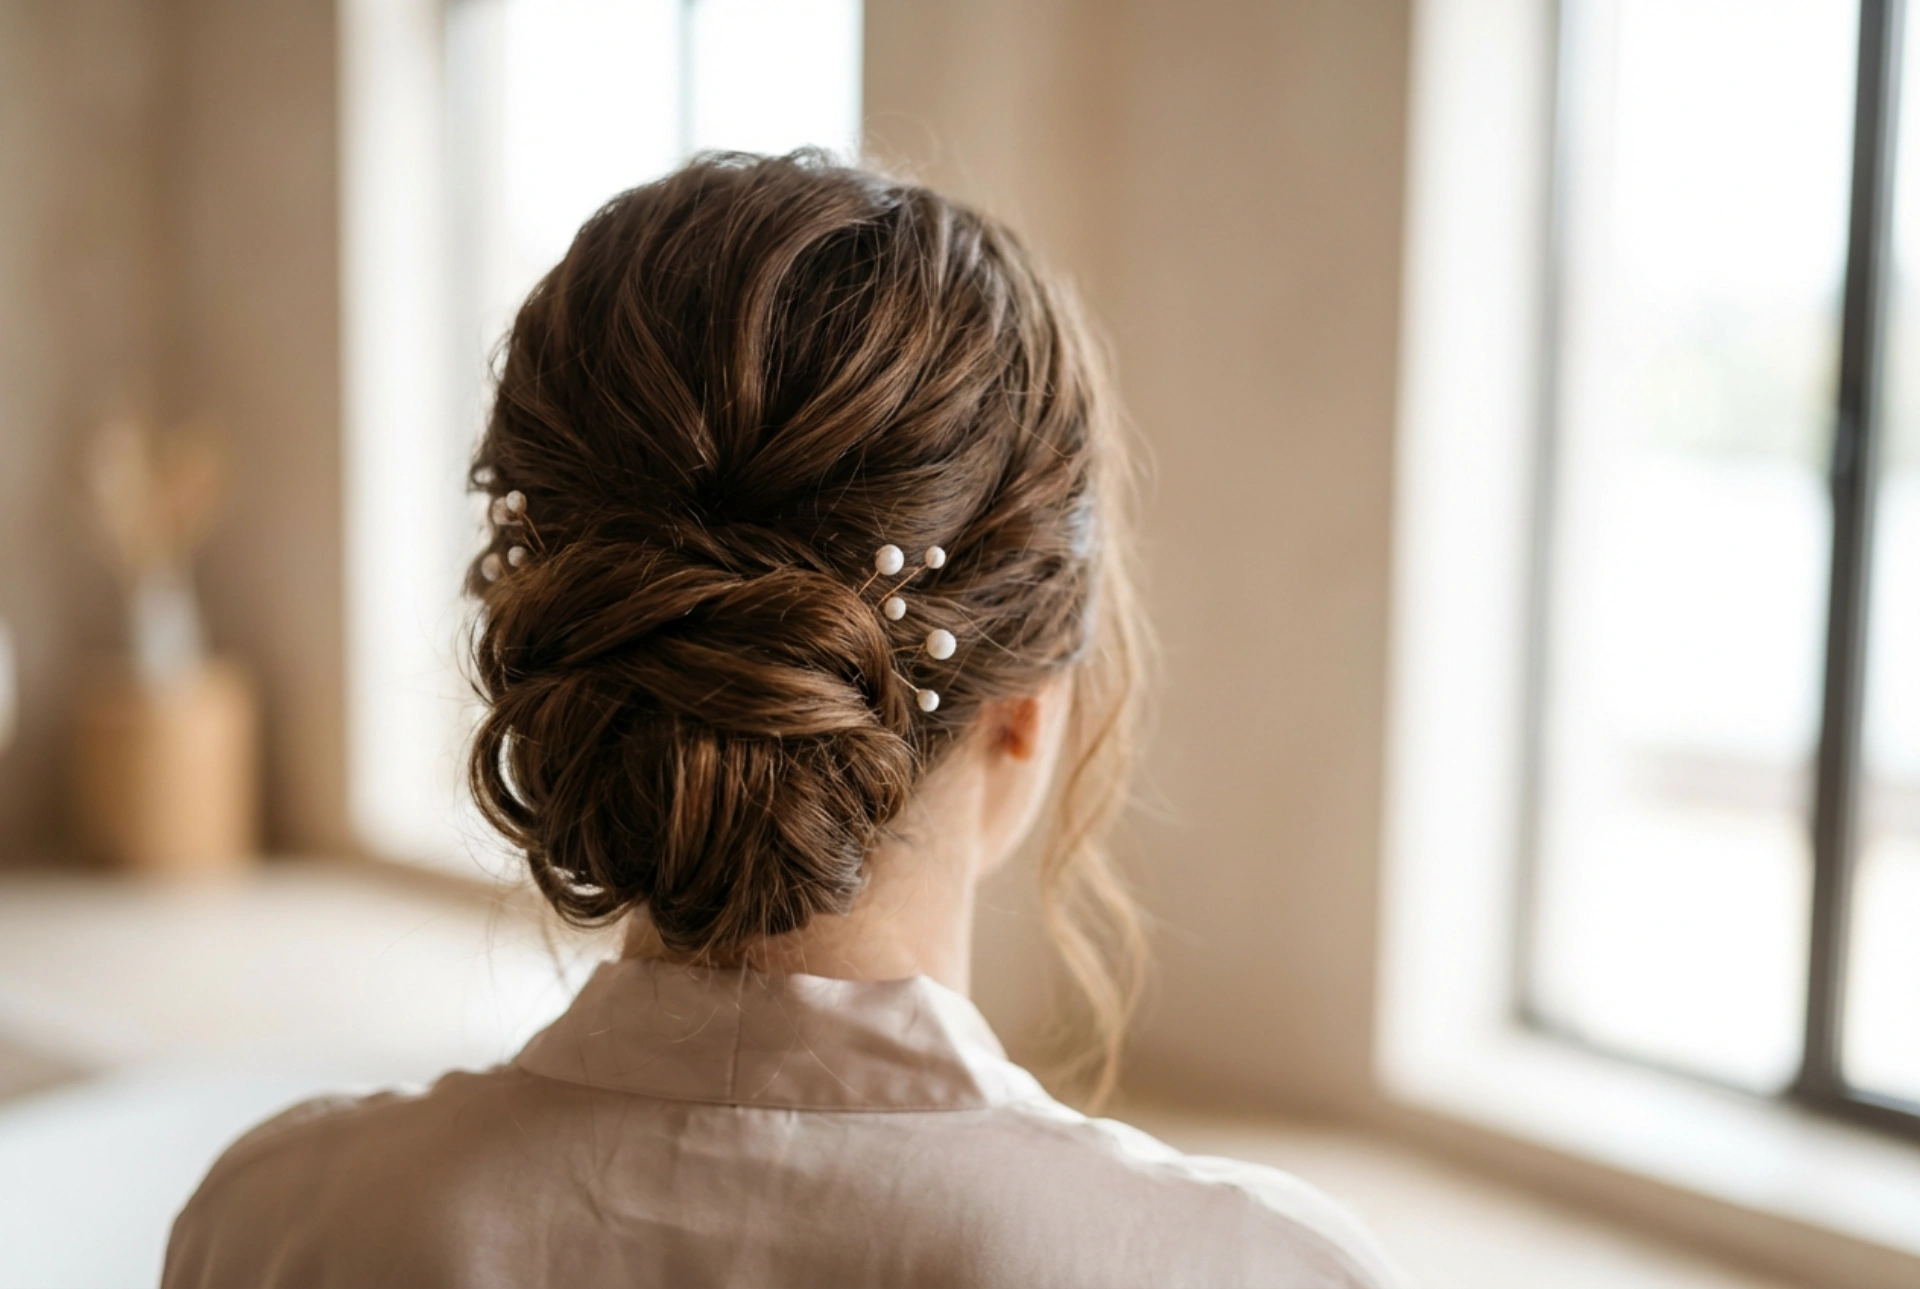
The Classic Low Twisted Bun:
This style is incredibly elegant and surprisingly simple to create. It works best on hair that is at least shoulder-length.
- Create a Low Ponytail: Brush your hair back smoothly and secure it into a low ponytail at the nape of your neck with a hair elastic. For a softer look, leave a few small strands out to frame your face.
- Twist the Ponytail: Split the ponytail into two equal sections. Twist each section individually in the same direction (e.g., both to the right).
- Wrap the Twists: Now, wrap the two twisted sections around each other in the opposite direction (e.g., to the left). This will create a twisted 'rope'.
- Form the Bun: Coil the twisted rope around the base of the ponytail to form a bun. Tuck the ends underneath and secure the bun firmly against your head using bobby pins. Use as many as you need to feel secure.
- Final Touches: Gently pull at the bun to give it more volume and a slightly 'undone' look. Finish with a firm-hold hairspray.
The Elegant Half-Up Twist:
A half-up, half-down style offers the best of both worlds – the elegance of an updo with the softness of wearing your hair down. You can start with straight hair or create soft waves first for added texture.
- Take Front Sections: Part your hair as you normally would. Take a one to two-inch section of hair from one side, starting near your temple.
- Twist Backwards: Gently twist this section away from your face, pulling it towards the back of your head.
- Secure and Repeat: Hold the twist in place at the back of your head and repeat on the other side with a similar-sized section of hair.
- Join the Twists: Bring the two twisted sections together at the centre of the back of your head. Secure them together with a clear elastic or a few crisscrossed bobby pins. For a more decorative finish, you can cover the join with an elegant clip or barrette.
Ensuring Your Hairstyle Lasts All Day
Once you have perfected your hairstyle, the final step is to set it in place. Use a good quality hairspray, holding the can about 30cm from your head and misting it all over. For updos, pay special attention to the areas secured with pins. If you have any flyaways, spray a little hairspray onto a clean toothbrush or spoolie and gently smooth them down. Carrying a few extra bobby pins and a travel-sized hairspray in your handbag for quick touch-ups is always a wise idea. With these tips, your homemade hairstyle will look beautiful from the ceremony to the last dance.


