


Achieving perfectly uniform, bouncy curls can often feel like a task reserved for professional stylists. However, modern beauty technology has introduced a revolutionary tool that makes flawless curls accessible to everyone: the automatic curling iron. Unlike traditional wands and tongs that require manual wrapping and twisting, these devices automatically draw the hair into a heated chamber to create a consistent curl with minimal effort. This guide will walk you through how they work, how to select the best settings for your hair, and how to use them safely for beautiful results every time.
How Do Automatic Curling Irons Work?
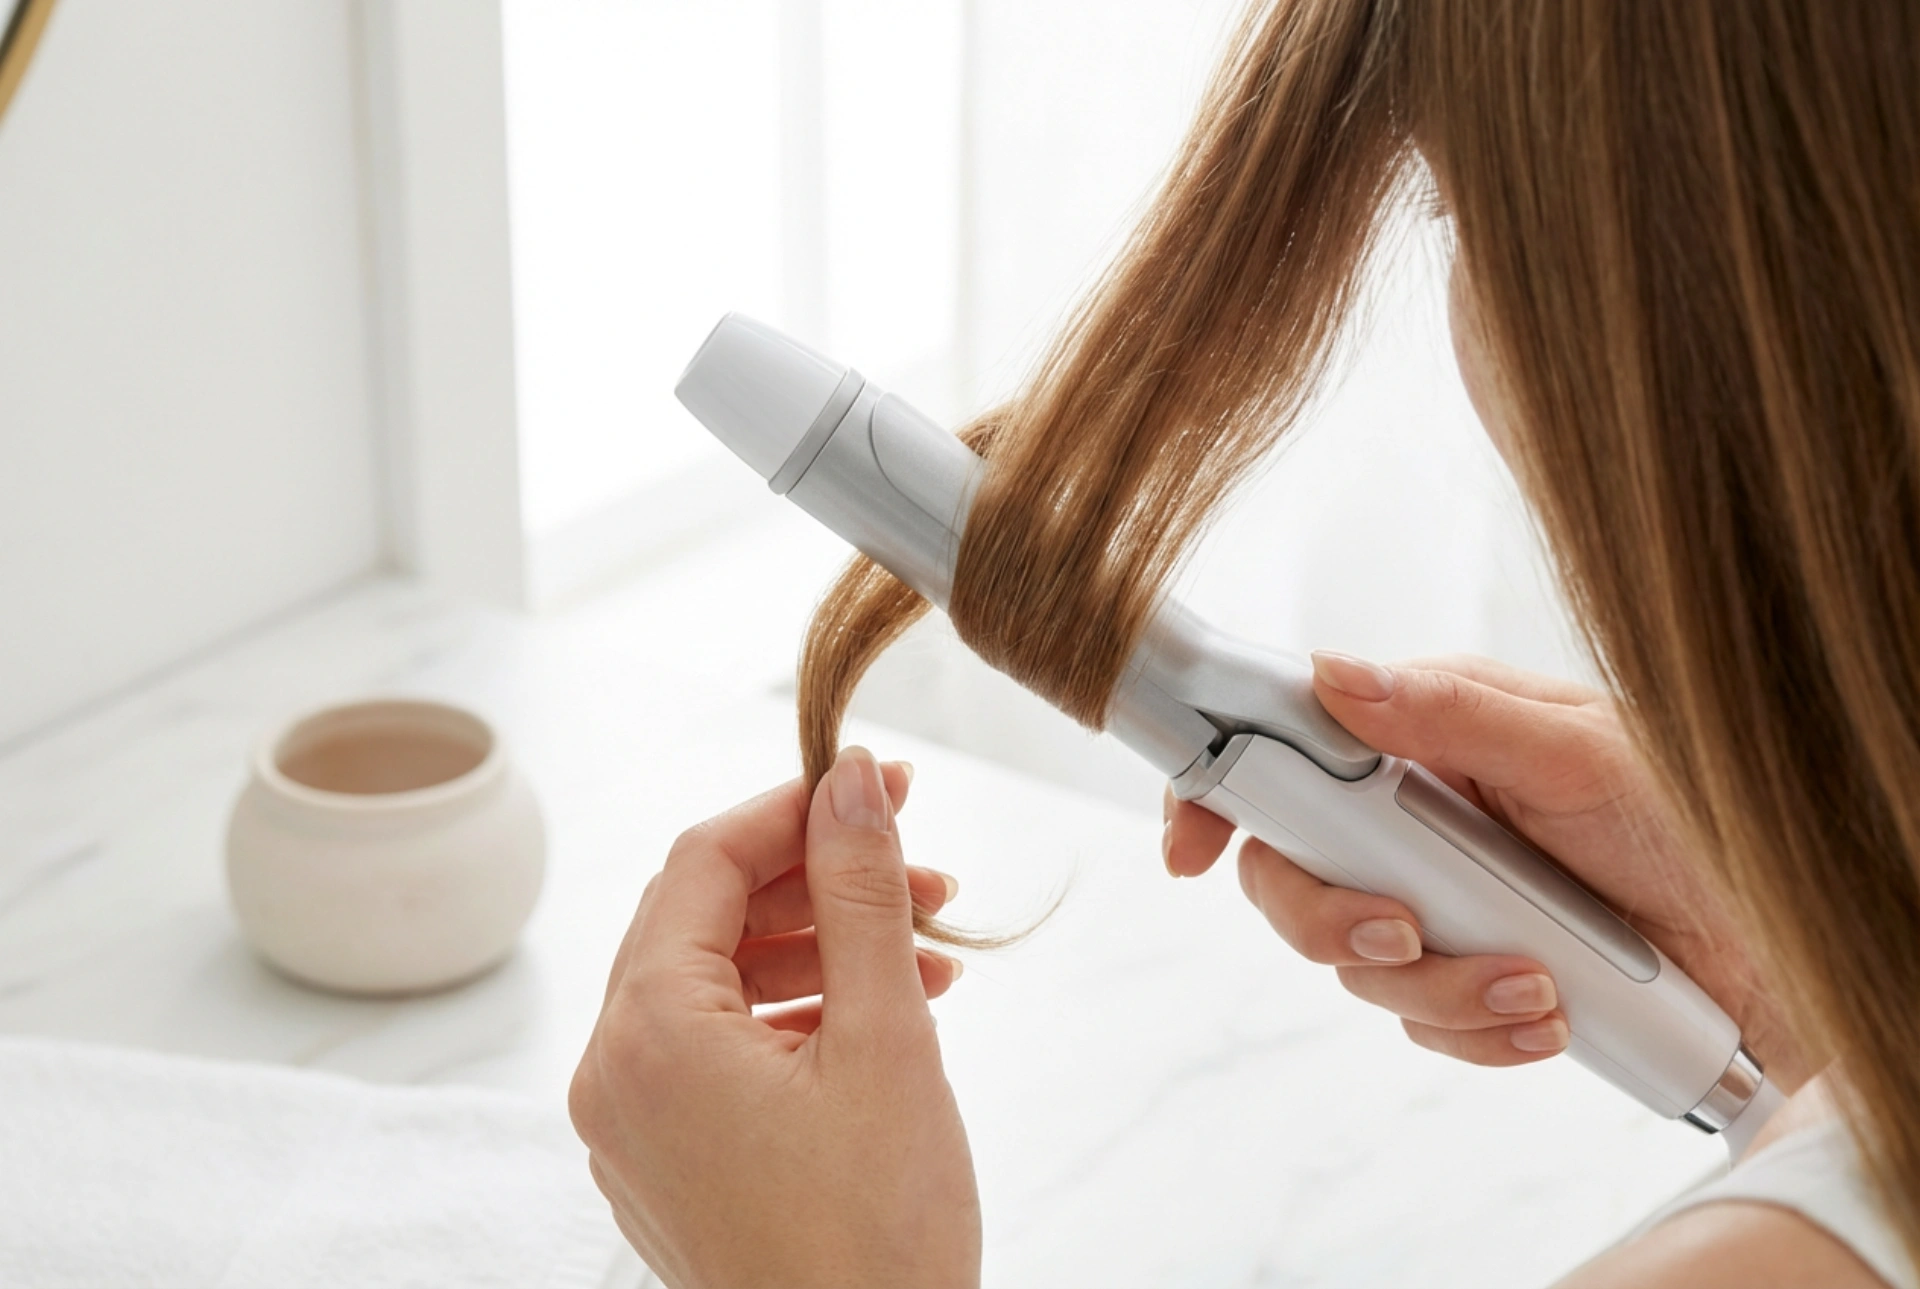
The magic of an automatic curler lies in its internal mechanism. At its core, the device features a rotating barrel housed within a protective chamber. When you place a section of hair into the designated slot and press a button, a small motor gently winds the hair around the internal heated barrel. The hair is held in the chamber for a pre-set amount of time, allowing the heat to form the curl. Once the time is up, the device typically beeps to signal that the curl is ready. You then simply release the hair section to reveal a perfectly formed curl. This automated process not only ensures consistency in the shape and size of your curls but also reduces the risk of direct contact with the hot barrel, making it a user-friendly option for many.
Choosing the Right Settings for Your Hair Type
One of the greatest advantages of automatic curling irons is their customisable settings, which allow you to tailor the styling experience to your specific hair type and desired look. Using the correct settings is crucial for achieving great results while protecting your hair from unnecessary heat damage. Most models allow you to adjust the temperature, timer, and curl direction.
Temperature Settings
The temperature you choose should be based on your hair's thickness and condition. A good rule of thumb is to start with a lower temperature and only increase it if necessary.
- Fine, delicate, or colour-treated hair: Opt for lower temperatures, typically between 150°C and 170°C, to prevent damage.
- Normal or medium-textured hair: A mid-range temperature between 170°C and 190°C is usually effective for creating lasting curls.
- Thick, coarse, or hard-to-curl hair: Higher temperatures, from 190°C to 210°C, may be needed to ensure the curl holds its shape.
Timer Settings
The timer determines how long the hair is held in the heating chamber, which directly impacts the tightness of the curl. Most devices offer several options, often indicated by a series of beeps.
- For loose, beachy waves: Choose the shortest time setting, usually around 8-10 seconds.
- For classic, defined curls: A medium time setting of 10-12 seconds is ideal.
- For tight, bouncy ringlets: Use the longest time setting, typically around 12-15 seconds.
Curl Direction
Many automatic curlers offer settings to control the direction of the curl (left, right, or alternating). This feature is excellent for creating a more customised and natural-looking hairstyle. Curling sections away from your face is generally the most flattering style. The "alternate" or "auto" setting is perfect for creating a less uniform, more voluminous look by automatically switching the curl direction for each section.
A Step-by-Step Guide to Using an Automatic Curler
For the best and safest results, follow a consistent routine when using your automatic curling iron. Preparing your hair properly is just as important as the curling process itself.
- Step 1: Start with Clean, Dry Hair. Never use an automatic curler on wet or damp hair, as this can cause significant damage. Ensure your hair is completely dry and brushed through to remove any knots or tangles.
- Step 2: Apply a Heat Protectant. Before applying any heat, spritz a heat protectant spray evenly throughout your hair. This creates a barrier that helps shield your strands from potential damage.
- Step 3: Section Your Hair. Divide your hair into manageable sections using clips. Working with smaller sections (no more than 1-2 inches wide) will ensure the hair can be drawn into the chamber smoothly and heated evenly.
- Step 4: Position and Activate the Curler. Take one section of hair and place the top of it into the opening of the curling chamber. Ensure the hair is smooth and flat. Press the button to activate the motor, which will automatically draw the rest of the hair section into the device.
- Step 5: Wait for the Signal. Hold the curler in place and wait. The device will beep to let you know when the curl is ready. Do not pull the device away before the signal.
- Step 6: Release the Curl. Gently pull the styler away from your head to release a fresh, perfect curl. Avoid touching or pulling on the curl while it's still warm.
- Step 7: Let It Cool. Allowing the curls to cool down completely before you touch or style them further is key to making them last. Once all sections are curled and cooled, you can gently run your fingers through them for a softer look or use a light-hold hairspray to set your style.
Safety and Maintenance Tips
To ensure your automatic curler remains a trusted part of your beauty routine for years to come, proper care and safe usage are essential.
- Always use the tool on tangle-free hair to prevent it from getting stuck in the chamber.
- If hair does get caught, most devices have a safety feature that stops the motor and releases the hair. Turn the device off immediately and gently ease the hair out.
- Regularly clean the curling chamber to remove any residue from hair products. Ensure the device is unplugged and completely cool before cleaning it with a soft, damp cloth.
- Never submerge the device in water or use harsh chemical cleaners.
- Always unplug your automatic curler after use and allow it to cool down completely before storing it in a safe, dry place.


