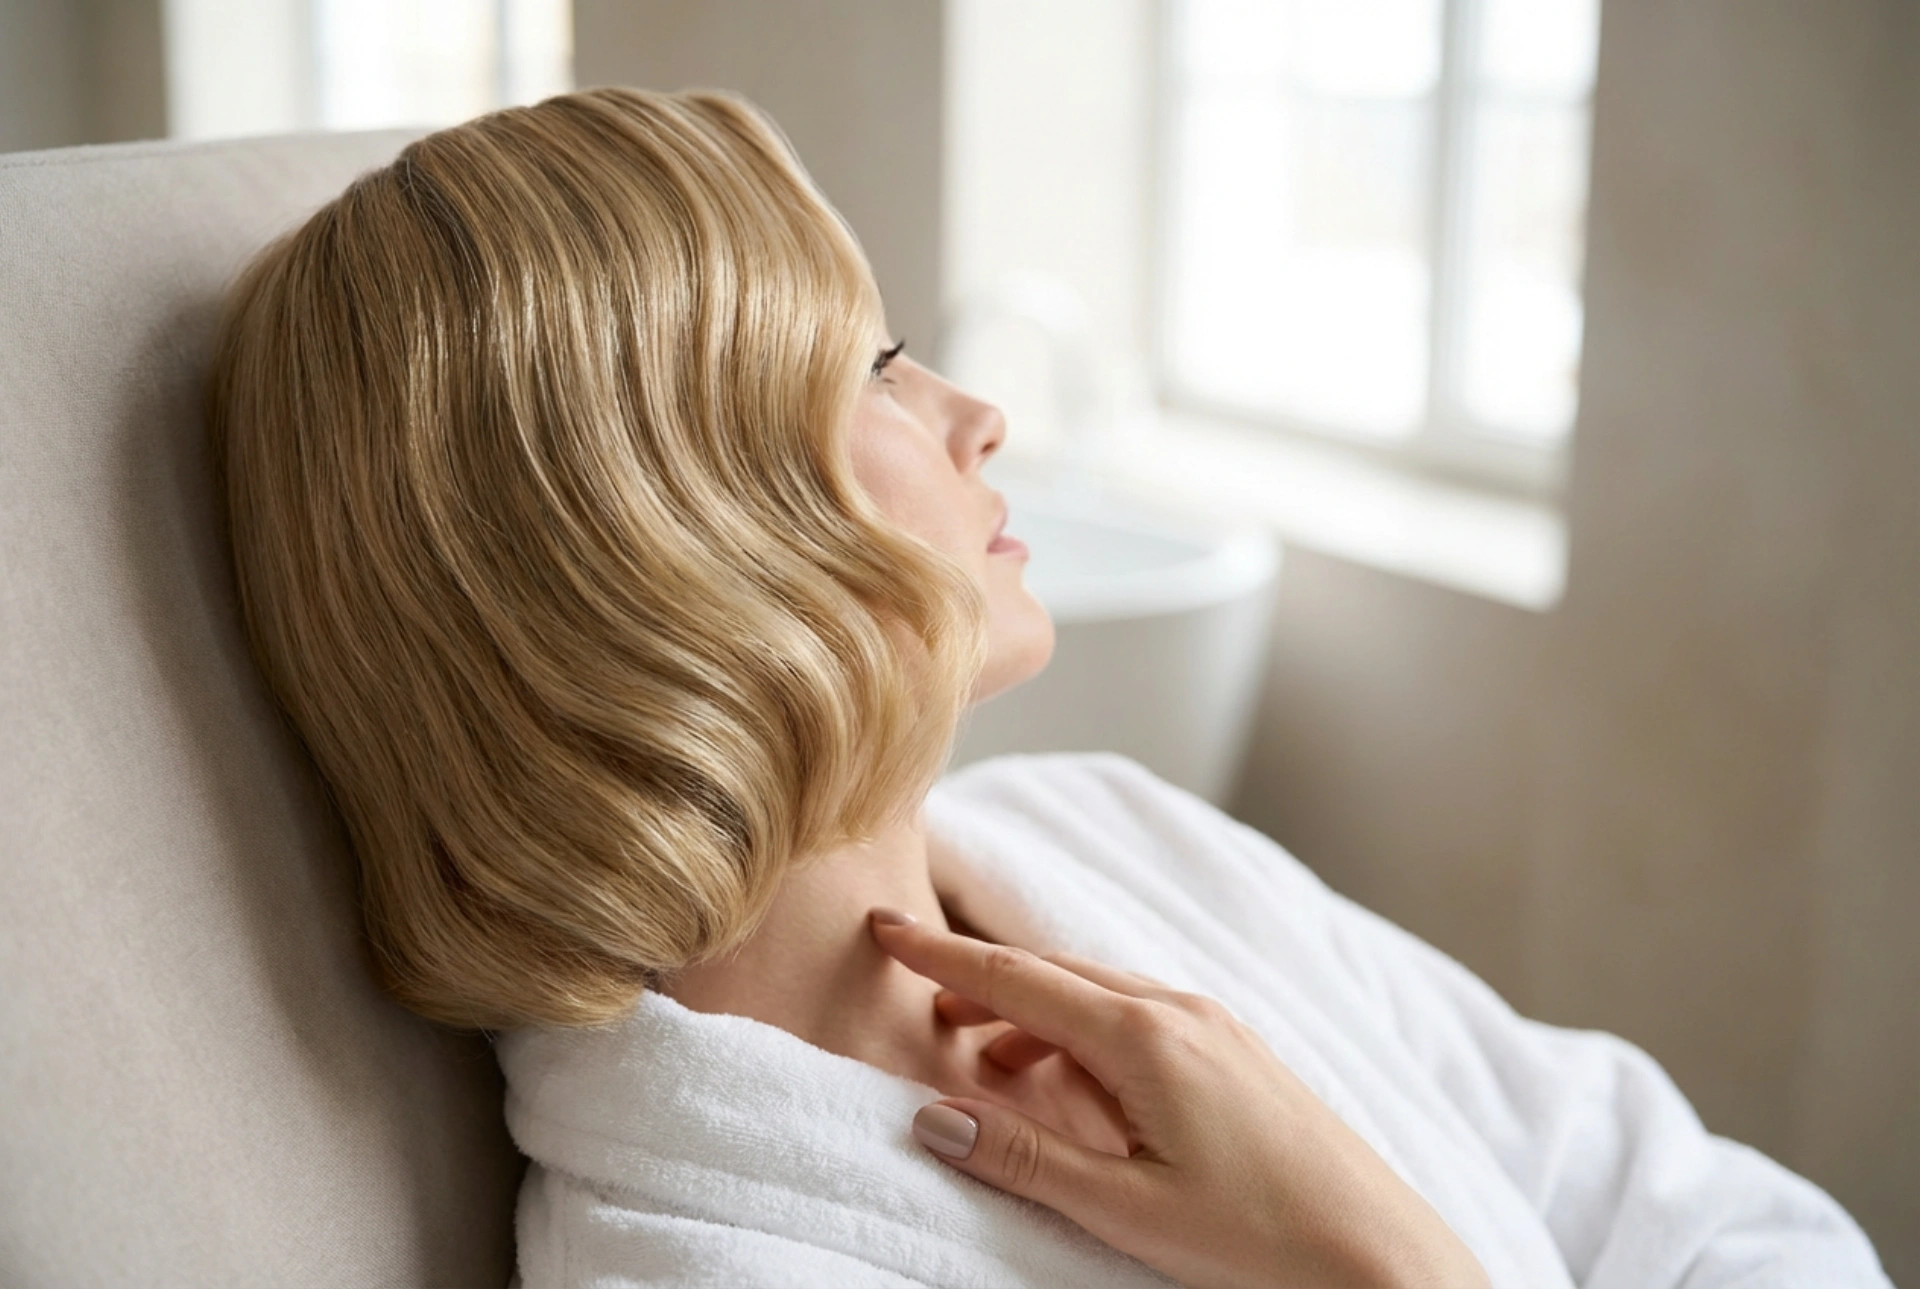


The timeless glamour of Hollywood waves is often associated with long, flowing locks, but this sophisticated style can be beautifully adapted for short hair. Creating those signature, uniform 'S' curves on a shorter length can frame the face elegantly, adding a touch of vintage charm and refined polish to your look. With the right techniques and a little practice, you can master this classic hairstyle at home, proving that glamour isn't dependent on hair length. This guide will explore several methods to achieve those perfect waves.
Essential Preparation for Flawless Waves
The foundation of any great hairstyle is proper preparation. To create waves that are smooth, defined, and long-lasting, starting with the right base is crucial.
- Start with Clean Hair: For best results, work with hair that has been washed and conditioned. This ensures there's no product build-up or excess oil weighing your hair down. If your hair is too soft to hold a style, second-day hair can sometimes provide more grip.
- Apply a Styling Product: Work a small amount of volumising mousse or a styling lotion through damp hair, focusing on the roots and mid-lengths. This will provide structure and hold, helping the waves to form and last longer.
- Never Skip Heat Protection: Before any heat styling, liberally spritz your hair with a quality heat protectant spray. This creates a barrier between your hair and the hot tool, minimising potential damage and keeping your strands healthy.
- Smooth Blow-Dry: Blow-dry your hair using a round brush to create volume at the roots and a smooth finish. Pay attention to the direction you're drying; for a classic Hollywood wave look, direct the hair at the front away from your face.
Method 1: The Curling Iron Technique
A curling iron is a straightforward tool for creating the uniform curls that form the basis of Hollywood waves. The key is consistency.
Step-by-Step Guide
Start by sectioning your hair. A deep side parting works exceptionally well for this style. Use a curling iron with a barrel size of around 25-32mm, depending on your hair length and the tightness of the wave you desire. Take a vertical section of hair, about one to two inches wide. Clamp the iron a few inches from the root and wrap the hair around the barrel. Critically, ensure you wrap every section of hair in the same direction. On the side with more hair, curl away from your face. Once you've held the curl for 5-10 seconds, release it and let it cool completely without touching it. You can even pin the fresh curl to your head while it cools to help it set better. Repeat this process for all sections of your hair, maintaining the same curl direction throughout.
Method 2: Using a Hair Straightener
A hair straightener can create softer, more modern 'S' waves. This technique requires a bit of wrist control but offers a beautiful, flowing result.
Creating S-Waves
Take a horizontal section of hair. Clamp the straightener near the roots and, as you begin to glide it down, bend your wrist to create a 'C' shape. Release the pressure slightly, move the straightener down the same section, and then bend your wrist in the opposite direction to create the reverse 'C' shape. This continuous motion down the hair shaft forms a gentle 'S' pattern. The speed at which you glide and the angle of your wrist will determine the definition of the wave. This method is particularly effective for bobs and lobs, creating a natural-looking, glamorous texture.
Method 3: Setting with Wave Clips
For a truly authentic, long-lasting vintage wave, wave clips are indispensable. This technique is used to define and set the waves after they have been initially formed.
How to Use Wave Clips
After creating your curls with either an iron or a straightener, wait for them to cool completely. Then, use a soft bristle brush to gently brush through the curls. This might seem counterintuitive, but it's the step that merges the individual curls into a cohesive wave pattern. As you brush, you'll see the 'S' shape begin to form. Use your fingers to encourage this shape, and then place a long, flat wave clip (or a duckbill clip) into the recess or trough of each wave. This will hold the wave's shape securely. Apply a light mist of hairspray over the clipped hair and allow it to set for at least 15-20 minutes, or until the hair is completely cool and dry. Once you remove the clips, the waves will be beautifully defined and structured.
Finishing Touches for a Polished Look
The final steps are what elevate the style from simply wavy hair to true Hollywood glamour. After removing any setting clips, gently comb through the waves with your fingers or a wide-tooth comb if needed to soften them slightly. To tame any flyaways and add a glossy finish, apply a small amount of shine serum to your palms and lightly smooth it over the surface of your hair. A final, light mist of a flexible-hold hairspray will keep your style in place without making it stiff or crunchy, allowing for natural movement and a truly sophisticated finish.


