


The bun is one of the most versatile and timeless hairstyles, capable of conveying everything from sophisticated elegance to casual chic. As seen in its many forms, a well-styled bun can be the perfect choice for a busy day at the office, a formal evening event, or a relaxed weekend. Its beauty lies in its simplicity and adaptability. This guide will walk you through creating three distinct styles: the classic bun, the messy bun, and the high bun, ensuring you have the perfect updo for any occasion.
Preparing Your Hair for the Perfect Bun
The success of any bun hairstyle often begins before you even start twisting your hair. The texture and condition of your hair play a significant role in how well the style holds and looks. For most bun styles, especially those that require volume and grip like the messy bun, hair that was washed a day or two ago works best. The natural oils provide a better grip than freshly washed, silky hair. If your hair is clean, you can mimic this texture by using a texturising spray or a small amount of dry shampoo at the roots to add volume and hold. Brushing your hair thoroughly to remove any tangles is a crucial first step for smoother, more polished styles like the classic bun.
Essential Tools for Bun Making
Before you begin, gather a few basic tools. Having these on hand will make the process much smoother and help you achieve a longer-lasting result. You will generally need:
- A brush or comb
- Strong hair elastics
- Bobby pins that match your hair colour
- A light or strong-hold hairspray
- Optional: A hair donut or sock for added volume, especially for classic or high buns.
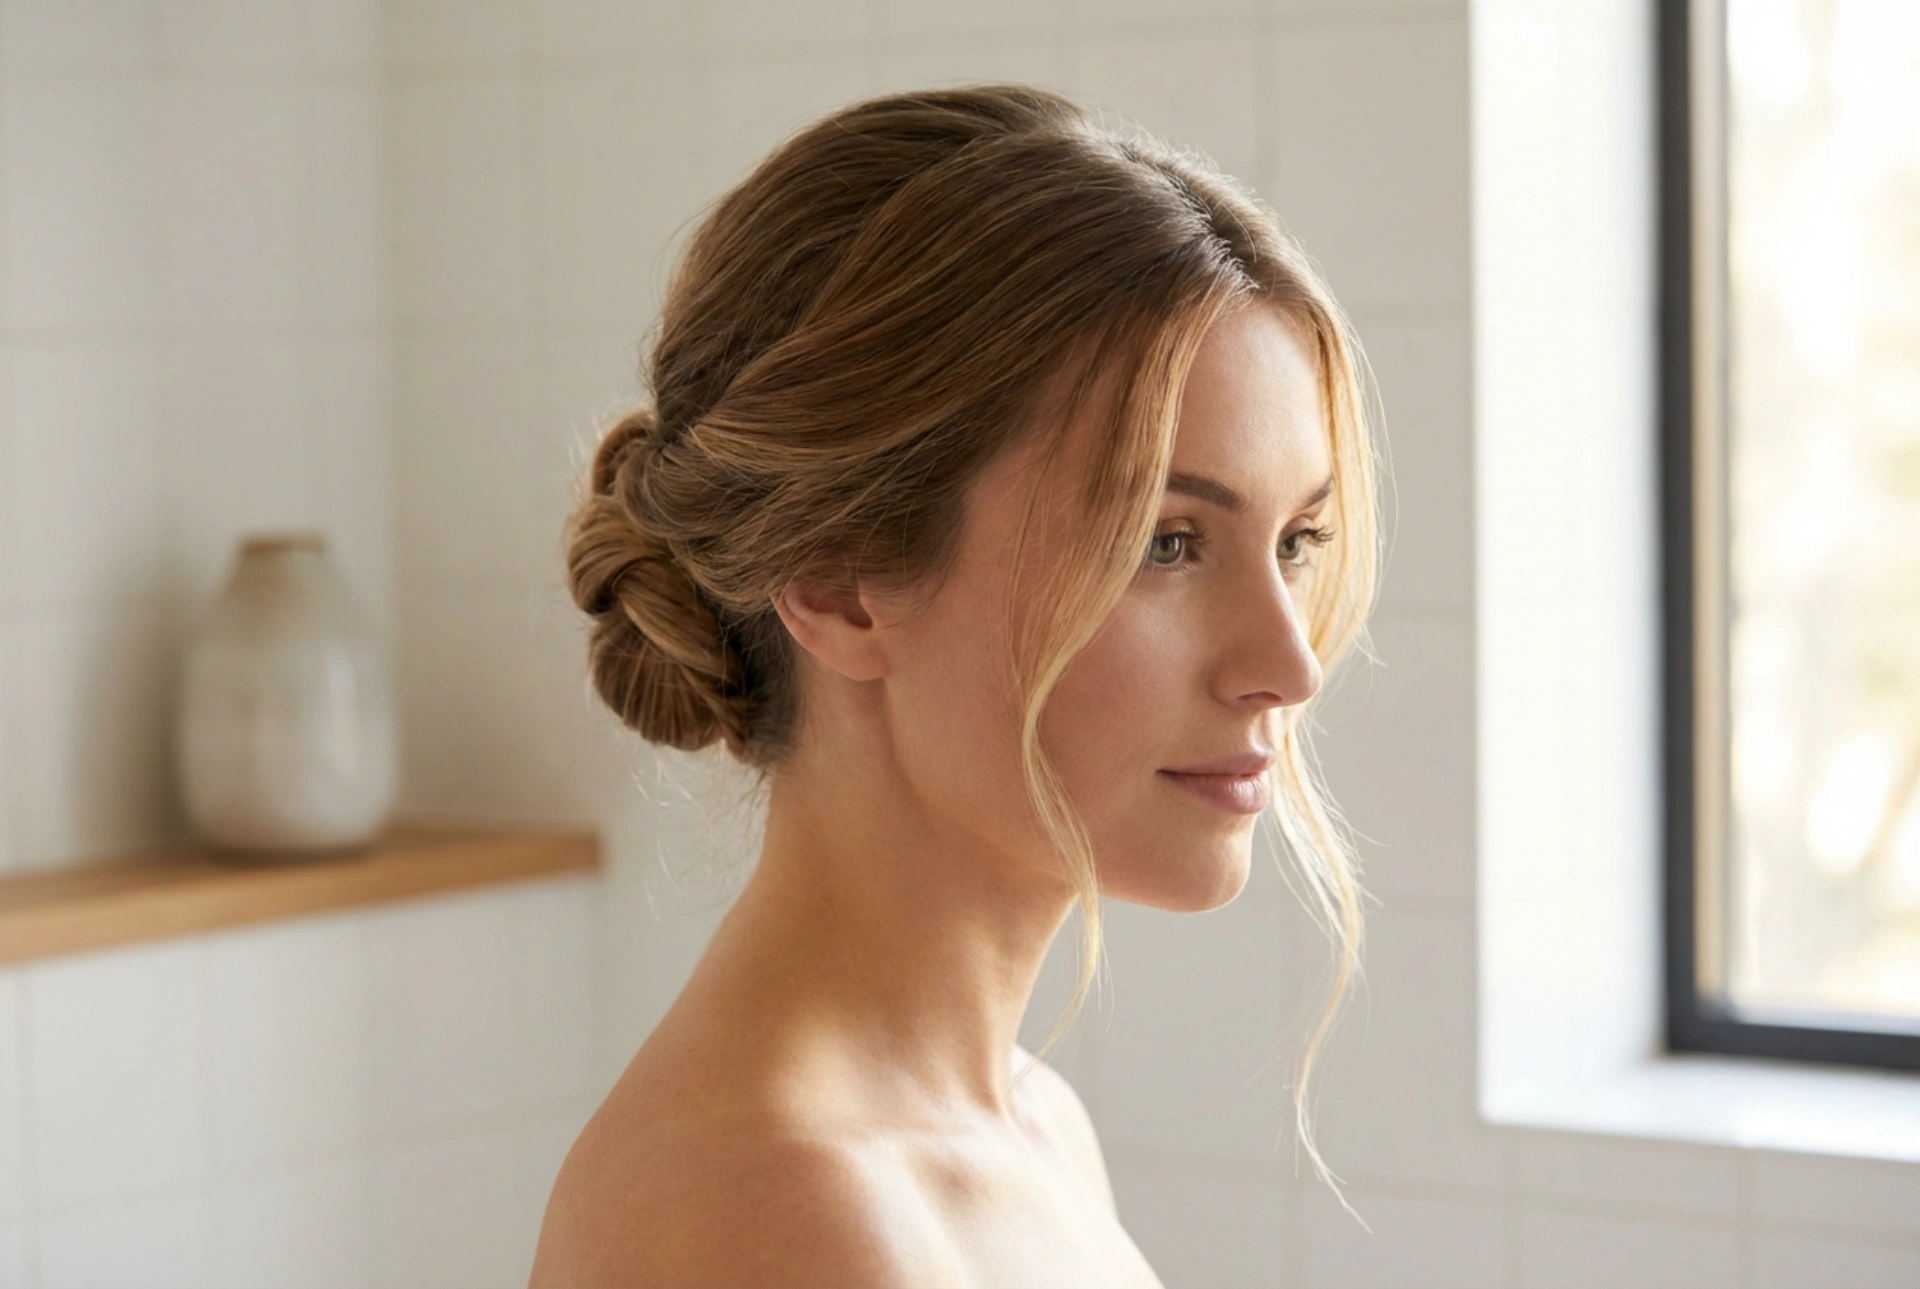
The Classic Bun: A Symbol of Timeless Elegance
The classic bun, often worn at the nape of the neck or mid-height, is the epitome of grace and sophistication. It's a polished, sleek style that is perfect for professional settings, weddings, and other formal occasions. Its clean lines and smooth finish draw attention to the face and neckline.
Step-by-Step Guide to a Classic Bun
- Create a Smooth Ponytail: Begin by brushing your hair to eliminate all knots and flyaways. Decide on the placement of your bun – for a traditional look, a low ponytail at the nape of your neck is ideal. For a more standard look, position it at the back of your head. Secure the ponytail tightly with a hair elastic.
- Twist and Wrap: Take the length of the ponytail and twist it firmly from the base to the ends. Once twisted, begin wrapping it around the base of the ponytail. Keep the coil tight and flat against your head.
- Secure the Bun: As you wrap, use bobby pins to secure the twisted hair to your head. Tuck the end of your hair under the bun and secure it with a final bobby pin. For a fuller look, you can wrap your ponytail around a hair donut before pinning.
- Final Touches: To achieve that perfectly polished finish, lightly spritz a fine-mist hairspray over the bun and any loose hairs around your hairline. You can use the side of the can or your hand to smooth down any remaining flyaways.
The Messy Bun: The Art of Effortless Chic
The messy bun is the go-to style for a relaxed yet put-together look. The key to a great messy bun is making it look intentionally undone, not just like you've rolled out of bed. It’s perfect for casual outings, creative work environments, or simply when you want a quick and stylish updo.
Step-by-Step Guide to a Messy Bun
- Build Texture: This style works best with hair that has some grit. If your hair is clean, apply a texturising spray or dry shampoo. Use your fingers to gather your hair at the crown of your head, embracing any natural bumps and imperfections.
- Create the Loop: Begin securing your hair with an elastic as if you were making a high ponytail. On the final pull-through, do not pull the hair all the way. Instead, create a loop, leaving the ends of your hair sticking out.
- Mess it Up: Now, it's time to perfect the 'messy' part. Gently pull at the looped bun to make it larger and more voluminous. Use your fingers to loosen some sections and pull out a few thin strands of hair around your face and the nape of your neck to frame your face.
- Pin and Adjust: Use a few bobby pins to secure any parts that feel too loose or to tuck the ends of your hair around the base of the bun in a creative way. The goal is a secure style that looks carefree.
The High Bun (Top Knot): Modern and Bold
Positioned right at the top of the head, the high bun or top knot is a modern, fashion-forward statement. It can be styled sleek and tight for a dramatic look or made softer and fuller for a more casual but equally striking appearance. This style is great for keeping hair off your face while elongating the neck.
Step-by-Step Guide to a High Bun
- Create a High Ponytail: To get the right placement, flip your head upside down and gather your hair into a ponytail at the very top of your head (the crown). Brush it to ensure it's smooth and secure it tightly with a hair elastic.
- Build the Bun: For a simple top knot, twist the ponytail and wrap it around the elastic, securing with bobby pins as you go. For a larger, more voluminous bun (a 'ballerina bun'), use a hair donut. Pull the ponytail through the donut, let it sit at the base, and then spread your hair evenly over the donut to cover it. Tuck the ends underneath and secure with bobby pins.
- Refine the Look: Depending on your desired finish, you can make the bun sleek or more relaxed. For a sleek look, use hairspray to tame all flyaways. For a softer look, gently pull at the sides of the bun to increase its size and loosen a few strands.


