Drying curly hair can often feel like a choice between hours of air-drying or risking a halo of frizz with a standard hairdryer. For those blessed with natural curls, achieving definition and bounce without the unwanted fluff is the ultimate goal. The key to unlocking this potential lies in a specific tool: the diffuser. This attachment, designed for curly hair, transforms the harsh blast of a hairdryer into a gentle, curl-friendly stream of air, allowing you to dry your hair efficiently while enhancing its natural texture.
What Is a Diffuser and Why Is It Essential for Curls?
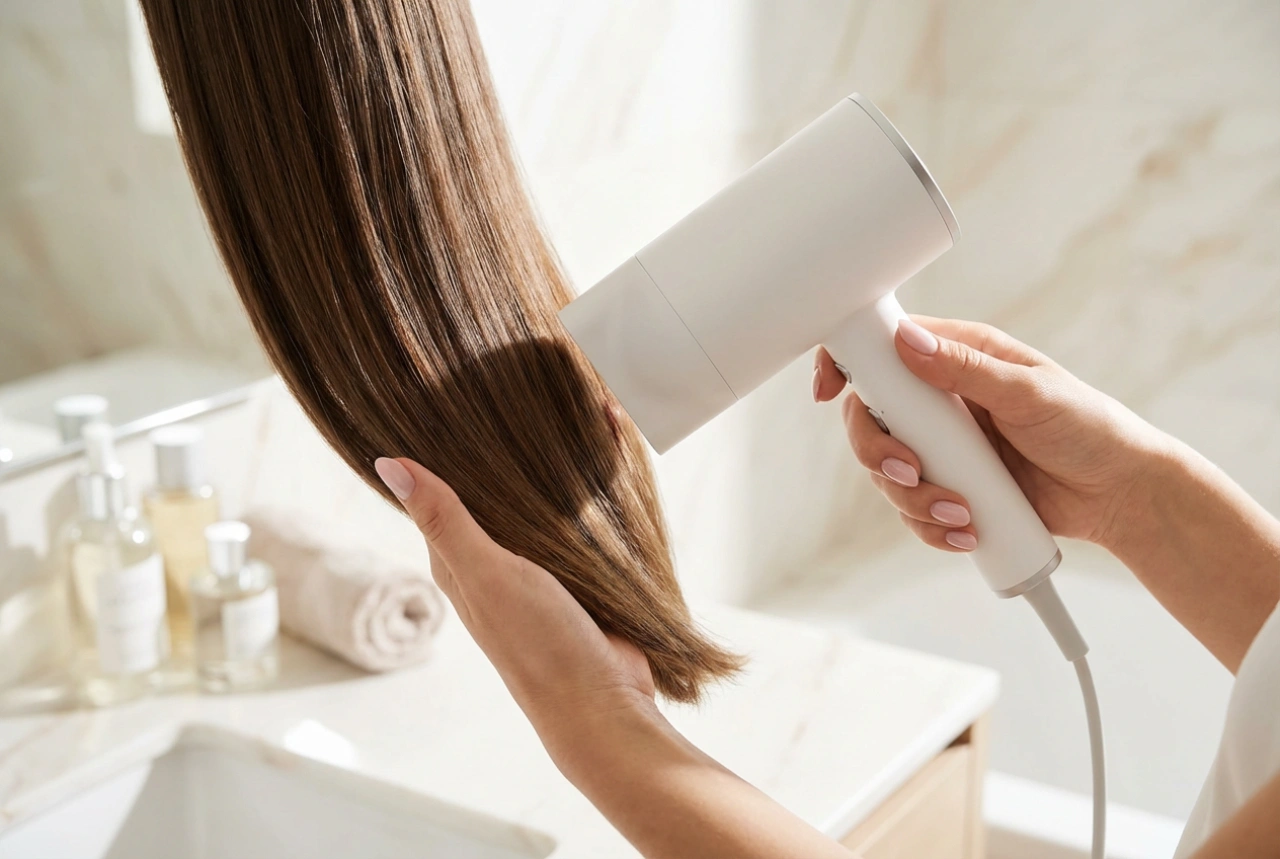
A diffuser is a bowl-shaped attachment that clips onto the end of your hairdryer. It is typically covered in 'fingers' or prongs that help to lift the hair and cradle the curls. Its primary function is to disperse the hairdryer's airflow over a wider area. Unlike a standard nozzle that concentrates heat and air, a diffuser spreads it out, slowing down the drying process and making it much gentler. This prevents the hair cuticle from being roughed up, which is a major cause of frizz. By using a diffuser, you can gently dry your curls, encourage their natural pattern to form, and add volume at the roots without blowing them out of shape.
Preparing Your Hair for Diffusing
The success of your diffusing session starts long before you even turn the hairdryer on. Proper preparation is crucial for a smooth, defined finish. Always start with clean, very wet hair, as this is when curls are at their most defined and receptive to styling products.
- Apply Products to Soaking Wet Hair: Do not towel-dry your hair aggressively. Instead, gently squeeze out excess water with your hands or a microfibre towel. While your hair is still dripping wet, apply your chosen styling products. This helps to lock in moisture and ensure even product distribution.
- Layer Your Products: A common and effective method is to layer products. Start with a leave-in conditioner for moisture, followed by a curl cream for definition, and finish with a mousse or gel for hold. Rake the products through your hair with your fingers or use a wide-tooth comb to ensure every strand is coated.
- Scrunch to Encourage Curls: After applying products, gently scrunch your hair upwards towards the scalp. This action helps to encourage and define your natural curl pattern before you begin drying.
The Correct Diffusing Technique: A Step-by-Step Guide
Mastering the art of diffusing takes a little practice, but following a few key steps will set you up for success. Remember, patience is key – rushing the process is a direct path to frizz.
Step 1: Use Low Heat and Low Speed
The golden rule of diffusing is to keep the settings low. High heat can cause damage and frizz, while high speed will blow your curls around and disrupt their pattern. Select the lowest or medium setting for both heat and airflow on your hairdryer.
Step 2: The 'Pixie' or 'Cupping' Method
This is the most popular technique for achieving defined curls and volume. Begin by flipping your hair to one side. Gently gather a section of your hair and place it into the diffuser bowl. Bring the diffuser up towards your scalp, 'cupping' the curls within it. Hold it in place for 30-60 seconds, or until that section is about 80% dry. Turn the dryer off before moving to the next section to minimise frizz. Repeat this process all over your head, flipping your hair from side to side and even upside down to create volume at the roots.
Step 3: Hover to Finish
Once your hair is about 80-90% dry, you can use the 'hover' technique to finish the roots and any damp spots. Hold the diffuser a few inches away from your scalp and gently move it around without touching your hair. This helps to dry the roots and set the volume without creating frizz. Use the cool shot button at the end to close the hair cuticles and lock in the style.
Common Mistakes to Avoid
Even with the right tool, a few common errors can sabotage your results. Be mindful to avoid these pitfalls:
- Touching Your Hair Too Much: Your hands can transfer oils and create friction, leading to frizz. Resist the urge to touch, play with, or separate your curls while they are drying.
- Using High Heat: It might be tempting to speed up the process with high heat, but this is the fastest way to create frizz and potentially damage your delicate strands.
- Not Using Enough Product: Styling products provide the necessary hold and moisture to form a 'cast' around your curls as they dry, which protects them from frizz. Don't be afraid to use a generous amount.
- Rushing the Process: Allow enough time for your hair to dry properly on a low setting. Diffusing is not a five-minute job.
Once your hair is 100% dry, you can gently 'scrunch out the crunch' – the stiff feeling left by the product cast. Cup your hair and scrunch upwards to break the cast, revealing soft, bouncy, and beautifully defined curls that will last.