


Creating an elegant and durable hairstyle for a momentous occasion like a wedding can feel like a work of art. The image of meticulous hands crafting a sophisticated updo is something many of us aspire to. The good news is that with a little patience, the right tools, and a clear guide, you can achieve a beautiful, long-lasting updo at home. This process is a wonderful pre-event ritual that allows you to tailor a style perfectly to your taste, ensuring you look and feel your best without the stress of a salon visit.
Preparation: The Foundation of a Flawless Updo
The secret to a hairstyle that lasts all day and night begins long before you insert the first hairpin. Proper preparation is essential for giving your hair the texture and grip it needs to hold a style. For most hair types, it's best to work with hair that isn't freshly washed. Hair from the day before often has more natural texture, making it less slippery and easier to style. If your hair is very fine or soft, applying a texturising spray or a light mousse can work wonders. This adds substance and 'memory' to the hair, helping it stay in place.
Gather Your Tools
Before you begin, arrange all your necessary tools so they are within easy reach. This prevents any last-minute scrambling and helps the process go smoothly. You will typically need:
- A brush to detangle and smooth your hair.
- A fine-tooth comb for sectioning and creating clean partings.
- Clear or hair-coloured elastic bands.
- Bobby pins that match your hair colour.
- U-shaped hairpins, which are excellent for securing buns and twists without creating tension.
- A good quality strong-hold hairspray.
Creating a Classic Low Chignon: A Step-by-Step Guide
The low chignon is a timeless, elegant style that is surprisingly straightforward to create. It's universally flattering and works well with various hair lengths and types. It’s a perfect choice for a DIY wedding updo because it looks sophisticated while being structurally sound.
Step 1: Create the Ponytail Base
Start by brushing your hair to remove any tangles. Decide where you want your parting to be – a centre or side parting both work beautifully. Gather your hair into a low ponytail at the nape of your neck. For a sleeker look, use the comb to smooth down any bumps before securing it tightly with an elastic band. If you prefer a softer, more romantic feel, leave the hair a little looser at the crown.
Step 2: Twist and Coil
Take the length of your ponytail and twist it firmly from the base to the ends. The tighter you twist, the more compact and neat your bun will be. Once twisted, begin to coil the hair around the elastic base of the ponytail. Tuck the ends of the hair underneath the forming bun as you wrap it around.
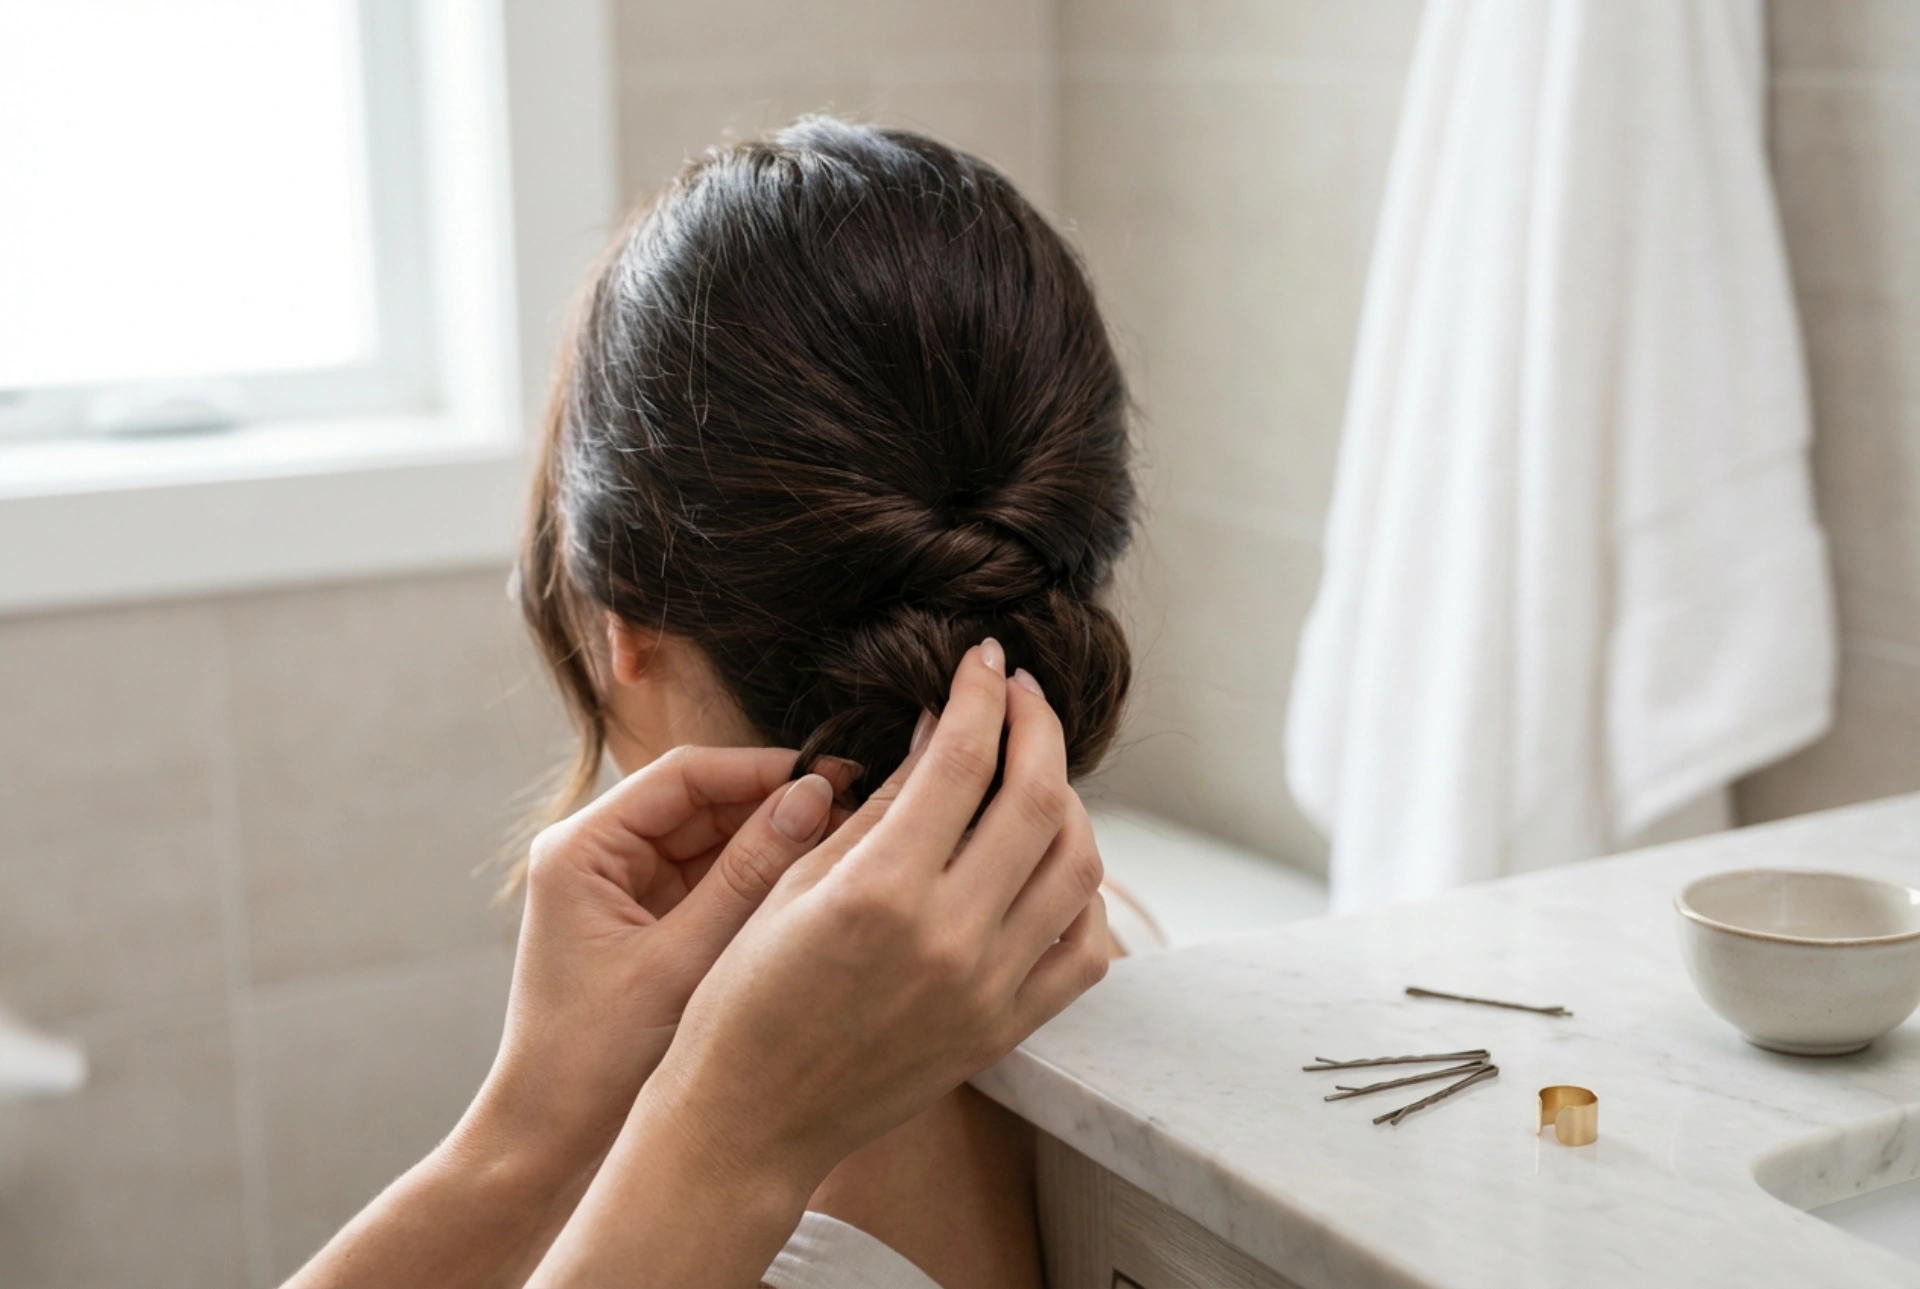
Step 3: Secure the Shape
This is the most crucial step for longevity. Begin by using the U-shaped hairpins. Insert them into the outer edge of the bun, catching a section of the coiled hair, and then push them into the base of the bun towards the centre. This anchors the bun securely to your head. Use several U-pins around the entire circumference of the chignon. Follow up with bobby pins to secure any loose layers or flyaways, tucking them discreetly into the style. A good tip is to insert bobby pins in a criss-cross pattern for extra hold.
Step 4: Finishing Touches
Once the bun feels secure, you can personalise the style. Gently pull on small sections of the bun to create more volume and a softer, less 'perfect' texture. If you desire a more romantic look, you can pull out a few soft tendrils to frame your face. Complete the look with a thorough misting of strong-hold hairspray. Hold the can about 30 centimetres from your head to ensure an even, fine mist that provides hold without making the hair look stiff or crunchy. You can also add a minimalist hair accessory, like a decorative pin or comb, for a final touch of elegance.


