


Maintaining your signature hairstyle whilst travelling can be a challenge, but the right tools make all the difference. A sleek, compact travel hair dryer, as hinted at in a minimalist hotel setting, is a globetrotter's best friend. It represents the freedom to achieve a polished look anywhere in the world, without being dependent on the often underpowered and unpredictable dryers found in hotel rooms. Mastering its use, from understanding adapters to perfecting your technique, ensures you look and feel your best on every adventure.
Why Choose a Dedicated Travel Hair Dryer?
While you could pack your everyday hair dryer, a model designed specifically for travel offers significant advantages that make it a worthwhile investment for frequent travellers. The primary benefits revolve around convenience, portability, and compatibility with international electrical systems, ensuring a hassle-free styling experience far from home.
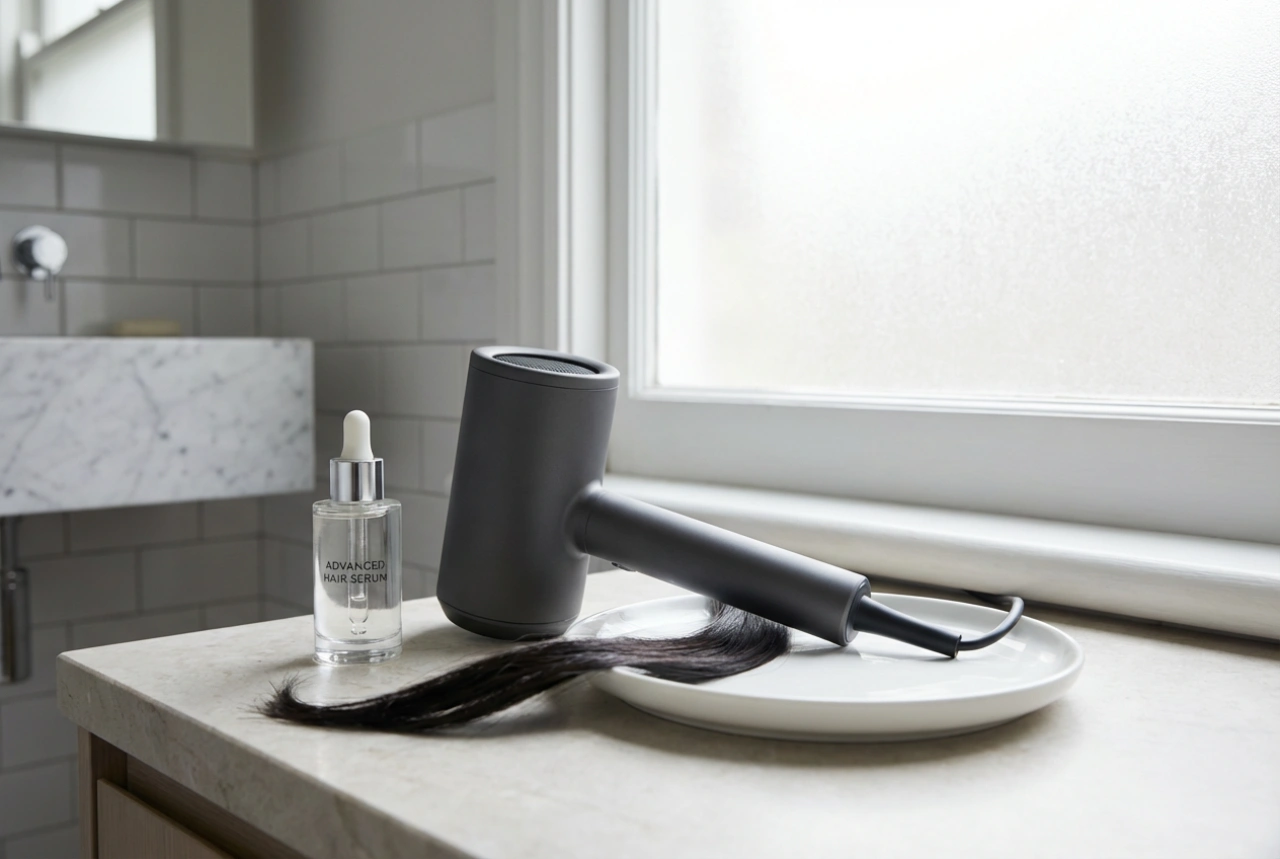
Key Features of a Good Travel Dryer
When selecting a travel hair dryer, certain features are non-negotiable for ensuring practicality and performance. Look for a combination of the following attributes:
- Compact and Lightweight Design: A travel dryer should be noticeably smaller and lighter than a standard model, saving precious space and weight in your luggage.
- Foldable Handle: This is a classic feature of travel dryers, allowing the device to fold into an even more compact shape for easy packing.
- Dual Voltage Capability: This is perhaps the most critical feature for international travel. A dual voltage dryer can switch between 110-120V (used in North America) and 220-240V (used in Europe, Asia, and other regions), preventing damage to the appliance.
- Sufficient Power: While travel dryers are smaller, look for one with a decent wattage (around 1200-1600 watts) to ensure it's powerful enough to dry your hair efficiently without taking too much time.
- Basic Attachments: A small concentrator nozzle is a valuable addition, as it helps to direct airflow for smoother, more controlled styling.
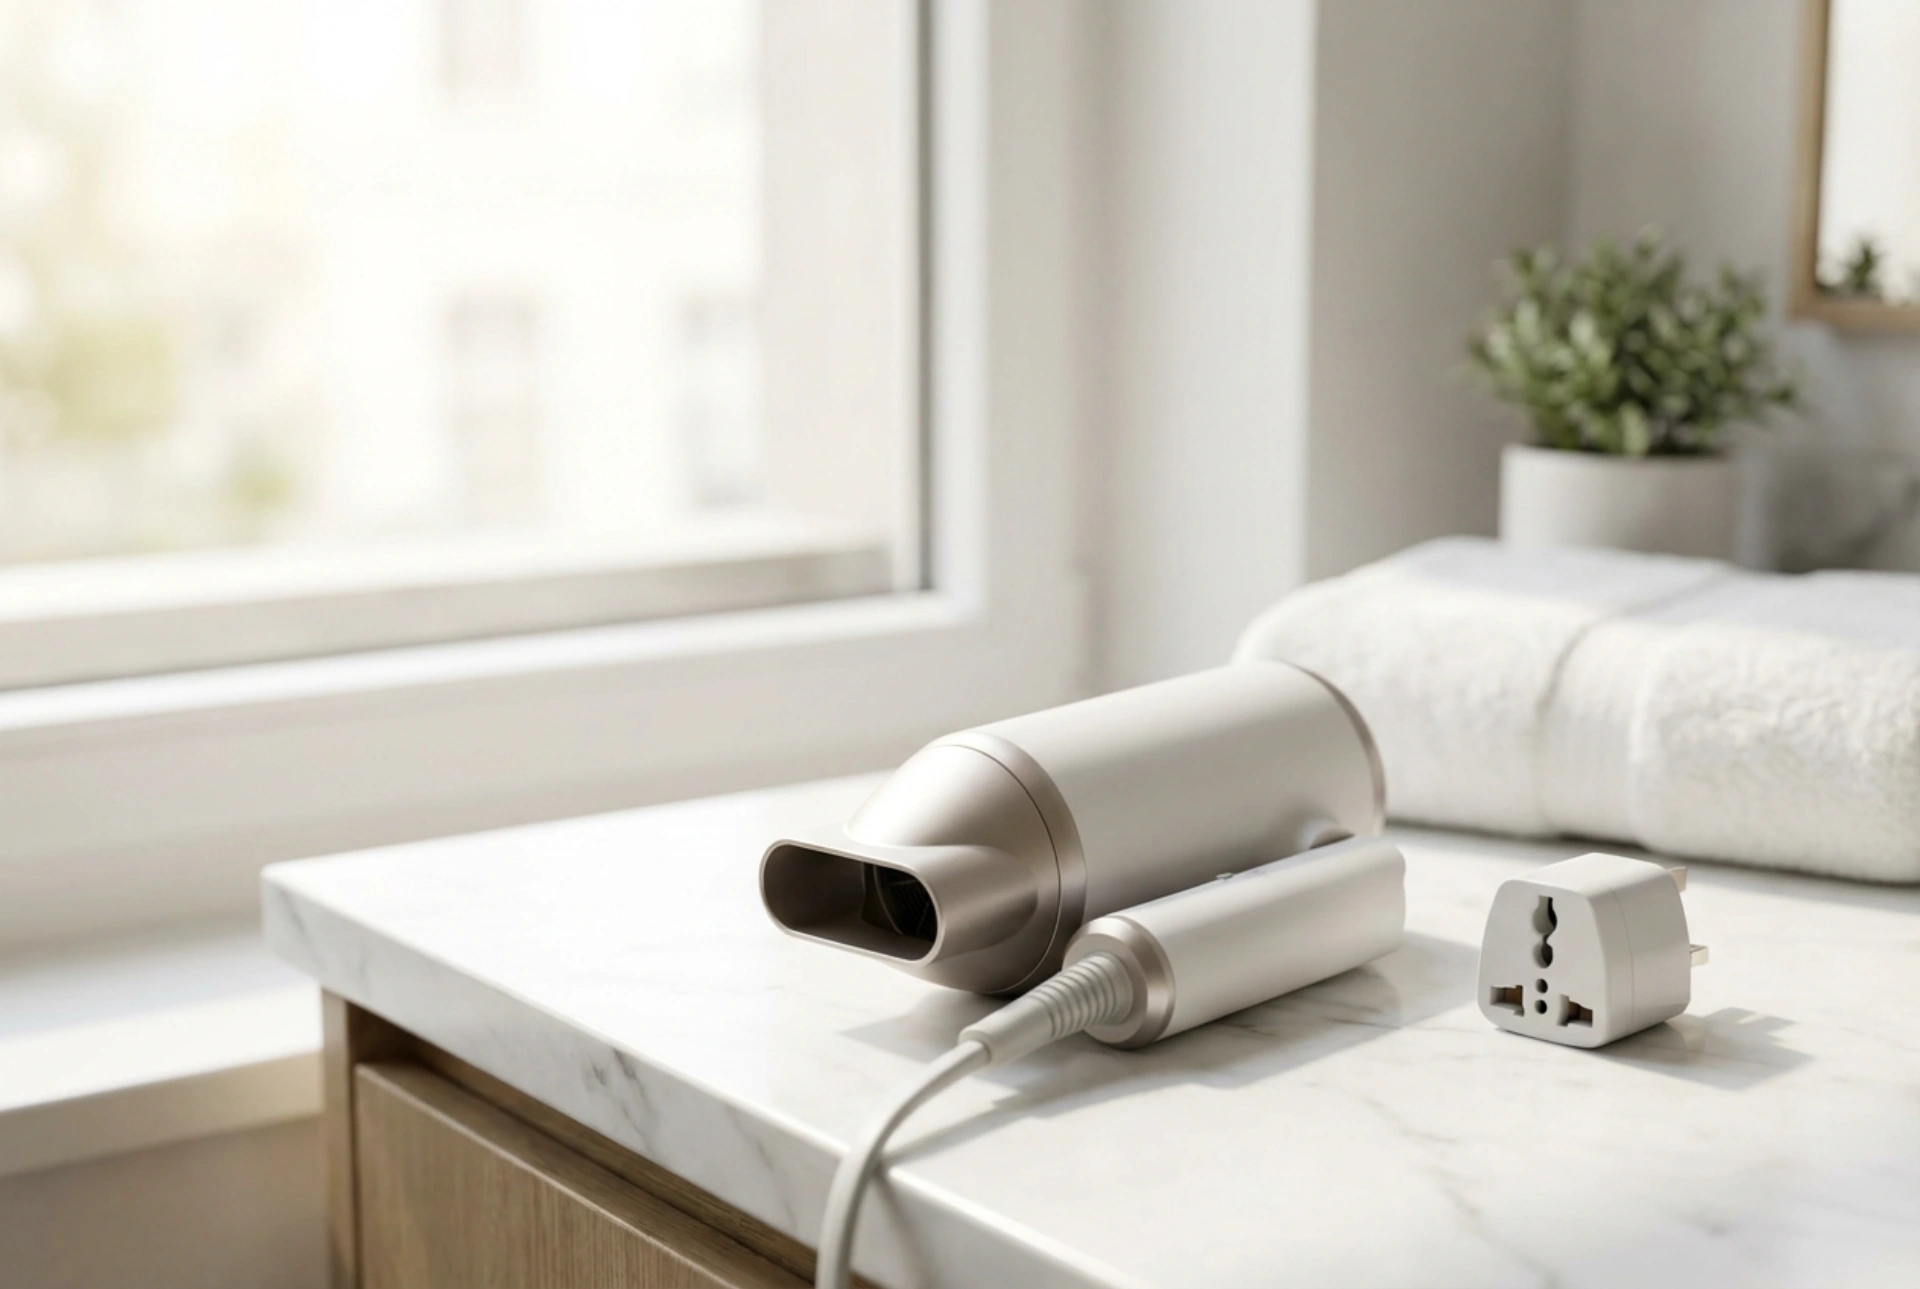
Understanding Adapters and Voltage
Navigating international power supplies can be confusing, but it's essential for using electronic devices safely. For a hair dryer, the two key concepts to grasp are voltage and plug adapters. Getting this right prevents you from damaging your dryer or causing a power outage in your accommodation.
Dual Voltage Explained
Electricity is supplied at different voltages around the world. A device designed for one voltage will not work correctly on another and can be permanently damaged. A dual voltage hair dryer has a built-in switch or sensor that allows it to operate safely on both major voltage systems. Before you travel, you must check your dryer and, if it has a manual switch, set it to the correct voltage for your destination. Failure to do so can cause the dryer to overheat or burn out.
Choosing the Right Travel Adapter
A travel adapter does not change the electrical voltage. Its sole purpose is to allow the plug on your device to fit into a foreign wall socket. Different countries and regions use different-shaped plugs and sockets. For example, the UK uses the three-pronged Type G plug, while most of Europe uses the two-pronged Type C, and the USA uses the two-flat-pronged Type A. A universal adapter with multiple settings is often the most convenient option for travellers visiting several countries.
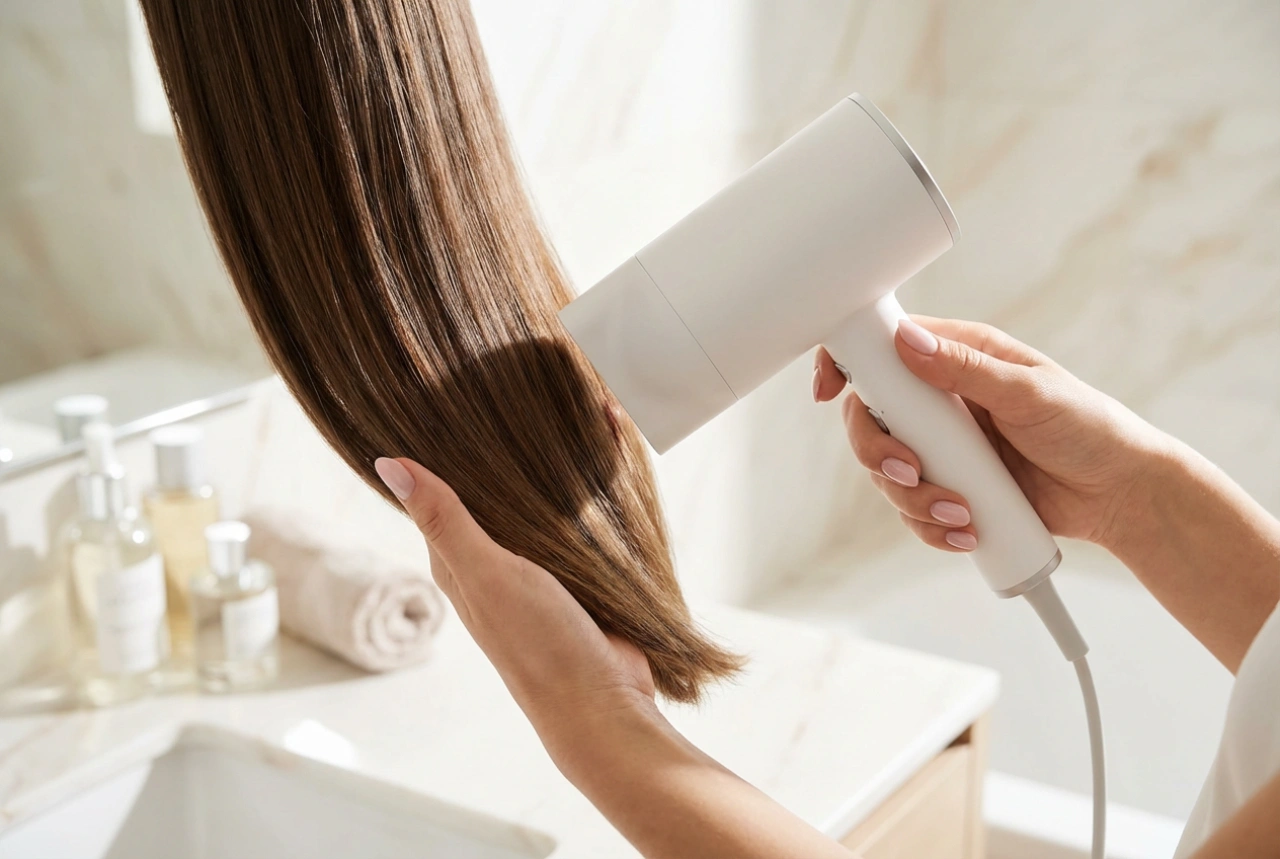
Mastering Your Styling Technique on the Go
Using a smaller, often less powerful travel hair dryer requires a slight adjustment in technique to achieve the same great results you get at home. Efficiency is key to getting a smooth, well-styled finish without spending too much of your holiday time in front of the mirror.
Preparing Your Hair for Drying
Good preparation sets the stage for a successful blow-dry. First, gently squeeze excess water from your hair with a towel—microfibre towels are excellent as they are highly absorbent and reduce friction. Avoid rubbing vigorously, as this can cause frizz and damage. Next, apply a heat protectant spray or cream evenly throughout your hair. This is crucial as it creates a barrier between your hair and the heat, preventing damage and helping to smooth the hair cuticle.
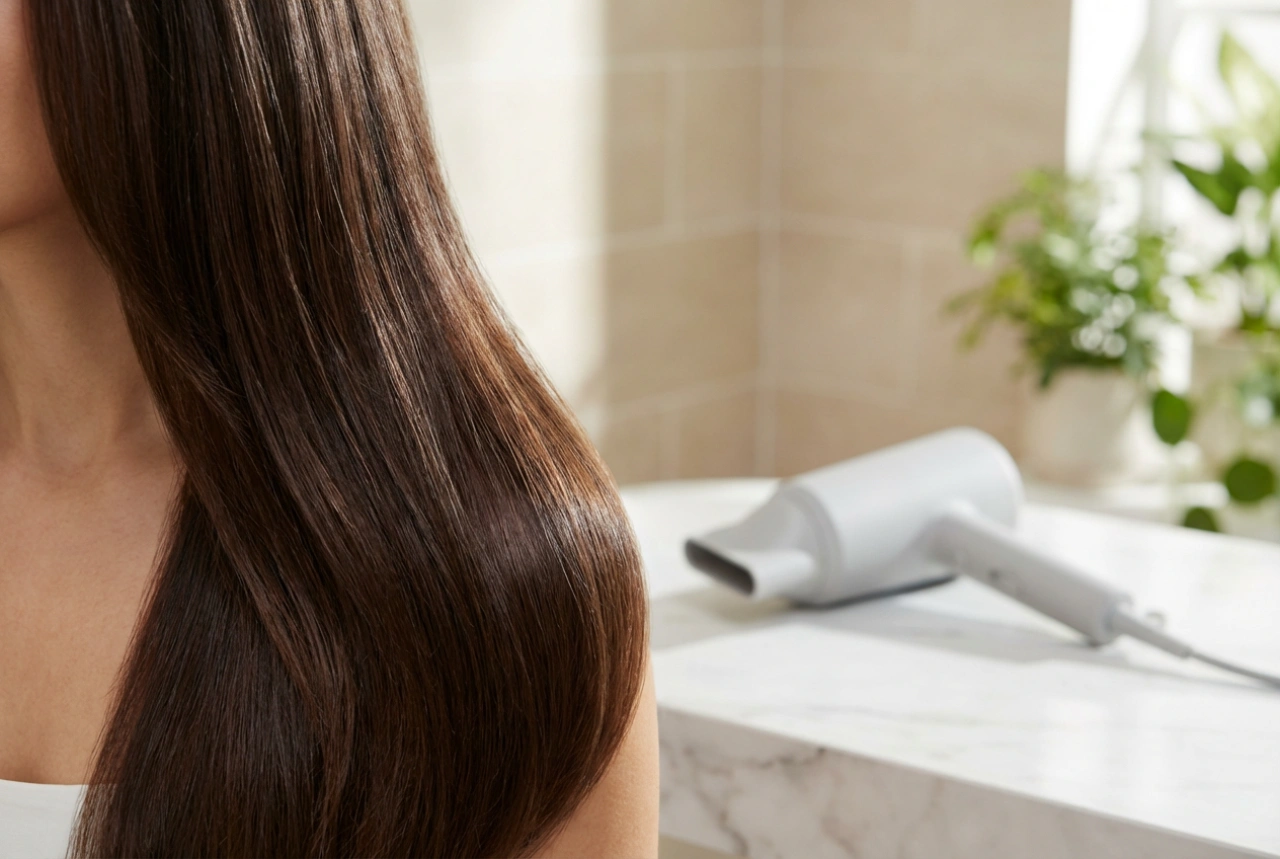
Efficient Drying Methods with a Compact Dryer
To get the most out of your travel dryer, follow these steps:
- Start with a 'Rough Dry': Begin by using the dryer without the nozzle to remove about 80% of the moisture. Use your fingers to lift the roots and move the hair around for faster, more even drying.
- Section Your Hair: Even with a small dryer, sectioning your hair makes a huge difference. Use clips to divide your hair into manageable sections. Drying one small section at a time gives you more control and a smoother result.
- Use the Concentrator Nozzle: Once your hair is mostly dry, attach the nozzle. It focuses the airflow, allowing you to direct the heat down the hair shaft from root to tip. This helps to seal the cuticle, resulting in less frizz and more shine.
- Finish with a Cool Shot: If your travel dryer has a cool shot button, use it at the end. A blast of cool air on each section helps to set your style in place for a longer-lasting look.