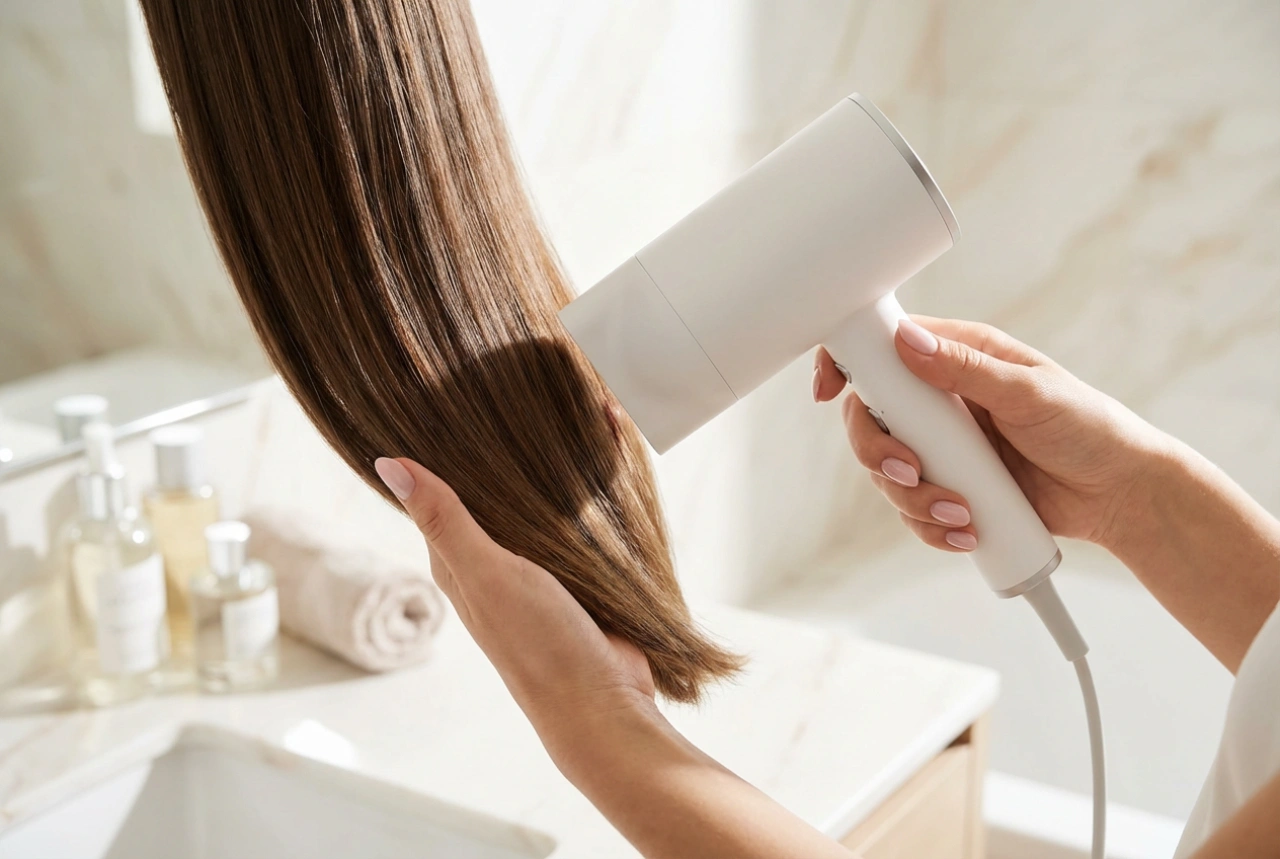


Caring for curly hair is a unique journey, and one of the most crucial steps is the drying process. Improper drying can quickly turn defined, beautiful curls into a frizzy, undefined mass. Fortunately, a specific tool can be a game-changer for anyone with waves, curls, or coils: the diffuser. This attachment for your hair dryer is designed to gently dry your hair, preserving your natural curl pattern and boosting volume without creating frizz. Mastering its use can transform your hair routine and the final look of your curls.
What Is a Diffuser and Why Is It Essential for Curls?
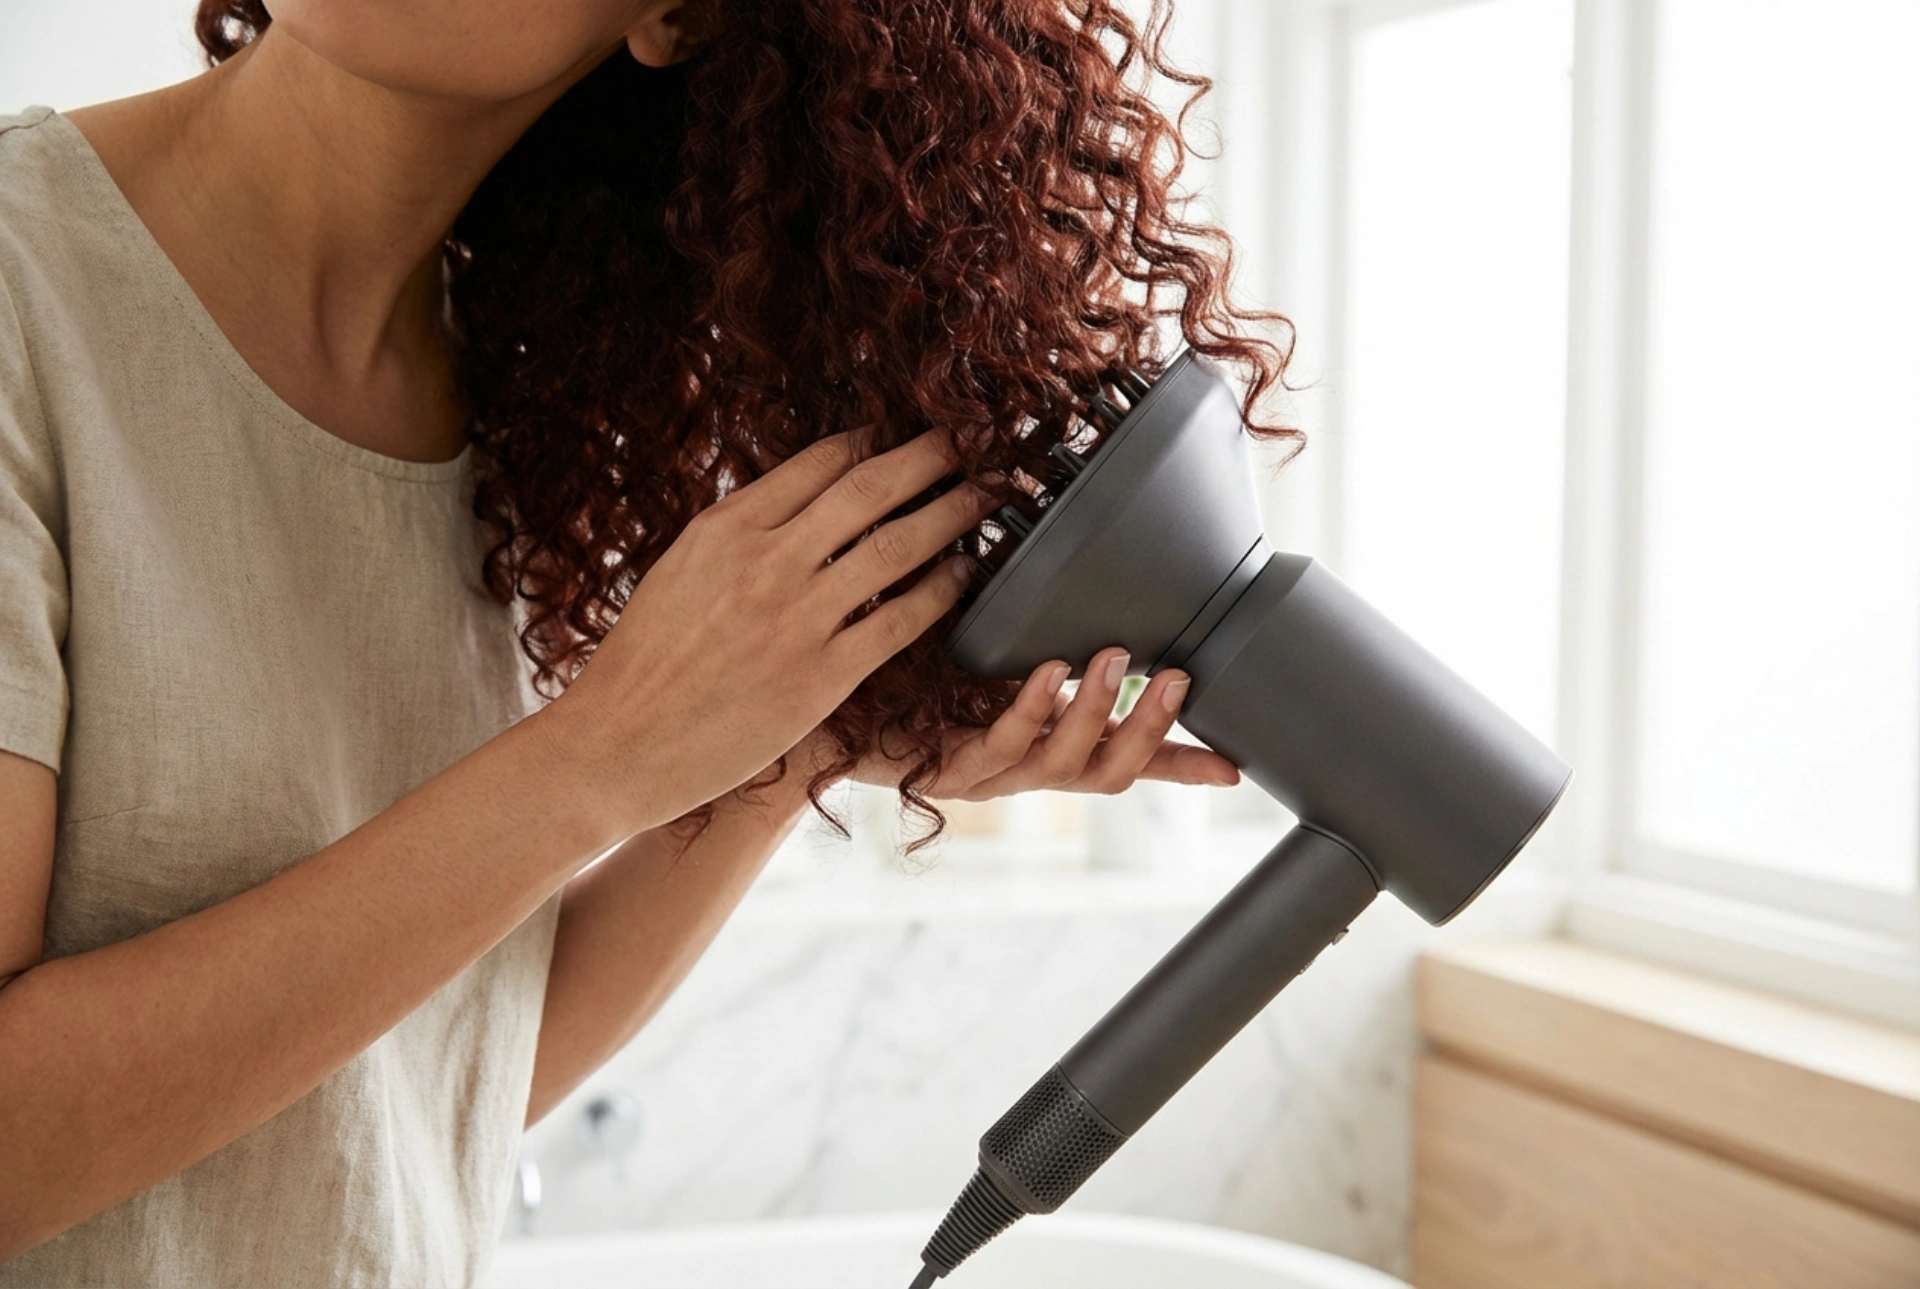
A diffuser is a bowl-shaped attachment that fits onto the end of a hair dryer. Unlike a standard concentrator nozzle that directs a harsh, focused stream of air, a diffuser disperses the airflow over a wider area. Its design, often featuring prongs or 'fingers', allows air to circulate gently around the curls. This method mimics air-drying but significantly speeds up the process. The main benefits of using a diffuser include minimising frizz by reducing the force of the airflow, enhancing curl definition by encouraging curl clumps to form, and creating volume, especially at the roots, for a fuller, bouncier look.
Preparing Your Hair for Diffusing
The success of your diffusing routine starts long before you even plug in the hair dryer. Proper preparation is key to achieving smooth, defined, and healthy-looking curls. Skipping these steps can lead to less-than-ideal results, regardless of your diffusing technique.
Washing and Conditioning
Start with a clean slate. Use a moisturising, sulphate-free shampoo and a hydrating conditioner formulated for curly hair. Curls thrive on moisture, so ensuring your hair is well-hydrated from the beginning helps combat frizz. After conditioning, gently detangle your hair with your fingers or a wide-tooth comb while it's still coated with conditioner to minimise breakage.
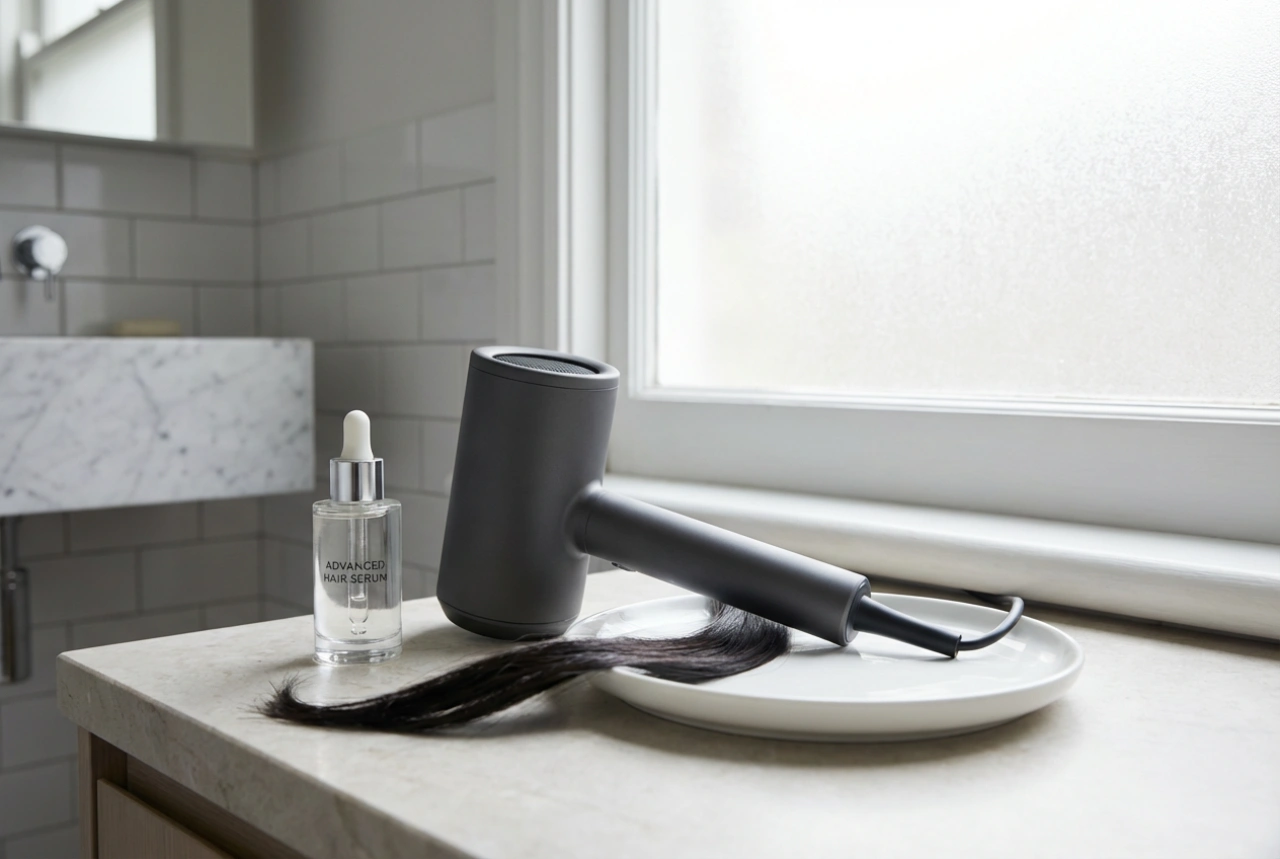
Applying Styling Products
Once you've rinsed out your conditioner, do not towel-dry your hair aggressively. With your hair still quite damp (but not dripping wet), it's time to apply your styling products. This is the most important step for definition and hold. Layering products can be very effective. Start with a leave-in conditioner for moisture, followed by a curl cream for definition and softness, and finish with a gel or mousse for hold. Apply the products using the 'praying hands' or 'scrunching' method. To scrunch, cup sections of your hair in your hands and gently squeeze upwards towards the scalp. This encourages your natural curl pattern to form.
Removing Excess Water
After applying your products, you need to remove excess water before diffusing. A regular terrycloth towel can cause friction and disrupt your curl clumps, leading to frizz. Instead, use a microfibre towel or a simple cotton T-shirt. Gently scrunch your hair with the towel or T-shirt to absorb excess water without roughing up the hair cuticle.
A Step-by-Step Guide to Diffusing Your Curls
With your hair prepped and ready, it's time to begin diffusing. Patience is key here; rushing the process is a common cause of frizz. Always use your hair dryer on a low-to-medium heat and low-to-medium speed setting. High heat can damage your delicate strands, and high speed will blow your curls around, causing frizz and disrupting the pattern.
The 'Pixie' Diffusing Method
This technique is excellent for encouraging curl formation and volume. Start by tilting your head to one side. Take a section of your hair and place it into the diffuser bowl. Gently lift the diffuser up to your scalp, so the hair is 'scrunched' inside the bowl. Now, turn the hair dryer on. Hold it in place for 30-90 seconds, depending on your hair's thickness. Turn the dryer off *before* you lower the diffuser away from your head. This prevents the blast of air from creating frizz. Repeat this process section by section, working your way around your entire head.
The 'Hover' Diffusing Method
If you've applied a product with a strong hold, like a gel, you might notice a 'cast' forming around your curls. The hover method is great for setting this cast before you begin to scrunch. Simply hold the diffuser a few inches away from your hair and move it around your head, drying the roots and mid-lengths without touching them directly. This helps to start the drying process gently.
Tips for Maximum Volume
For extra lift at the roots, try diffusing with your head flipped upside down. This allows you to get the diffuser right up to the scalp at the crown of your head, which is an area that often falls flat. You can alternate between diffusing with your head upside down and tilted from side to side to ensure all sections are dried evenly and have volume.
Common Diffusing Mistakes to Avoid
Even with the right tool, a few common mistakes can sabotage your results. Being mindful of these can make all the difference.
- Using settings that are too high: The most frequent error is using high heat and high speed. This is a fast track to frizz and potential heat damage. Always opt for lower settings.
- Touching your hair too much: While your hair is drying, resist the urge to run your fingers through it. Touching your curls disrupts their pattern and creates frizz. Let the diffuser do the work.
- Moving the diffuser too erratically: Whipping the diffuser around your head will create a windstorm effect. Gentle, deliberate movements are crucial.
- Not using enough product: Styling products provide the necessary moisture and hold to form and maintain defined curls. Diffusing without them will likely result in a soft, but undefined and frizzy, outcome.
- Drying your hair 100% of the way: It's often best to dry your hair to about 80-90% dry and let the rest air-dry. This helps to lock in moisture and further prevent frizz. Once completely dry, you can gently scrunch out any cast from your styling gel to reveal soft, bouncy curls.