


The Brigitte Bardot fringe is more than just a hairstyle; it's a symbol of effortless elegance and timeless glamour. This soft, face-framing curtain fringe, popularised by the French icon in the 60s and 70s, has made a major comeback for its versatility and chic appeal. It perfectly complements a natural, everyday beauty look, adding a touch of sophistication without looking overly styled. Achieving this iconic look at home is simpler than you might think. With the right technique and a few key tools, you can master the Bardot fringe and make it your signature style.
What Characterises the Bardot Fringe?
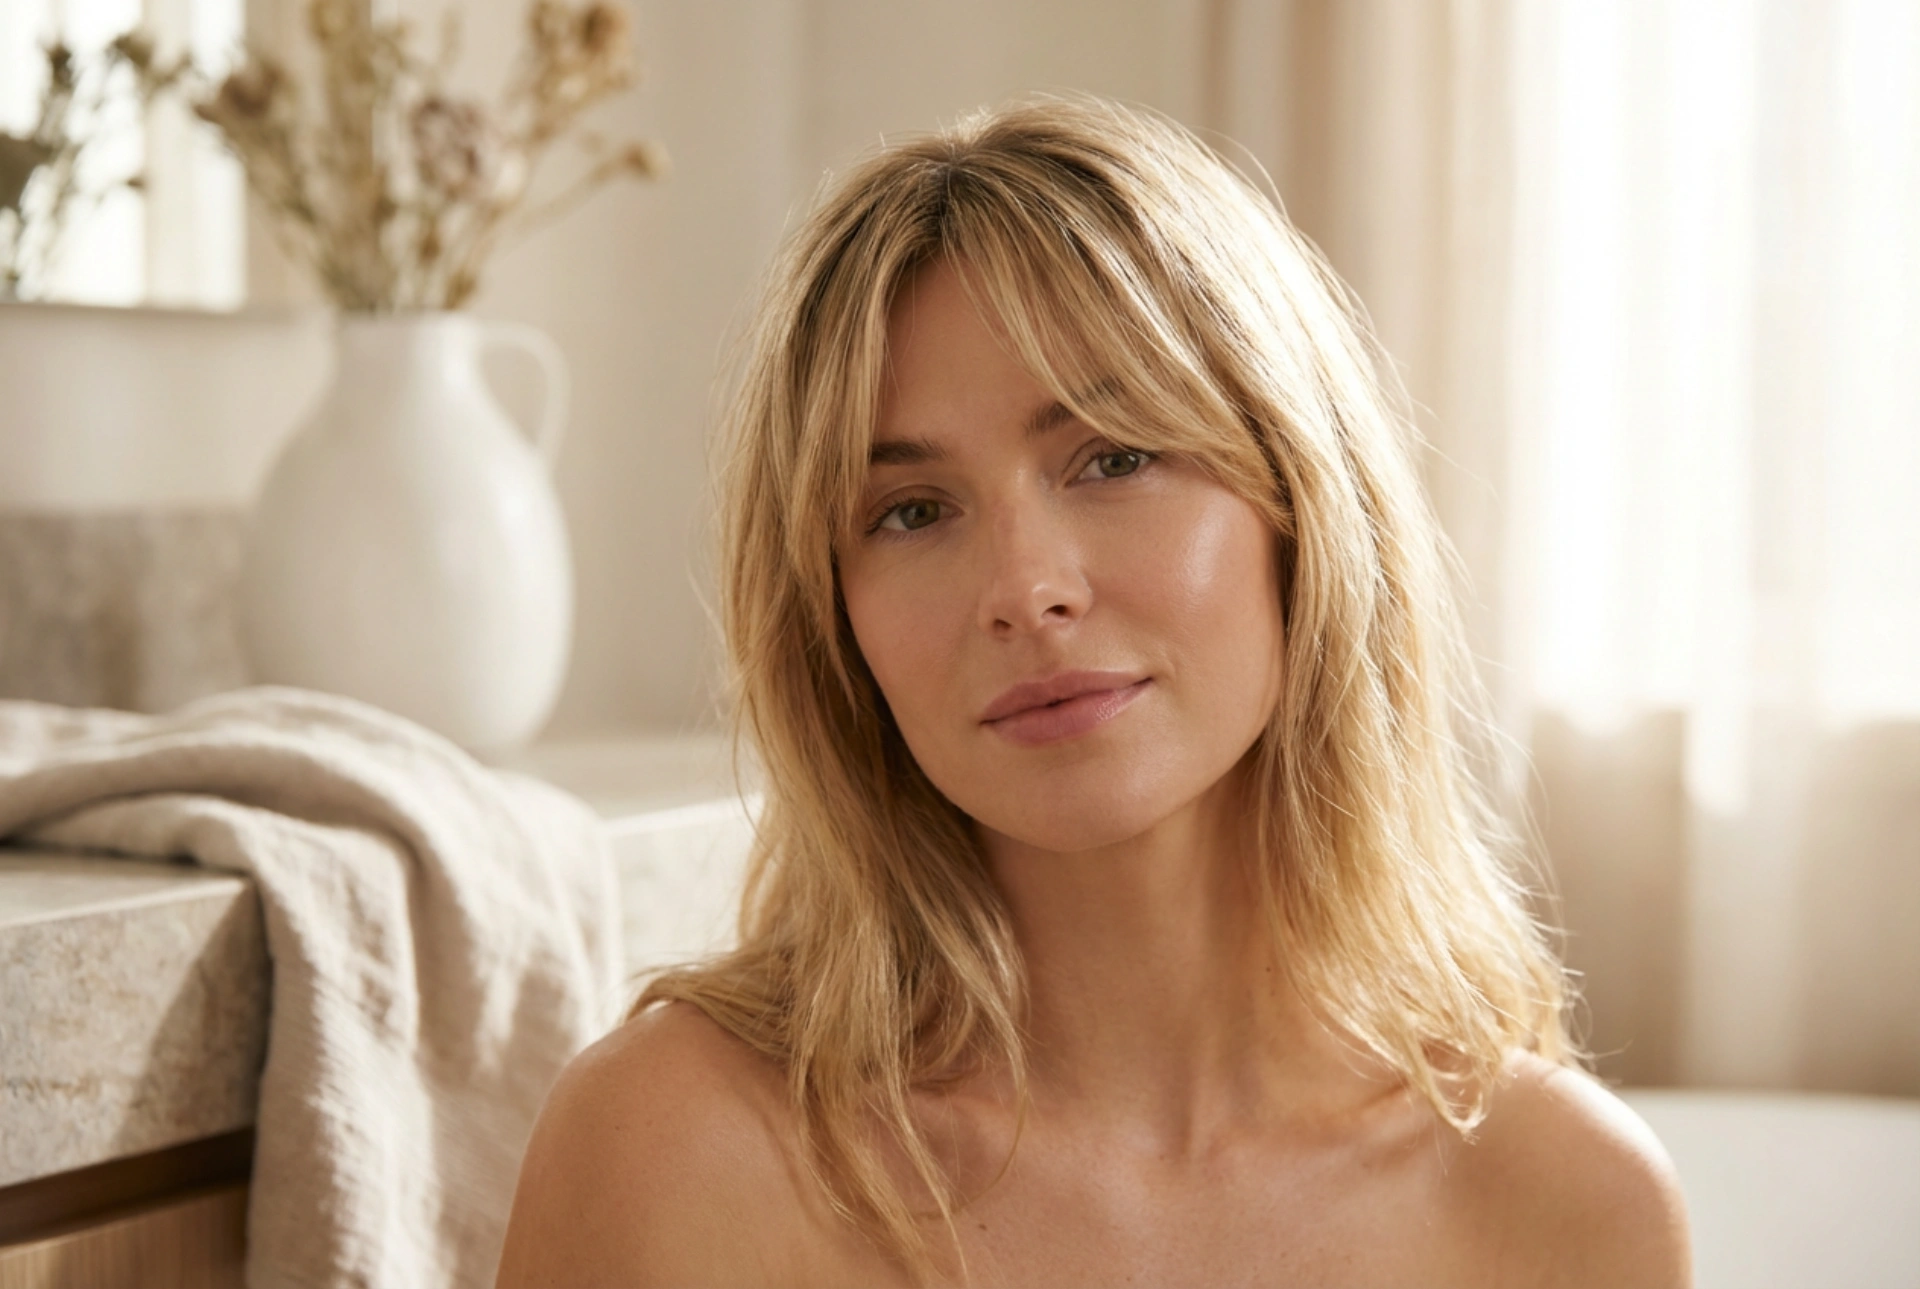
Before diving into styling, it's helpful to understand what makes this fringe unique. Unlike a blunt, straight-across fringe, the Bardot style is all about softness and movement. It is typically parted down the middle, creating a 'curtain' effect that opens up to frame the face. The key features include:
- A Centre Parting: The fringe is split in the middle, directing hair away from the face on both sides.
- Graduated Length: It is shorter in the very centre, just above or grazing the eyebrows, and gradually becomes longer as it extends towards the temples, blending seamlessly into the rest of the hair.
- Volume at the Root: A signature element is the lift and volume at the roots, which prevents the fringe from falling flat against the forehead.
- Feathery Texture: The ends are soft and wispy rather than sharp, contributing to its romantic and relaxed feel.
Preparing Your Hair for Styling
The foundation for a perfect Bardot fringe begins with proper preparation. For the best results, start with freshly washed, damp hair. This provides a clean canvas and makes the hair more pliable for styling. Towel-dry your hair gently to remove excess water, but leave it damp enough to work with.
Next, apply a small amount of a volumising product. A lightweight mousse or a root-lifting spray applied directly to the roots of your fringe section is ideal. This will give your hair the necessary grip and structure to hold the voluminous shape all day. Be mindful not to use too much product, as this can weigh the hair down and make it look greasy instead of airy and light.
Step-by-Step Styling Guide
With your hair prepped, you are ready to create the iconic shape. The blow-dryer and a round brush are your most important tools here.
Step 1: Part and Section Your Fringe
Using a fine-toothed comb, create a clean, straight parting down the centre of your head. Ensure the part extends through your fringe. Isolate the fringe section by clipping back the rest of your hair. This allows you to focus all your attention on shaping the fringe without other strands getting in the way.
Step 2: Blow-Dry for Root Volume
Take a medium-sized round brush and place it underneath one half of your fringe, right at the root. Aim your hairdryer, fitted with a nozzle for concentrated airflow, directly at the roots on the brush. Lift the brush up and away from your forehead as you dry. This motion is crucial for creating that signature Bardot volume and lift, preventing the fringe from sitting flat.
Step 3: Create the 'Curtain' Sweep
Once the roots are lifted and mostly dry, begin to work on the lengths of the fringe. Keeping the hair on the round brush, continue to blow-dry while pulling the brush upwards and outwards, away from your face. As you reach the ends, roll the brush slightly to encourage a soft flick. Repeat this process for the other side of your fringe, always directing the hair away from the centre. This technique creates the beautiful, face-framing 'curtain' sweep.
Step 4: Finishing Touches for an Effortless Look
After your fringe is completely dry and shaped, it's time for the final touches. To enhance the soft, feathery texture, you can spritz a light texturising spray throughout the fringe. This will add definition and a 'lived-in' quality. If you need extra hold, a light-hold hairspray will work well. Avoid strong-hold sprays that can make the hair stiff. Finally, use your fingers to gently tousle the fringe and position it perfectly. The goal is a look that feels natural and chic, not rigid.
Maintaining Your Beautiful Bardot Fringe
One of the best things about the Bardot fringe is that it often looks even better on the second day as it settles. To refresh the style in the morning, you can simply dampen the fringe slightly, or use a bit of dry shampoo at the roots to absorb oil and boost volume. A quick once-over with the round brush and hairdryer is usually all that's needed to bring back the shape. To maintain the ideal length and graduated shape, regular trims every 4-6 weeks are recommended. This prevents the shorter centre pieces from growing into your eyes and keeps the style looking intentional and polished.


