


Achieving effortlessly beautiful, natural-looking waves can transform your hairstyle, adding volume and texture. While curling tongs and straighteners can create waves, a hair waver is specifically designed to produce a uniform, 'S'-shaped pattern that mimics a natural wave. This tool is perfect for creating everything from subtle, beachy waves to more defined, glamorous styles. With the right preparation and technique, you can use a hair waver to achieve smooth, frizz-free results that last all day, just like the gentle, shiny waves seen in our inspiration.
Preparing Your Hair for Styling
Proper preparation is the key to achieving a polished, long-lasting look and protecting your hair from heat damage. Always start with clean, completely dry hair. Styling damp hair with any heat tool can cause significant damage and will result in frizz rather than smooth waves. After washing and conditioning, apply a heat protectant spray or serum evenly throughout your hair, from roots to ends. This creates a barrier between your hair strands and the heat, minimising moisture loss and preventing breakage. Brush your hair thoroughly to remove any tangles, ensuring the waver can glide smoothly through each section.
Choosing the Right Settings
Hair wavers come with various temperature settings to suit different hair types. Selecting the correct heat level is crucial for effective styling without causing unnecessary damage.
Understanding Temperature Settings
For fine, thin, or colour-treated hair, it is best to use a lower temperature setting, typically between 150°C and 170°C. This is hot enough to set the wave without overwhelming the delicate hair structure. For hair that is of normal thickness and in good condition, a medium heat setting of around 180°C to 200°C will work well. Thick, coarse, or particularly resilient hair may require a higher temperature, from 200°C to 220°C, to effectively create and hold a wave. Always start with a lower setting and increase it only if you find the waves are not holding.
Barrel Size and Style
The size of the barrels on the waver will determine the type of wave you create. Wavers with large, wide barrels are ideal for creating loose, soft, 'beachy' waves, especially on long hair. Smaller, more compact barrels will produce tighter, more defined waves that can add significant volume and texture, which works well for shorter hair or for a more retro style.
Step-by-Step Styling Technique
Once your hair is prepped and your waver is heated to the correct temperature, you are ready to start styling. A methodical approach will ensure even, consistent results.
1. Section Your Hair
Divide your hair into manageable sections. A good way to start is by creating a top and bottom section. Clip the top section up and out of the way, and begin styling with the bottom layer. Working with smaller, 1-2 inch wide sections will give you more defined waves and better control.
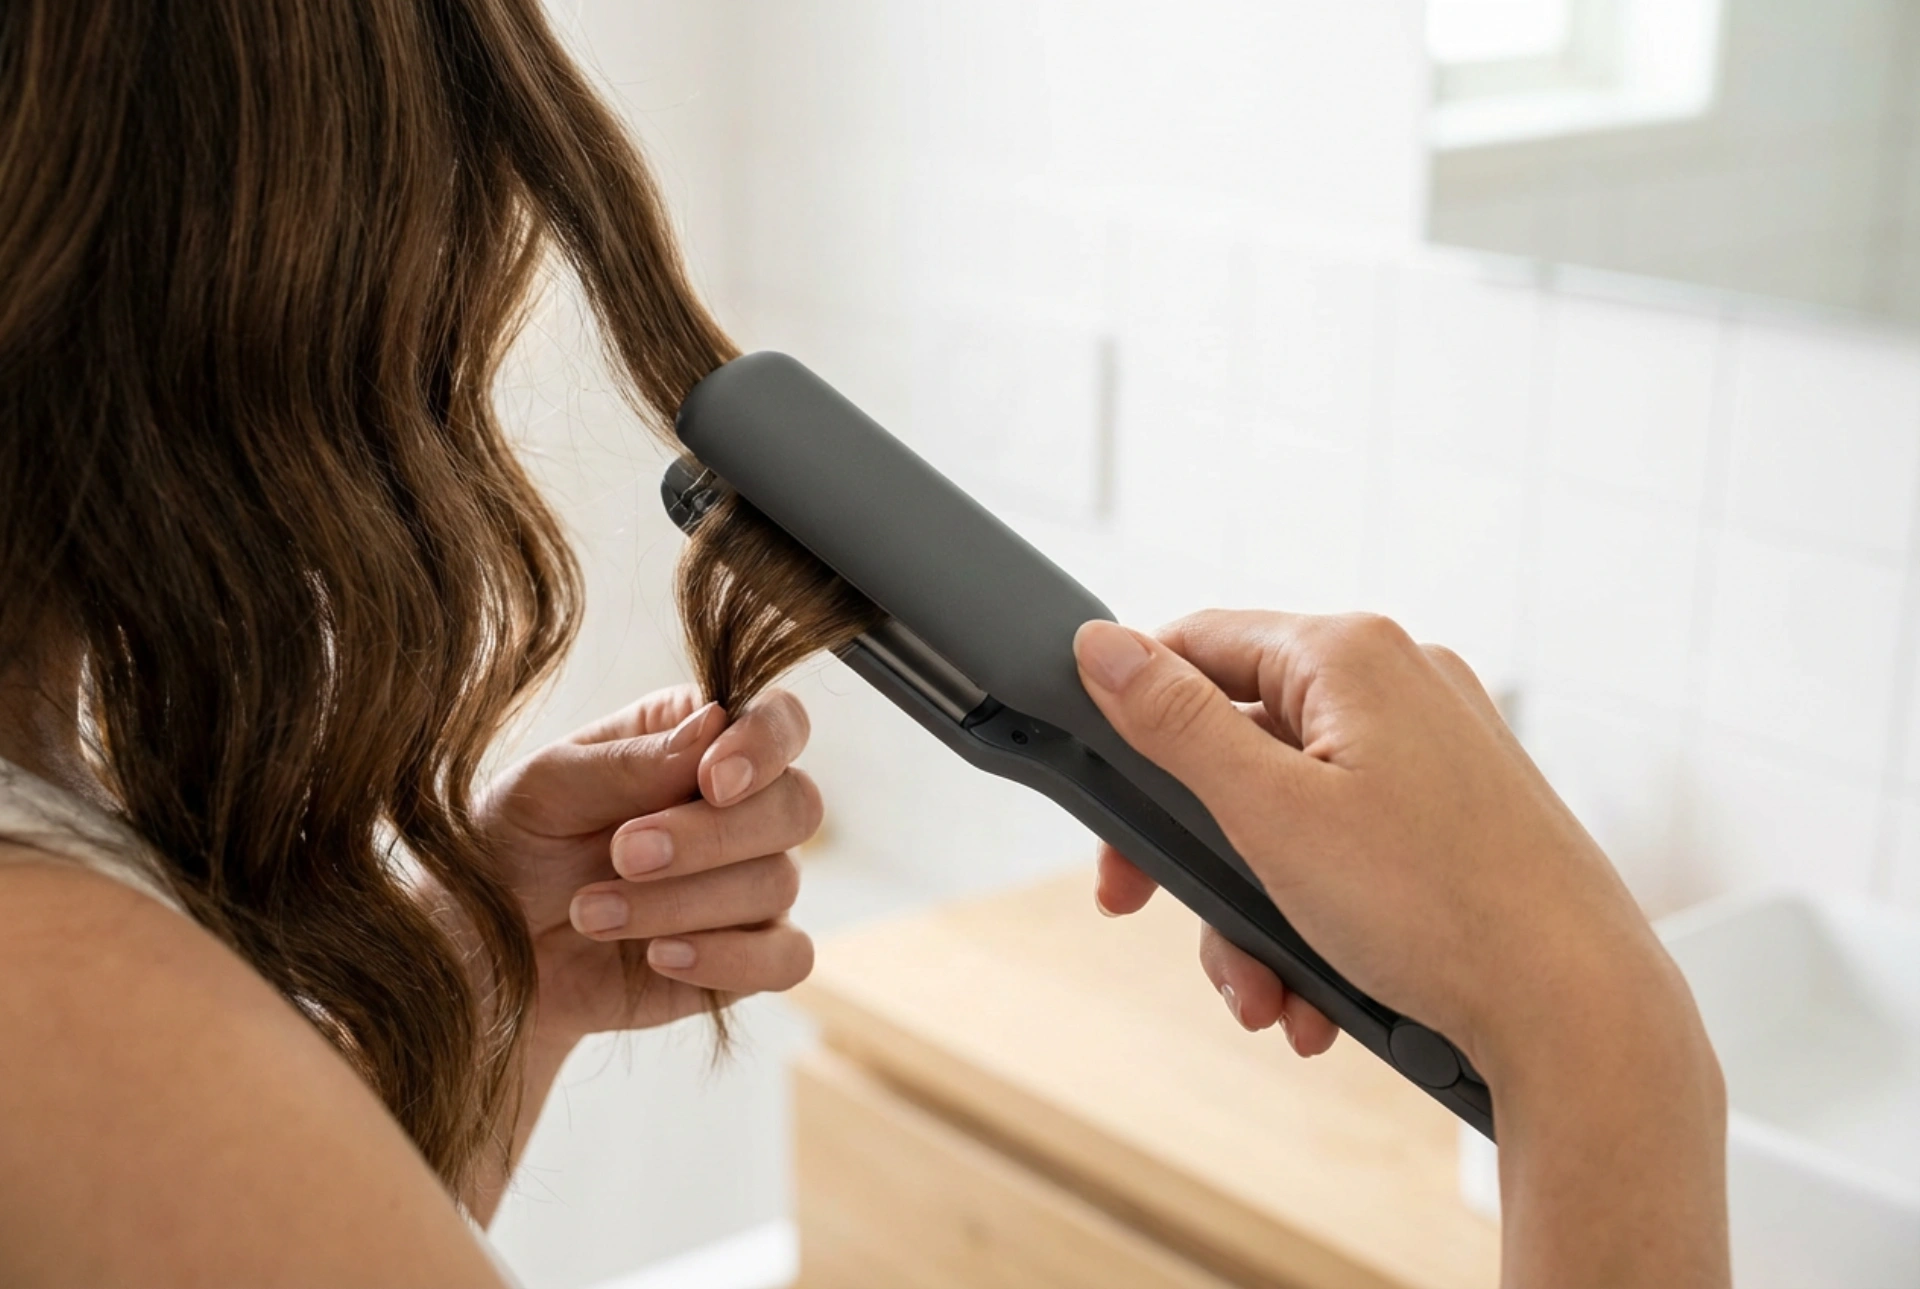
2. The Clamping Method
Take your first section of hair. Open the waver and clamp it down on the hair near the roots. Be careful not to get too close to the scalp. Hold the clamp closed for about 5-8 seconds. The exact time will depend on your hair type and the heat setting; you may need less time for fine hair and more for thick hair. Release the clamp and move the waver down the same section of hair, positioning the top barrel of the waver just below the last bend you made. This overlapping technique is crucial for creating a continuous, seamless wave pattern. Continue this process down to the ends of the hair.
3. Repeat and Complete
Repeat the clamping process on all sections of the bottom layer of your hair. Once finished, unclip the top section and continue styling in the same manner until all of your hair is waved. For a more natural, less uniform look, you can try alternating the direction you start the wave on different sections.
Finishing Touches for Long-Lasting, Frizz-Free Waves
After you have waved all your hair, the finishing touches will lock in your style and ensure it looks its best. Allow your waves to cool down completely before you touch them. This helps the hair cuticle to close and sets the wave pattern, making it last much longer. Once cooled, gently run your fingers through your hair to separate the waves for a softer, more natural appearance. Avoid using a brush, as this can pull out the waves and create frizz. To tame any flyaways and add shine, you can apply a small amount of a lightweight smoothing serum. A light mist of a flexible-hold hairspray will provide hold without making your hair feel stiff or crunchy, keeping your beautiful waves in place all day.


