


Curls are a timeless and sophisticated choice for any wedding, whether you're the bride, a bridesmaid, or a guest. A cascade of elegant, voluminous curls adds a touch of romance and glamour to your overall look. Achieving a style that is both beautiful and durable enough to last through photos, ceremonies, and dancing requires a little preparation and the right technique. This guide will walk you through creating the perfect wedding curls that look effortlessly chic and stay in place all day and night.
Preparing Your Hair for Styling
The foundation of a long-lasting hairstyle begins well before you even pick up a curling iron. Proper hair preparation is essential for creating curls that hold their shape and have a healthy, glossy finish.
Washing and Conditioning
Start with clean, dry hair. It's often recommended to wash your hair the day before the event rather than on the day itself. Hair that is 'too clean' can be silky and slippery, making it difficult for curls to hold. When you wash, use a volumising shampoo to give your roots a lift. Follow with a light conditioner, applying it only to the mid-lengths and ends. Avoid heavy, intensely moisturising masks that can weigh your hair down and cause curls to drop faster.
Applying a Base for Hold and Protection
Before applying any heat, it's crucial to protect your strands. Generously spritz a heat protectant spray all over your hair to shield it from damage. Next, work a golf-ball-sized amount of styling mousse through your damp or dry hair, focusing on the roots and mid-lengths. Mousse provides structure and grip, which is fundamental for ensuring the longevity of your curls.
Choosing the Right Tools and Technique
The tool you choose will significantly impact the final look of your curls. Understanding the differences will help you select the best option for your desired style.
Curling Iron vs. Curling Wand
A traditional curling iron with a clamp creates uniform, polished curls. It's great for a classic, Hollywood-glamour look. A curling wand, which has no clamp, allows you to wrap your hair around the barrel, resulting in more relaxed, natural-looking waves. For a modern, romantic style, a wand is an excellent choice. Regardless of your choice, select a tool with adjustable heat settings to suit your hair type.
The Importance of Barrel Size
The diameter of the curling barrel determines the tightness of your curls. For tight, defined ringlets, use a smaller barrel (around 19-25mm). For softer, bouncier curls or loose waves, opt for a larger barrel (around 32-38mm). A medium-sized barrel is a versatile option for creating classic, elegant curls suitable for a wedding.
A Step-by-Step Guide to Creating Perfect Curls
With your hair prepped and tools ready, it's time to start styling. Patience and a systematic approach are key to achieving a flawless result.
- Section Your Hair: Divide your hair into manageable sections using clips. A good starting point is to create a top and bottom section, then divide each of those into left and right. Working with smaller, 1-2 inch sections of hair at a time ensures each curl is heated evenly.
- Curl with Precision: Take your first section and wrap it around the barrel of your curling tool. For a uniform look, wrap the hair flat against the barrel. For a more textured look, twist the section before wrapping it. Hold the hair for about 8-10 seconds, but no longer, to avoid heat damage.
- Pin Each Curl: This is the most crucial step for longevity. As you release the hair from the barrel, catch the fresh curl in your palm and pin it to your scalp using a bobby pin or a sectioning clip. Allowing the curl to cool completely in this pinned position sets the shape, making it last significantly longer.
- Let Them Set: Continue this process for your entire head. Once all curls are pinned, let them cool down completely for at least 15-20 minutes. You can use this time to do your makeup. A light mist of hairspray over the pinned curls can add extra hold.
- Release and Style: Gently remove the pins one by one. Your curls will be tight and bouncy. To soften them into a more elegant style, gently run your fingers through your hair. Do not use a brush, as this can pull the curls out. A wide-tooth comb can also be used for a more defined, separated look.
Finishing Touches for All-Day Hold
Once your curls are styled, a few finishing products will lock them in place.
Set with Hairspray
Choose a flexible-hold hairspray to mist over your finished style. This will provide hold without making your hair feel stiff or crunchy. It allows for natural movement while preventing the curls from dropping. For extra security, a light spray of a strong-hold formula can be used as the final step.
Add Texture and Volume
For a modern, airy finish, consider using a texturising spray. Tilt your head upside down and lightly spray it through the mid-lengths and ends. This will add volume and a touch of effortless texture, preventing the curls from clumping together.
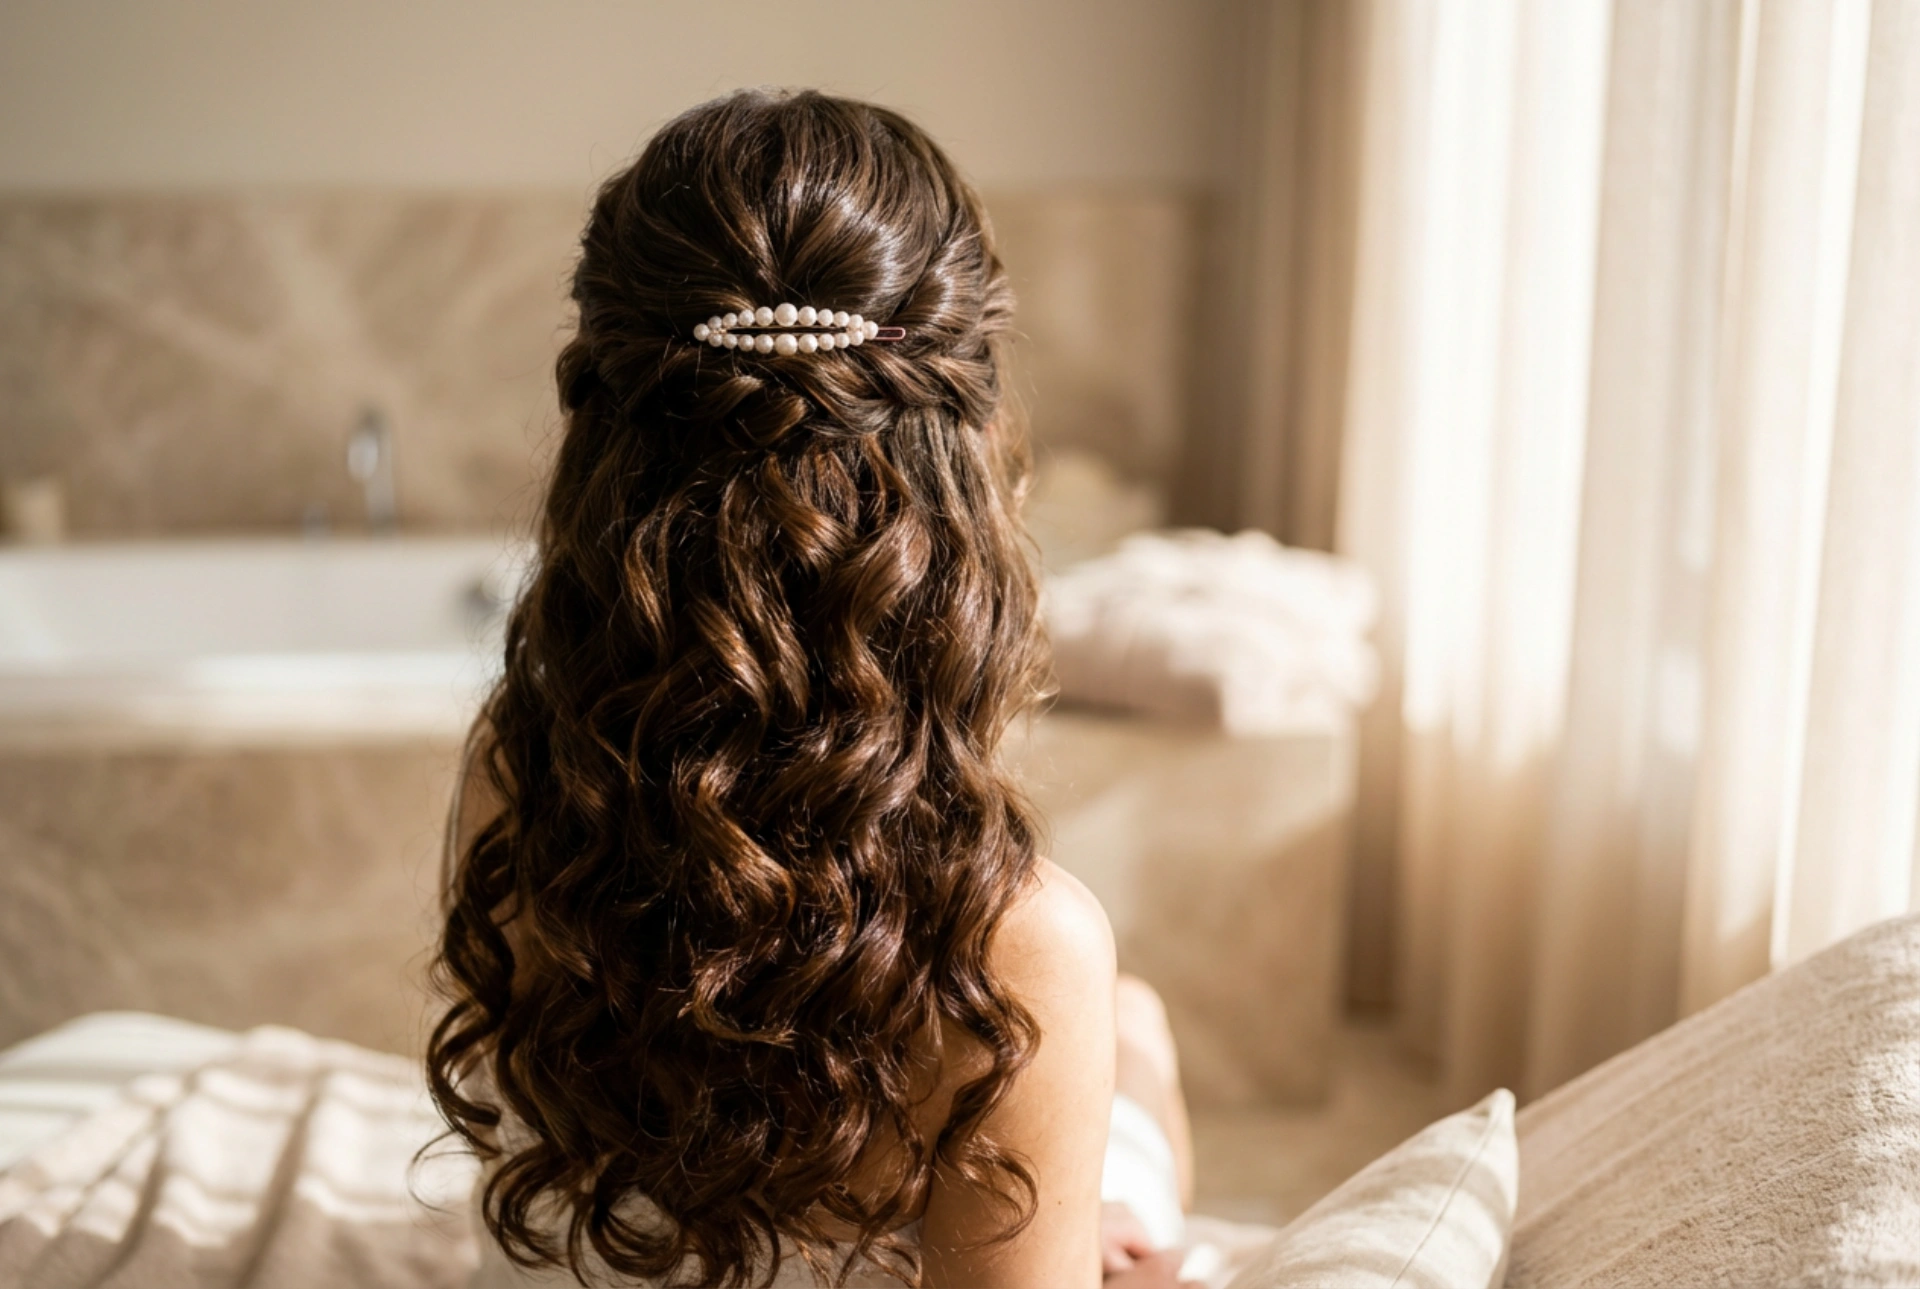
Accessorise Your Style
Elevate your curly hairstyle with a delicate accessory. A simple, sparkling hair comb, a few decorative pins, or a subtle headband can add a beautiful finishing touch that complements your wedding attire. Position the accessory to enhance your style, such as sweeping one side back or decorating a half-updo.


