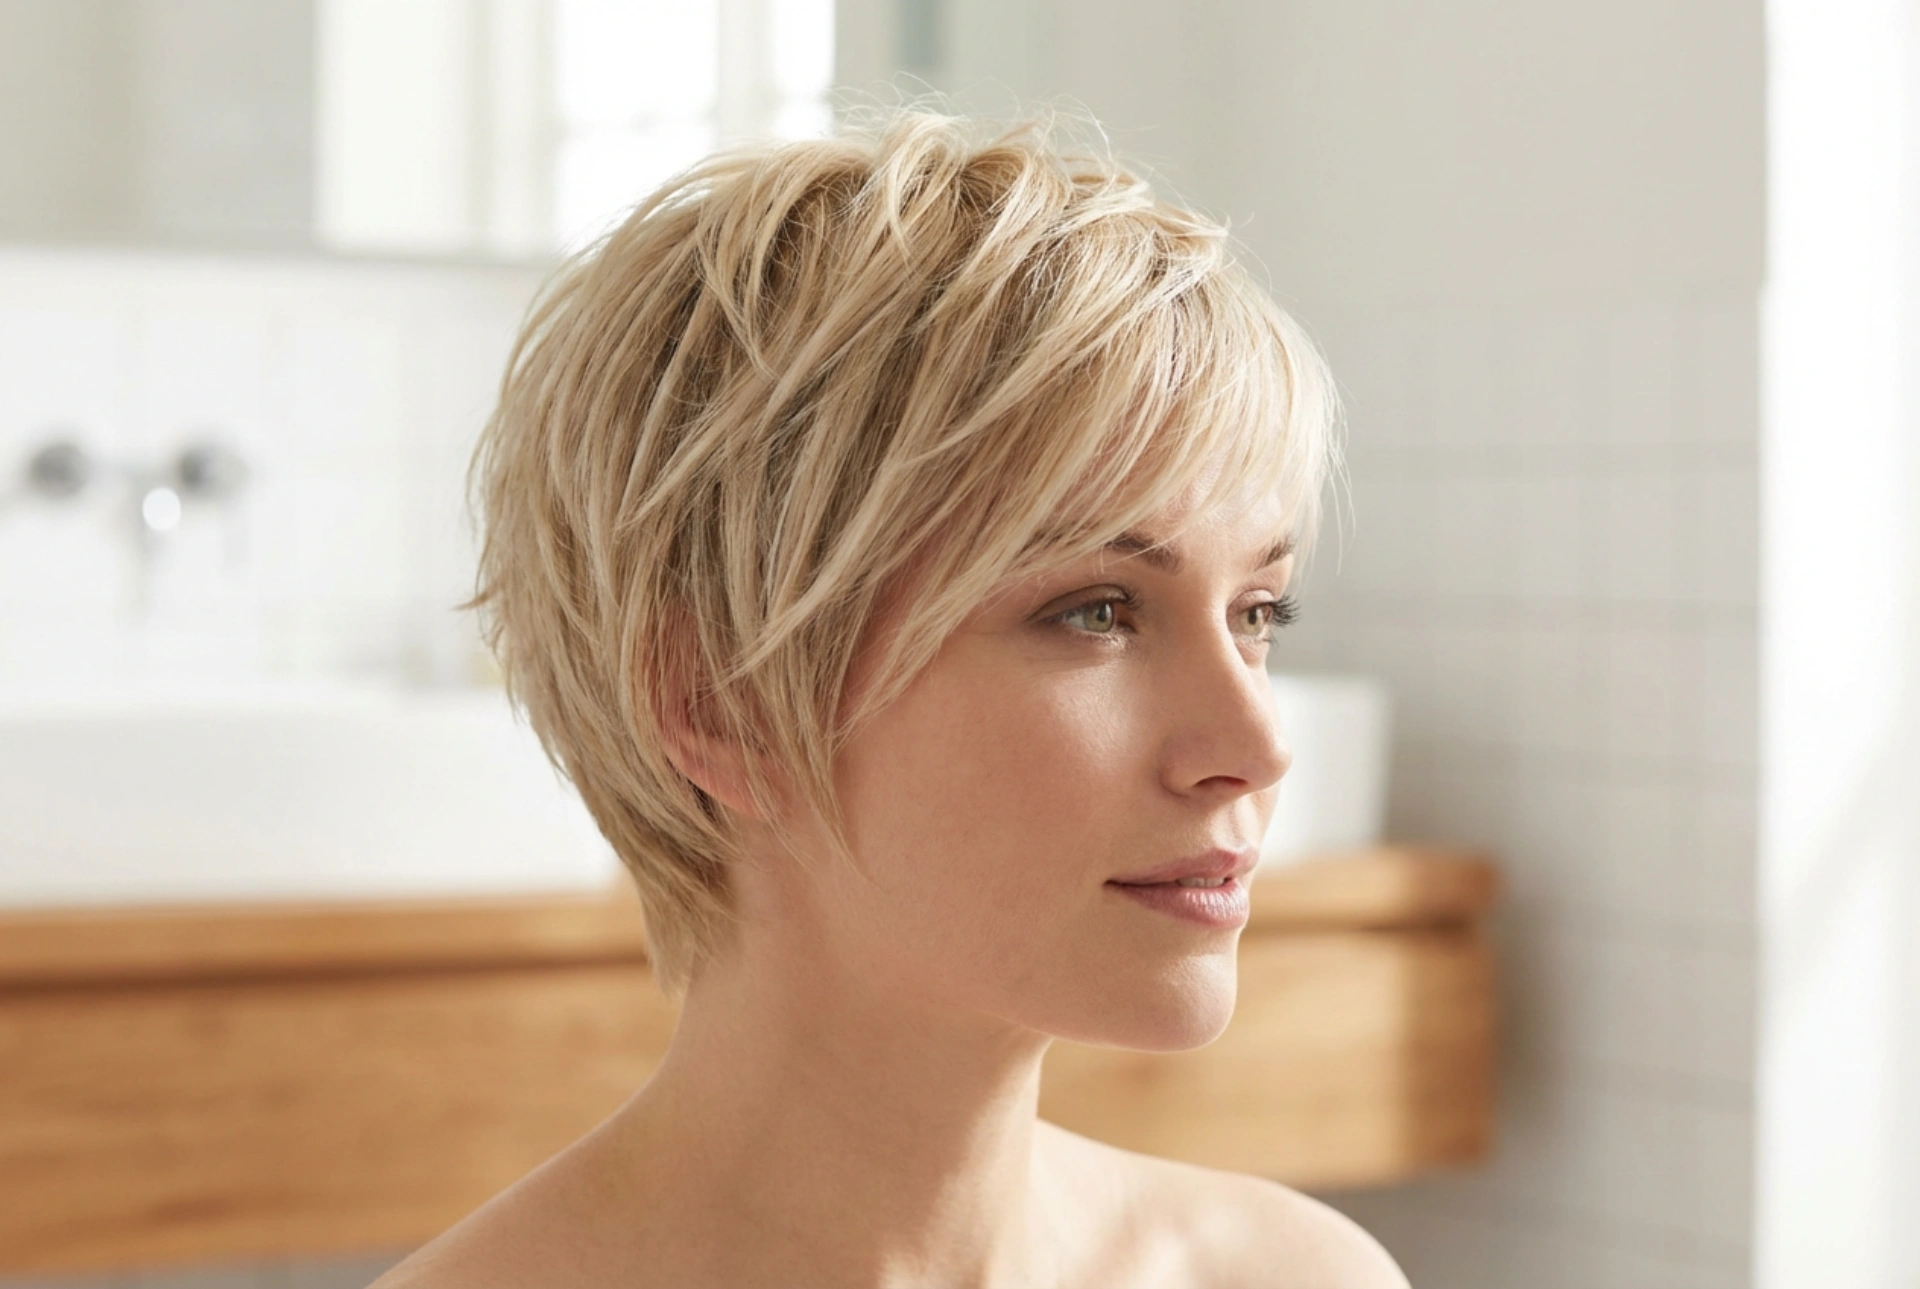


A short, textured haircut offers a unique blend of modern chic and effortless elegance. The beauty of this style lies in its dynamic volume and expertly styled layers, which can frame the face beautifully while making a confident statement. Far from the rigid spikes of past decades, the contemporary take is soft, piecey, and full of movement. Whether you're considering a dramatic change or looking for ways to refresh your current short style, understanding how to achieve and maintain this look is key. This guide will walk you through everything from deciding if the cut is right for you to mastering the daily styling routine.
Is a Short, Textured Hairstyle Right for You?
Before taking the plunge, it's wise to consider a few factors to ensure a short, textured cut will complement you. While confidence is the most important accessory for any hairstyle, thinking about your hair type and face shape can help you tailor the look perfectly.
Hair Type Considerations
This style is surprisingly versatile and can be adapted for various hair textures:
- Fine Hair: Short layers can create the illusion of thickness and volume. A textured cut prevents fine hair from falling flat, giving it body and life.
- Thick Hair: For those with thick hair, a stylist can use texturising techniques to remove bulk, making the hair lighter and easier to manage. It allows for great shape and structure without feeling heavy.
- Wavy or Curly Hair: While this guide focuses on a straighter, spiky finish, the foundational short cut can also be beautiful with natural waves. It requires a stylist experienced in cutting textured shapes into curly hair to work with your natural pattern.
Face Shape Suitability
A short, textured cut can be flattering for many face shapes. An oval face is often considered a universal canvas, but other shapes can be beautifully enhanced. For instance, soft spikes on top can add height and elongate a rounder face, while soft, textured pieces around the jawline can soften the angles of a square face. The key is customisation; discuss with your stylist how to adapt the layers and fringe area to best suit your features.
Preparing for the Cut: Consultation and Inspiration
Your vision and your stylist's execution are a partnership. Clear communication is crucial for getting the haircut you truly want. Spend some time gathering inspiration photos that showcase the texture, length, and overall vibe you're aiming for. During the consultation, use descriptive words. Explain that you want 'soft, subtle spikes', 'textured layers for movement', and a 'modern matte finish' rather than a wet or overly stiff look. Discuss your daily routine and how much time you're willing to spend on styling. A good stylist will listen and suggest adjustments to make the cut work for your lifestyle.
Styling Your Textured Cut at Home: A Step-by-Step Guide
Achieving that salon-perfect textured look at home is easier than you think. It's all about using the right technique and products to create definition without stiffness.
Step 1: Start with a Clean Base
Begin with freshly washed and towel-dried hair. Your hair should be damp, but not dripping wet. If your hair tends to be flat, you can work a small amount of volumising mousse through it, focusing on the roots to give it an initial lift.
Step 2: Rough-Dry for Volume
Using a hairdryer, begin rough-drying your hair. Instead of a brush, use your fingers to lift sections of hair at the root and direct the airflow upwards. This technique builds natural volume and prevents the hair from becoming too flat and smooth. The goal is to get it about 80% dry while encouraging body and movement.
Step 3: Create Texture and Definition
This is where the magic happens. Choose a suitable styling product like a matte-finish styling paste, clay, or wax. These products provide hold and separation. Take a pea-sized amount, and warm it up by rubbing your palms together until the product is barely visible. Then, work it through your dry hair, starting from the back and moving forward. Rake your fingers through your hair from roots to ends to distribute the product evenly. Now, use your fingertips to pinch and twist small sections of hair, creating the soft, piecey spikes that define the look. Focus on the ends to create separation and direct the hair where you want it to go.
Step 4: The Finishing Touch
Once you are happy with the shape and texture, you can set it. If needed, a light mist of a flexible-hold hairspray can keep everything in place without making it feel crunchy. Avoid strong-hold sprays that can create a helmet-like effect. The aim is a style that looks effortlessly chic and has natural movement.
Maintaining Your Short Hairstyle
To keep your textured cut looking its best, regular maintenance is essential. Short hairstyles require more frequent trims than longer ones to maintain their shape. Plan to visit your stylist every 4 to 6 weeks to keep the layers sharp and the length perfect. Between visits, be mindful of product buildup. Use a clarifying shampoo occasionally to remove residue that can weigh your hair down. Don't be afraid to experiment; this versatile cut can be styled in different ways. Try smoothing it down for a sleeker look or creating a deep side parting for a touch of asymmetry.


