


The low bun is a timeless and elegant hairstyle, making it a perfect choice for a wedding day. Its versatility allows it to be adapted for a modern, sleek look or a soft, romantic feel, complementing any bridal aesthetic. Creating this beautiful updo at home is entirely achievable with the right preparation and techniques. This guide will walk you through creating two stunning variations of the low bun, ensuring you look and feel your best on your special day.
Preparation: The Foundation for a Flawless Bun
Proper preparation is the secret to a hairstyle that not only looks professional but also lasts from the ceremony to the final dance. For updos, it's often best to work with hair that isn't freshly washed. Day-old hair has more natural grip and texture, which helps it hold the style more securely. If you must wash your hair on the day, be sure to use products that will add some hold and texture.
Essential Tools and Products
Before you begin, gather all the necessary tools. Having everything to hand will make the styling process smoother and more enjoyable. You will need:
- A hairbrush and a fine-toothed comb for smoothing.
- Hair elastics that match your hair colour or are clear.
- Hair pins (U-shaped) and hair grips (bobby pins) for securing the bun.
- A texturising spray or dry shampoo for the romantic style.
- A smoothing serum or shine spray for the sleek style.
- A strong-hold hairspray to set your finished look.
The Sleek and Polished Low Bun: A Step-by-Step Guide
This version of the low bun is chic, sophisticated, and exudes modern elegance. It's defined by its smooth finish and clean lines, making it a stunning choice for a contemporary bridal look.
- Create a Smooth Base: Begin by brushing your hair until it is completely smooth and free of any knots. For an extra-glossy finish, apply a small amount of smoothing serum from the mid-lengths to the ends.
- Form a Low Ponytail: Decide on your parting – a centre part is classic and sharp, while a side part can offer a softer look. Carefully gather all of your hair at the nape of your neck. Use the comb to smooth down any bumps or flyaways. Secure the ponytail tightly with a hair elastic.
- Twist and Wrap: Take the ponytail and twist it firmly from the base all the way to the ends. This will create a neat rope of hair. Next, wrap this twisted rope around the base of the hair elastic, forming the shape of the bun. Keep the wrap tight and flat against your head.
- Secure the Bun: Once the bun is formed, tuck the ends of your hair underneath it. Use hair pins to secure the style. Insert the pins around the edges of the bun, pushing them into the base of the ponytail to anchor it securely. Use as many as you need to make it feel stable.
- Final Touches: To achieve that perfect, polished finish, spray a clean mascara wand or a toothbrush with hairspray and gently smooth down any remaining flyaways around your hairline and the bun itself. A final mist of a strong-hold hairspray will lock everything in place.
The Soft and Romantic Low Bun: A Step-by-Step Guide
For a more whimsical and feminine feel, the romantic low bun is the ideal choice. This style features more texture, softness, and often includes gentle tendrils to frame the face, creating an effortlessly beautiful appearance.
- Build Texture: This style is all about volume and softness. Start by spraying a texturising spray or dry shampoo throughout the roots and lengths of your hair to add grip and body. You can also gently backcomb the hair at the crown for a little extra lift.
- Loosely Gather the Hair: Before gathering your hair, decide if you want any pieces to frame your face. If so, pull out a few small sections from around your hairline. Gently gather the rest of your hair into a low ponytail at the nape. Don't pull it too tightly; the aim is for a softer, more relaxed base.
- Create a Soft Bun: There are a couple of ways to create a softer bun. You can gently twist the ponytail and wrap it loosely around the elastic, pinning as you go. Alternatively, create a loop by not pulling the ponytail all the way through the elastic on the final wrap, leaving the ends out to be pinned artfully around the base.
- Pin and Perfect: Use hair pins to shape and secure the bun. Unlike the sleek bun, you don't need to hide all the pins perfectly. The goal is to create a secure but soft shape. Once pinned, you can gently pull on small sections of the bun to increase its volume and create that 'undone' look.
- Style the Tendrils and Set: If you left out face-framing pieces, use a curling wand to give them a soft wave. This adds to the romantic feel of the hairstyle. Finish the entire look with a mist of a flexible-hold hairspray, which will keep the style in place without making it look stiff.
Personalising Your Bridal Bun
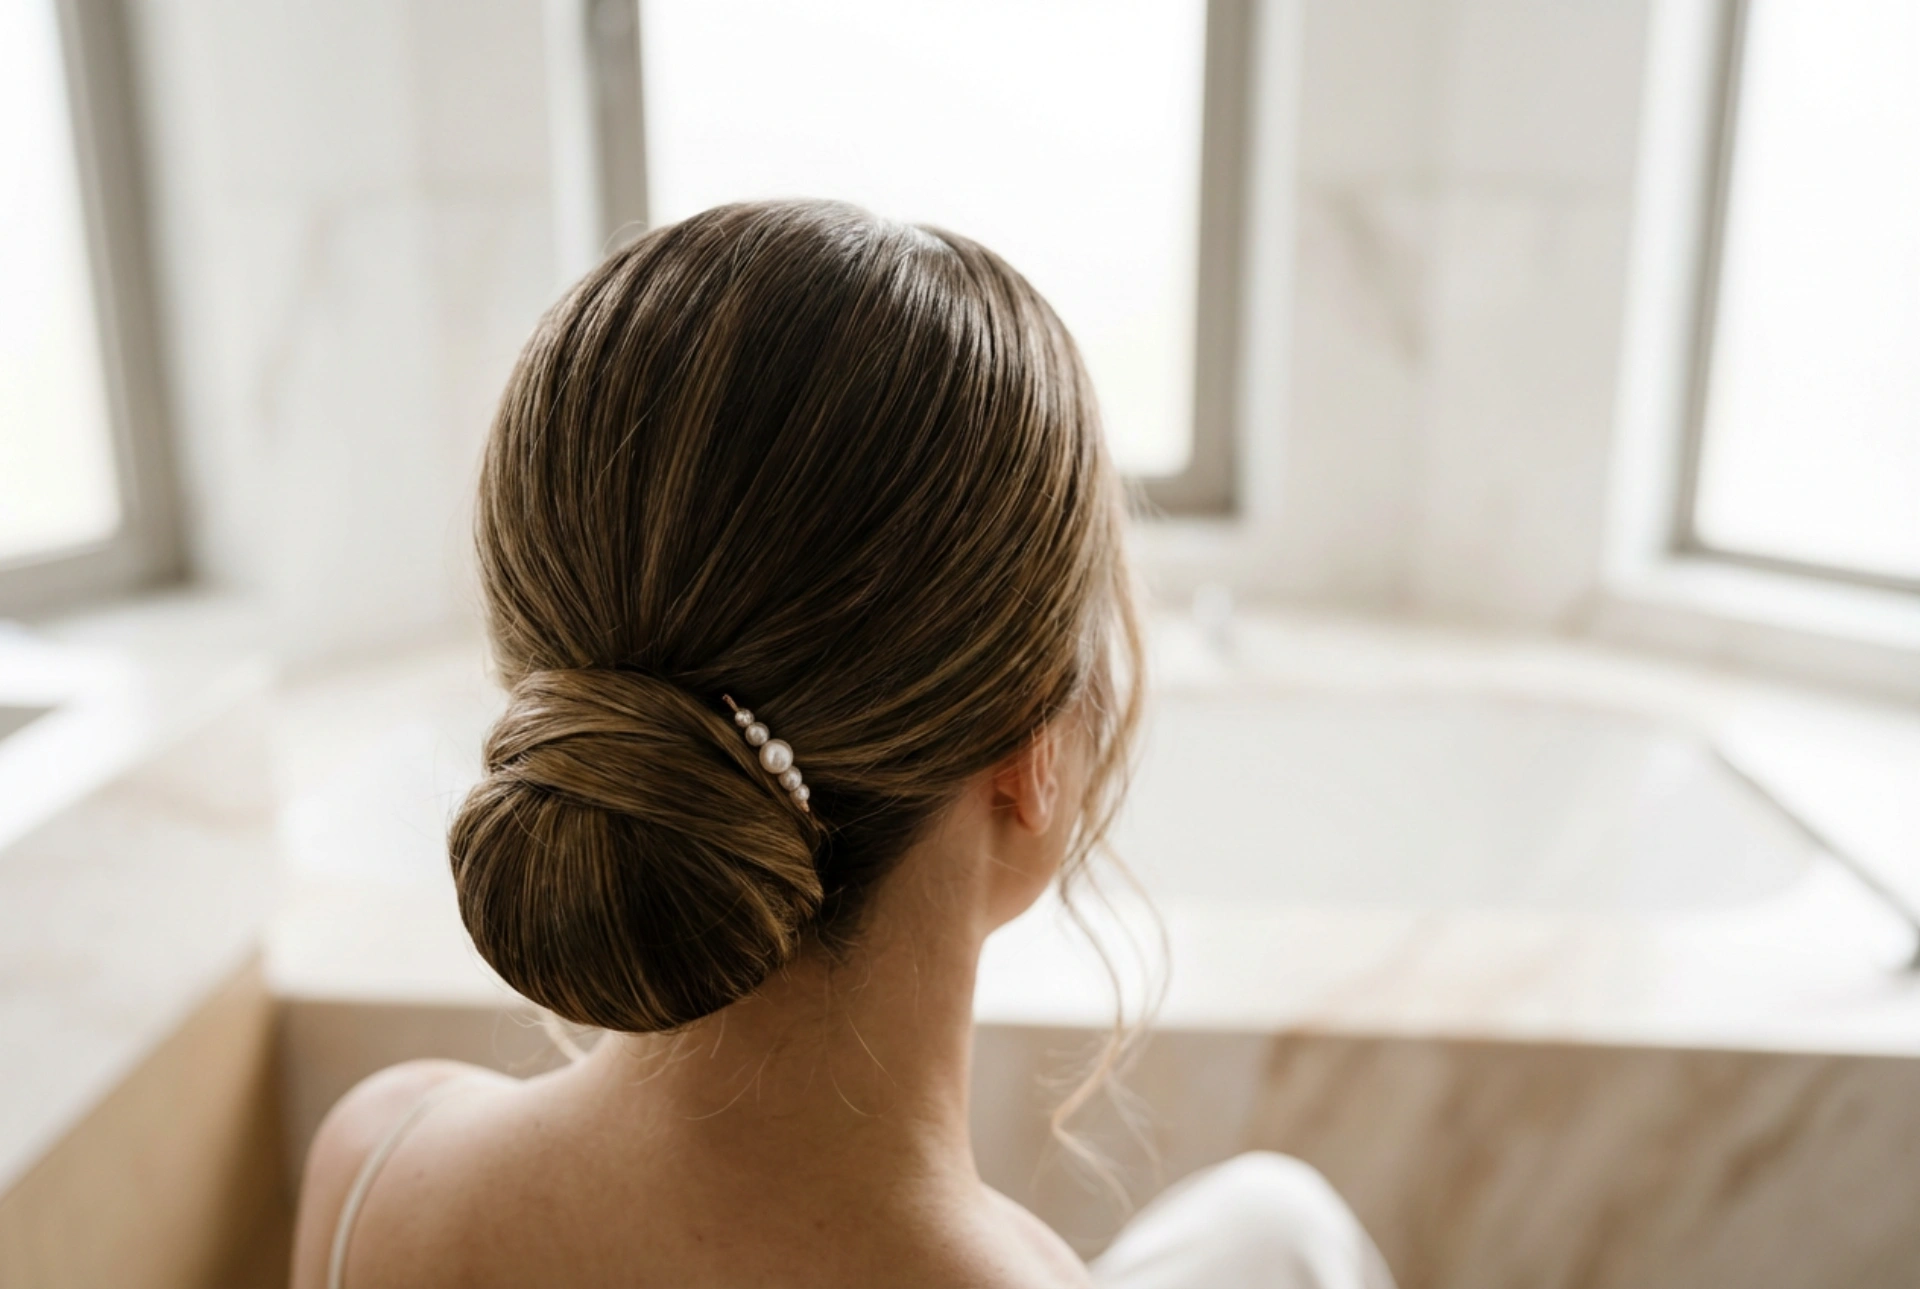
Once your bun is complete, you can add personal touches to make it uniquely yours. A delicate pearl pin, a small comb with floral details, or a simple crystal vine can be tucked into the side or top of the bun to elevate the look and coordinate with your dress or other accessories. For those with finer hair, using a hair doughnut at the base of the ponytail can help create the illusion of a much fuller bun. If you have very thick hair, consider splitting the ponytail into two sections, twisting them individually, and wrapping them in opposite directions around the base to better manage the volume and create a more intricate look.


