


Medium-length hair is celebrated for its incredible versatility, offering a perfect balance between the low maintenance of shorter cuts and the diverse styling options of long hair. It's a flattering choice for many, providing a fantastic canvas for everything from sleek, professional looks to relaxed, casual styles. Mastering a few simple techniques can transform your daily hair routine, allowing you to achieve a polished finish with minimal effort. Whether you have a few minutes or a bit more time, you can easily create a beautiful look that highlights the health and texture of your hair.
Before You Start: Essential Preparation
A great hairstyle always begins with a solid foundation. Proper preparation not only makes styling easier but also protects your hair from potential damage and helps the final look last longer. Before you reach for any styling tools, follow these crucial preliminary steps.
- Start with Clean Hair: Wash and condition your hair with products suited to your hair type. Well-hydrated hair is more cooperative and has a natural lustre.
- Towel-Dry Gently: After washing, avoid rubbing your hair vigorously with a regular towel, as this can cause friction, leading to frizz and breakage. Instead, gently squeeze out excess water using a microfibre towel or an old cotton t-shirt.
- Detangle with Care: Use a wide-tooth comb or your fingers to gently work through any knots, starting from the ends and moving up towards the roots. This prevents stretching and snapping the hair strands.
- Apply a Heat Protectant: If you plan to use any heat styling tools like a hairdryer or straightener, this step is non-negotiable. A good heat protectant spray or cream creates a barrier between your hair and the high temperatures, significantly reducing damage. Distribute it evenly through your damp hair.
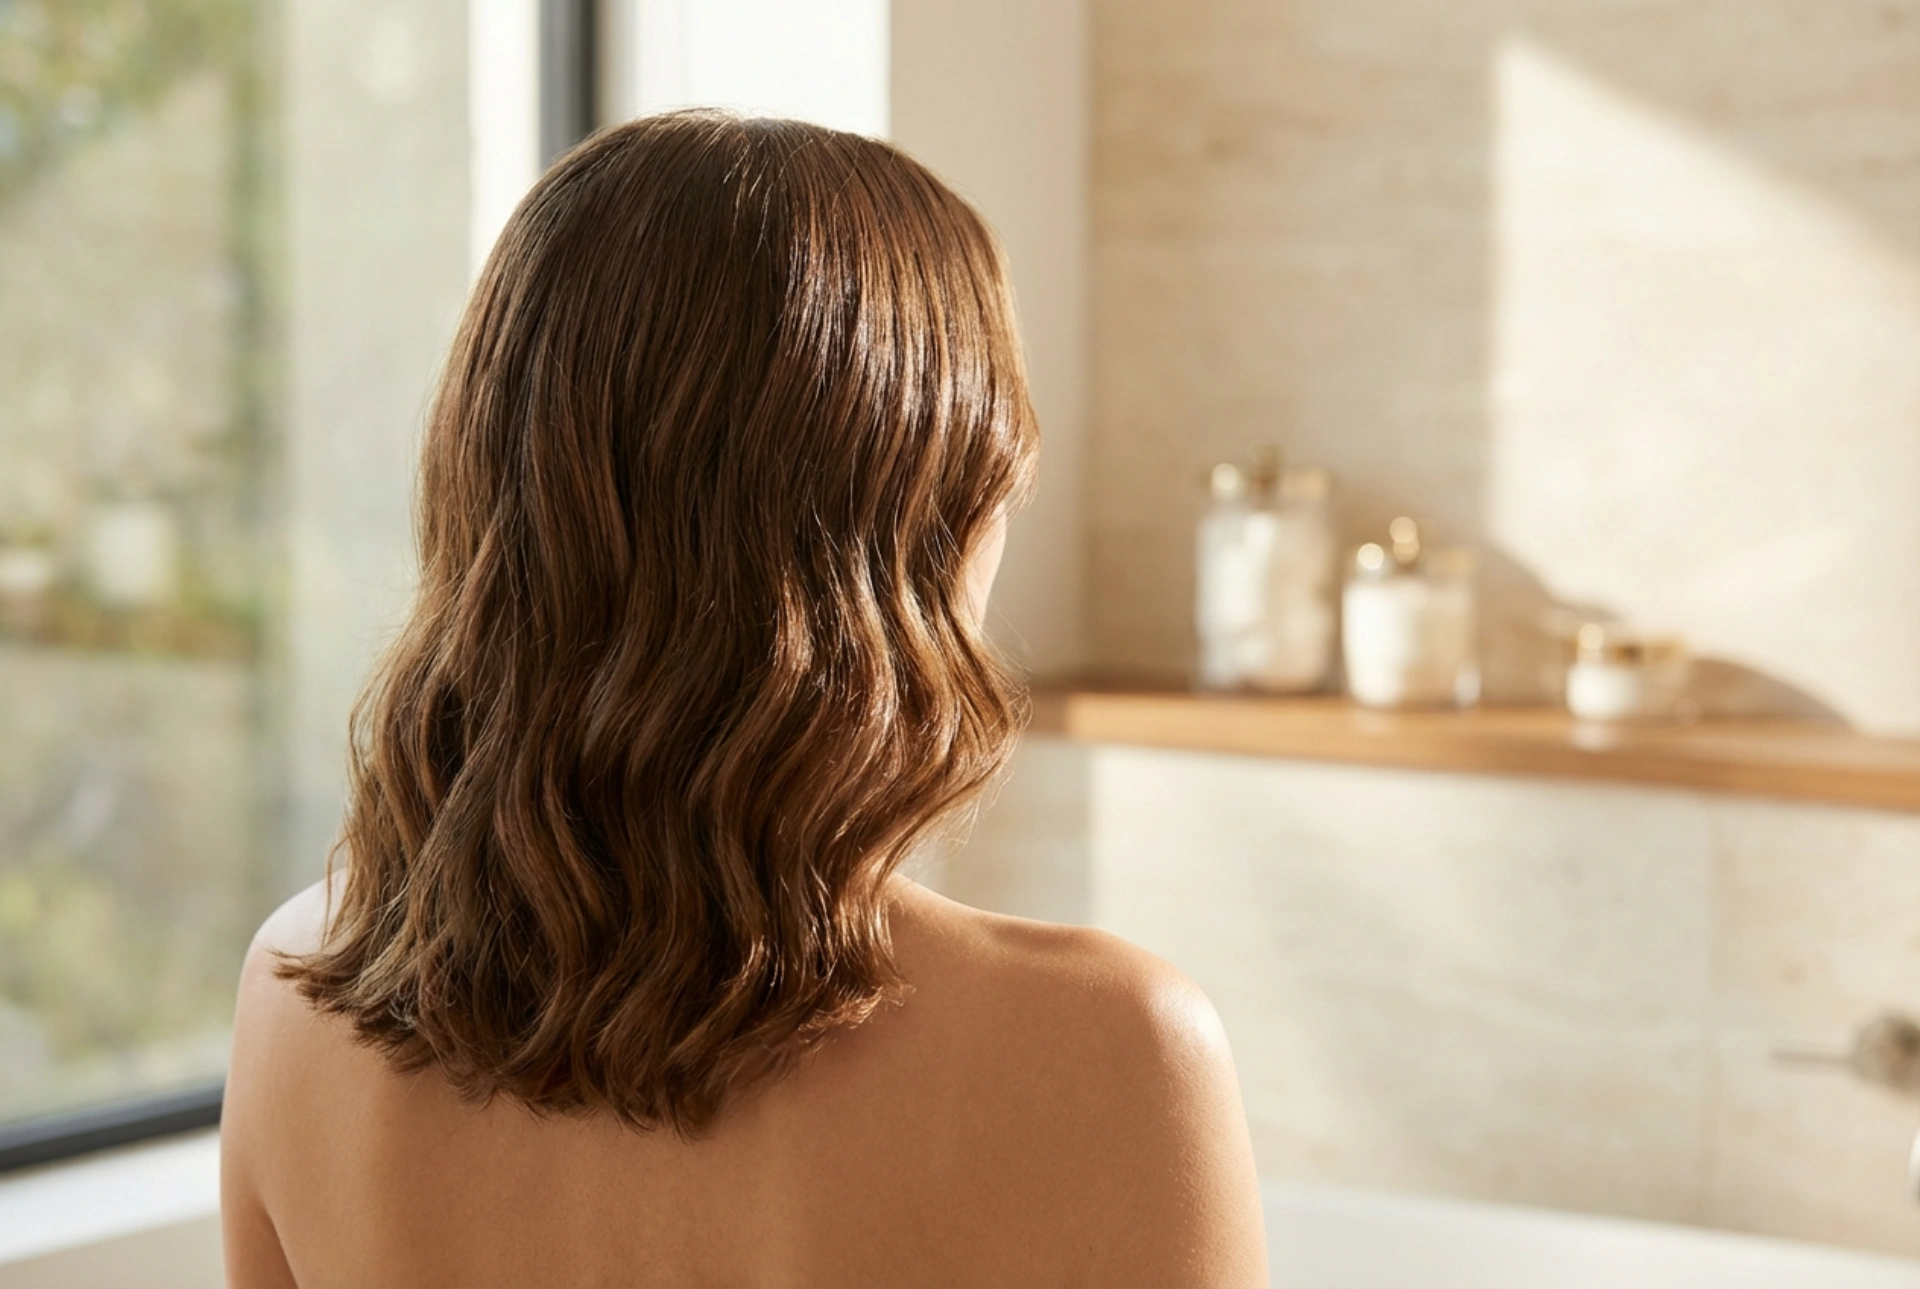
Technique 1: Effortless Waves with a Straightener
A hair straightener is a surprisingly versatile tool that can create beautiful, modern waves far more easily than you might think. This method is perfect for achieving that 'effortlessly chic' look with soft, flowing texture. It's a quick way to add movement and dimension to your medium-length cut.
Step-by-Step Guide to Soft Waves
- Ensure Hair is Dry: This technique must be performed on completely dry hair to avoid heat damage. If you've just washed it, blow-dry it fully first.
- Section Your Hair: Divide your hair into manageable sections, about one to two inches wide. The smaller the section, the more defined the wave will be.
- Clamp and Twist: Take one section and clamp the straightener near the root. As you begin to glide the tool down the hair shaft, turn it 180 degrees away from your face.
- Glide Downwards: Maintain the twist as you smoothly pull the straightener all the way down to the ends. For a more modern, relaxed vibe, you can leave the last inch of hair straight.
- Alternate Directions: For a more natural and less uniform result, alternate the direction of the twist with each section—some away from your face, and some towards it.
- Loosen the Waves: Once all sections are waved, allow them to cool completely. Then, gently run your fingers through your hair to break up the waves and create a softer, more blended finish. Avoid using a brush, as this can pull out the texture.
Technique 2: Classic Volume with a Round Brush
For a timeless, bouncy look full of body and shine, a classic blow-dry with a round brush is the ultimate technique. It smooths the hair cuticle, which adds gloss, and creates incredible lift at the roots. This method is ideal for a polished look that feels light and airy, perfect for both the office and an evening out.
How to Achieve a Bouncy Blow-Dry
- Work with Damp Hair: Start with hair that is about 80% dry. This will cut down on drying time and reduce heat exposure.
- Use a Nozzle: Attach the concentrator nozzle to your hairdryer. This directs the airflow precisely where you want it, helping to smooth the hair cuticle for a shinier, less frizzy result.
- Section and Lift: Divide your hair into sections. Take one section and place a medium-to-large round brush at the roots underneath it. Pull the hair taut and upwards to create lift.
- Dry from Roots to Ends: Aim the hairdryer's airflow down the hair shaft, following the brush as you pull it through to the ends. This downward motion helps to seal the cuticle flat. Keep the dryer moving to avoid concentrating too much heat in one spot.
- Shape the Ends: As you reach the ends, roll the hair around the brush to create a soft, inward curve or a gentle flick outwards, depending on your desired style.
- Set with Cool Air: Once a section is dry and shaped, switch your hairdryer to the cool setting and give it a blast of cold air. This helps to 'set' the style in place for longer-lasting volume.
Technique 3: Enhancing Natural Texture by Air-Drying
Giving your hair a break from heat is always a good idea. Air-drying is a fantastic way to embrace and enhance your hair's natural pattern, whether it's straight, wavy, or curly. With the right products and a few simple tricks, you can achieve a beautifully textured style without any heat at all.
Tips for Perfect Air-Drying
- Choose the Right Product: The key to successful air-drying is using a styling product to prevent frizz and encourage your desired texture. For waves, a sea-salt spray can add a beachy feel. For smoother styles, a lightweight styling cream or leave-in conditioner can add moisture and control. Apply it evenly to damp hair.
- Plait or Twist for Waves: To encourage a more defined wave pattern, you can style your damp hair and let it dry. A loose plait will create soft, uniform waves. Alternatively, you can separate your hair into two or more sections, twist them away from your face, and secure them in loose buns while they dry.
- Don't Touch While Drying: The golden rule of air-drying is to resist touching your hair as it dries. Playing with it can disrupt the cuticle and create frizz.
- Scrunch for Volume: If your hair has a natural wave, you can encourage it by 'scrunching' it. With product in your damp hair, cup sections in your palm and gently squeeze upwards towards the scalp. Let it dry naturally.


