


Styling short hair can be a delightful experience, offering a canvas for chic, polished, or playful looks. Contrary to the belief that short hair limits styling options, the right tools can unlock a world of possibilities. A hair straightener, especially a slim model, is one of the most versatile instruments in your beauty arsenal. It can transform your hair from naturally textured to sleek and glossy, or create soft waves and defined curls. This guide will walk you through the essential steps to master using a straightener on your short hair, ensuring a beautiful finish while keeping your hair in great condition.
Preparing Short Hair for Heat Styling
Proper preparation is the foundation of any successful hairstyle and is crucial for protecting your hair from potential heat damage. Rushing this stage can lead to a less polished look and compromise the condition of your hair over time. Follow these preparatory steps for the best results.
Start with Clean, Dry Hair
For a sleek, smooth finish, it's best to work with hair that is completely clean and, most importantly, completely dry. Using a straightener on damp or wet hair can cause significant damage, as the water inside the hair shaft turns to steam and expands rapidly. Wash your hair with a suitable shampoo and conditioner. Afterwards, gently towel-dry your hair and then blow-dry it thoroughly. If you prefer to air-dry, ensure every strand is dry to the touch before you begin straightening.
Apply a Heat Protectant
This is a non-negotiable step in any heat styling routine. A good heat protectant creates a barrier between your hair and the hot plates of the straightener, minimising moisture loss and reducing the risk of damage. Choose a lightweight spray or serum and apply it evenly throughout your hair, from roots to ends. Use a comb to distribute the product to ensure every strand is coated. This simple action is your best defence against split ends and dryness associated with frequent heat styling.
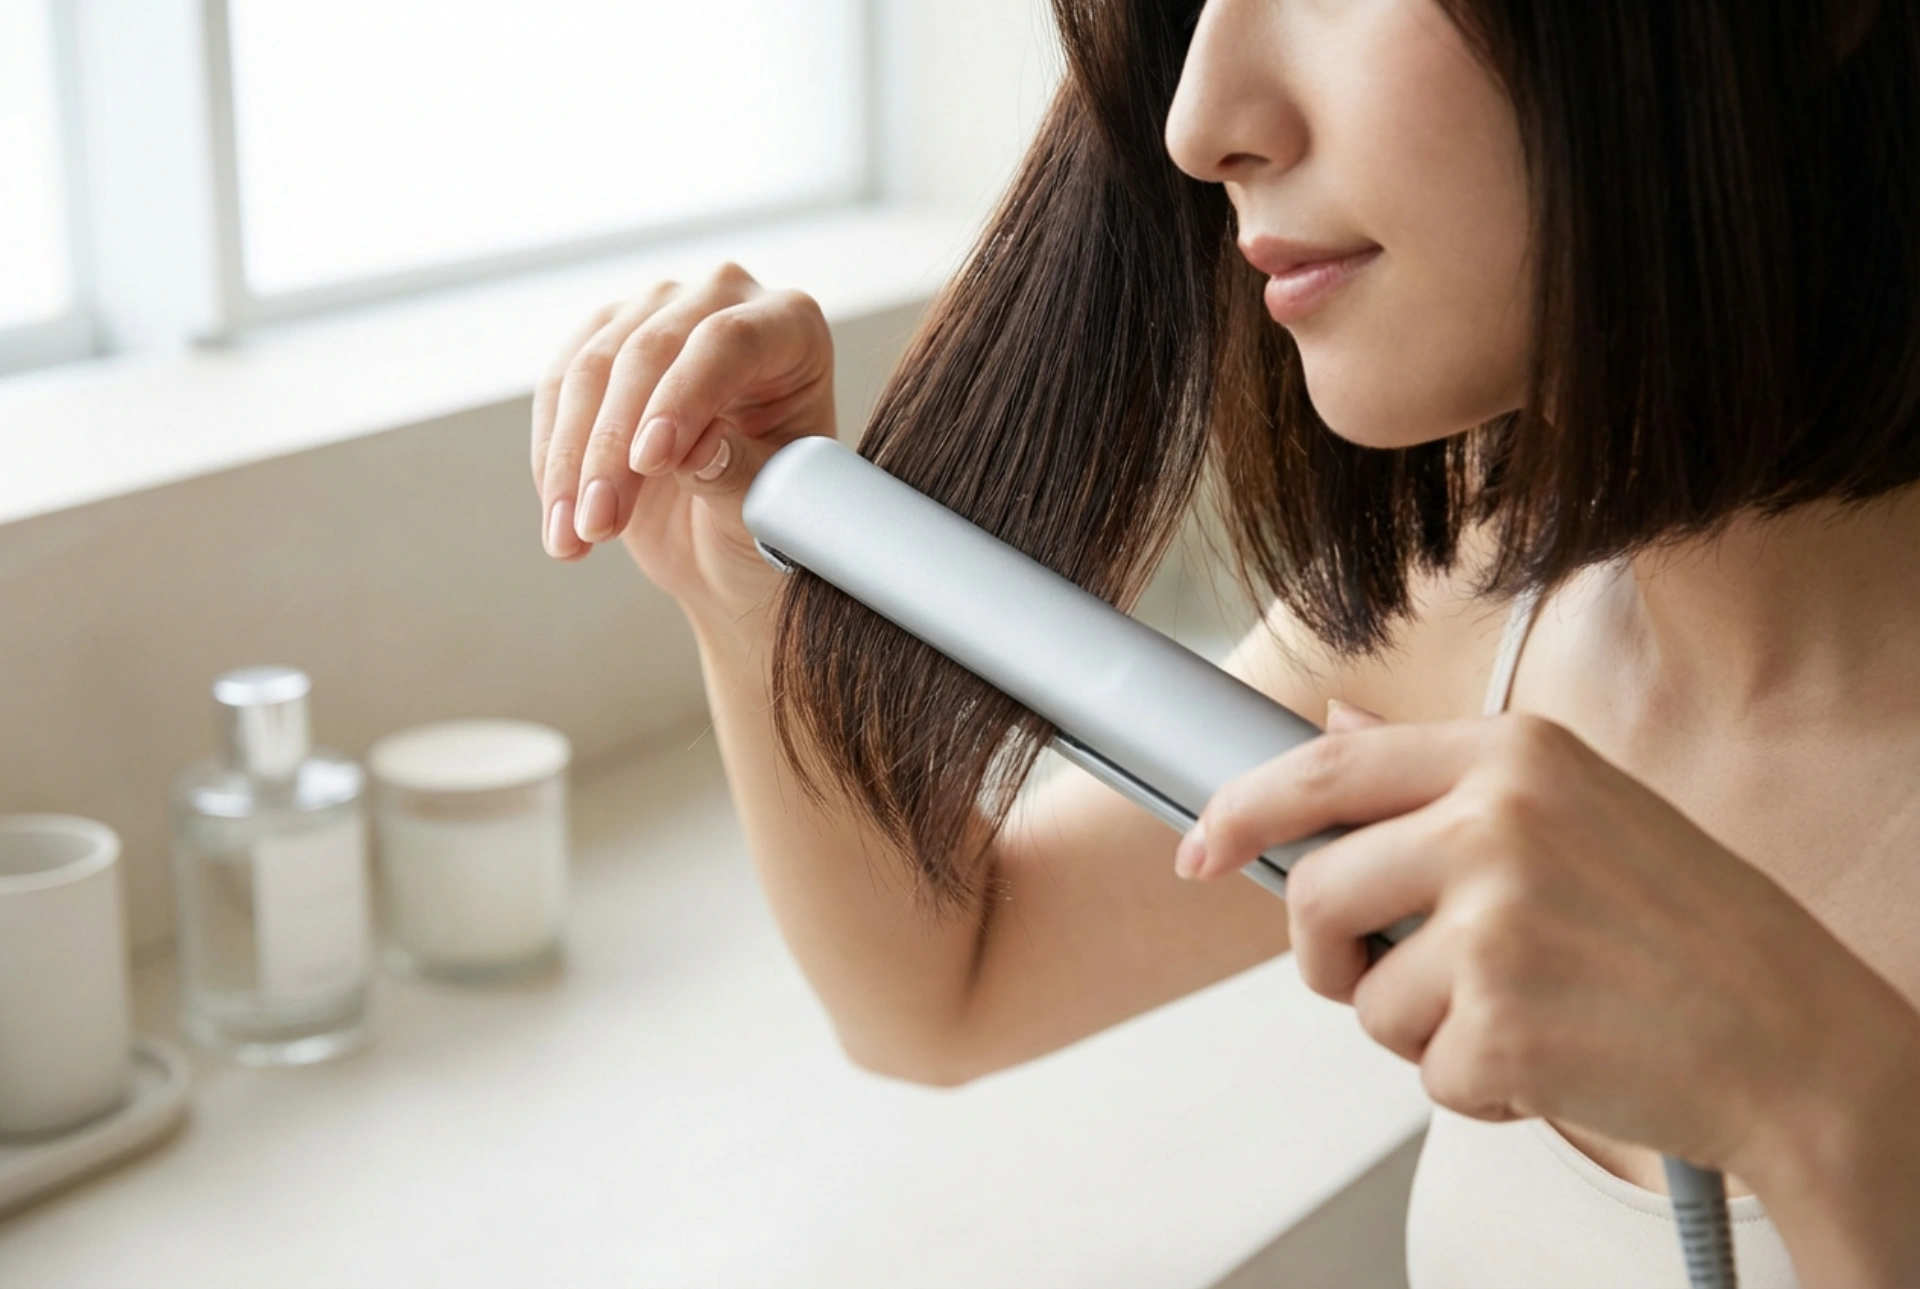
How to Perfectly Straighten Short Hair
Achieving a super-sleek, straight look on short hair requires precision and control. The key is to work in small, manageable sections to ensure an even result.
Choose the Right Tool and Temperature
For short hair, a straightener with narrow plates (around 1 inch or 2.5 cm wide) is ideal. It offers better control and allows you to get closer to the roots, which is especially important for pixie cuts or short bobs. Start with a lower temperature setting and increase it only if necessary. Fine or colour-treated hair requires less heat than coarse or thick hair. It's always better to start low and do a second pass if needed than to use excessive heat from the outset.
The Sectioning and Smoothing Process
Working methodically is the secret to a professional-looking finish. Follow these steps for flawless straightening:
- Section Your Hair: Use clips to divide your hair into small, manageable sections. Start with the bottom layers at the nape of your neck and clip the top layers out of the way. Working with sections about 1-2 inches wide is usually effective.
- Start at the Roots: Take one section of hair. Clamp the straightener as close to the roots as you can without touching the scalp.
- Glide Down Smoothly: Gently and steadily glide the straightener down the hair shaft to the ends. Avoid stopping midway, as this can create kinks or dents in the hair. The motion should be fluid and continuous.
- Repeat and Release: Repeat the process on the same section if needed, but try to achieve the desired straightness in a single pass to minimise heat exposure. Once a section is straight, release it and move on to the next one, working your way up to the top layers of your hair.
Creating Curls and Waves on Short Hair
A straightener is also a fantastic tool for adding texture and movement to short hair. You can create anything from gentle, beachy waves to more defined curls.
The Twisting and Turning Technique
The technique for curling is slightly different from straightening. It involves rotating the tool as you glide it through your hair.
- Clamp the Hair: Take a small section of hair and clamp it with the straightener, starting a few inches away from the root.
- Rotate the Straightener: As you begin to pull the straightener down the hair shaft, rotate it 180 degrees (a half-turn) away from your face.
- Glide to the Ends: Continue to glide the rotated straightener down to the ends of the hair. The speed at which you pull affects the tightness of the curl; a slower glide creates a tighter curl, while a faster glide results in a looser wave.
- Alternate Directions: For a more natural, modern look, alternate the direction of the curls on different sections. Curl some pieces away from your face and others towards it.
Styling a Fringe and Tricky Areas
Short hair often has areas that require extra attention, like a fringe (bangs) or the short hairs at the nape. For a fringe, quickly pass the straightener over the hair with a slight curve to avoid it looking too flat or stiff. For the very short hairs at the back, be cautious and use the tip of your slim-plate straightener to gently smooth them down.
Finishing Touches for a Lasting Style
Once you've finished straightening or curling, a few final steps will lock in your look and add a touch of glamour.
Cool and Set
Allow your hair to cool down completely before you touch it too much. This helps the style to set properly. Once cool, you can gently run your fingers through the curls to separate them for a softer, more voluminous look. For a sleek style, a light brush-through can perfect the finish.
Apply a Finishing Product
A light-hold hairspray can help your style last all day without making it feel stiff. For added shine and to tame any flyaways, apply a small amount of shine serum or a lightweight hair oil to the mid-lengths and ends, avoiding the roots to prevent your hair from looking greasy. These finishing touches will give your short hairstyle a polished, salon-quality appearance.


