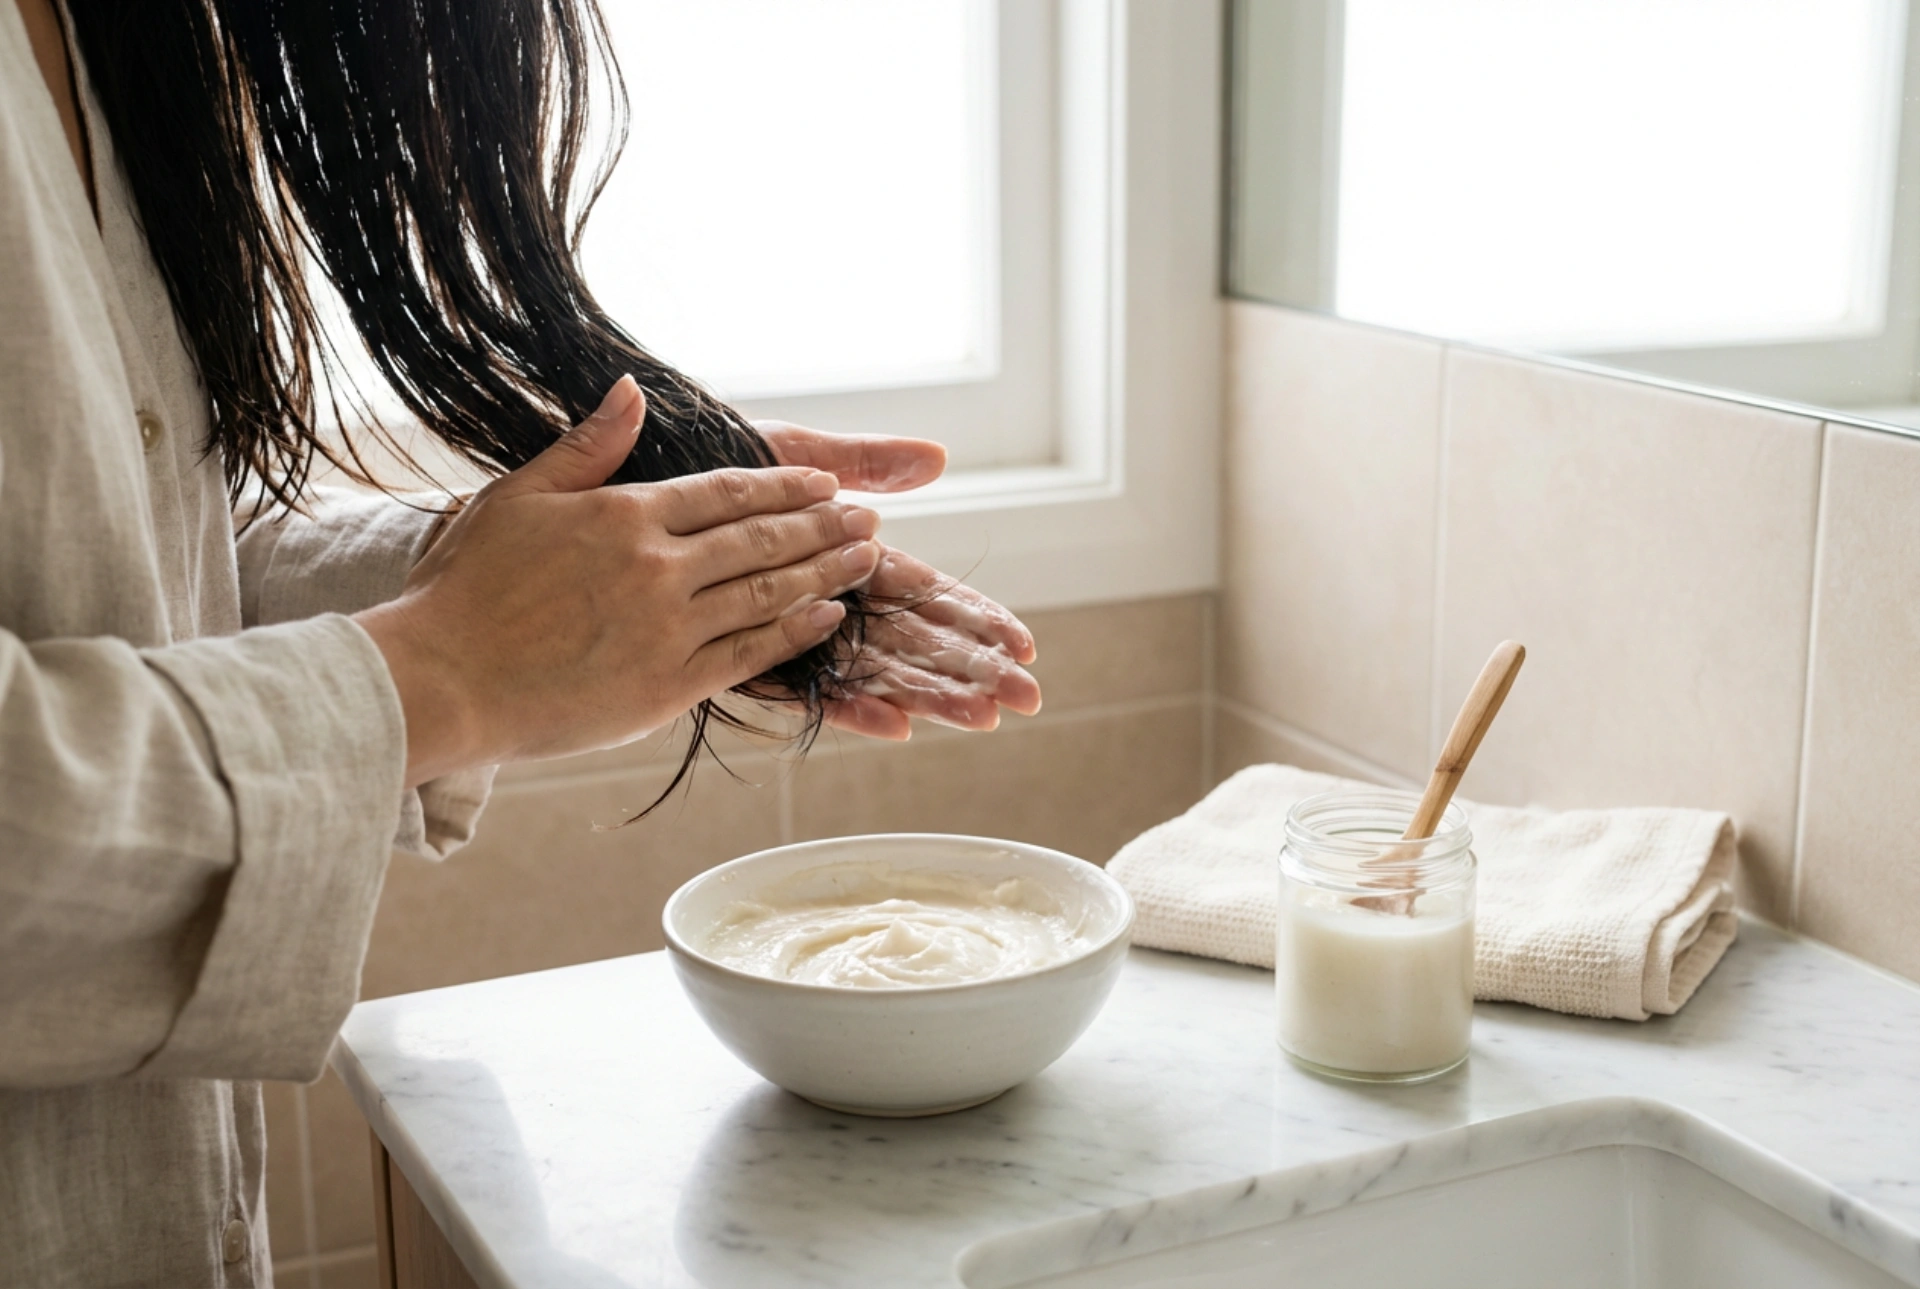


The desire for smooth, glossy, and healthy-looking hair is universal. Many seek professional treatments, but achieving revitalised strands can also begin in your own home. Inspired by the meticulous application of a nourishing hair mask, we can explore how to create a simple yet effective treatment using natural ingredients. This guide will walk you through preparing a homemade mask that mimics the smoothing effects of keratin, helping you achieve a polished look with ingredients likely already in your kitchen.
What is a Homemade Smoothing Hair Treatment?
It's important to clarify that a homemade 'keratin' treatment is not a chemical process like the ones offered in salons. Instead, it is a deep-conditioning mask made from protein-rich ingredients that coat the hair shaft, temporarily filling in gaps in the cuticle. This helps to smooth the hair's surface, reduce frizz, and impart a brilliant shine. The primary goal is to nourish and strengthen the hair using natural components like proteins and amino acids, offering a gentle way to improve hair texture and manageability without the use of harsh chemicals. The effects are temporary but can make a noticeable difference in your hair's appearance and feel.
Benefits of a Natural Protein Mask
- Reduces Frizz: By smoothing the outer layer of the hair, the mask helps to tame flyaways and frizz, especially in humid conditions.
- Adds Shine: A smoother hair cuticle reflects more light, giving your hair a healthy, glossy appearance.
- Improves Elasticity: The proteins in the mask can help to fortify hair strands, making them more resilient and less prone to breakage.
- Gentle on Hair: As it's made from natural ingredients, this type of mask is free from the strong chemicals found in many commercial treatments, making it suitable for regular use.
How to Prepare Your Homemade Hair Mask
Creating this nourishing mask is simple. The key is to use ingredients that are rich in proteins and have moisturising properties. One popular and effective combination involves gelatine, which is rich in collagen proteins, and egg, a classic source of protein and nutrients for hair care. This recipe provides a good balance of strength and moisture.
Ingredients You Will Need
- 2 tablespoons of unflavoured gelatine powder
- 6 tablespoons of warm water
- 1 egg yolk
- 1 tablespoon of a nourishing oil (such as olive, coconut, or argan oil)
- 1 teaspoon of honey (optional, for extra moisture)
Step-by-Step Preparation Guide
- Begin by dissolving the gelatine powder in the warm water. Stir well until there are no lumps and let the mixture sit for about 10-15 minutes to allow the gelatine to 'bloom' and turn into a gel-like consistency.
- In a separate bowl, whisk the egg yolk until it is smooth.
- Gradually add the whisked egg yolk, your chosen oil, and the optional honey to the gelatine mixture.
- Stir everything together thoroughly until you have a smooth, creamy paste. If the mixture is too thick, you can add another tablespoon of warm water to reach a manageable consistency.
Application and Processing for Best Results
Proper application is crucial to ensure every strand benefits from the treatment. Work methodically to cover your hair evenly for a uniform, sleek finish.
Applying the Mask
- Start with clean, towel-dried hair. Your hair should be damp, not dripping wet, as this helps the mask to adhere better.
- Divide your hair into four or more manageable sections. This will make the application process easier and more thorough.
- Using your fingers or a tinting brush, apply the mask to each section, starting about an inch from the scalp and working your way down to the ends. Pay special attention to the mid-lengths and ends, which are often the most damaged.
- Once all sections are coated, use a wide-tooth comb to gently distribute the mask evenly throughout your hair.
Processing and Rinsing
- Gather your hair on top of your head and cover it with a shower cap or cling film. This traps heat from your scalp, which helps the ingredients to penetrate the hair shaft more effectively.
- Leave the mask on for 30 to 45 minutes. Avoid leaving it on for much longer, as a protein-heavy mask can sometimes make hair feel stiff if over-processed.
- Rinse the mask out thoroughly with lukewarm water. Be patient, as the gelatine can make it a bit sticky. Follow with a cool water rinse to help seal the hair cuticle. You may not need a conditioner, but if your hair feels tangled, apply a small amount to the ends before the final rinse.
Styling and Aftercare to Maintain a Smooth Finish
How you care for your hair after the treatment will determine how long the smooth effects last. Gentle styling and proper aftercare are key.
After rinsing, gently squeeze out excess water with a soft towel. To maximise the smoothing effect, blow-dry your hair on a medium heat setting. Use a round or paddle brush to pull the hair straight as you dry, directing the hairdryer's nozzle downwards to encourage the cuticles to lie flat. For an extra-sleek finish, you can use a flat iron on a low to medium heat setting once your hair is completely dry. Apply a few drops of a lightweight hair serum or oil to the ends to add shine and tame any remaining flyaways. The results of this homemade treatment are temporary, typically lasting until your next few washes. You can repeat the mask every 2-3 weeks to maintain your hair's improved texture and shine.


