


A fringe can beautifully frame the face and add a touch of personality to your haircut, but there are days when you simply want it out of the way. Whether you're heading to the gym, concentrating on work, or just fancy a change, styling short strands can seem tricky. The fringe bun is an elegant and incredibly practical solution. This simple updo transforms your fringe into a chic feature, offering both style and convenience. It’s a versatile look that works for almost any occasion and requires just a few minutes to create.
Preparing Your Fringe for Styling
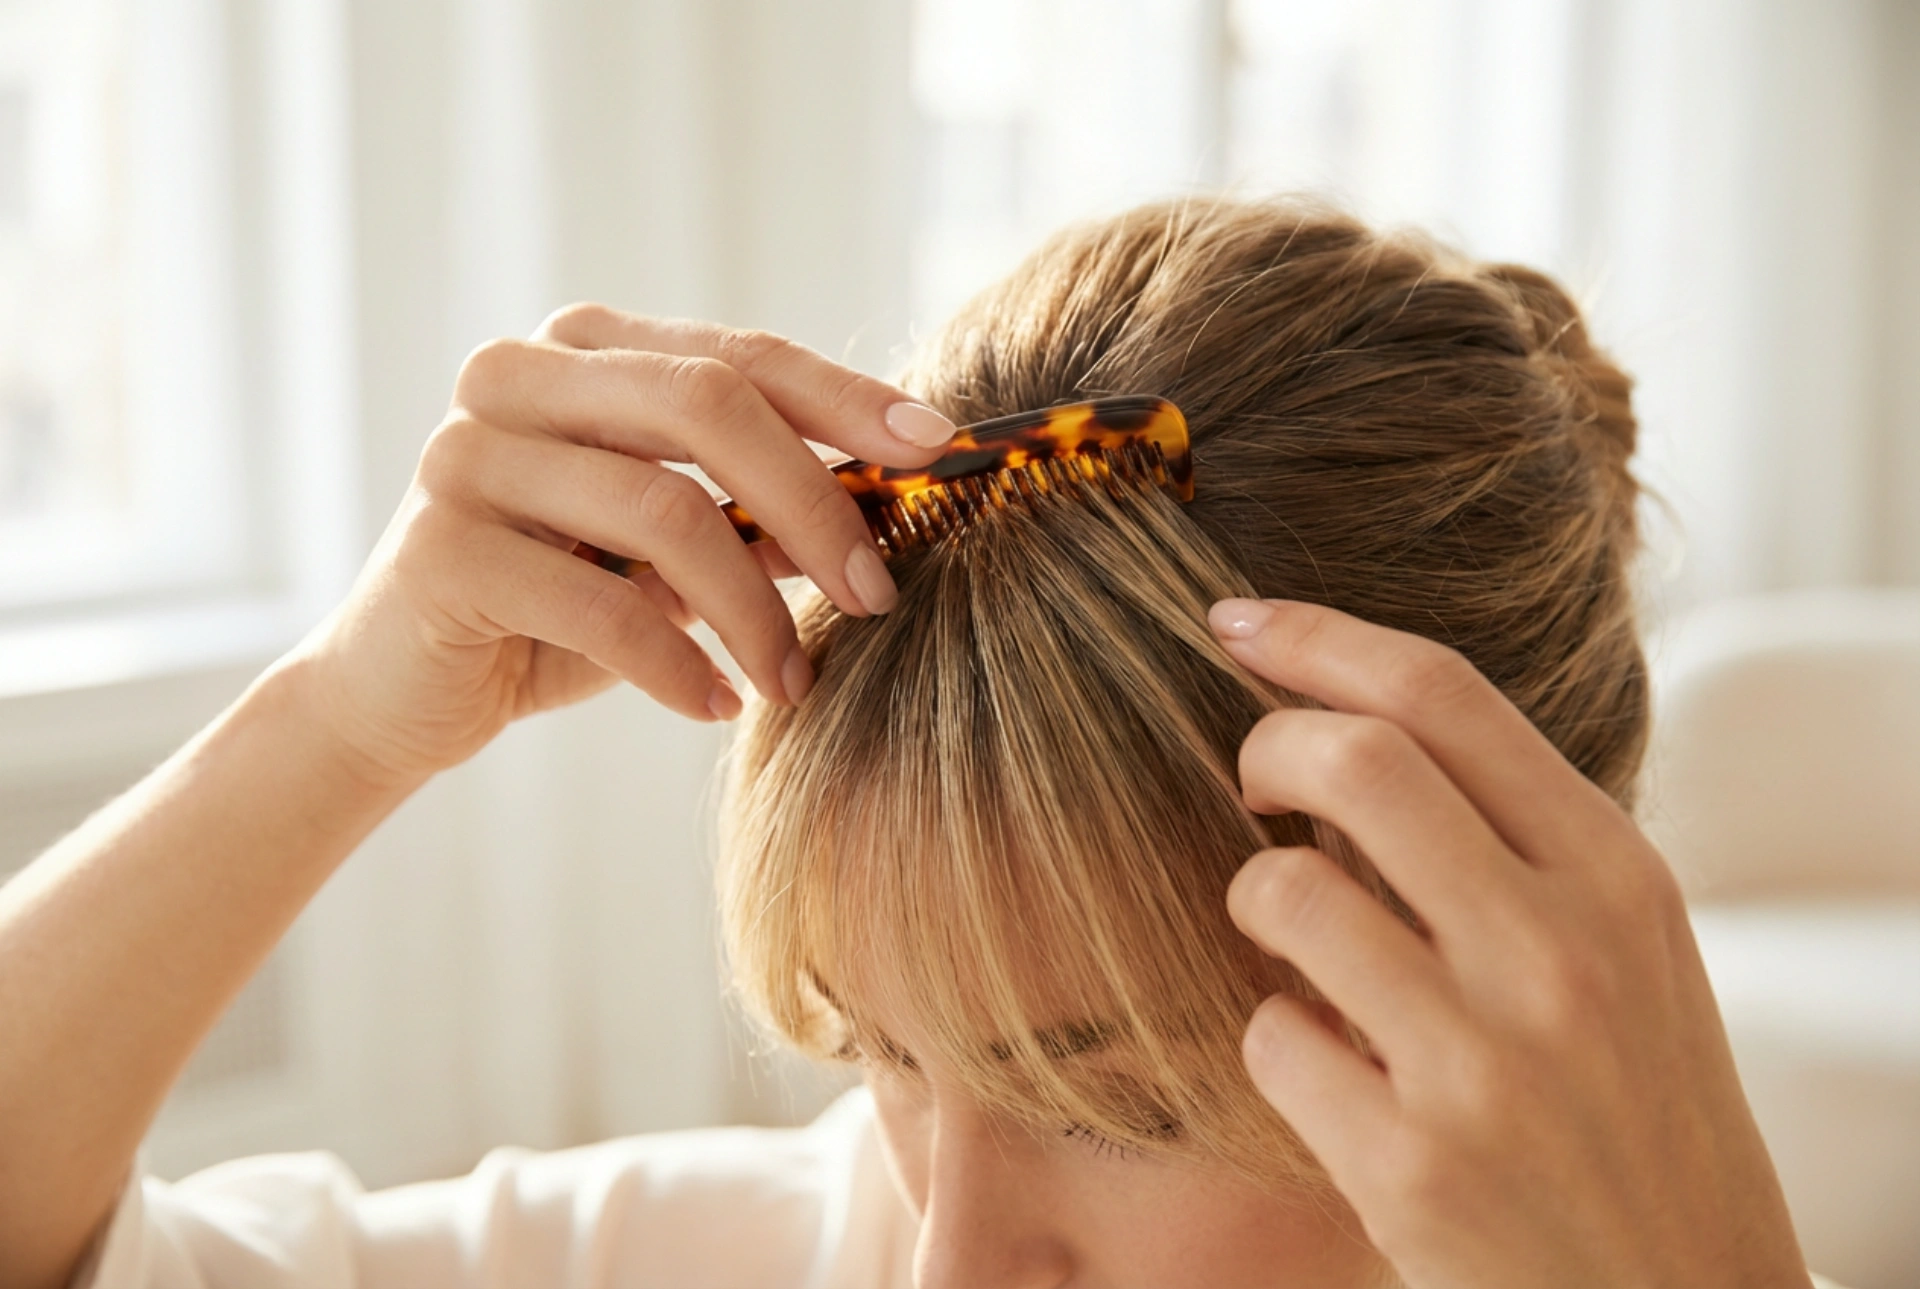
For the best results, start with dry hair. If your hair is freshly washed, it might be too soft and slippery to hold the style. Hair that is a day old often has better texture and grip. If your fringe is prone to oiliness or you need extra volume and hold, a light spritz of dry shampoo at the roots can work wonders. Brush your fringe forward, ensuring it is smooth and free of tangles. Use a comb to neatly separate the fringe from the rest of your hair, creating a clean section to work with. This will prevent other strands from accidentally getting caught in your bun.
Step-by-Step Guide to the Perfect Fringe Bun
This hairstyle is surprisingly simple and relies on a good twisting and pinning technique. Follow these steps for a secure and stylish mini bun that lasts all day.
Step 1: Gather and Twist
Once your fringe is separated, gather all the strands together with one hand. Hold the section of hair firmly and begin to twist it. Twist the hair away from your face, moving upwards and backwards, creating a tight, rope-like strand. The tighter the twist, the neater your bun will be. Continue twisting until you reach the ends of the hair, keeping the tension consistent throughout the section.
Step 2: Coil into a Bun
Now, take the twisted rope of hair and begin to coil it around its own base, right where it meets your scalp. Wrap the hair around itself in a spiral motion, creating a tiny, compact bun. Tuck the very end of the hair underneath the coil to keep it hidden and secure. You can use your fingers to shape the bun, making it as tight or as loose as you prefer.
Step 3: Secure with Pins
The key to a long-lasting fringe bun is proper pinning. Take two small bobby pins that match your hair colour. For maximum hold, insert them in an 'X' shape. Slide the first pin through one side of the bun, making sure it catches both the coiled hair and the base hair on your scalp. Insert the second pin from the opposite side, crossing over the first one. This creates a strong anchor that will keep your mini bun in place without feeling too tight.
Finishing Touches and Variations
Once your bun is secure, you can customise the look. For a softer, more romantic style, gently pull at the edges of the bun to loosen it slightly and allow a few wisps to escape. For a super sleek and polished finish, you can apply a tiny amount of smoothing cream or light-hold gel to your fringe before twisting. A final, light mist of hairspray will help to tame any flyaways and set your style for the day. You can also accessorise your fringe bun with a small, decorative clip or slide a headband behind it for an extra touch of flair.


