


Achieving perfectly defined, bouncy corkscrew curls can transform your look, adding volume and texture that exudes vibrancy. This iconic style, reminiscent of delicate springs, is surprisingly achievable at home with the right tool and technique. The secret lies in using a thin curling wand, a specialised instrument designed for creating tight, long-lasting curls. Understanding when and how to use it is key to mastering this beautiful hairstyle.
Why Choose a Thin Curling Wand?
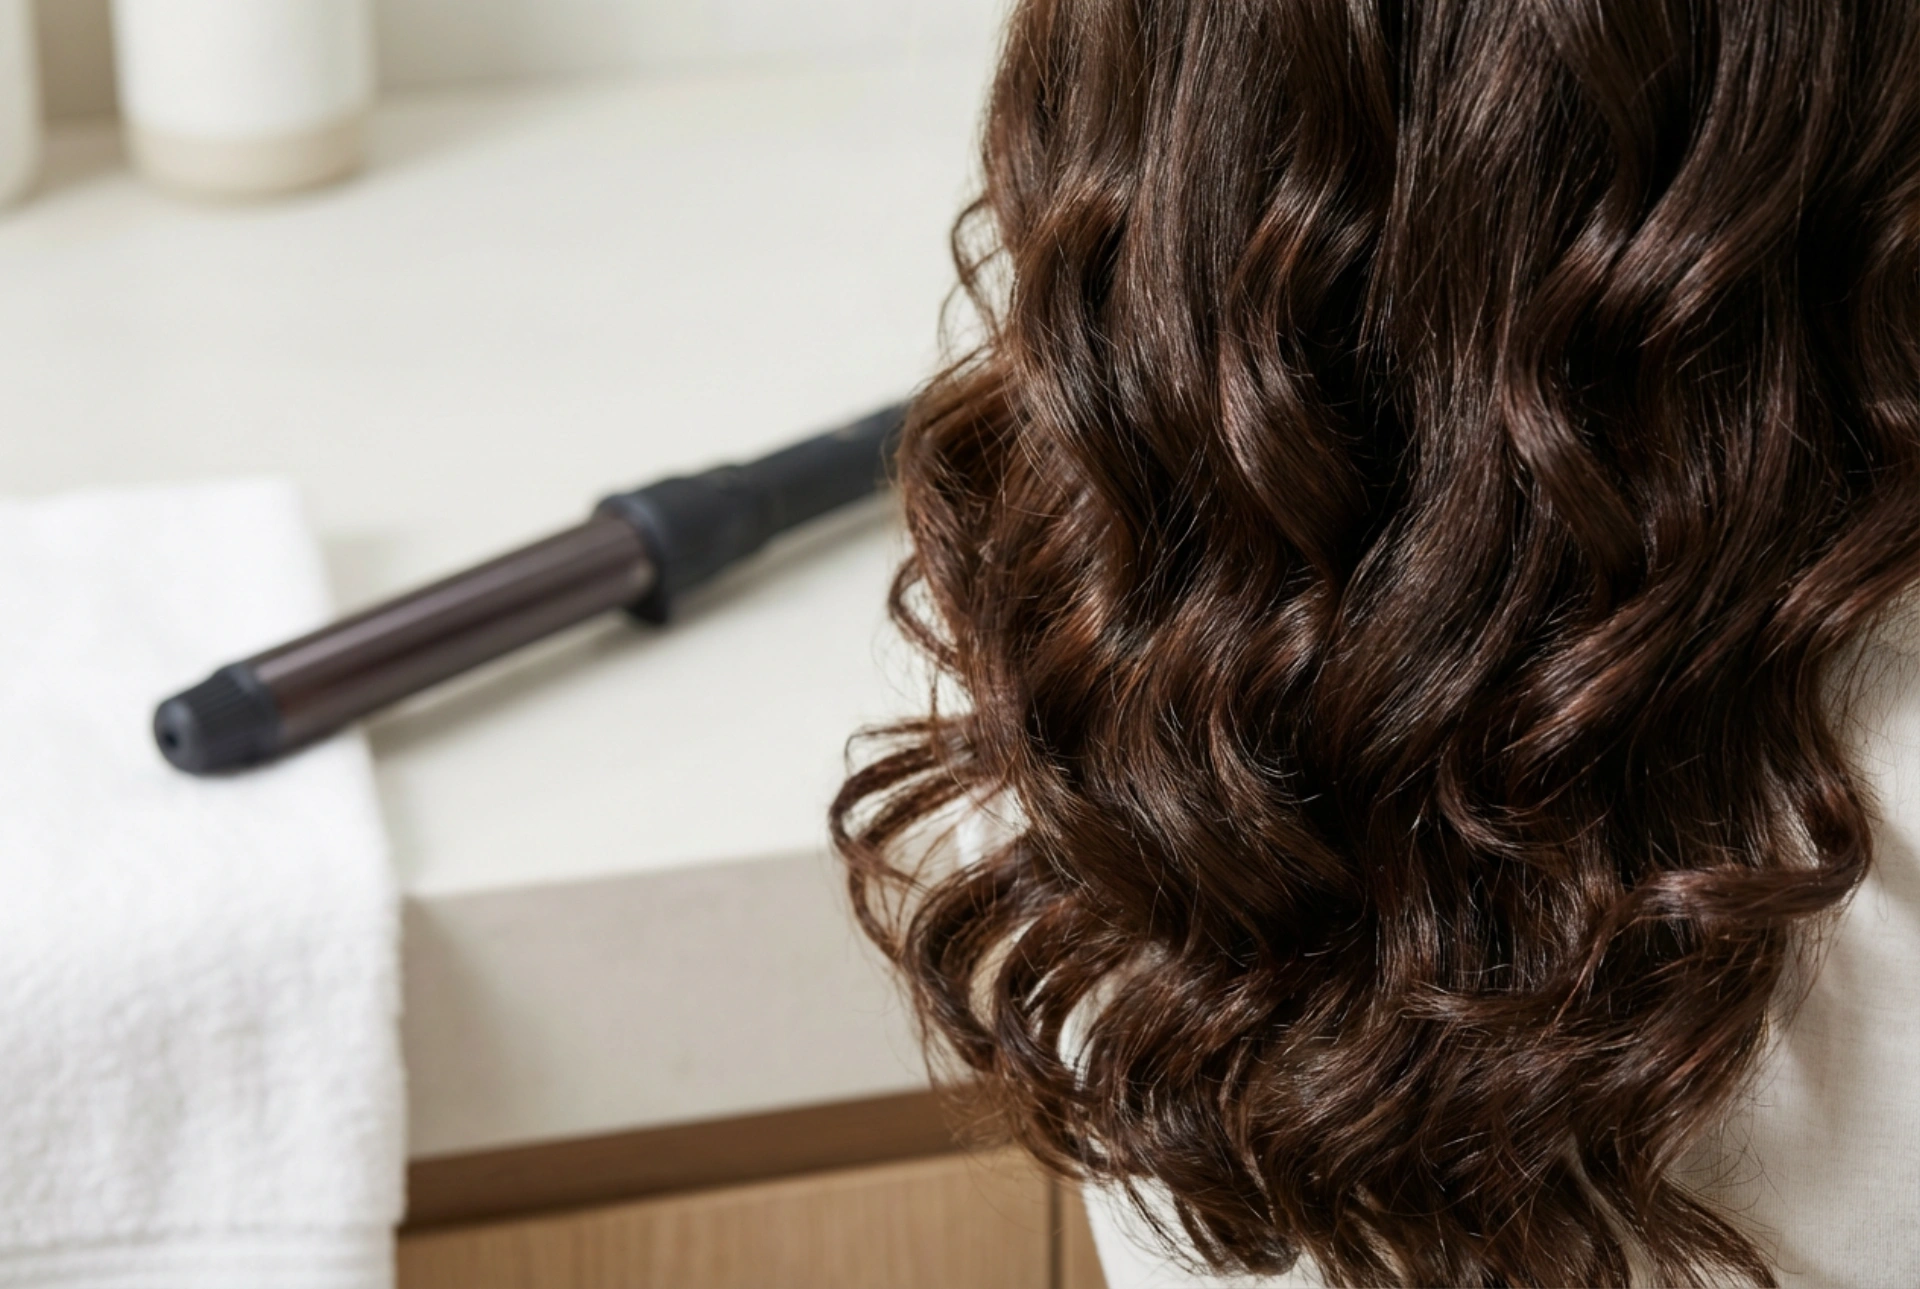
While larger barrel curling irons are perfect for creating loose waves and gentle bends, a thin wand (typically between 10mm and 19mm in diameter) is specifically designed for tighter, more defined curls. It is the ideal choice in several situations:
- For creating distinct corkscrew curls: The small diameter is essential for forming the tight, spiral shape that defines this style.
- For hair that struggles to hold a curl: Fine or very straight hair often loses its shape quickly. The intense, tight curl created by a thin wand has significantly more staying power and will gradually relax into a softer wave rather than dropping out completely.
- To add definition to naturally curly hair: If your natural curls are inconsistent or prone to frizz, a thin wand can be used to touch up and define individual strands, creating a more polished and uniform look.
- To achieve maximum volume: A head full of small, tight curls creates an illusion of much thicker and more voluminous hair, especially when styled correctly at the roots.
Preparing Your Hair for Heat Styling
Proper preparation is crucial not only for the final result but also for protecting the health of your hair. Rushing this stage can lead to uneven curls and unnecessary damage. Before you even plug in your curling wand, follow these essential steps.
Start with Dry, Clean Hair
Always ensure your hair is 100% dry before applying heat. Using a hot tool on damp hair can cause significant damage as the water inside the hair shaft turns to steam. For best results, work with hair that was washed the day before, as the slight natural oils can help hold the style better than freshly washed, silky hair.
Apply a Heat Protectant
This is a non-negotiable step. A good quality heat protectant spray creates a barrier between your hair and the hot tool, minimising moisture loss and reducing the risk of heat damage. Mist it evenly throughout your hair, from roots to ends, and gently comb it through to ensure full coverage.
Section Your Hair
Styling your entire head of hair at once is inefficient and leads to a messy result. Use clips to divide your hair into manageable sections. A good starting point is to create four main sections: two at the front and two at the back. You will then work with small sub-sections from each main part, typically about 1-2 cm wide. The smaller the section, the tighter and more defined the curl will be.
The Technique for Perfect Corkscrew Curls
With your hair prepped, it’s time to start curling. Set your tool to a temperature appropriate for your hair type—lower heat for fine or colour-treated hair and slightly higher for coarse or thick hair. Always start with a lower setting and increase only if necessary.
The Wrapping Method
Take your first small section of hair. Hold the curling wand vertically with the tip pointing downwards. Starting near the root, wrap the section of hair flat against the barrel. Continue wrapping down the length of the strand until you reach the ends. Hold it in place for 5-10 seconds. The exact time will depend on your hair's texture and the heat setting. Avoid leaving it for too long to prevent damage.
Release and Set
Gently unwind the hair or slide the wand out of the curl. To create a really long-lasting curl, catch the freshly made spiral in the palm of your hand and hold it for a few seconds as it cools. For maximum staying power, you can even use a small pin clip to secure the coiled curl to your head while it cools completely. Repeat this process for all sections of your hair.
Alternate Directions for a Natural Look
For a modern, voluminous style, alternate the direction you wrap the hair around the wand. Curl one section away from your face, and the next section towards your face. This variation prevents the curls from clumping together and creates a more natural, dynamic texture. For a more classic, uniform look, you can curl all sections in the same direction.
Finishing Touches and Aftercare
Once all your hair is curled and has completely cooled down, it's time for the final steps. Resist the urge to brush your new curls with a hairbrush, as this will pull them out and create frizz. Instead, gently run your fingers through your hair to separate the curls. If you want more volume, you can gently shake your hair out at the roots with your head flipped upside down. To lock in your style, apply a light-hold finishing spray. This will provide hold and control frizz without making your curls feel stiff or crunchy. Your beautiful corkscrew curls should now last all day and can often be refreshed the next day with a little dry shampoo at the roots.


