


Achieving perfectly symmetrical waves, often seen as a salon-exclusive look, is now more accessible thanks to innovative styling tools. A rotary curling iron, with its automatic rotating barrel, can be your key to creating balanced and elegant waves at home. Understanding the right technique is crucial for a polished, professional-looking result. This guide will walk you through the steps to master your rotary curler and style flawless, symmetrical waves every time.
Preparing Your Hair for Styling
Proper preparation is the foundation of any great hairstyle. It not only helps the style last longer but also protects your hair from potential heat damage. Start with clean, completely dry hair. Attempting to curl damp hair can cause significant damage. Before you even think about plugging in your tool, apply a heat protectant spray or serum evenly from roots to ends. This creates a protective barrier between your hair and the heat. Gently brush through your hair to remove any tangles and ensure the product is distributed evenly.
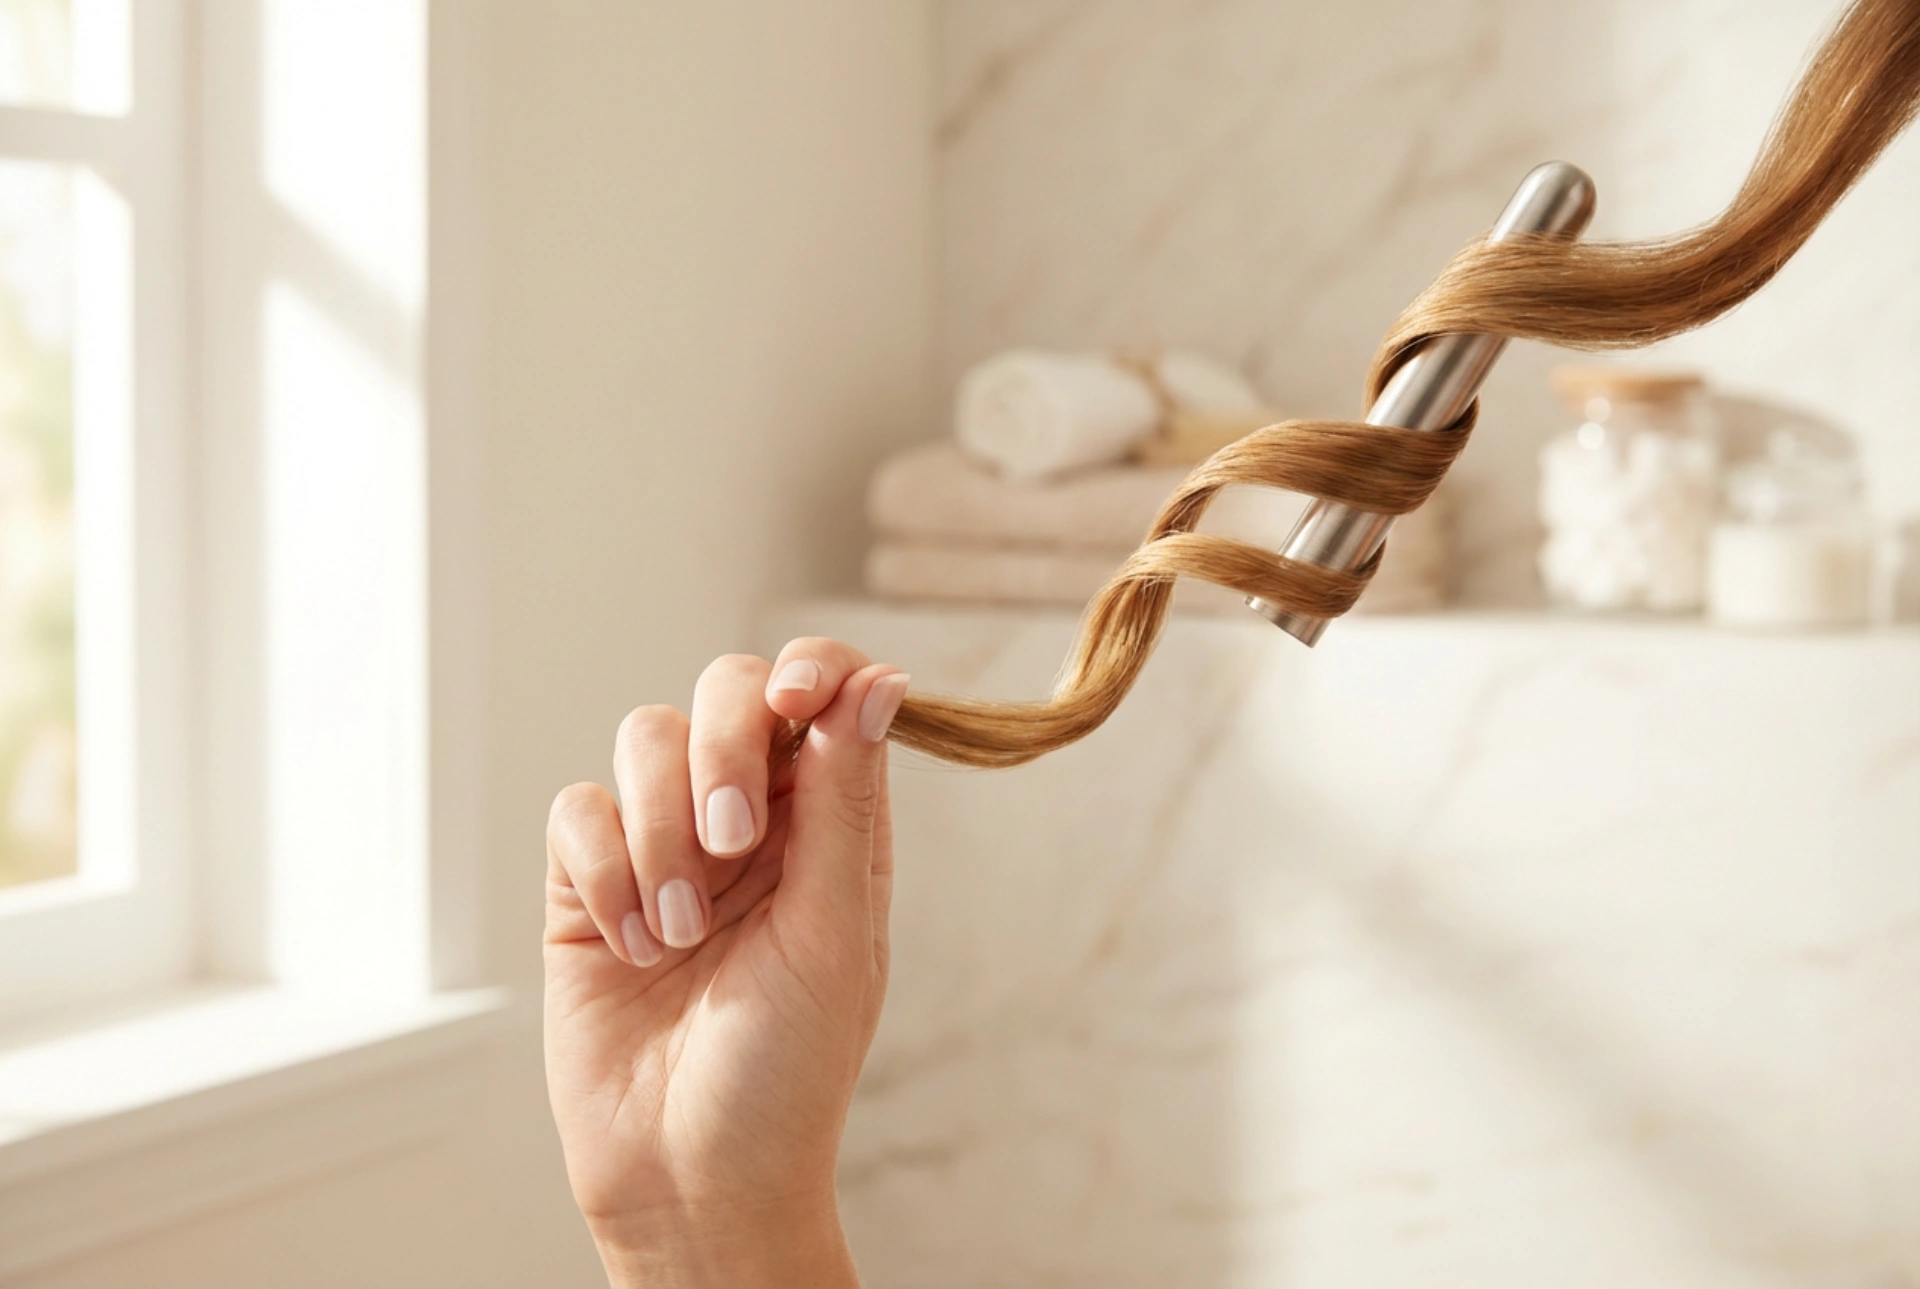
Understanding Your Rotary Curling Iron
Before you begin, familiarise yourself with your tool. Most rotary curling irons have a few key features:
- Temperature Settings: Choose a temperature appropriate for your hair type. Fine or colour-treated hair requires a lower setting, while thick or coarse hair may need a higher temperature. Always start lower and increase if necessary.
- Rotation Buttons: There will typically be two buttons to control the direction of the rotation (left and right). This is the most important feature for creating symmetrical waves.
- Barrel Clamp: A small clamp holds the end of the hair section in place as the barrel rotates.
Practising with the tool while it's turned off can help you get a feel for the rotation and how to handle the hair sections without the pressure of heat.
The Technique for Symmetrical Waves
Symmetry is all about direction. The general rule is to curl the hair away from your face on both sides. This opens up your features and creates a balanced, harmonious look.
Step 1: Section Your Hair
Divide your hair into manageable sections. A good approach is to split your hair down the middle into two main parts (left and right). Then, work with smaller, 1- to 2-inch wide horizontal sub-sections, starting from the bottom layer of your hair and moving upwards. Clipping the rest of your hair out of the way will make the process much neater and easier to manage.
Step 2: Choose the Correct Rotation Direction
This is the secret to symmetry. For the hair on the right side of your face, you will use the rotation button that makes the barrel spin away from your face (typically clockwise). For the hair on the left side of your face, you will use the opposite rotation button to spin the barrel away from your face (counter-clockwise). Always curl away from your face on both sides.
Step 3: Curl Each Section
Take your first section of hair. Place the ends into the clamp and position the curling iron vertically. Press the appropriate rotation button and allow the tool to automatically wrap the hair around the barrel. Hold it in place for about 8-10 seconds, depending on your hair type and the temperature. Avoid letting the barrel get too close to your scalp. To release, simply pull the iron downwards gently, or use the release function if your tool has one.
Finishing Touches and Tips for Longevity
Once all sections are curled, allow the waves to cool down completely. This is a critical step for setting the style. Touching or brushing them while they are still warm will cause them to fall out much faster. Once cool, you can gently run your fingers through the waves to loosen them into a more natural, flowing style. For a softer look, you can use a wide-tooth comb. To finish, apply a light-hold hairspray to lock in the waves without making them stiff or crunchy. Avoiding heavy products will ensure your waves have natural movement and bounce.


