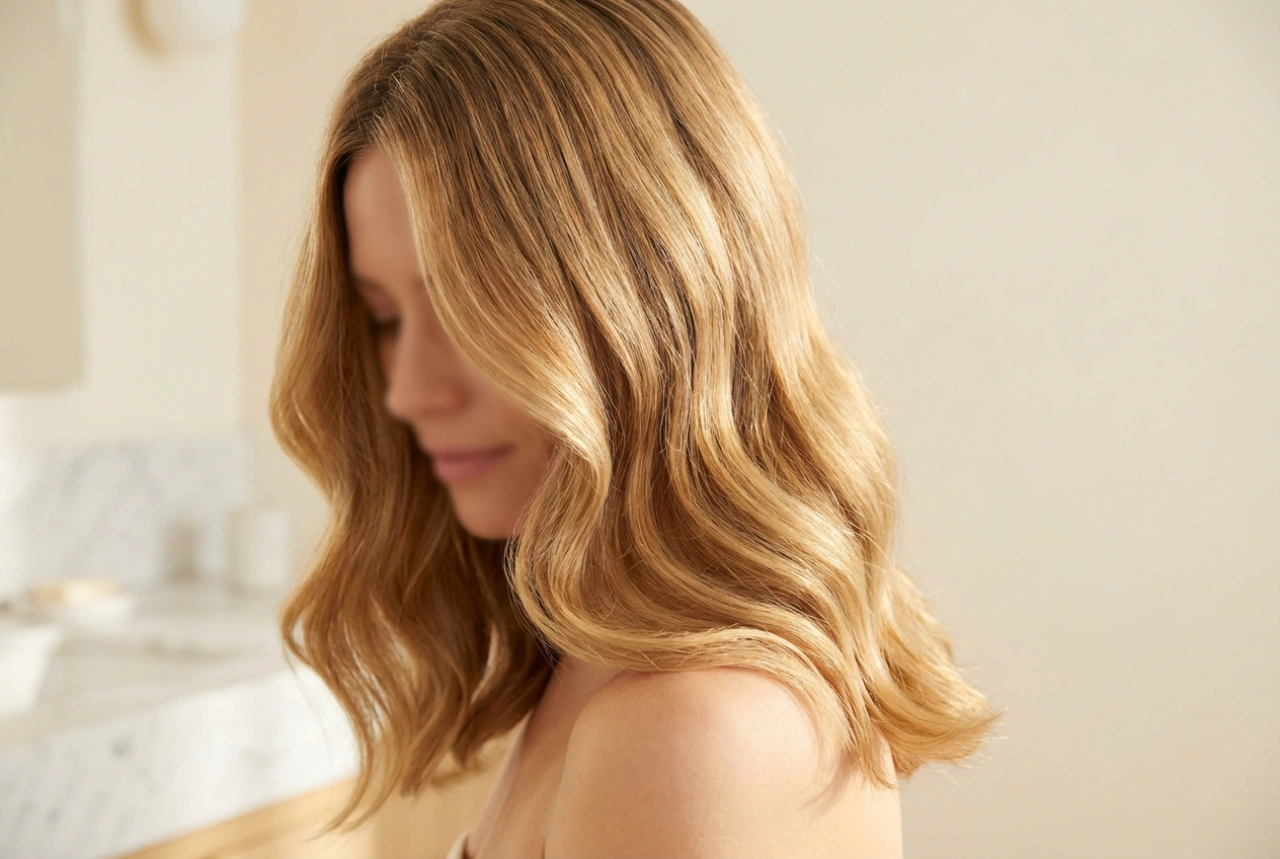


Creating beautiful, bouncy curls can often feel like a time-consuming and complicated task. However, modern styling tools have revolutionised the process, making it possible to achieve perfectly formed, soft, and shiny waves with minimal effort. An automatic hair curler is one such innovation, promising salon-quality results from the comfort of your home. This guide will walk you through how to use this device safely and effectively to get the curls you've always wanted, without the risk of heat damage.
Understanding the Automatic Hair Curler
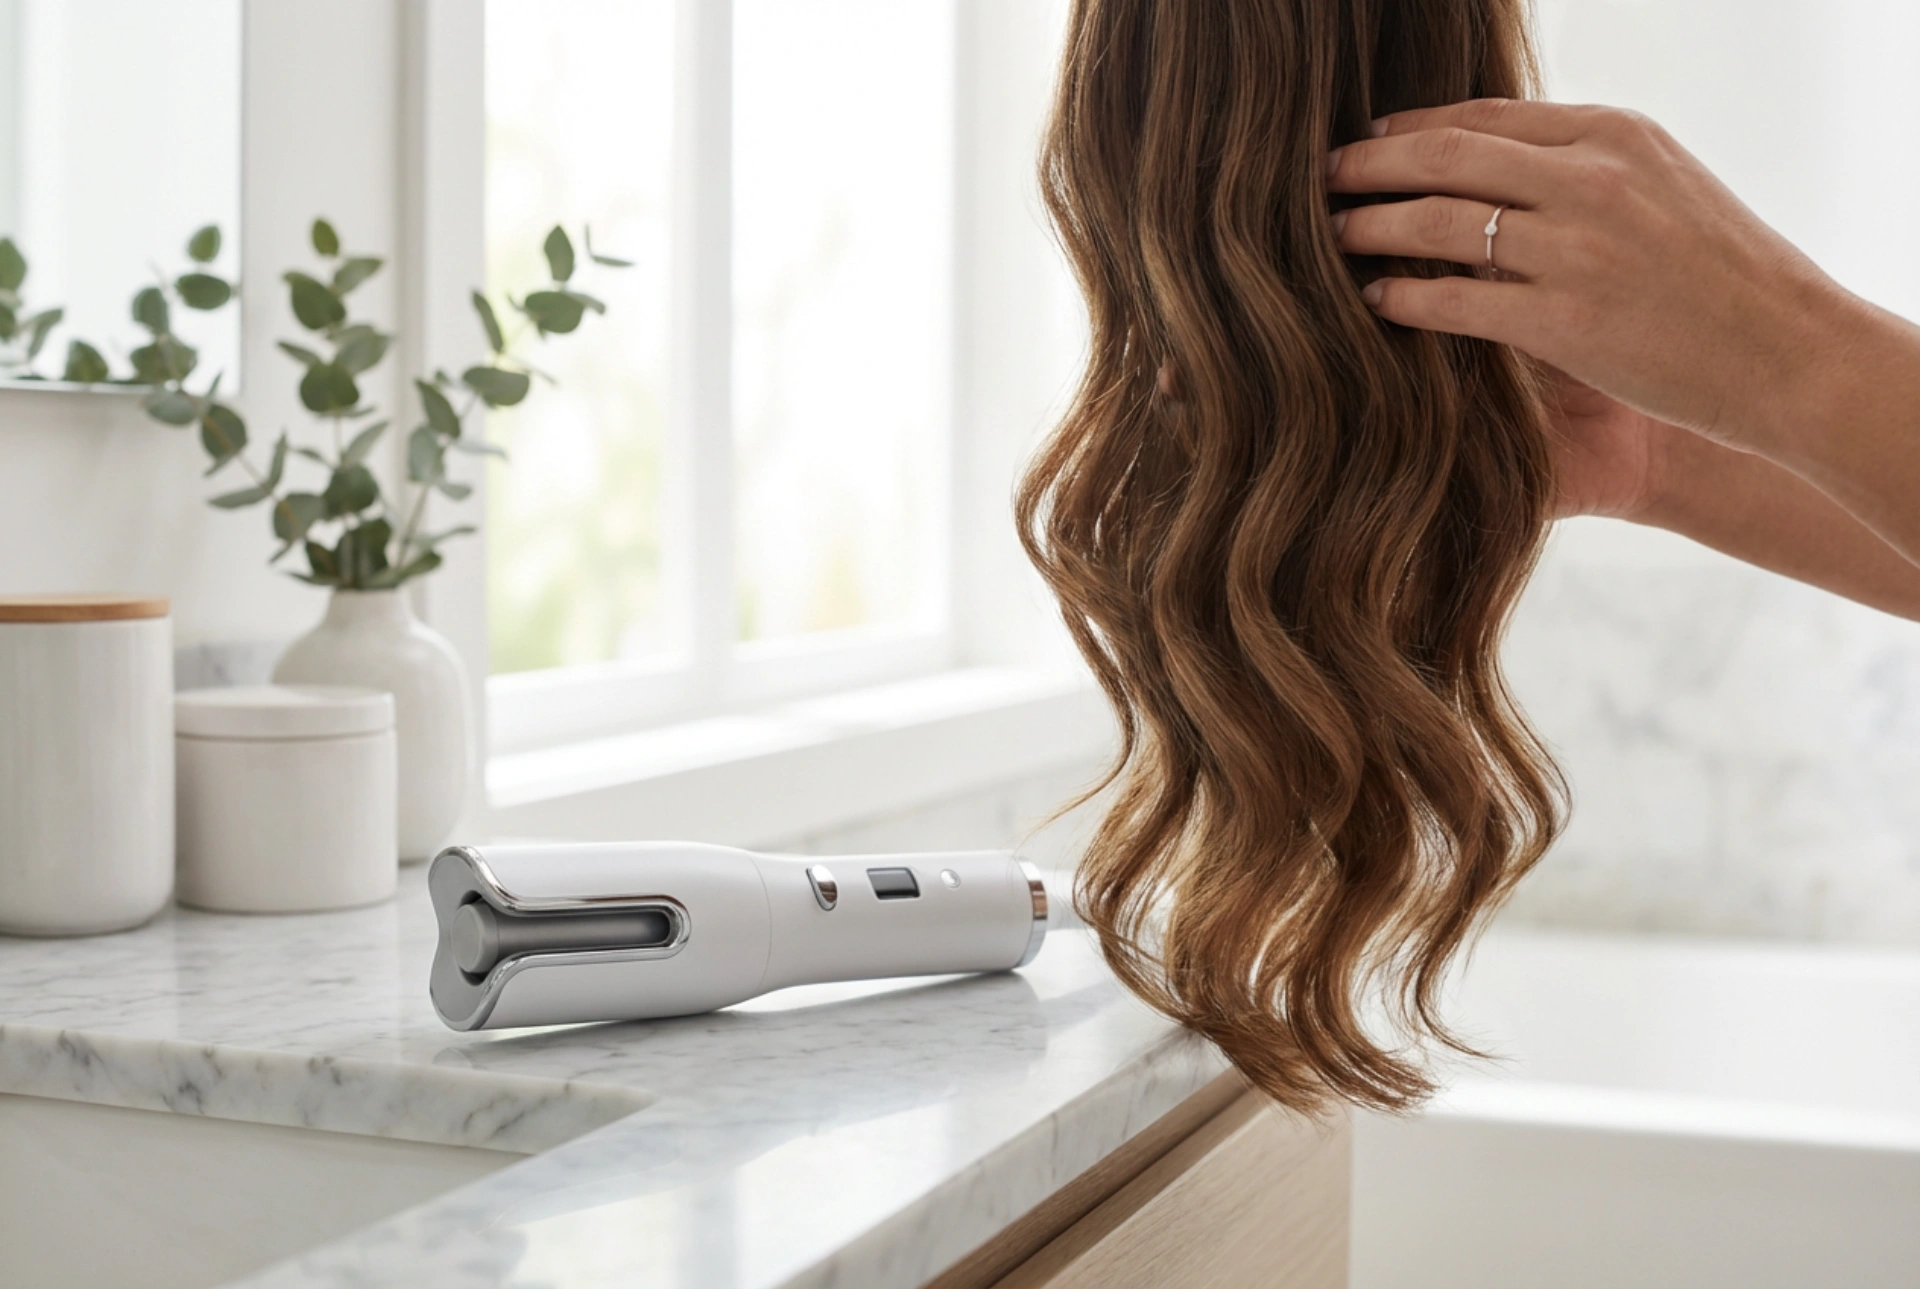
Unlike traditional curling tongs or wands that require manual wrapping, an automatic curler gently draws a section of hair into a heated chamber. Inside, the hair is automatically wound around an internal barrel and heated for a set amount of time. The device then typically beeps to signal that the curl is ready. This mechanism ensures a uniform curl pattern and significantly reduces the chance of accidental burns to your fingers or scalp. Most models come with adjustable temperature and timer settings, allowing you to customise the style from loose waves to tight ringlets, depending on your hair type and desired look.
Preparing Your Hair for Heat Styling
Proper preparation is the key to achieving beautiful, long-lasting curls while protecting the health of your hair. Rushing this stage can lead to uneven results and unnecessary damage.
Start with Clean, Dry Hair
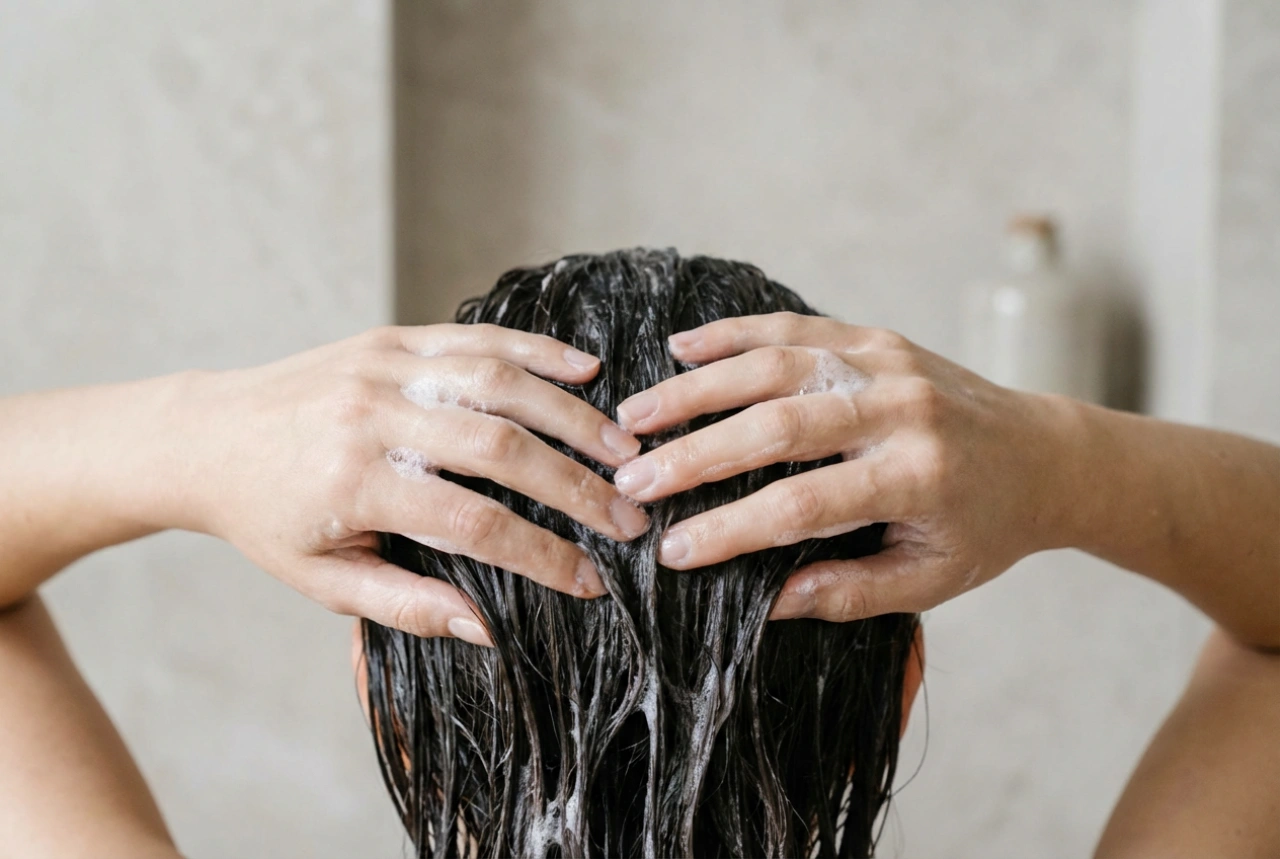
For best results, use an automatic curler on hair that has been recently washed and is completely dry. Styling damp hair with any heat tool can cause significant damage as the water inside the hair shaft turns to steam and expands. After washing, either air-dry your hair or use a blow-dryer. If you blow-dry, ensure every strand is dry to the touch before you begin curling.
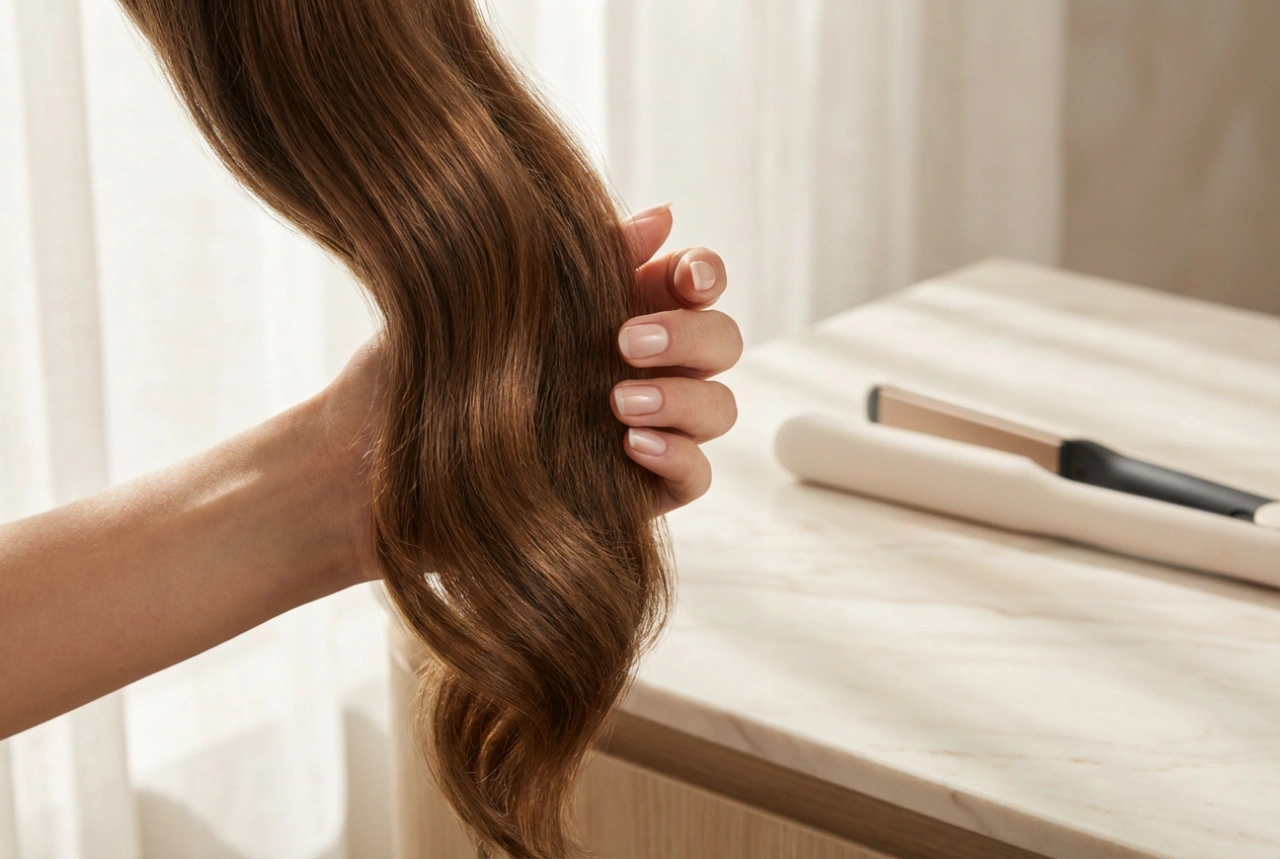
Apply a Heat Protectant
This is a non-negotiable step. A quality heat protectant spray creates a barrier between your hair and the high temperatures of the curler, helping to minimise moisture loss and damage to the hair's cuticle. Spray it evenly throughout your hair, from roots to ends, and comb through to ensure full coverage.
Detangle and Section Your Hair
Thoroughly brush your hair to remove any knots or tangles. Smooth hair will glide into the curling chamber easily, preventing snags. Afterwards, divide your hair into manageable sections using clips. Working with smaller, organised sections makes the process quicker and ensures that every part of your hair is styled consistently.
A Step-by-Step Guide to Using Your Automatic Curler
Once your hair is prepped, you can begin styling. Familiarise yourself with your device’s settings before you start. It’s often a good idea to begin with a lower temperature setting, especially if you have fine or colour-treated hair.
- Step 1: Choose Your Settings. Select the appropriate temperature and timer setting for your hair type. Many devices also offer a curl direction setting (left, right, or alternating), which can help create a more natural-looking style.
- Step 2: Isolate a Small Section of Hair. Take a small, smooth section of hair, typically about 1-2 inches wide. The smaller the section, the tighter the curl will be. Make sure the section is combed through and free of tangles.
- Step 3: Position the Curler. Place the automatic curler where you want the curl to begin. Hold the device with the opening of the curl chamber facing your head.
- Step 4: Insert the Hair. Insert the top of the hair section into the opening. Keep the hair strand straight and taut as you place it in the guide.
- Step 5: Activate the Curling Mechanism. Press and hold the button to draw the hair into the chamber. The device will automatically wrap the hair around the internal barrel. Keep holding the button until you hear a series of beeps indicating the curl is formed.
- Step 6: Release the Curl. Let go of the button and gently pull the curler away from your head to release a perfectly formed curl. Avoid touching or pulling on the fresh curl while it is still warm.
- Step 7: Allow the Curl to Cool. Letting the curl cool down completely before styling further is crucial for longevity. You can either let it hang loose or gently cup it in your hand for a few seconds to help it set.
- Step 8: Repeat. Continue this process, section by section, until all your hair is curled. For a more natural look, consider using the alternating curl direction setting if your device has one.
Tips for a Flawless, Long-Lasting Finish
To ensure your curls last all day, wait until your entire head of hair is curled and completely cool before you do any further styling. Once cool, you can gently run your fingers through the curls to loosen them into softer waves. If you prefer more defined curls, you can leave them as they are. To finish, apply a light-mist hairspray to provide hold without making your hair feel stiff or crunchy. This will help your style withstand humidity and daily activities, keeping your curls looking fresh and bouncy for hours.