


The smooth bun is a hairstyle that exudes elegance and sophistication, making it a perennially popular choice for weddings and other formal events. Its clean lines and polished finish create a refined look that complements a wide range of styles. Achieving this impeccable, glistening updo requires careful preparation and the right techniques to ensure it looks flawless and stays in place from the ceremony to the final dance. This guide will walk you through the steps to create a beautiful, long-lasting smooth bun.
Preparing Your Hair for the Perfect Updo
The foundation of any great hairstyle is well-prepared hair. For a smooth bun, the goal is to create a sleek, manageable base that is free from frizz and ready for styling. Rushing this stage can make the rest of the process more difficult.
Timing Your Hair Wash
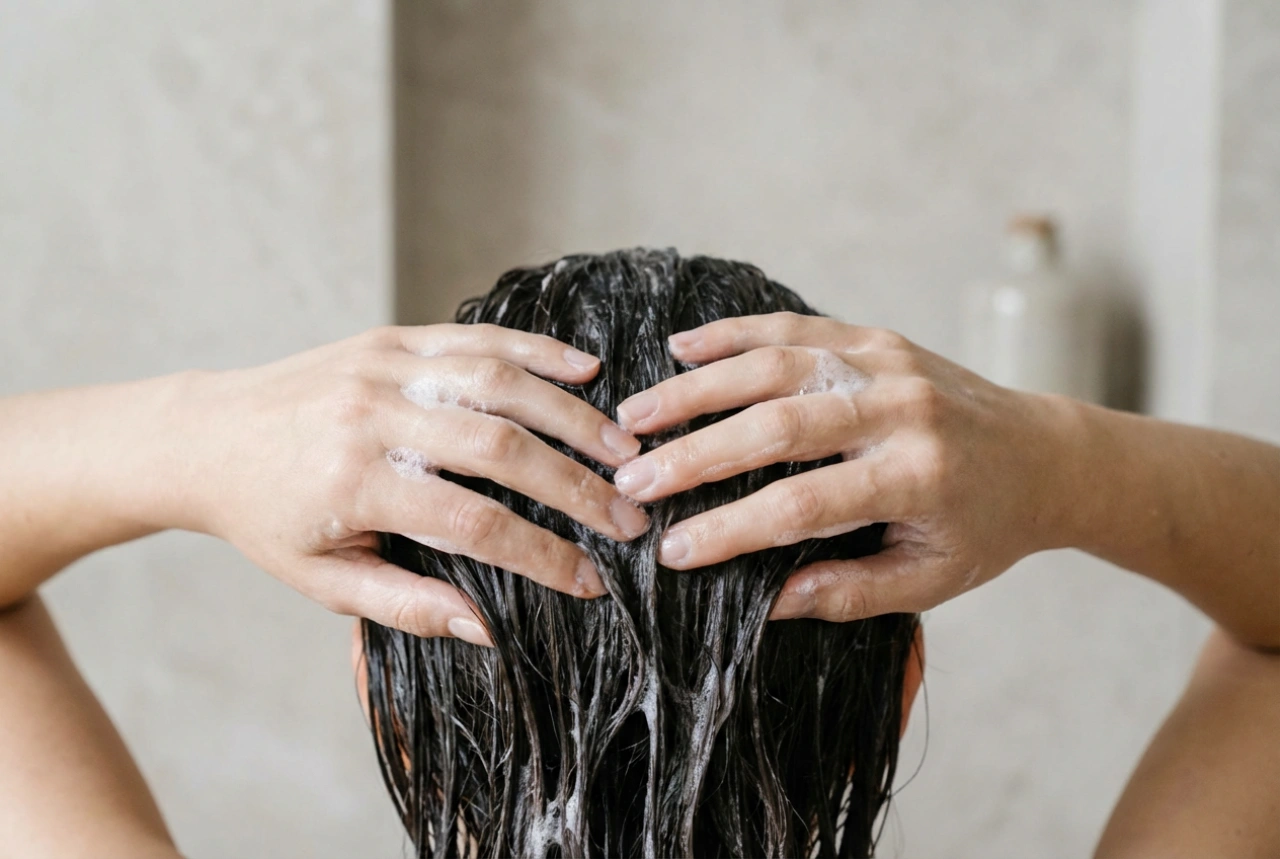
While it might seem logical to wash your hair on the morning of the event, freshly washed hair can often be too soft and slippery to hold a style securely. For better grip and manageability, it's generally recommended to wash your hair the day before. This allows some of your natural oils to return, providing a better texture for styling. When you do wash it, opt for a smoothing shampoo and conditioner to help combat frizz from the very beginning.
The Importance of a Smooth Blow-Dry
A proper blow-dry is crucial for creating a sleek canvas. After washing, gently towel-dry your hair and apply a heat protectant spray from roots to ends. Using a paddle brush or a large round brush, blow-dry your hair section by section, directing the hairdryer's nozzle downwards to smooth the hair cuticles. This technique helps to minimise flyaways and creates a naturally straight and glossy foundation for your updo.
Achieving a Flawlessly Smooth Finish
With your hair prepped, the next step is to refine its texture for that signature ultra-smooth appearance. This involves using the right tools and products to eliminate any remaining waves or frizz, resulting in a polished, mirror-like shine.
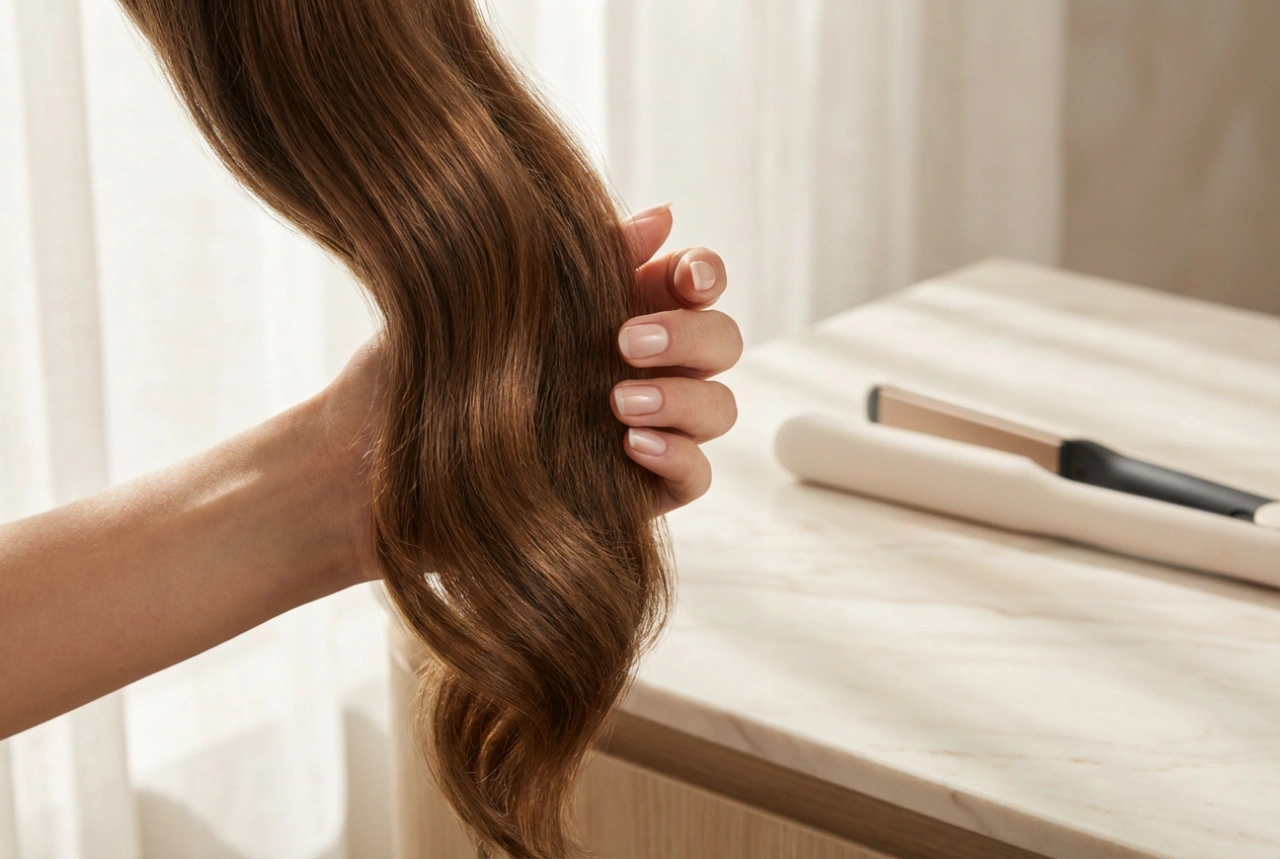
Using Tools for Sleekness
For an exceptionally sleek finish, a hair straightener is your best friend. Ensure your hair is completely dry before you begin, as using a hot tool on damp hair can cause damage. Work in small, manageable sections, gliding the straightener slowly from the roots to the ends. This not only straightens the hair but also seals the cuticle, which enhances shine and reduces the chance of frizz re-appearing later.
Applying Smoothing Products
The right products can elevate your style from smooth to perfectly sleek. However, the key is to use them sparingly to avoid weighing the hair down or making it look greasy.
- Smoothing Creams or Serums: Apply a small, pea-sized amount of a smoothing cream or anti-frizz serum to your palms, rub them together, and then lightly skim over the surface of your hair. This will tame flyaways and add a beautiful lustre.
- Taming Stubborn Hairs: For persistent flyaways around the hairline, spray a small amount of strong-hold hairspray onto a clean mascara wand or a soft-bristle toothbrush and gently comb them into place.
- Focus on the Ends: If your ends are dry, a tiny drop of lightweight hair oil can add moisture and create a seamless, polished look.
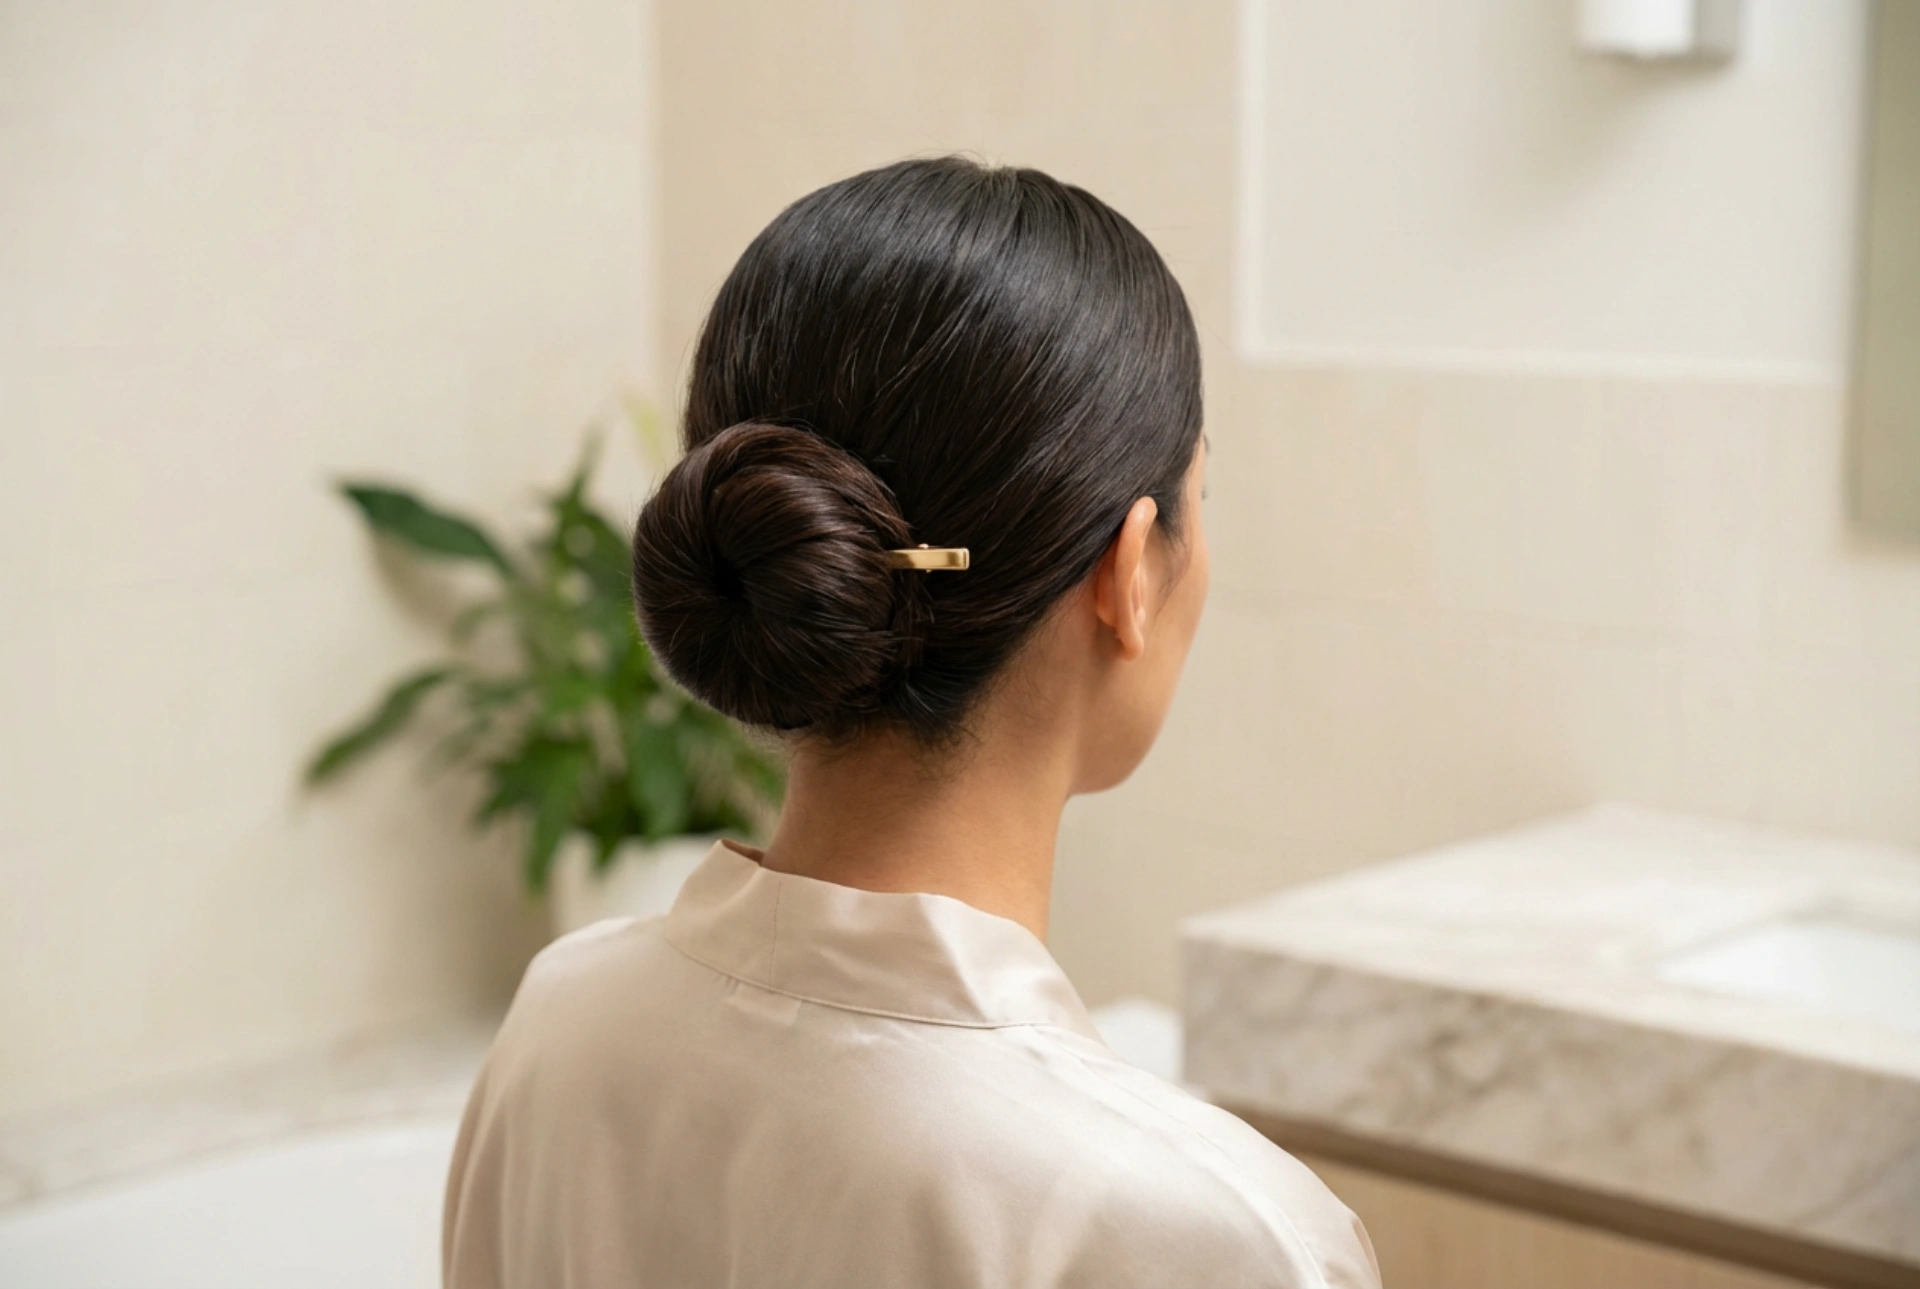
Creating and Securing the Bun
Once your hair is perfectly smooth, it's time to create the bun itself. The placement and technique you use will define the final style, whether you're aiming for a classic low bun or a chic high topknot.
Positioning the Ponytail
Begin by brushing your hair back into a tight, neat ponytail. The position of this ponytail will determine where your bun sits. A low ponytail at the nape of the neck creates a classic and elegant look, while a mid-height or high ponytail offers a more modern feel. Use a soft-bristle brush to smooth down any bumps as you gather your hair, and secure it tightly with a hair elastic that matches your hair colour.
Forming and Pinning the Bun
There are several ways to form the bun. A simple method is to twist the ponytail tightly, then wrap it around the base of the elastic, tucking the ends underneath. For a fuller, more perfectly shaped bun, you can use a hair doughnut. Slide the doughnut over your ponytail, spread your hair evenly over it, and secure the hair around the doughnut with another elastic. Wrap the remaining ends around the base and pin them. Use bobby pins and U-shaped hairpins to secure the bun firmly to your head. Insert them into the base of the bun, angling them towards the centre. Criss-crossing bobby pins will provide extra reinforcement.
Ensuring All-Day Hold and Shine
The final step is to lock your style in place and add a finishing touch of shine. A wedding day is long, and your hairstyle needs to withstand hours of activity while looking consistently perfect.
Setting the Style with Hairspray
A generous mist of a strong-hold hairspray is essential for longevity. Hold the can about 30 centimetres away from your head and spray evenly over the entire bun and surrounding hair. This creates a protective shield against humidity and movement without leaving your hair feeling stiff or sticky. For extra security, you can lightly spray the pins before inserting them.
Adding a Final Polish
To achieve that beautiful, light-catching glimmer, finish with a light mist of shine spray. This will enhance the sleek texture and give your hair a healthy, radiant appearance. Do a final check in the mirror from all angles, smoothing down any last-minute flyaways with a touch more spray on your fingertips. Your elegant, smooth bun is now complete and ready to last throughout your special day.