


Achieving perfectly defined, bouncy curls can transform your entire look, adding volume and texture that exudes elegance. While various tools can create waves, the secret to tight, spring-like curls lies in mastering the thin curling iron. This precise tool allows for the creation of intricate ringlets and springlets, giving your hair a lively, structured appearance. If you've ever admired those perfectly formed curls and wondered how to achieve them, this guide will walk you through the process step-by-step.
Preparing Your Hair for Heat Styling
Proper preparation is the foundation of any successful hairstyle, especially one that involves heat. To get the best results and protect your hair, follow these initial steps. Start with clean, completely dry hair. Curling damp hair can cause significant damage and will result in weak, undefined curls. After washing and conditioning, apply a heat protectant spray or serum evenly from roots to ends. This is a non-negotiable step as it creates a barrier between your hair and the high temperatures of the curling iron, minimising potential harm.
Choosing Your Tool and Temperature
Not all thin curling irons are the same. Look for one with an adjustable temperature setting, as this allows you to tailor the heat to your hair type. Fine or colour-treated hair requires a lower temperature (around 150-170°C), while thicker, coarser hair can handle a higher setting (180-200°C). Always start with a lower temperature and increase it only if necessary to avoid unnecessary heat exposure.
The Technique for Perfect Springlets and Ringlets
The magic is all in the technique. With a little practice, you'll be creating flawless curls like a professional. The key is to work with small, manageable sections of hair.
- Sectioning: Divide your hair into at least four main sections and clip them up. Then, work with small sub-sections, about 1-2 centimetres wide. The smaller the section, the tighter and more defined the curl will be.
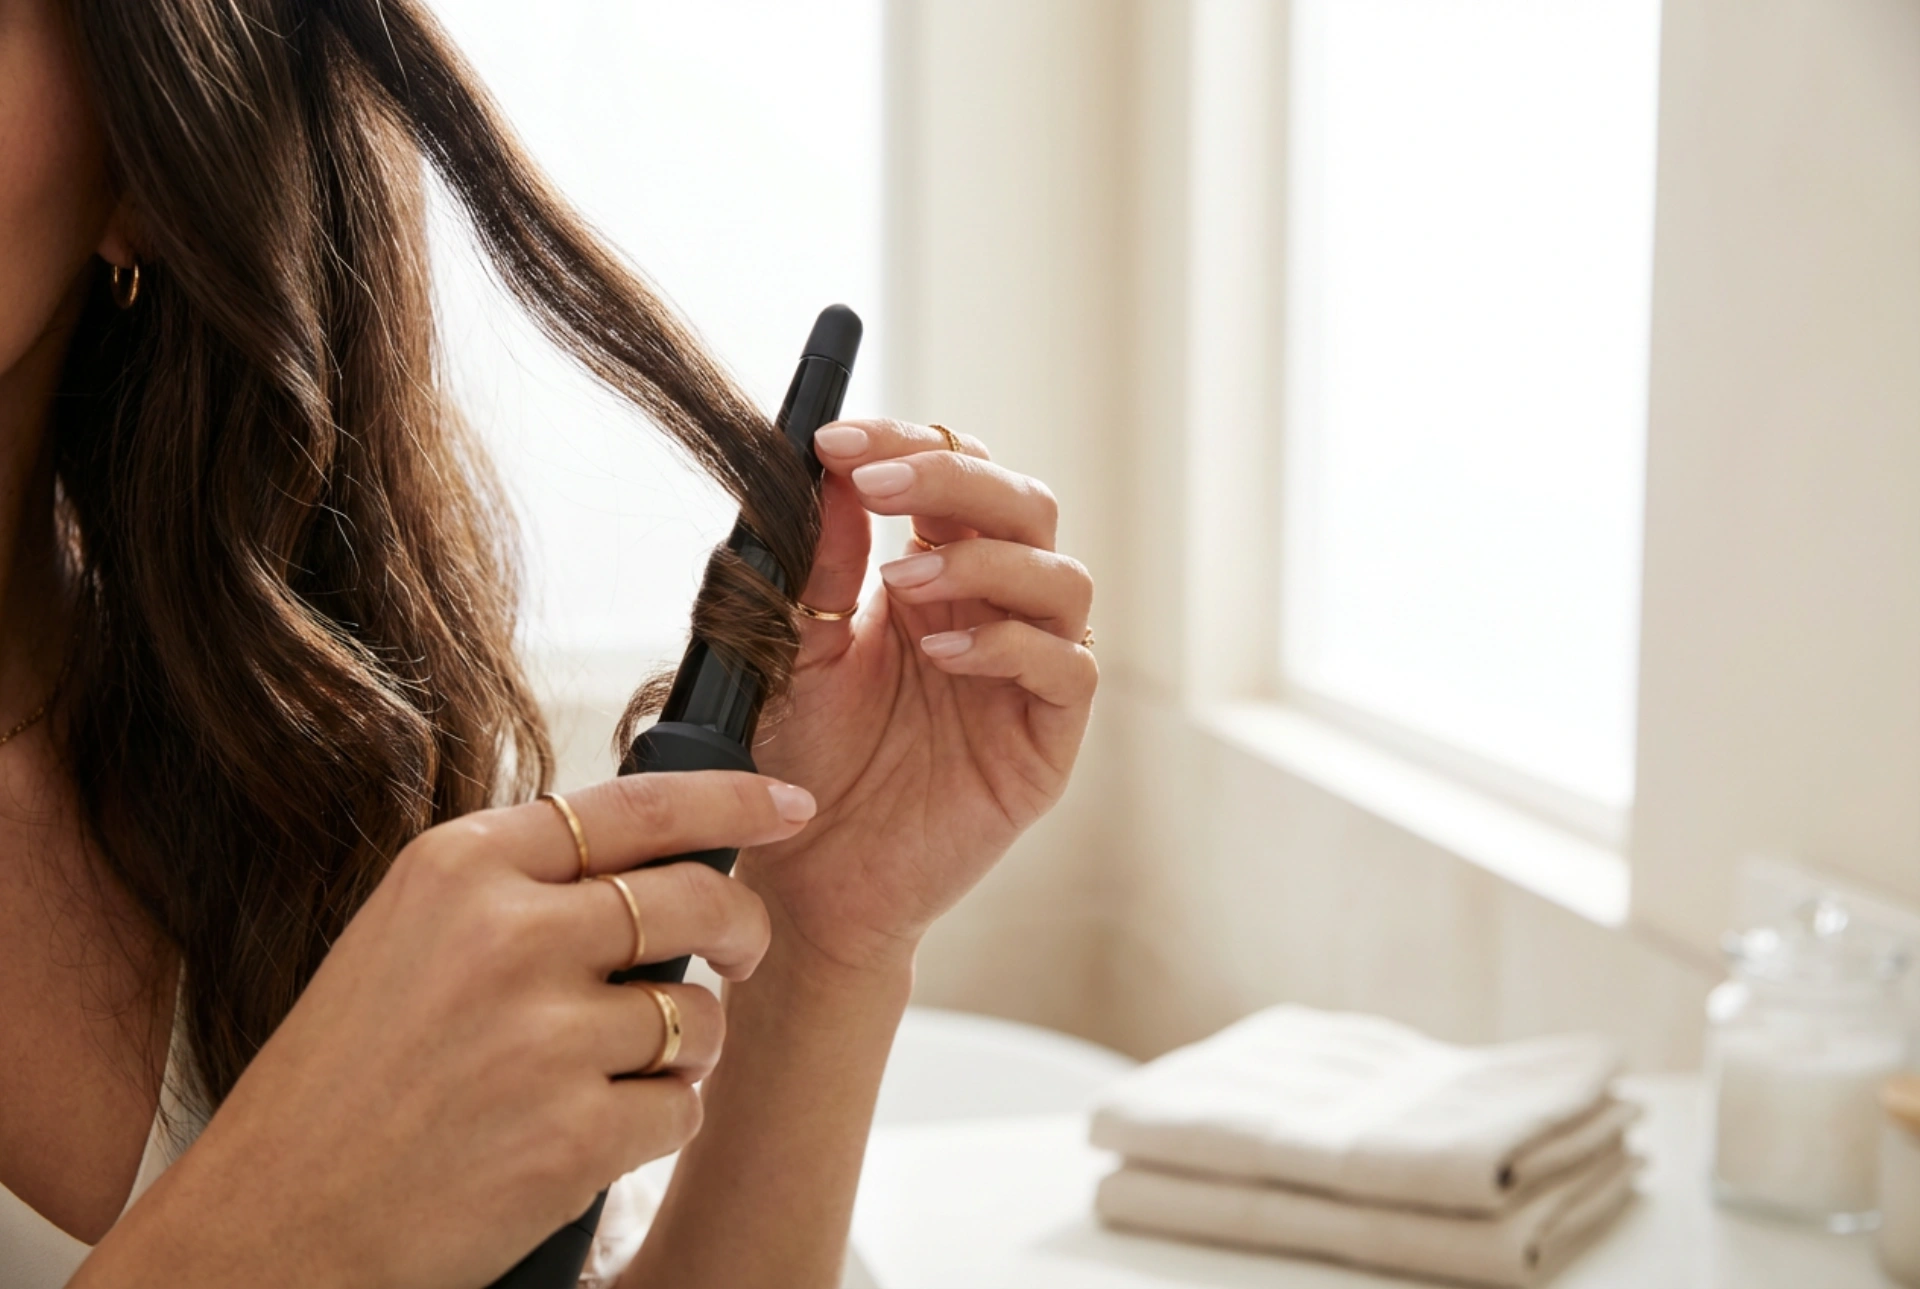
- Wrapping: Take one small section of hair. Starting near the root, wrap the hair flat against the barrel of the curling iron. Avoid twisting the hair strand as you wrap it, as this will create a less defined wave. Continue wrapping all the way to the ends.
- Holding and Releasing: Hold the hair around the barrel for about 5-8 seconds. The exact time will depend on your hair type and the temperature. Gently release the clamp and let the curl slide off the barrel into your palm.
Creating Lasting Definition and Volume
Creating the curls is only half the battle; making them last is the final, crucial step. The most important tip is to let each curl cool down completely before you touch or style it further. As you release a curl from the iron, you can either let it fall or, for maximum hold, pin it to your scalp with a small clip while it cools. This helps the curl set in its tight, springy shape.
Finishing Touches
Once all your hair is curled and completely cool, you can proceed with styling. For a look full of individual, defined ringlets, simply leave the curls as they are. If you prefer a softer, more voluminous style, gently run your fingers through your hair to separate the curls. Be careful not to brush them out, as this can cause them to lose their shape and become frizzy. To lock in your style and combat humidity, finish with a light mist of a flexible-hold hairspray. This will provide longevity without making your hair feel stiff or crunchy, allowing your beautiful springlets to bounce and move naturally all day long.


