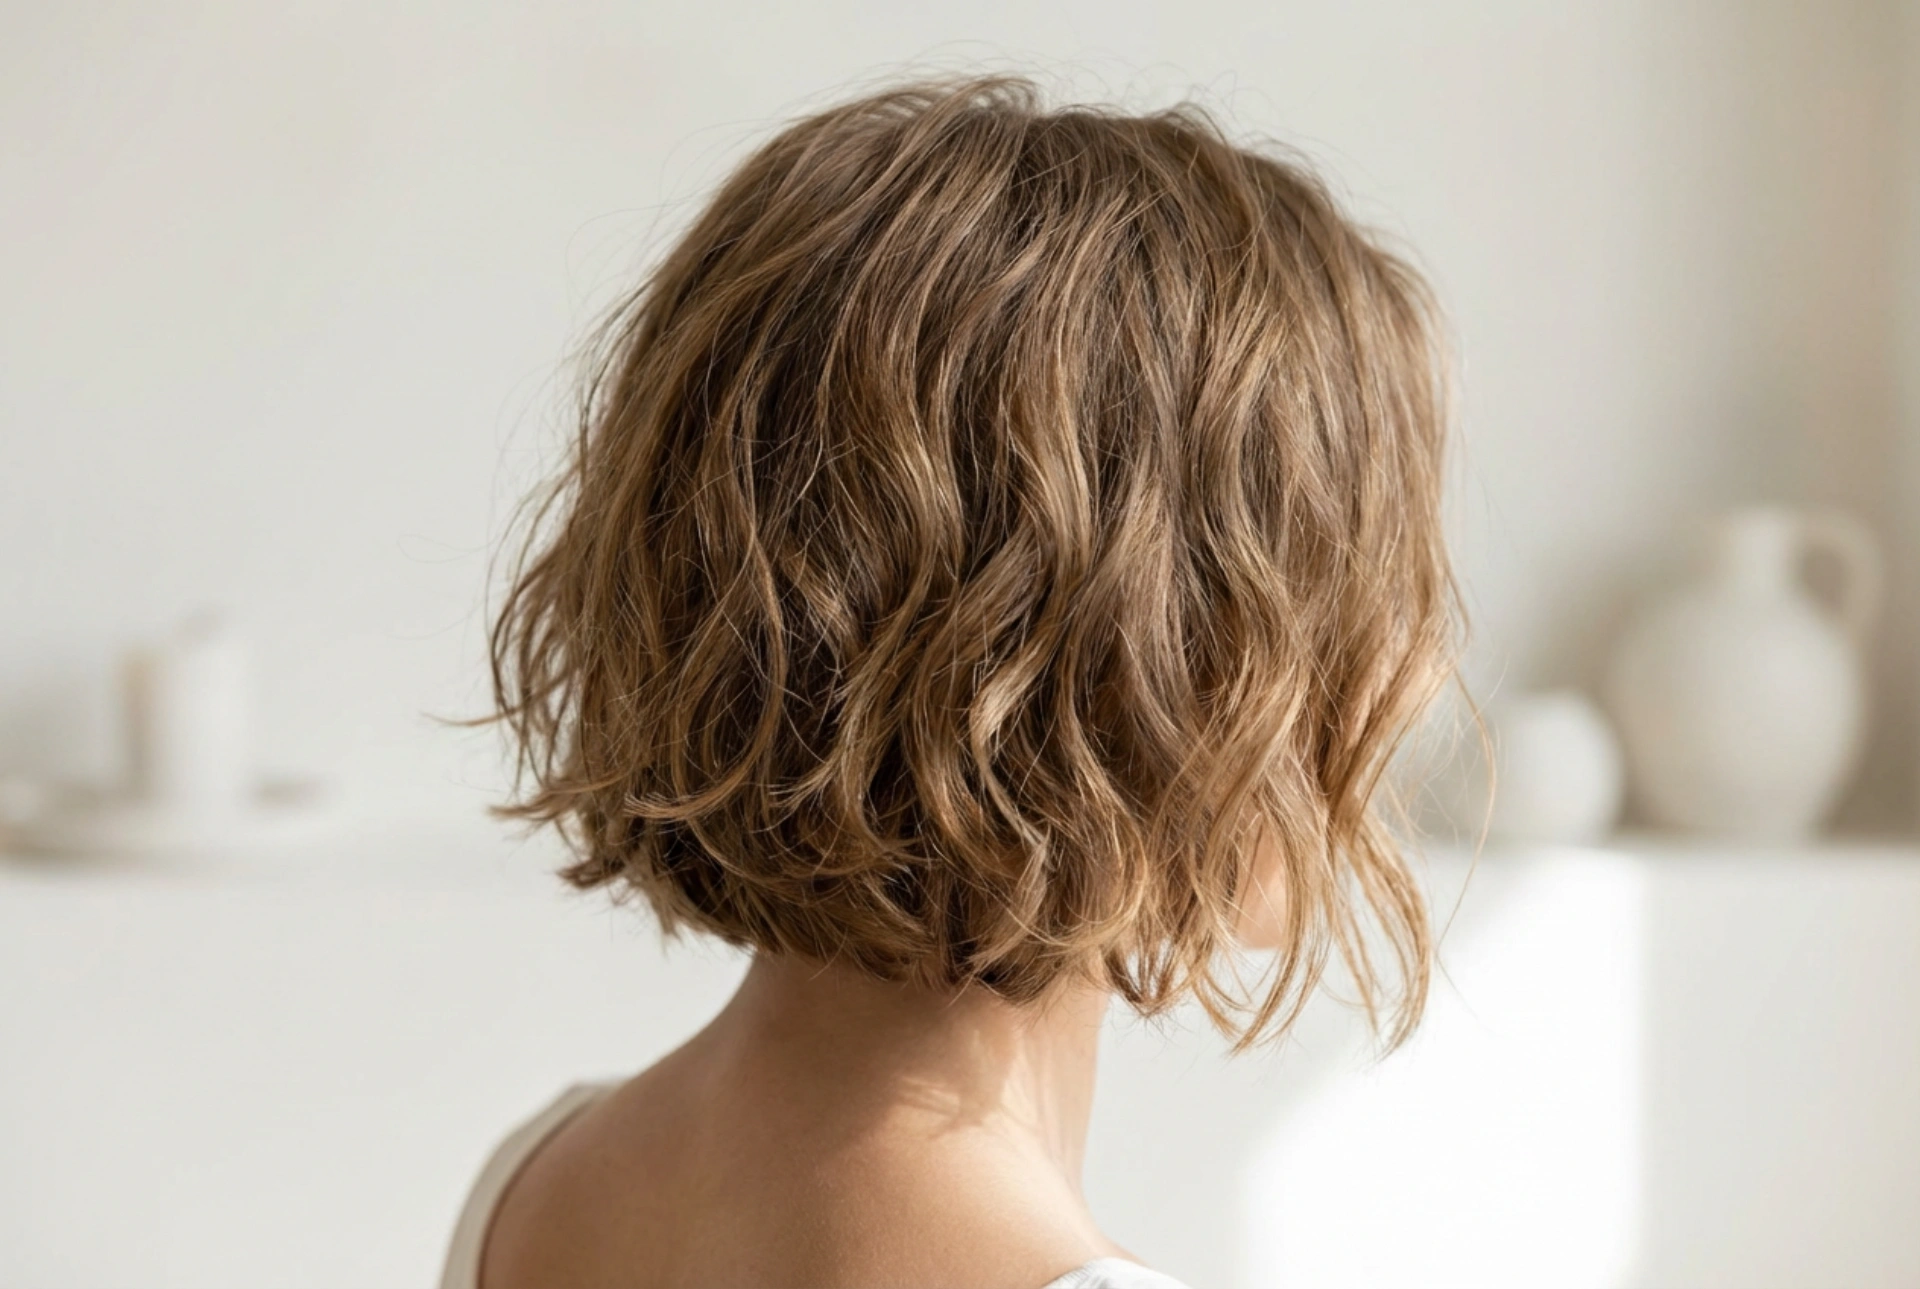


The effortless chic of textured, short hair is undeniable. A modern cut with soft, undone waves adds volume, movement, and a touch of sophisticated nonchalance. Achieving this 'broken curl' or beach wave effect on shorter lengths is easier than you might think. It's all about the right preparation, technique, and finishing touches to create a style that looks both polished and perfectly imperfect. This guide will walk you through the steps to master this versatile and stylish look.
Preparing Your Hair for Styling
The foundation of any great hairstyle is well-prepared hair. Starting correctly will not only make styling easier but also help your broken curls last longer. Begin with clean, completely dry hair. If your hair is freshly washed, consider using a volumising shampoo and a lightweight conditioner to avoid weighing down your strands. The most crucial step before applying any heat is to use a heat protectant. Spray it evenly throughout your hair, from roots to ends, to shield it from potential damage and ensure a smooth, frizz-free result.
Creating Broken Curls: Step-by-Step
There are a couple of popular methods for creating that signature undone wave. The tool you choose depends on your preference and what you find easiest to handle. The key to the 'broken' look is to create a bend or a wave in the mid-section of the hair while leaving the ends relatively straight.
Using a Hair Straightener
A flat iron is a surprisingly versatile tool for creating waves. For this technique, work in small, manageable sections of about one to two inches wide.
- Clamp a section of hair near the root.
- As you begin to glide the straightener down the hair shaft, rotate it 180 degrees (a half-turn) away from your face.
- Continue pulling the straightener down towards the ends, but release the hair before you reach the very bottom. Leaving the last inch or so straight is essential for the modern, broken curl effect.
- For a more natural and less uniform look, alternate the direction of the curls with each section—some away from the face, some towards it.
Using a Curling Wand
A curling wand can give you a slightly softer, more rounded wave. Choose a barrel size that suits your hair length; a one-inch to one-and-a-half-inch barrel often works well for short hair.
- Take a section of hair and wrap it around the wand, starting a few inches from the root.
- Hold the hair flat against the barrel as you wrap. Crucially, leave the last inch or two of the hair unwrapped and hold it with your fingers.
- Hold for about 5-8 seconds, depending on your hair's thickness and how well it holds a curl.
- Gently release the section and let it cool without touching it. Repeat this process all over your head, again alternating the wrapping direction.
Achieving the 'Undone' Finish
Once you have created the initial waves, the next step is to break them up for that relaxed, textured finish. First, ensure all the curls have completely cooled down. This is vital for setting the shape. Instead of using a brush, which can pull out the waves, gently run your fingers through your hair to separate the sections. You can flip your head upside down for extra volume and tousle the roots. To enhance the texture and create that piecey, beachy vibe, lightly mist your hair with a texturising spray or a sea salt spray. Focus on the mid-lengths and ends, scrunching the hair as you go.
Setting the Style for Long-Lasting Hold
The final step is to lock in your beautiful broken curls so they last all day. Choose a flexible-hold hairspray that will provide staying power without making your hair feel stiff or crunchy. Hold the can about 20-30 centimetres away from your head and mist it lightly all over your finished style. This will help control flyaways and ensure your waves maintain their shape without looking too 'done'. If you desire a little extra gloss, you can finish with a light-reflecting shine spray on the mid-lengths and ends.


