


Bouncy, defined curls are a timeless hairstyle that adds volume and elegance to any look. Whether you desire soft waves or tight ringlets, achieving a beautiful curly style that lasts is possible with the right techniques. This guide will walk you through the process, from preparation to styling and maintenance, helping you create and keep your perfect curls. Seeing your hair transform into a cascade of elegant ringlets can be a truly satisfying part of any beauty routine.
Preparing Your Hair for Curling
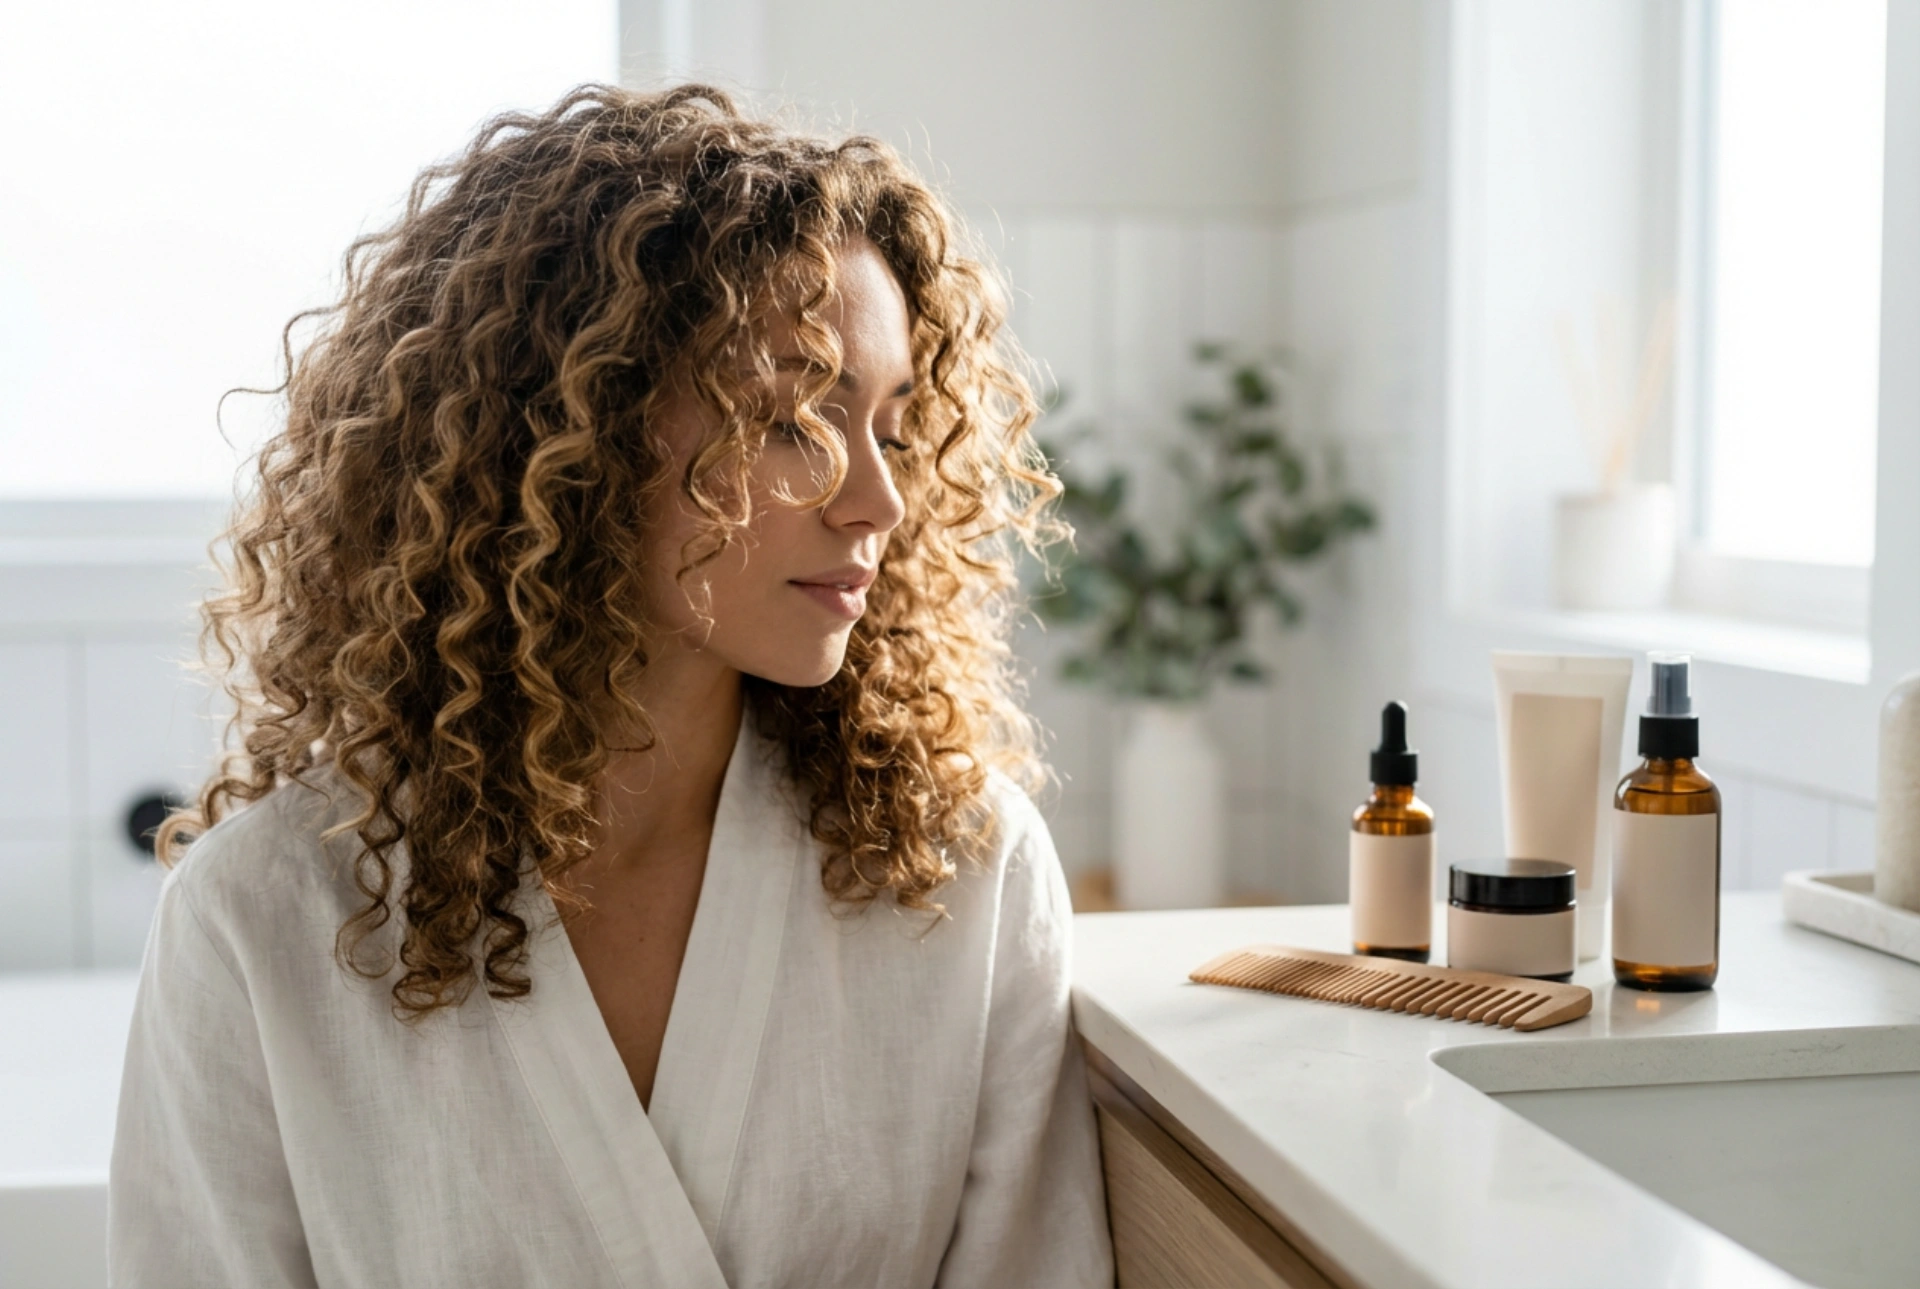
Proper preparation is the foundation of a long-lasting curly hairstyle. Starting with the right base will make the styling process smoother and the results more durable.
- Start Clean: It's best to work with clean, completely dry hair. While some find that day-old hair holds a curl better due to natural oils, you can achieve similar grip on fresh hair with the right products. Use a volumising shampoo and a lightweight conditioner that won’t weigh your hair down.
- Apply Heat Protectant: This is a non-negotiable step before using any heated tools. A good heat protectant spray creates a thermal barrier, shielding your hair from potential damage and helping to lock in moisture. Spray it evenly from roots to ends.
- Brush Thoroughly: Ensure your hair is free of knots and tangles. Brushing your hair until it's smooth will allow the curling tool to glide through effortlessly, creating a more uniform and polished curl.
Creating Your Curls: A Step-by-Step Guide
The key to a manageable and even styling process is to work in sections. Use clips to divide your hair, starting with the bottom layers and working your way up. This ensures every strand gets the attention it needs.
Using a Curling Iron or Wand
This is the classic method for creating defined curls. The size of the barrel will determine the size of your curls; a smaller barrel creates tighter ringlets, while a larger one produces looser waves. Take a section of hair about one to two inches wide. If using a curling iron with a clamp, secure the ends and wrap the hair up towards the root. If using a wand, wrap the hair section around the barrel from root to tip, holding the end with your fingers. Wear a heat-resistant glove to protect your hand. Hold the hair for 5-10 seconds, then gently release the curl into your palm to cool for a few seconds before letting it drop.
Using a Straightener
A flat iron can surprisingly create beautiful, modern-looking waves. Clamp a small section of hair near the roots. As you begin to glide the straightener down the hair shaft, rotate it 180 degrees away from your face. Maintain a consistent pressure and speed as you pull the tool through to the ends. A slower motion will create a tighter curl, while a faster one will result in a looser wave.
Heatless Methods for Gentle Waves
If you prefer to avoid heat, you can achieve lovely waves with a bit of overnight planning. On slightly damp hair, try one of these techniques:
- Braids: Plait your hair into one or more braids. The tighter the braid, the more defined the wave will be.
- Buns: Twist sections of your hair into several small buns and secure them with hair ties or pins.
- Rollers: Using classic foam or fabric rollers on damp hair is a gentle way to form curls as your hair air-dries.
How to Set Curls for All-Day Hold
Creating the curls is only half the battle; making them last is the next challenge. The cool-down phase is the most critical part of this process. Curls set as they cool, so resist the urge to touch or brush them while they are still warm from the styling tool. Touching them too soon will cause them to loosen and fall flat. Once your entire head is curled and completely cool, you can proceed with setting them. Gently run your fingers through the curls to separate them for a softer, more natural finish. Avoid using a brush, as it can pull out the curl pattern and create frizz. To lock everything in place, use a light-hold finishing spray. Hold the can about 30 centimetres away and mist it evenly over your hair. You want a flexible hold, not a stiff, crunchy texture.
Refreshing Your Curls on the Second Day
There's no need to start from scratch the next day. Reviving second-day curls is easy and can save you significant time. If your curls have lost some of their bounce, lightly spritz them with water or a curl-refreshing spray to dampen them slightly. Then, gently scrunch the hair upwards with your hands to encourage the curl pattern to reform. For any stubborn sections that have gone completely straight, particularly around the face, you can quickly touch them up with your curling tool. You only need to re-style a few key pieces to refresh the entire look. If your roots are feeling a bit greasy, a sprinkle of dry shampoo will absorb excess oil and add a welcome boost of volume at the crown, extending the life of your style for another day.


