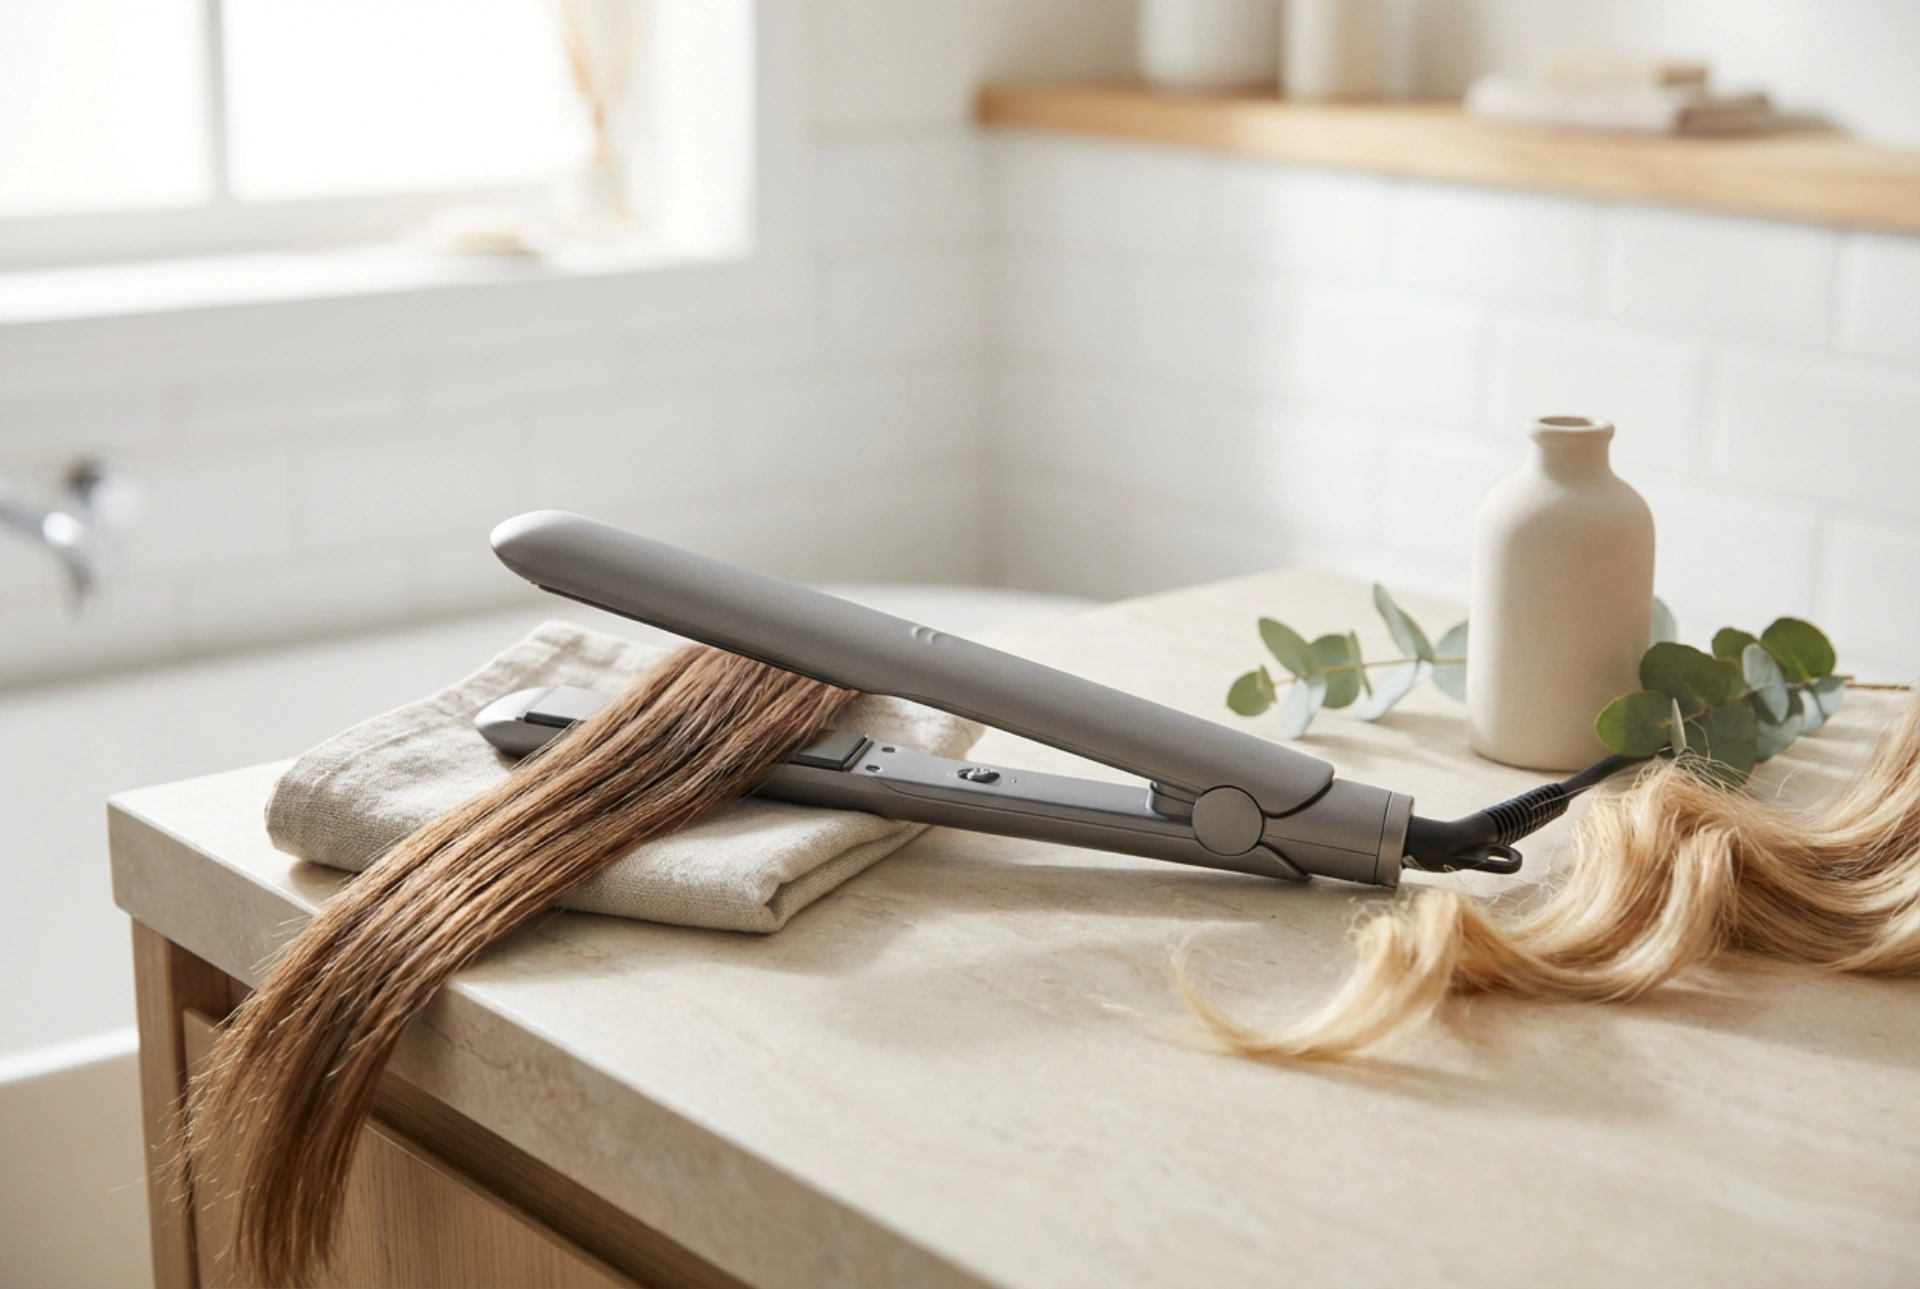


In the world of beauty, versatility is key. A multi-functional styling tool that can create both sleek, straight looks and beautiful, bouncy curls is a fantastic addition to any beauty routine. A 2-in-1 hair straightener and curler saves space and offers a world of styling possibilities from a single device. Learning to master its dual functions can transform your hair game, allowing you to switch up your look to match your mood or occasion with minimal effort. This guide will walk you through the essential steps to get the most out of your versatile styler.
Preparing Your Hair for Heat Styling
Proper preparation is the foundation of any great hairstyle and is crucial for protecting your hair from heat damage. Skipping these steps can lead to less effective styling and compromise the health of your strands. Before you even plug in your tool, follow this simple routine.
Start with Dry, Clean Hair
For best results, always work with hair that is completely dry and clean. Styling damp hair with a hot tool can cause significant damage, as the heat essentially boils the water within the hair shaft. Make sure your hair is free from heavy oils or leftover products, as these can create build-up on the styler's plates and cause uneven heat distribution. A light, fresh start is always best.
Apply a Heat Protectant
This is a non-negotiable step. A quality heat protectant spray or serum creates a protective barrier between your hair and the hot plates of the styler. It helps to minimise moisture loss, prevent breakage, and keep your hair looking healthy and shiny. Mist it evenly throughout your hair, from roots to ends, and gently comb it through to ensure every strand is coated before you begin styling.
Detangle Thoroughly
Gently brush or comb your hair to remove all knots and tangles. A smooth canvas is essential for the styler to glide through effortlessly. Attempting to style tangled hair will not only be uncomfortable but will also result in uneven, frizzy results and potential snagging or breakage.
Achieving a Flawlessly Sleek and Straight Look
Creating a polished, straight hairstyle is the primary function of most 2-in-1 tools. With the right technique, you can achieve a smooth, salon-quality finish at home.
- Section Your Hair: Divide your hair into manageable sections using clips. Working with smaller sections (about 1-2 inches wide) ensures that heat is applied evenly, resulting in a more consistent and longer-lasting style. Start with the bottom layers and work your way up.
- Choose the Right Temperature: Adjust the heat setting according to your hair type. Fine or colour-treated hair requires a lower temperature to prevent damage, while thicker, coarser hair may need a higher setting to be effective. Always start lower and increase the heat only if necessary.
- Glide, Don't Clamp: Clamp the styler near the roots of a section of hair. With firm but gentle pressure, glide the tool smoothly down the hair shaft to the ends. Avoid stopping or holding the styler in one spot for too long. A slow, steady motion is key to achieving a sleek finish in a single pass.
Creating Bouncy Curls and Soft Waves
The magic of a 2-in-1 styler lies in its ability to create beautiful curls and waves. The rounded edges of the tool are designed for this purpose. There are a few different techniques to master.
The Gliding and Twisting Method
This is the most common technique for creating curls with a straightener. Start by clamping a section of hair a few inches from the root. As you begin to glide the styler downwards, rotate it 180 degrees away from your face. Continue to pull the styler smoothly through to the end of the hair section. The speed of your glide will determine the tightness of the curl; a slower glide creates a tighter curl, while a faster motion results in a looser wave. For a more modern look, leave the last inch of your hair straight.
The Wrapping Method
For a different type of curl, you can use the tool more like a traditional curling wand. Clamp a section of hair at the root, then wrap the rest of the section around the outside of the closed styler barrel. Hold for 5-10 seconds, depending on your hair's thickness and the desired intensity, and then gently release the hair to reveal a soft curl.
Finishing Touches and Tool Care
Once your styling is complete, a few final steps will ensure your look lasts and your tool stays in great condition.
Let It Cool and Set
After curling or straightening, allow your hair to cool down completely before touching it too much. This helps the style to set properly. Once cool, you can gently run your fingers through the curls to loosen them for a more natural, tousled effect. For a straight style, a final pass with a comb can perfect the look.
Use a Finishing Product
A light-hold hairspray can help to lock in your style without making it feel stiff. For extra shine and to tame any remaining flyaways, apply a small amount of a lightweight serum or oil to the mid-lengths and ends of your hair.
Keep Your Styler Clean
To ensure your tool performs at its best, clean it regularly. Once the styler is completely cool and unplugged, wipe the plates with a soft, damp cloth to remove any product residue. Proper cleaning prevents build-up that can cause snagging and uneven heating. Store it in a safe place where the cord won't get tangled and the plates won't get scratched.


