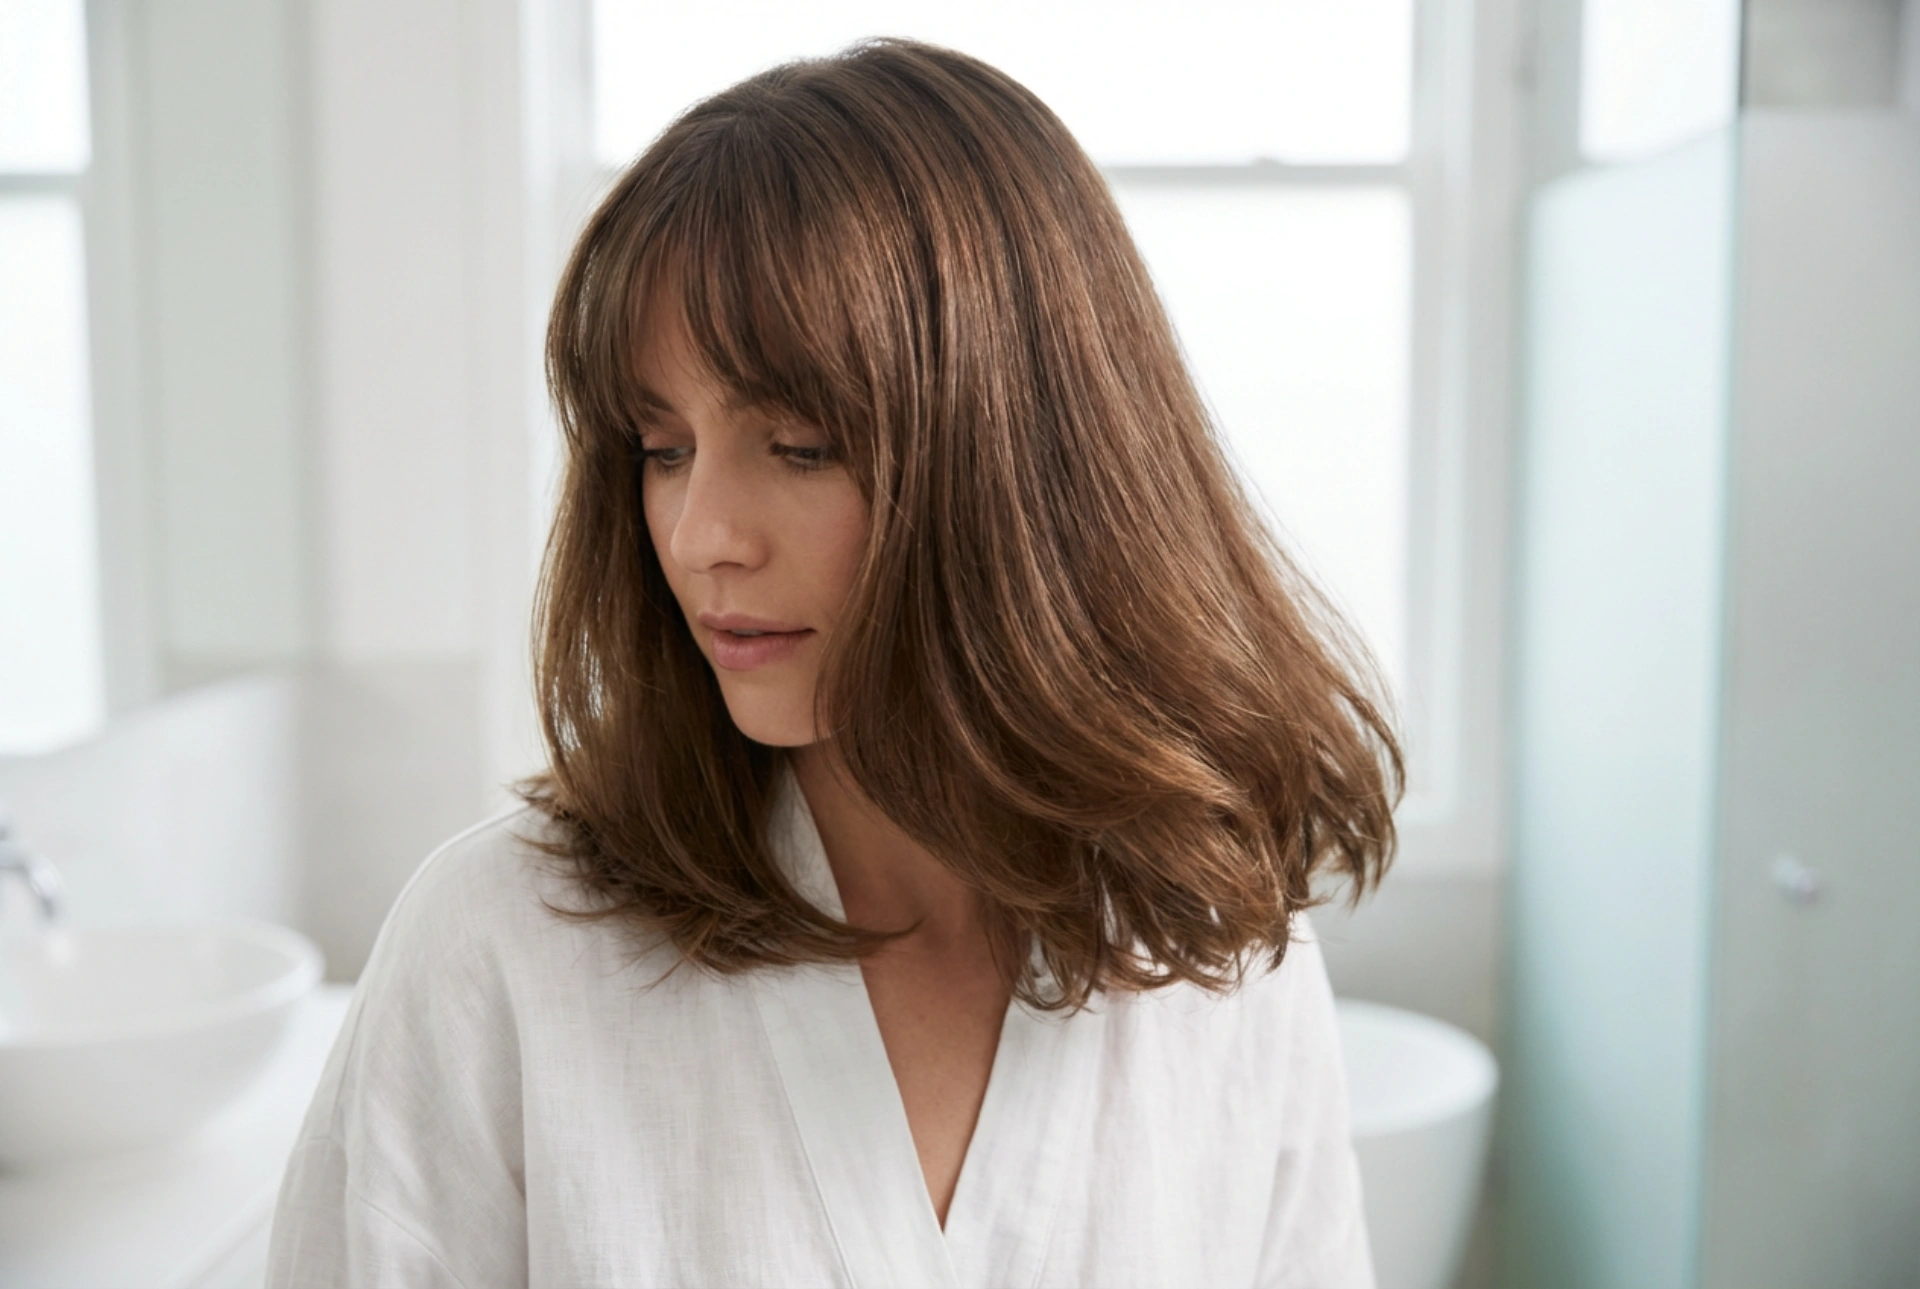


Medium-length hair with a fringe is a timeless and versatile choice that offers endless styling possibilities. It perfectly frames the face while being long enough for various updos and short enough for easy management. Achieving that salon-fresh look with beautiful movement, a smooth texture, and natural volume at home is entirely possible with the right techniques. Whether you prefer a sleek, polished finish or a more relaxed, voluminous style, understanding how to work with your cut is key. This guide will walk you through the essential steps for styling, smoothing, and adding body to your medium-length hair and fringe.
Preparing Your Hair and Fringe for Styling
A great hairstyle begins with a proper foundation. The way you wash and prepare your hair significantly impacts the final result. Starting with clean, well-conditioned hair makes it more manageable and responsive to styling tools.
Washing and Conditioning
Choose a shampoo and conditioner suited to your hair type—whether it's fine, thick, coloured, or prone to dryness. When washing, focus the shampoo on the scalp and roots where oil and product build-up are most common. Apply conditioner primarily to the mid-lengths and ends, avoiding the roots if your hair tends to get greasy quickly. A common mistake is over-conditioning the fringe, which can make it look flat and oily. Use only a tiny amount of conditioner on your fringe, or skip it altogether if your hair is naturally soft.
Towel-Drying and Heat Protection
After washing, gently squeeze out excess water with a towel. Avoid vigorous rubbing, which can cause frizz and damage the hair cuticle. A microfibre towel is an excellent alternative as it's much gentler on the hair. Before reaching for any heat tools, applying a heat protectant is non-negotiable. Mist it evenly throughout your damp hair, paying special attention to the ends and your fringe, which are more susceptible to damage.
Achieving a Smooth and Sleek Look
For days when you want a sharp, polished appearance, a smooth finish is the goal. This involves careful blow-drying and, if desired, the use of a flat iron. The key is to work in sections for a uniform result.
- Section Your Hair: Divide your hair into at least four manageable sections. This allows you to focus on one area at a time, ensuring every strand is properly dried and smoothed.
- Blow-Dry with a Nozzle: Attach the concentrator nozzle to your hairdryer. This directs the airflow, helping to smooth the hair cuticle as you dry. Use a paddle brush or a large round brush.
- Direct the Airflow Downwards: Always point the hairdryer down the hair shaft, from root to tip. This technique helps to seal the cuticle, which results in a shinier, smoother surface and reduces frizz.
- Finishing with a Straightener: If you want an extra-sleek look, use a hair straightener on dry hair. Keep the temperature appropriate for your hair type and work in small sections. For the fringe, a single, quick pass is usually enough to prevent it from looking too stiff.
Creating Natural Volume and Movement
If you prefer a style with more body and bounce, the focus shifts from flattening the cuticle to lifting the roots and creating texture. The right products and blow-drying technique are essential.
Techniques for Building Volume
Start by applying a volumising mousse or root-lifting spray to damp hair, concentrating the product at the roots. When blow-drying, flip your head upside down and dry the roots first. This simple trick provides an instant lift. Once the roots are about 80% dry, flip your head back up and continue drying with a medium-sized round brush. Lift sections of hair at the crown upwards and away from the scalp as you dry to build lasting volume. For extra movement, you can slightly twist the brush as you pull it through the ends to create a soft, bouncy curl.
Styling the Fringe: Tips and Tricks
The fringe is often the focal point of the hairstyle, so getting it right is crucial. It can also be the trickiest part to manage.
- Style It First: Always style your fringe first, right after washing, while it's still very damp. A fringe starts to air-dry quickly, and once it develops its own wave or parting, it's difficult to correct.
- Use a Small Brush: A small or medium round brush gives you the most control. To get a soft, straight fringe with a slight bevel, place the brush underneath and roll it down as you blow-dry.
- Control the Cowlick: If you have a cowlick, use a comb to brush your fringe from side to side while directing the hairdryer's airflow downwards. This back-and-forth motion helps to neutralise the stubborn growth pattern.
- Side-Swept Fringe: For a side-swept look, blow-dry your fringe to the opposite side of where you want it to eventually lie. Once it's almost dry, brush it back to the desired side for the perfect sweep with natural volume.
Maintaining Your Style and Hair Health
Once you've achieved your desired look, a few final touches can help it last. A light mist of a flexible-hold hairspray will keep everything in place without making your hair stiff. To tame any flyaways, you can spray a little hairspray onto a clean mascara wand or a toothbrush and gently comb them down. Regular trims, especially for the fringe, are essential to maintain the shape of your cut and keep your ends healthy. Aim for a fringe trim every 3-4 weeks and a full haircut every 6-8 weeks to ensure your style always looks its best.


