


Defined, springy curls add a beautiful texture and volume to hair, creating a look that is both playful and elegant. While many styling tools promise waves, achieving those tight, lustrous coils requires a specific approach. Thin curling wands and tools are the secret to creating these lasting, spiral-like curls. Mastering the technique is straightforward and can transform your hair, giving you a salon-quality finish at home. This guide will walk you through the entire process, from preparation to preservation.
Why Opt for a Thin Curling Wand?
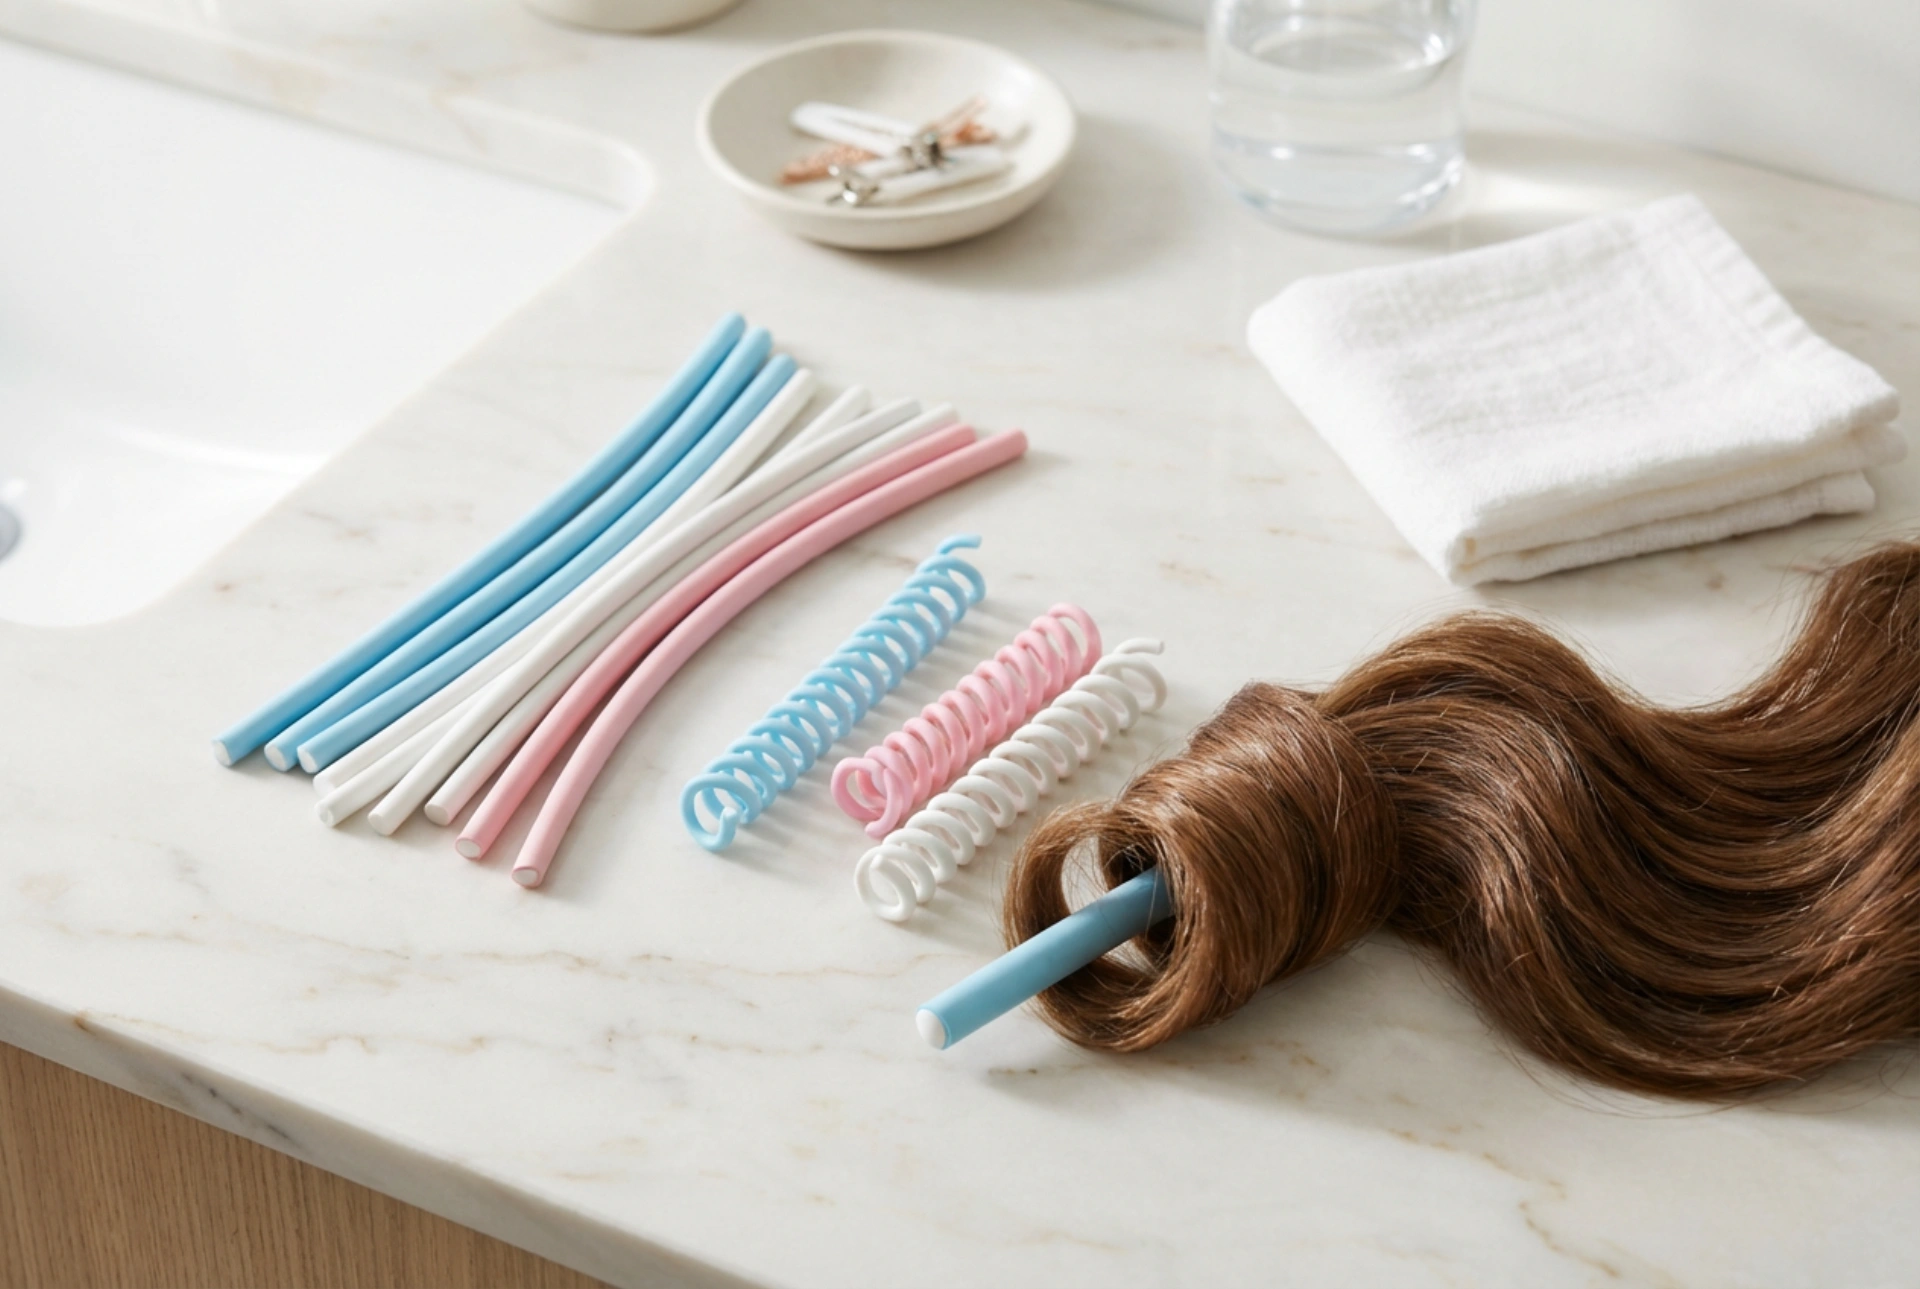
The diameter of a styling wand is the single most important factor in determining the size and shape of the curl. While larger barrels are perfect for creating loose waves and gentle bends, a thin barrel is specifically designed for tighter, more defined results. The benefits of using a thin curler are numerous, making it a valuable addition to any hair styling collection.
- Ultimate Definition: The small circumference of the barrel forces the hair into a tight spiral, resulting in a well-defined, springy curl that holds its shape.
- Long-Lasting Style: Tighter curls have more structural integrity than loose waves. They tend to last much longer, often for several days, gradually relaxing into softer waves over time.
- Impressive Volume: A head full of tight curls can create significant volume and body. This makes it an excellent choice for individuals with fine or thin hair who are looking to create the illusion of fullness.
- Versatility Across Lengths: Thin wands work wonders on all hair lengths. They can add texture and bounce to short bobs, create a full, curly look on medium-length hair, and produce stunning spirals on long locks.
Preparing Your Hair for Perfect Curls
Proper preparation is the foundation of any successful hairstyle. Not only does it help you achieve the look you want, but it also protects your hair from potential damage. Rushing this stage can lead to uneven curls, frizz, and unnecessary heat exposure.
Start with a Clean, Dry Canvas
For the best results, always begin with hair that is 100% dry. Using a hot tool on damp or wet hair can cause serious damage as the water inside the hair shaft turns to steam. It is often best to work with second-day hair, as the natural oils can help the curls hold their shape better. If you are starting with freshly washed hair, consider using a volumising shampoo and conditioner to give your style an extra lift from the roots.
The Importance of Heat Protection
This step is non-negotiable. Before any heat touches your hair, you must apply a heat protectant spray. Distribute it evenly from roots to ends, combing it through to ensure every strand is coated. A good heat protectant creates a thermal barrier, minimising moisture loss and reducing the risk of breakage and split ends.
Section for Success
Trying to curl large, thick chunks of hair will result in unevenly heated, poorly formed curls. Divide your hair into at least four manageable quadrants using clips. From there, you will work with small sub-sections, typically 1-2 cm wide. This meticulous approach ensures that heat is distributed evenly and every curl is uniform and defined.
Step-by-Step Guide to Creating Springy Curls
With your hair prepped and sectioned, you are ready to start styling. Set your tool to a temperature that is appropriate for your hair type—use a lower setting for fine or colour-treated hair and a medium to high setting for thick or coarse hair.
- Isolate a Small Section: Take your first small section of hair. Remember, the smaller the section, the tighter and more defined the resulting curl will be.
- Wrap the Hair: Hold the curling wand vertically or slightly angled. Starting near the root, wrap the section of hair flat against the barrel. Try not to overlap the hair as you wrap, as this ensures the entire strand heats evenly. Continue wrapping until you reach the ends.
- Hold and Release: Keep the hair wrapped around the barrel for about 5-10 seconds. The exact time will depend on your hair's texture and the tool's temperature. You can gently touch the hair to feel how warm it is. Once heated, carefully unwind the hair or simply let the strand slide off the end of the wand.
- Set the Curl: This is a crucial step for longevity. As the curl comes off the wand, catch it in the palm of your hand and let it cool for a few seconds. For maximum hold, you can use a small metal clip to pin the coiled curl against your scalp while it cools completely.
- Repeat the Process: Continue this method, section by section, until your entire head is curled. For a more natural look, you can alternate the direction you wrap the hair (towards your face on one section, away from your face on the next).
Ensuring Your Curls Last
You've put in the effort to create beautiful curls, so you'll want them to last as long as possible. A few simple finishing touches can make all the difference.
The Cool Down is Critical
Do not touch or separate your curls until they are completely cool to the touch. Heat makes hair malleable, while cooling locks it into its new shape. Being patient during this cooling phase is the number one secret to long-lasting style.
Finishing Products
Once your hair is cool, you can gently rake through the curls with your fingers to separate them for a softer, more voluminous look. Avoid using a brush, as this will break up the curl pattern and can create frizz. To finish, apply a light mist of a flexible-hold hairspray to provide hold without making your curls stiff or crunchy.
By following these steps, you can confidently use a thin curling wand to achieve defined, springy curls that are full of life and last for days. It's a versatile styling technique that adds a touch of glamour and texture to any hair type.


