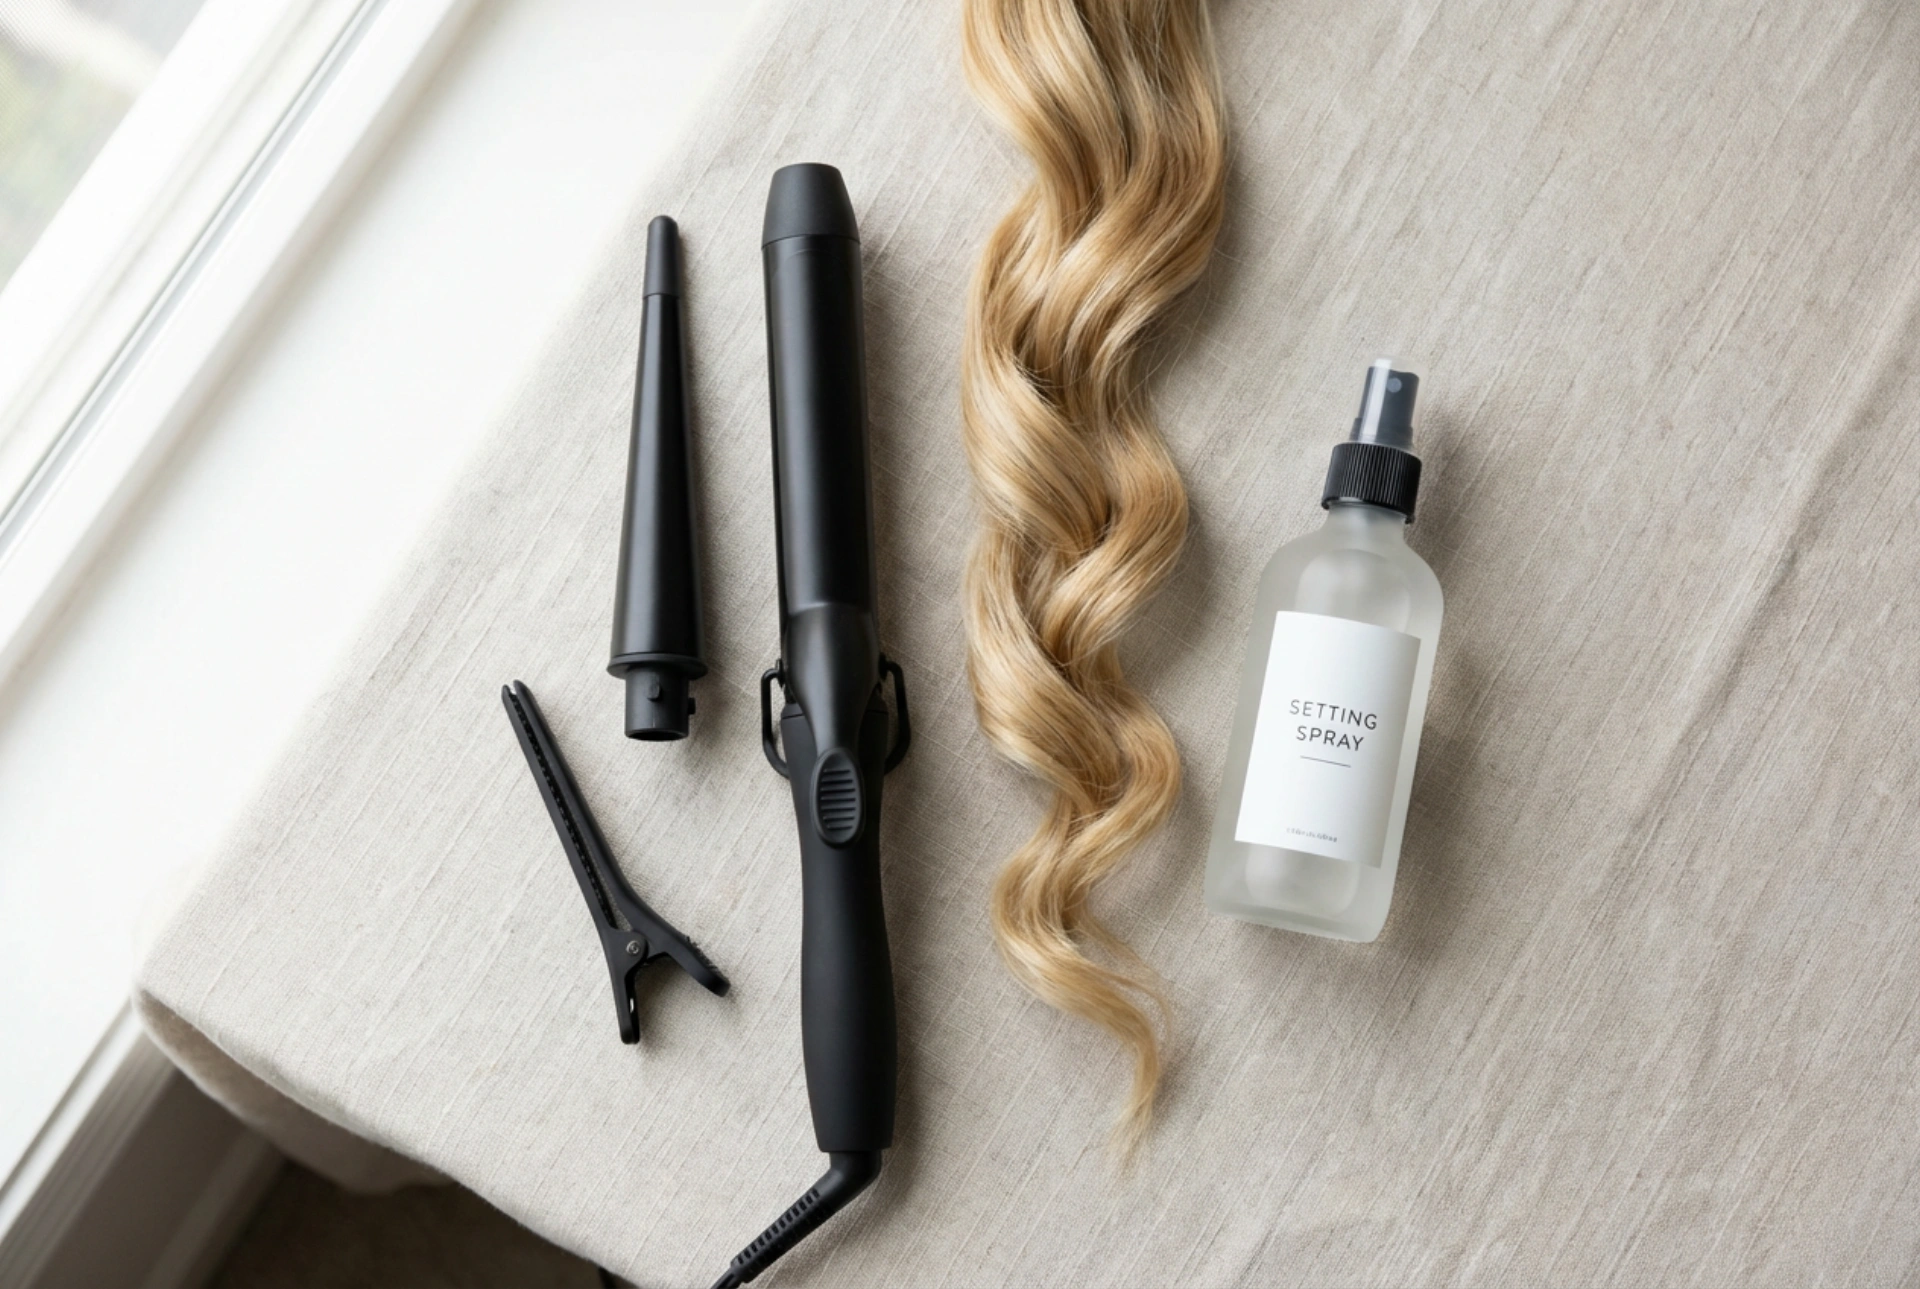


Achieving those perfect, glossy curls you see in magazines is not just about having the right tool; it's about using it with precision and understanding. From the heat you use to the way you finish the style, every step plays a crucial role in creating a beautiful, long-lasting look while keeping your hair healthy. Mastering the curling iron is a skill, and with a few key principles, you can transform your hair styling routine and achieve flawless results every time, just like in that artfully arranged beauty flat lay.
Choosing the Right Temperature for Your Hair Type
One of the most common mistakes in heat styling is using the wrong temperature. Too high, and you risk damaging your hair; too low, and your curls won't form or last. The ideal setting depends entirely on your hair's texture and condition. Always start with a heat protectant spray applied to dry hair to create a barrier against thermal damage.
Fine or Processed Hair
If your hair is fine, chemically treated (coloured, permed), or delicate, it's essential to use a lower heat setting. High temperatures can easily scorch and break fragile strands. Aim for a temperature below 180°C. It's always better to start at the lowest setting and gradually increase it only if you find the curls are not holding.
Normal Hair
For hair that is of average thickness and in good condition, a medium heat range is usually effective. A temperature between 180°C and 200°C will be sufficient to create well-defined curls that last without causing unnecessary stress to the hair shaft. This range provides a good balance between styling efficiency and hair health.
Thick or Coarse Hair
Thick, coarse, or particularly resistant hair types often require a higher temperature to manipulate their structure and form a lasting curl. You can use a setting between 200°C and 220°C. However, even with robust hair, it's vital to be cautious. Never hold the iron on one section for too long, and always listen to your hair—if you smell burning or see steam, the heat is too high.
Clip vs. Wand: Which Curling Tool is for You?
The choice between a traditional curling tong with a clip and a modern conical wand can significantly influence the final look of your curls. Neither is definitively better; they simply create different effects.
The Classic Curling Tong (with a Clip)
This is the tool many people picture when they think of a curling iron. It features a spring-loaded or marcel clip that holds the ends of the hair in place as you roll the barrel towards the roots.
- Best for: Creating uniform, polished, and classic bouncy curls. The clip provides control, making it a great option for beginners.
- Technique: You typically start by clamping the ends of a hair section and then twisting the iron upwards, rolling the hair around the barrel.
The Conical Wand (No Clip)
A wand is a clipless barrel, often tapering from a wider base to a narrower tip. This design offers more versatility and a more modern finish.
- Best for: Achieving natural-looking, relaxed waves or curls that are looser at the root and tighter at the end. Often referred to as 'beachy waves'.
- Technique: You hold the handle with one hand and manually wrap a section of hair around the barrel with the other, holding the very end of the hair. A heat-resistant glove is highly recommended to protect your fingers.
The Secret to Long-Lasting Curls: The Cooling Technique
Have you ever wondered why your curls drop and straighten within hours? The culprit is often skipping one simple, yet critical, step: cooling. Hair sets its shape not when it's hot, but as it cools down. Applying heat breaks down the hydrogen bonds in the hair, allowing you to reshape it. As the hair cools, these bonds reform, locking the new shape in place.
How to Set Your Curls Properly
Instead of letting a freshly made curl fall and stretch out from its own weight, you need to support its shape while it cools. There are two easy ways to do this:
- The Palm Method: After releasing the hair from the curling iron, catch the warm curl in the palm of your hand. Hold it in its coiled shape for 5-10 seconds until it feels cool to the touch before letting it drop.
- The Pin Method: For maximum hold, especially on hair that struggles to stay curled, use pins. After releasing the curl from the barrel, roll it back up towards the scalp and secure it with a bobby pin or a small sectioning clip. Continue this for your entire head. Once all your hair is curled, pinned, and completely cool, you can remove the pins.
Essential Preparation and Finishing Touches
A great style starts before the heat is even applied and ends long after. For best results, start with completely dry hair, as styling damp hair can cause significant damage. Sectioning your hair into manageable parts ensures that every strand is curled evenly. After your curls have been created and have cooled completely, gently rake your fingers through them to loosen and separate them for a softer, more modern look. A light mist of a flexible-hold finishing spray can help combat humidity and set your style without making it feel crunchy or stiff.





