


Achieving beautiful, voluminous curls on long hair can seem like a challenge, but with the right technique, it becomes a simple and rewarding process. Using hair rollers is a classic method that, when done correctly, delivers stunning, lasting results without excessive heat damage. The key lies in methodical preparation and precise application, transforming even the straightest of locks into a cascade of glossy, well-defined curls. This guide will walk you through the art of using rollers, from sectioning the hair to setting the final style.
Preparing Your Hair for Rollers
Proper preparation is the foundation of a successful roller set. Starting with clean hair is essential, as dirt and oil can weigh it down and prevent curls from forming properly. Begin by washing your hair with a suitable shampoo and conditioner. For added volume, consider using products designed to give hair a lift. After washing, gently towel-dry your hair until it is damp but not dripping wet. Applying rollers to soaking wet hair will significantly prolong the drying time, while applying them to dry hair may not yield lasting curls. Before you start rolling, evenly distribute a styling product like a mousse or a setting lotion through your hair. This will provide hold, help the curls last longer, and can also offer protection if you plan to use gentle heat to speed up the drying process.
The Sectioning Technique: A Path to Uniform Curls
Sectioning is arguably the most critical step for achieving a polished and even look, especially with long hair. Dividing your hair into manageable sections ensures that each roller is applied with the same tension and that each curl will be of a similar size. A disorganised approach often leads to an uneven and messy result.
Creating Your Sections
Start by using clips to divide your hair into at least four main quadrants: a top section (like a mohawk), two side sections, and a back section. For very long or thick hair, you may need to create more sections. The width of each sub-section you take to roll should be no wider than the length of the roller itself. This prevents hair from spilling over the sides and ensures the hair dries evenly and the curl is well-formed from root to tip. Consistency in the size of the sections is vital for a symmetrical and professional-looking hairstyle.
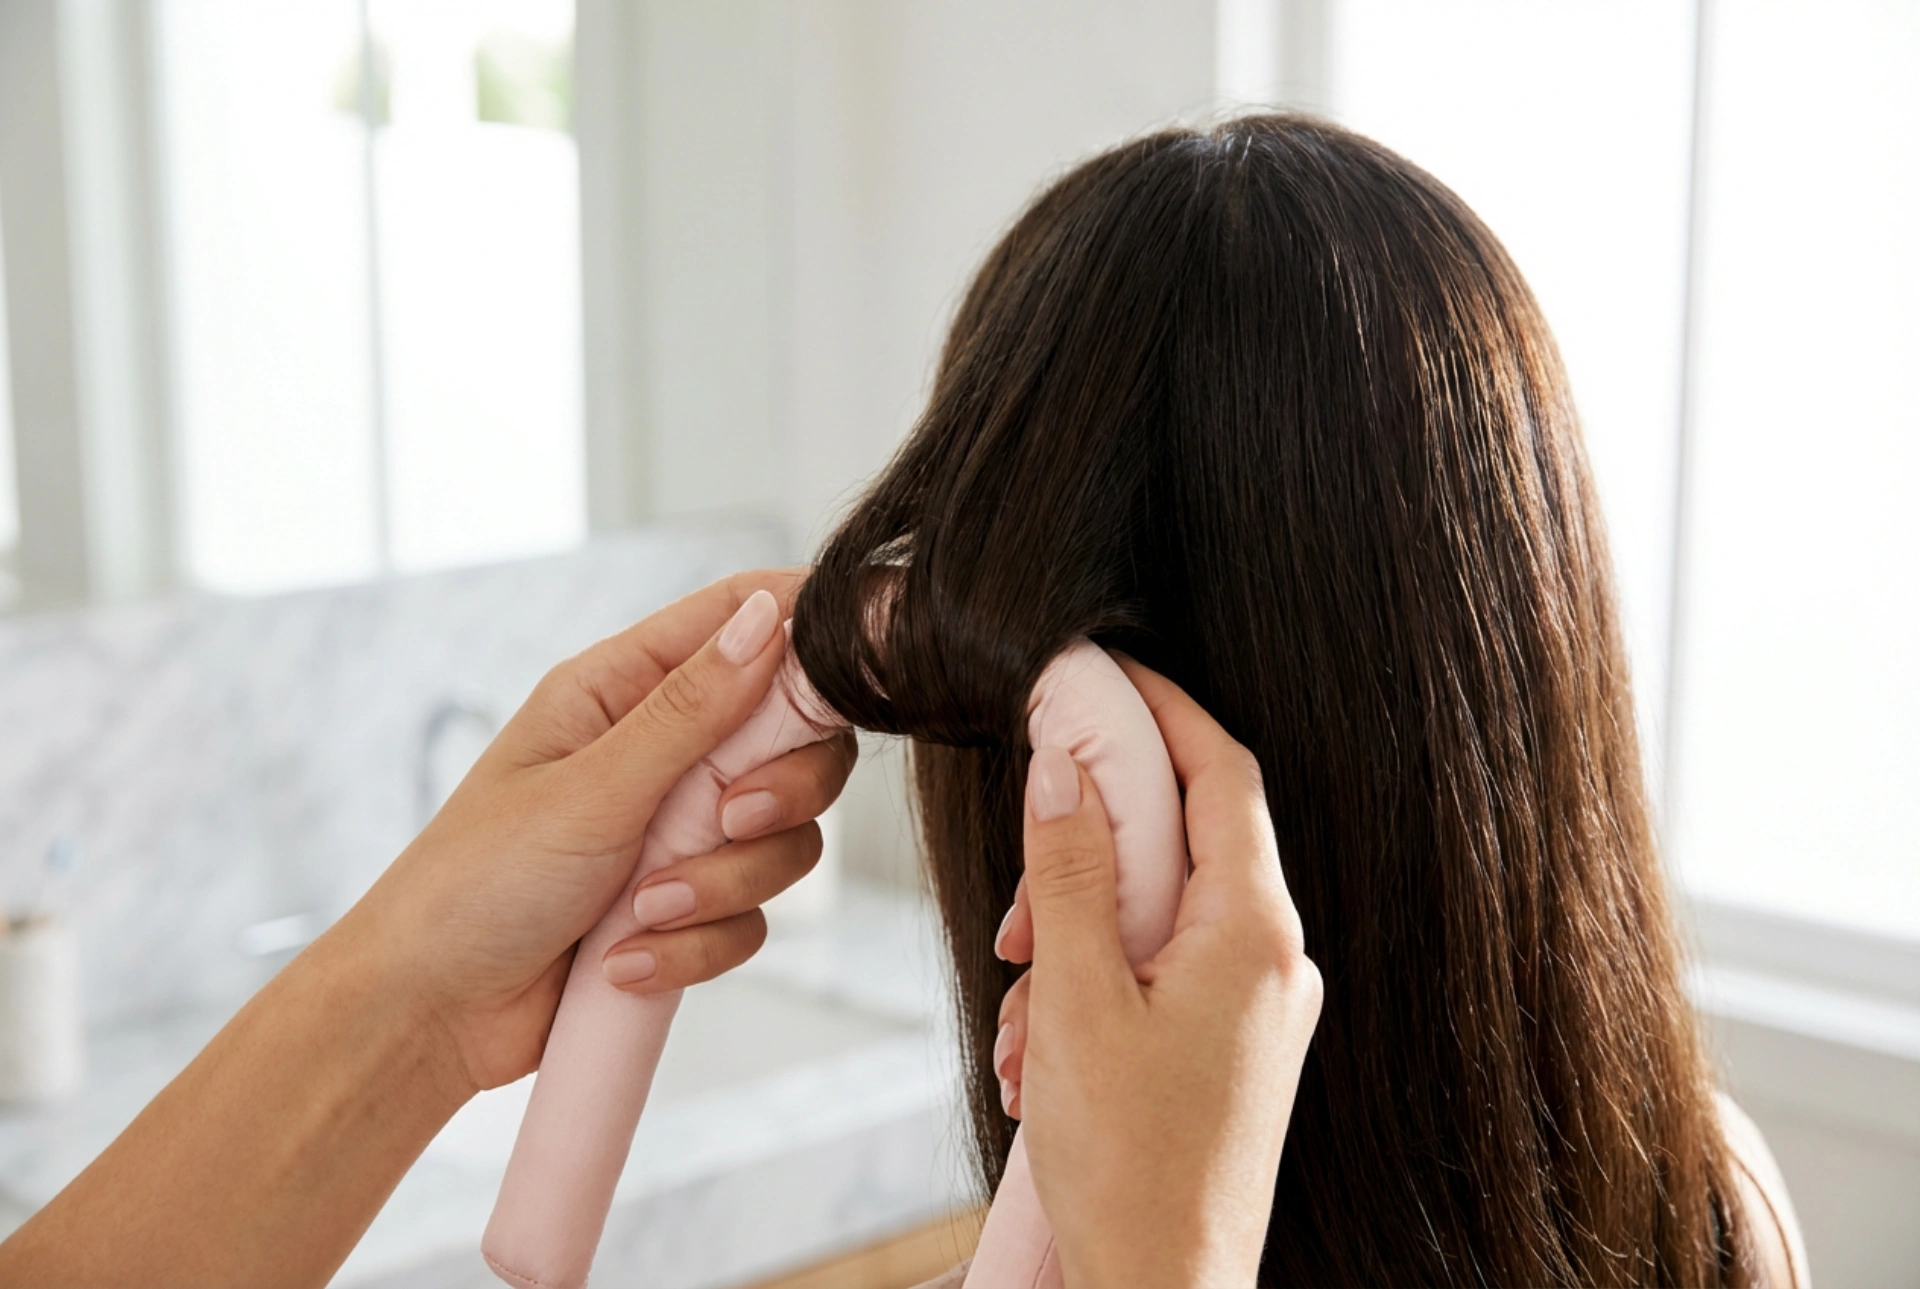
How to Correctly Apply Hair Rollers
Once your hair is prepped and sectioned, you can begin the application process. The direction you roll the hair will influence the final look, so decide beforehand if you want curls that turn under, flip out, or have a more varied pattern. For a classic, voluminous style, rolling downwards or inwards towards the scalp is a reliable choice.
- Start at the Top: It's often easiest to start with the top 'mohawk' section, working from your forehead back to the crown. Take your first sub-section of hair.
- Ensure Smoothness: Comb through the section to ensure it is completely smooth and free of tangles.
- Position the Roller: Place the roller at the very end of the hair section. Hold the hair taut and perpendicular to your scalp. This tension is crucial for a smooth, bouncy curl.
- Roll with Care: Begin rolling the hair neatly around the roller, moving from the ends towards the scalp. Ensure the ends are tucked in smoothly to avoid 'fish hooks'.
- Secure Firmly: Once you reach the scalp, secure the roller in place using the clip or pin that came with it. The roller should feel snug and secure, but not so tight that it pulls uncomfortably on your scalp.
- Continue the Process: Repeat this process for all sections of your hair, maintaining consistent tension and direction.
Setting the Curls for Longevity
Patience is key during the setting phase. For the curls to take their shape and last, your hair must dry completely while it is on the rollers. Air-drying is the gentlest option and can be done over several hours or even overnight if you're using soft, comfortable rollers. If you're short on time, you can use a bonnet or hooded dryer on a low to medium heat setting. Applying heat helps to form the bonds in the hair that create the curl, but it's the cooling down period that locks them in place. Always allow your hair to cool down completely to room temperature before you even think about removing the rollers. This step is non-negotiable for a long-lasting style.
Removing the Rollers and Finishing Your Style
The removal process should be as gentle as the application. Unfasten one roller at a time and carefully unwind it in the opposite direction you rolled it. Avoid pulling or rushing, as this can cause tangles and disrupt the newly formed curl pattern. Once all the rollers are out, you have a few options for styling. For soft, romantic waves, gently run your fingers through your hair to break up the curls. For a more defined, vintage look, you can use a wide-tooth comb to shape the curls. To finish and set your style, you can apply a light mist of a flexible-hold hairspray. This will help combat frizz and ensure your voluminous curls last throughout the day.


