


A hair straightener is a surprisingly versatile styling tool, capable of creating much more than just sleek, straight hair. With the right technique, it can be used to form beautiful, soft, and natural-looking waves, evoking an effortless, sun-kissed style. If you've ever wondered how to achieve that coveted 'beach waves' look using just a straightener, this guide will walk you through the process, ensuring you can create a relaxed yet elegant hairstyle at home.
Preparing Your Hair for Styling
Proper preparation is key to achieving beautiful, lasting waves and protecting your hair from heat damage. Start with clean, completely dry hair. Attempting to style damp hair with a hot tool can cause significant damage. If you've just washed your hair, ensure it's blow-dried thoroughly before you begin.
The Importance of Heat Protection
Before introducing any heat, it is crucial to apply a heat protectant spray. Distribute the product evenly from the roots to the ends. This creates a barrier between your hair and the hot plates of the straightener, minimising moisture loss and reducing the risk of damage. Let the product sit for a minute to ensure it has been absorbed.
Choosing Your Straightener and Temperature
While most straighteners can create waves, those with a rounded body and edges make the process smoother and help avoid sharp kinks. The width of the plates can also influence the result; narrower plates (around one inch) offer more control and are ideal for creating tighter waves, while wider plates are better for looser, more voluminous styles.
Finding the Right Temperature
Selecting the correct heat setting is vital for your hair's health. Fine or colour-treated hair requires a lower temperature, typically between 150-175°C. For normal hair, a medium setting of 175-200°C is usually sufficient. Thick or coarse hair may need a higher temperature, up to 210°C, but always start lower and increase the heat only if necessary. Using excessive heat can lead to dryness and breakage.
The Step-by-Step Waving Technique
Once your hair is prepped and your tool is ready, you can begin styling. For a natural, voluminous look, it's helpful to section your hair. Use clips to separate the top half of your hair from the bottom half, and work on the bottom section first.
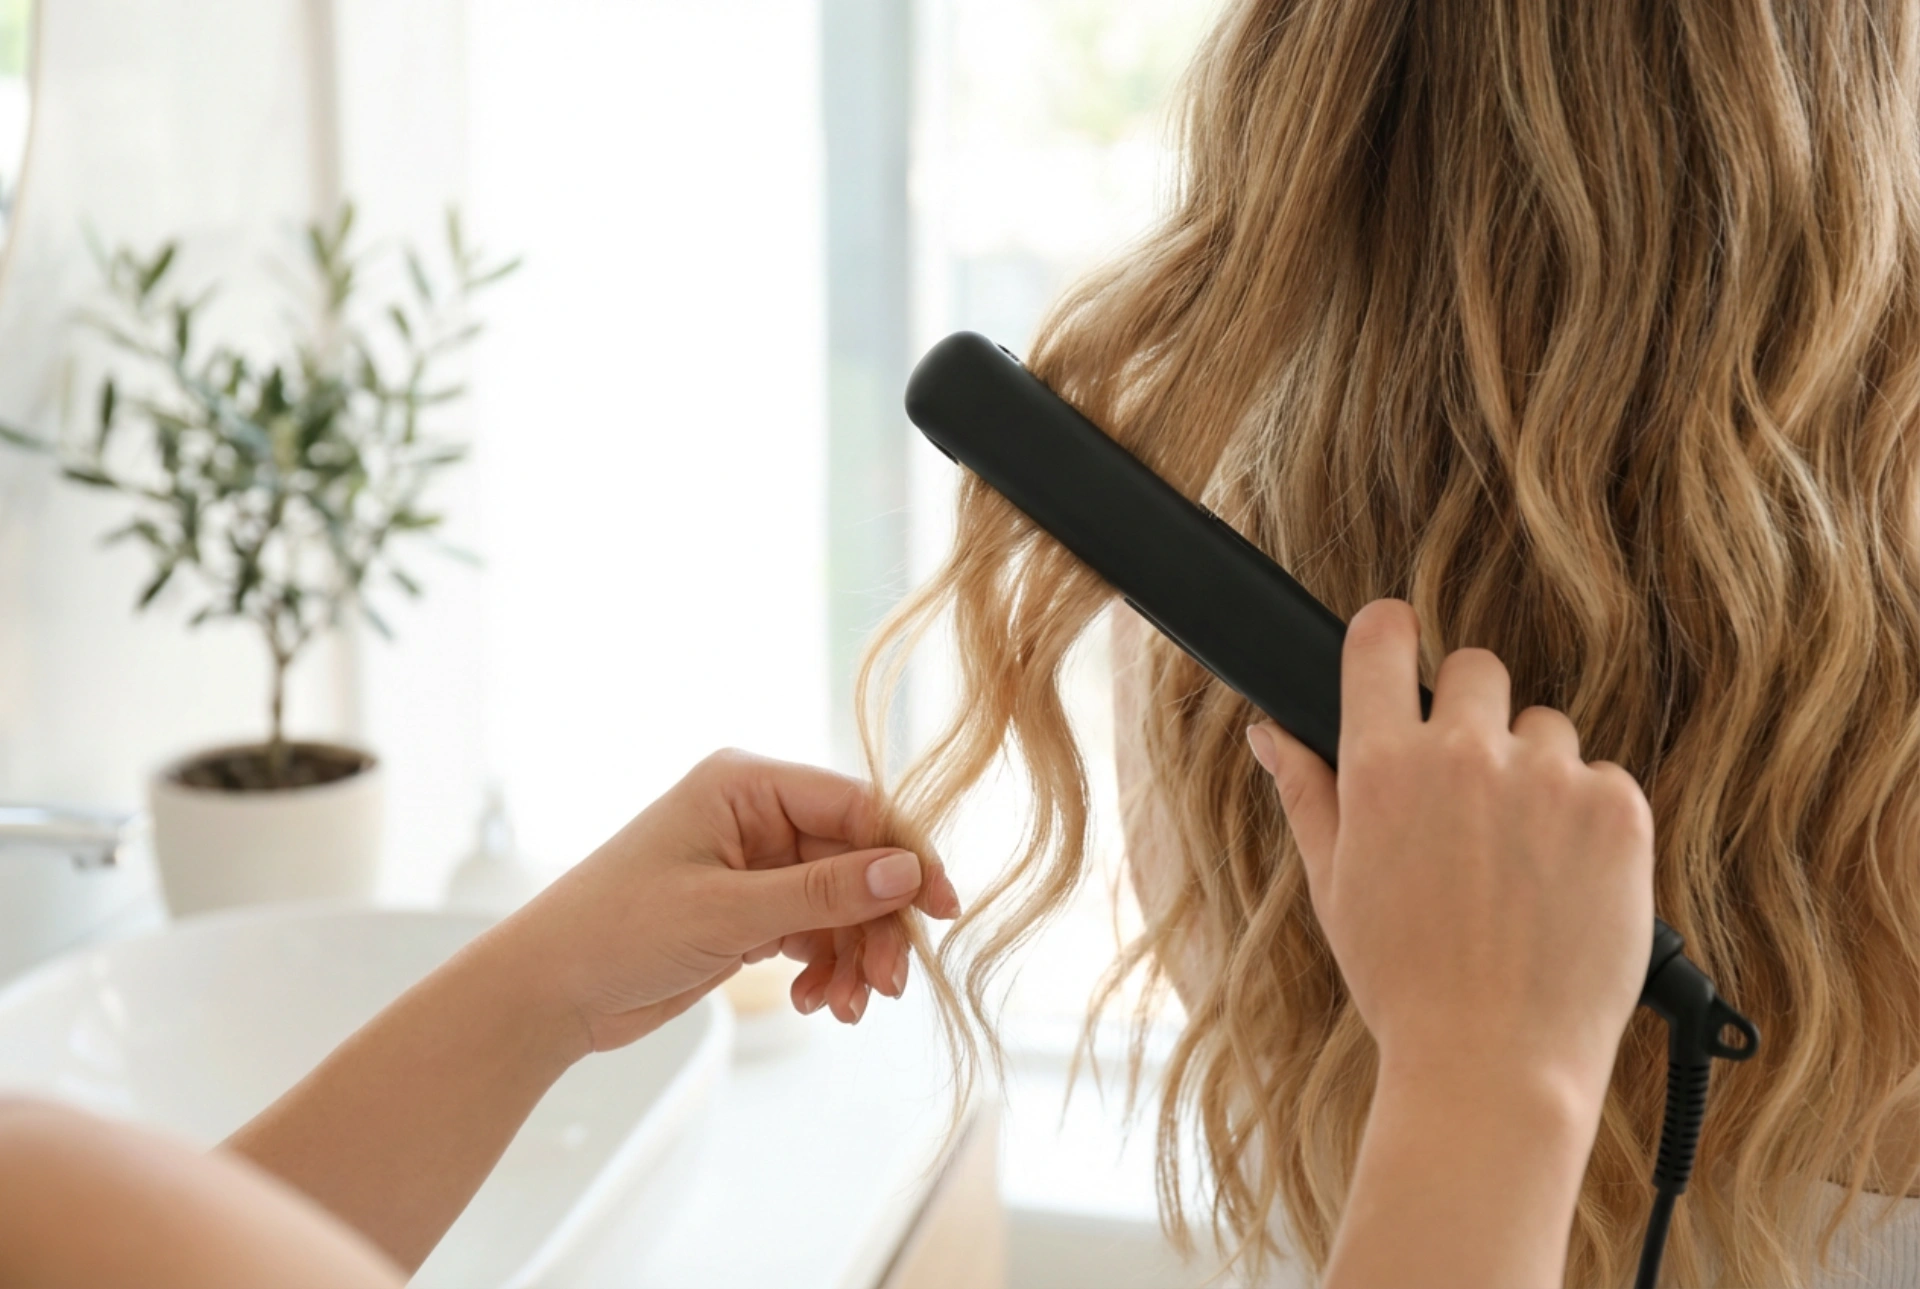
- Step 1: Clamp the Hair: Take a one-to-two-inch section of hair. Clamp the straightener near the roots, a few inches away from your scalp.
- Step 2: Twist and Glide: As you begin to glide the straightener down the hair shaft, rotate it 180 degrees (a half-turn) away from your face. The key is to keep the motion continuous and smooth to prevent any dents in the hair.
- Step 3: Control the Ends: For a modern, 'undone' beach wave, release the hair from the straightener when you are about an inch or two from the ends. Leaving the tips straight creates a more relaxed and less 'perfectly curled' appearance.
- Step 4: Alternate Directions: To achieve a more natural, multi-dimensional look, alternate the direction of the wave with each section. For one section, twist the straightener away from your face, and for the next, twist it towards your face. This prevents the waves from clumping together into one large curl.
- Step 5: Work Through Sections: Continue this process on all sections of your hair, working from the bottom layers up to the crown. The sections framing your face are often best styled away from the face for a flattering, opening effect.
Finishing Touches for a Lasting Look
After you have waved all of your hair, allow the waves to cool down completely before touching them. This helps to set the style and ensures it lasts longer. Once cool, gently run your fingers through your hair to separate the waves and create a softer, more tousled effect. Avoid using a brush, as this can pull out the waves and create frizz. To finish, you can spritz a light-hold texturising or sea salt spray to add volume and hold, completing that perfect, effortless beach-inspired look.


