


Achieving a salon-perfect finish at home often seems like an elusive goal, but much of the magic lies in the tools you use and how you use them. A professional hair dryer, with its array of attachments, is a powerful instrument in your beauty arsenal. Understanding its features, particularly the different nozzles, can elevate your hair drying routine from simply removing moisture to skillfully styling your locks. Let's explore the techniques that will help you master your hair dryer for flawless results every time.
Understanding Your Hair Dryer's Settings
Before even attaching a nozzle, it's crucial to get acquainted with your dryer's basic settings. Most professional models offer multiple heat and speed options. High heat and high speed are ideal for quickly removing excess moisture from thick or coarse hair. Medium heat and speed are great for regular drying and styling. Low heat and low speed are perfect for fine or delicate hair, and for final styling touches to avoid frizz. Using the right combination is the first step towards protecting your hair from unnecessary heat damage and achieving the best results for your hair type.
The Role of Nozzles: Your Styling Allies
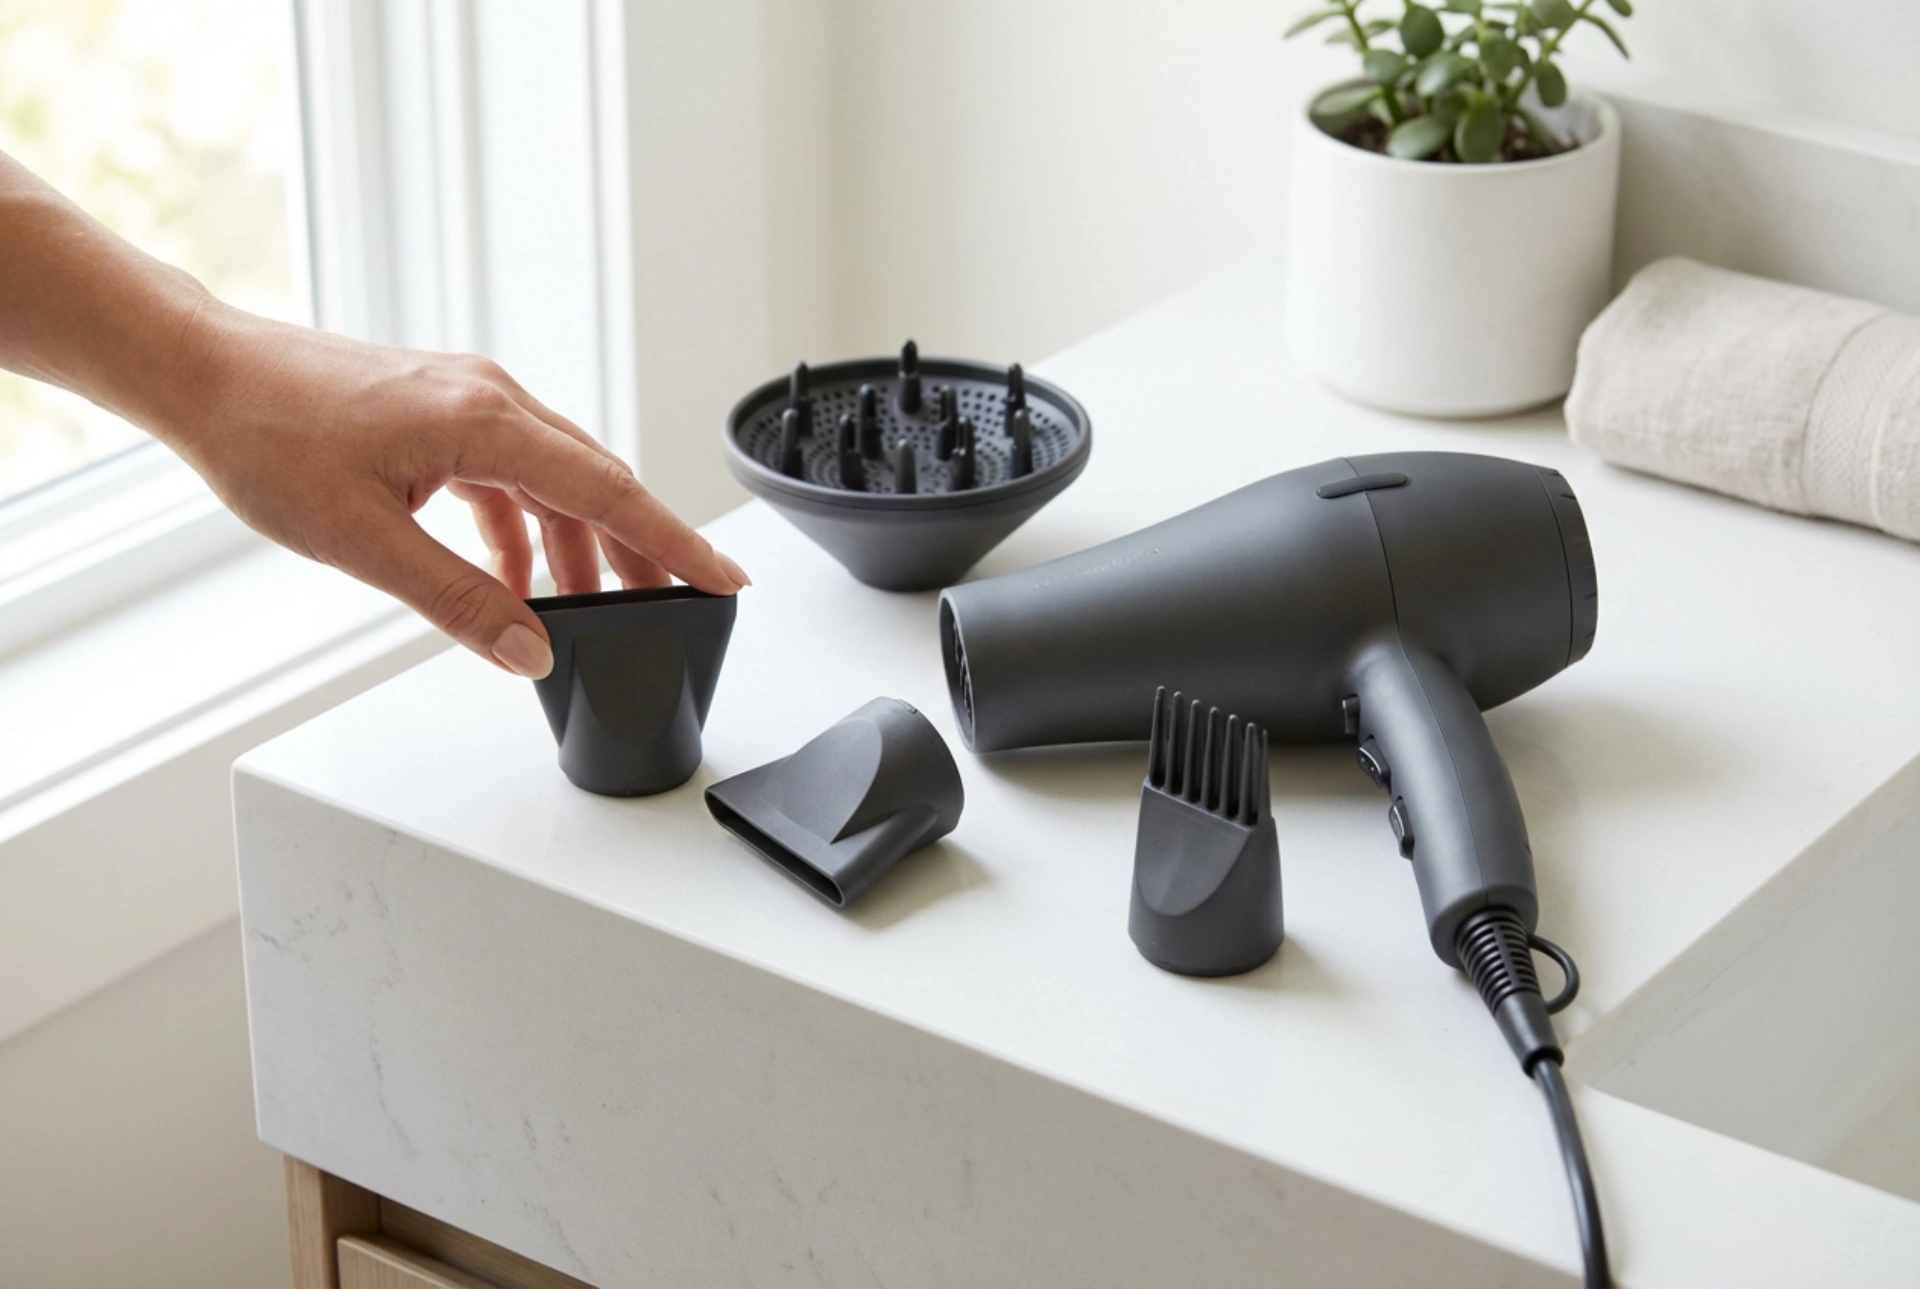
The attachments that come with your hair dryer are not just accessories; they are specialised tools designed for specific outcomes. The two most common are the concentrator and the diffuser, each serving a unique purpose in your styling journey.
The Concentrator Nozzle: For Precision and Smoothness
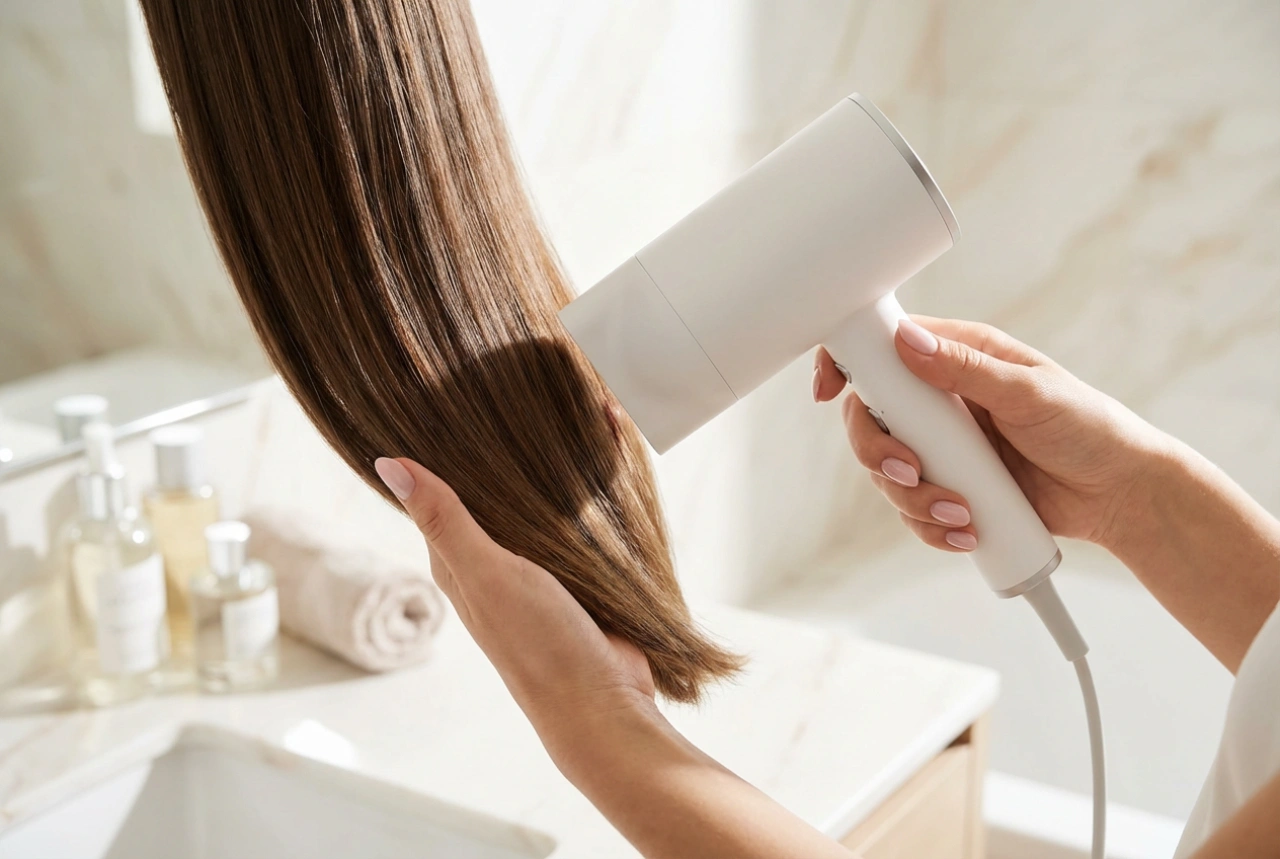
This flat, narrow attachment is your go-to for creating sleek, smooth styles. Its function is to concentrate the airflow into a targeted stream. This precision allows you to work on small sections of hair at a time, giving you greater control and a polished finish. To use it effectively, always point the nozzle downwards along the hair shaft. This helps to smooth the hair cuticles, which in turn reduces frizz and enhances shine. It's the perfect partner for a round brush when aiming for a classic bouncy blowout or a pin-straight look.
The Diffuser: For Curls and Volume
If you have naturally curly, wavy, or coily hair, the diffuser is your best friend. This large, round attachment with 'fingers' disperses the airflow over a wider area, preventing your curls from being blasted into a frizzy mess. It gently dries the hair, encouraging curl formation and definition while adding volume at the roots. For best results, use a low speed and low-to-medium heat setting. You can either hover the diffuser over your hair or gently cup sections of your curls in the bowl and lift them towards your scalp, holding for a few seconds to set the shape.
Step-by-Step Professional Drying Technique
Mastering the art of the blowout takes practice, but following a structured method makes all the difference. With the right technique, you can replicate salon-quality results.
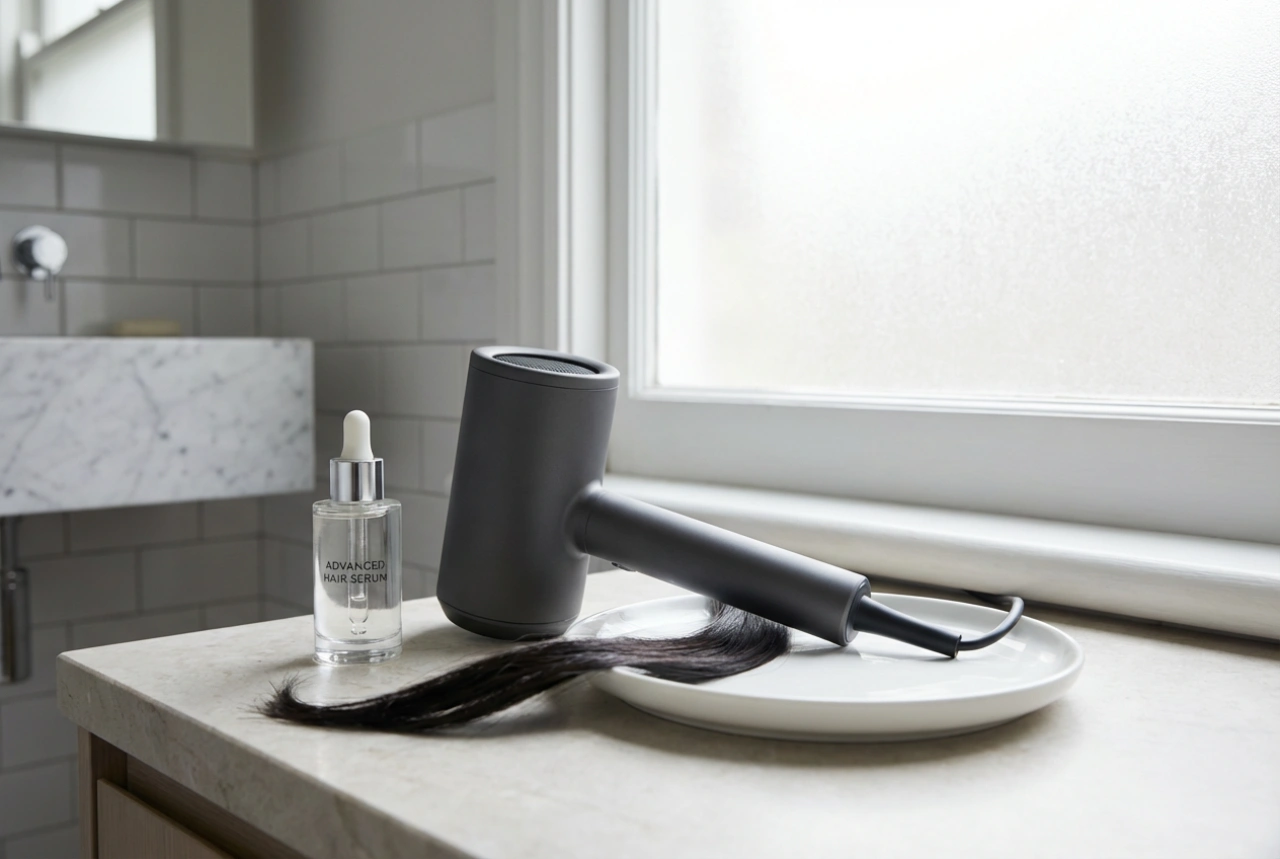
- Preparation is Key: Start with freshly washed, towel-dried hair. Gently squeeze out excess water with a microfibre towel to minimise friction and potential breakage. Always apply a heat protectant spray or cream evenly from roots to ends to shield your strands.
- Rough Dry First: Without any nozzle attached, use your dryer on a medium setting to dry your hair until it's about 80% dry. Use your fingers to lift the roots and move the hair around to speed up the process and build initial volume.
- Section Your Hair: Divide your hair into manageable sections using clips. Working in sections ensures that every part of your hair is dried and styled properly, rather than just the top layer, leading to a more uniform and long-lasting result.
- Style with a Nozzle: Attach the concentrator nozzle. Take one section of hair and, using a round brush, place it at the roots. Aim the dryer (with the nozzle) down the hair shaft as you pull the brush through to the ends. The tension from the brush combined with the directed airflow smooths the hair. Repeat on all sections.
The Cool Shot Button: The Secret to Long-Lasting Style
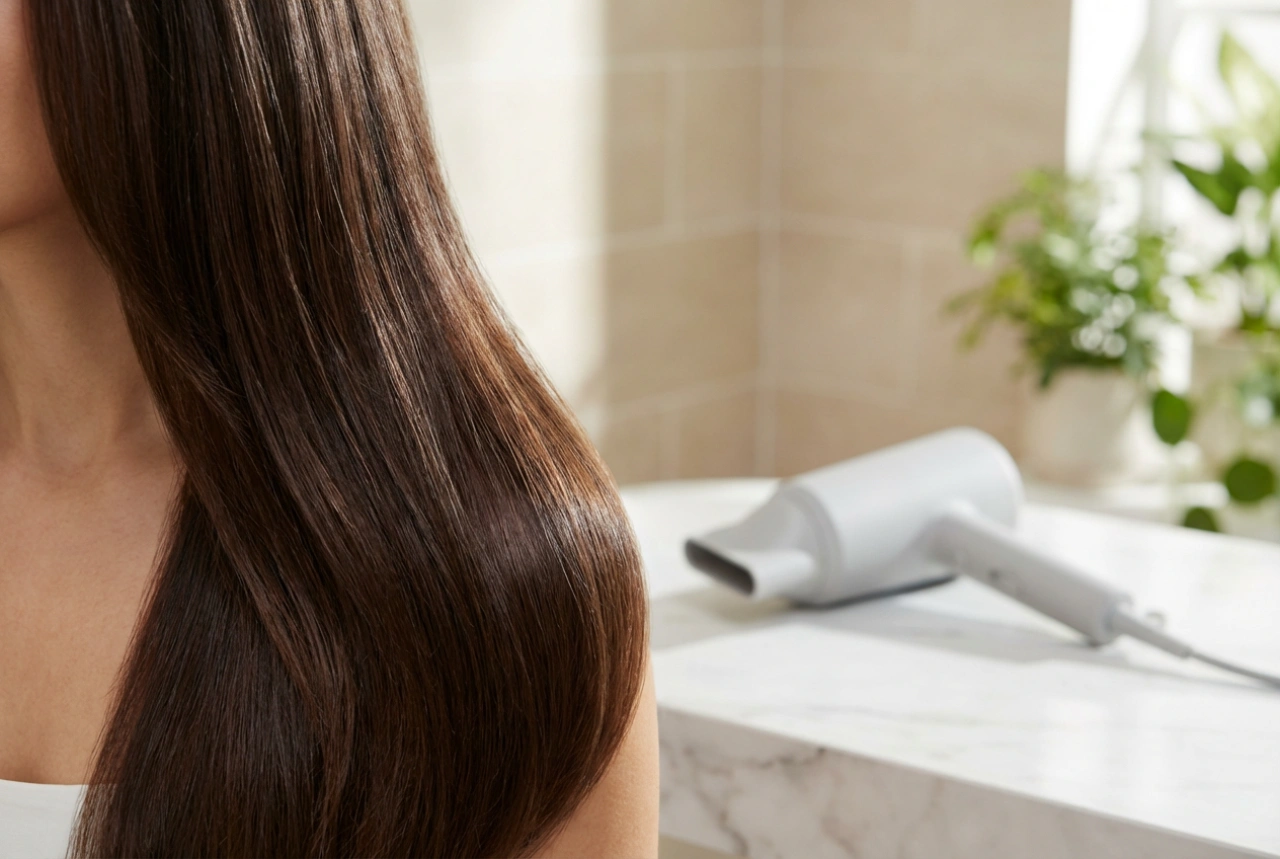
Many people overlook the 'cool shot' button, but it's a professional stylist's secret weapon for locking in a style. Once a section of hair is dry and styled with heat, a blast of cool air rapidly cools the hair down. This process closes the hair cuticle and sets the style in place. This simple step significantly improves the longevity of your blowout, helping your volume and smoothness last all day. Use it on each section after you've finished drying it with heat for a durable, polished finish.
By incorporating these professional techniques and understanding the purpose of each nozzle and setting, you can transform your hair drying routine. It's not just about getting your hair dry; it's about styling it with intention, protecting its health, and achieving that beautiful, sleek look you desire, all from the comfort of your own home.