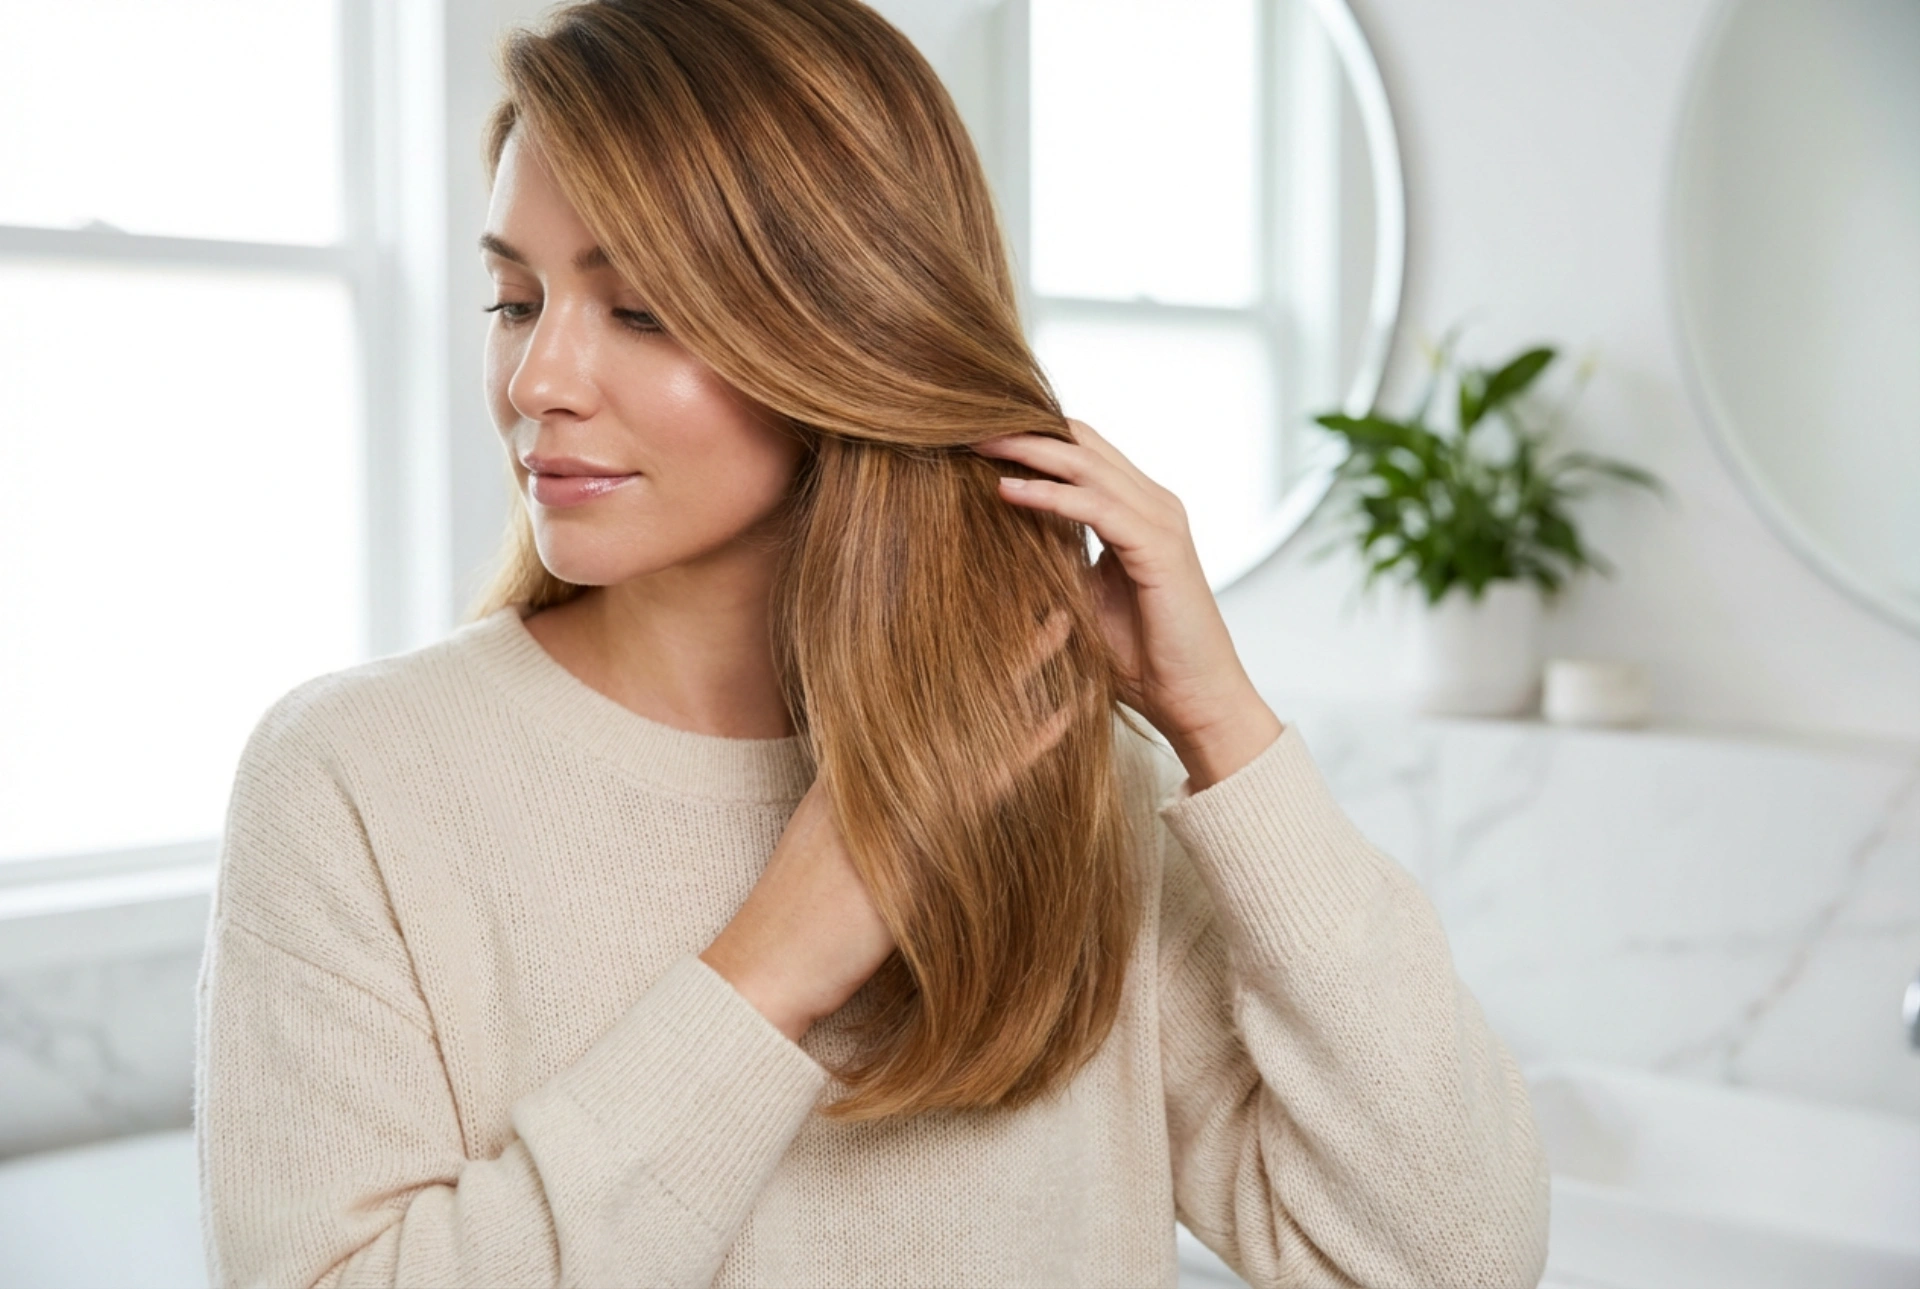


A well-styled side fringe can instantly elevate your look, beautifully framing your face and adding a touch of effortless sophistication. Achieving that perfect, salon-fresh sweep at home might seem tricky, but with the right techniques and a little practice, it's entirely possible. Whether you're refreshing your current style or have just taken the plunge with a new cut, this guide will walk you through the steps to style and set your side fringe for a flawless finish that lasts all day.
Preparation is the First Step
The foundation of any great hairstyle is proper preparation. For a side fringe, starting with clean, damp hair is often best as it gives you a blank canvas to work with. If you're not washing your hair, you can simply wet your fringe using a spray bottle. Before applying any heat, it's crucial to protect your strands. Apply a light mist of heat protectant spray to shield your hair from potential damage. If your hair tends to be flat, a small amount of volumising mousse applied to the roots of your fringe can provide extra lift and body.
Mastering the Styling Technique
There are two primary methods for styling a side fringe: the classic hairdryer and round brush combination, or the quick and easy straightener method. The choice depends on the look you want to achieve and the time you have.
Using a Hairdryer and Round Brush
This technique gives you volume and a soft, natural curve. Start by using a small to medium-sized round brush. Wrap your fringe section around the brush at the roots. For extra volume, a great trick is to first blow-dry the fringe to the opposite side of where you want it to sit. Then, switch directions and blow-dry it into its final position. Always point the hairdryer's nozzle downwards to smooth the hair cuticle, which enhances shine and reduces frizz. Continue until the hair is completely dry and has a gentle bend.
Using a Hair Straightener
For a sleeker, quicker style, a hair straightener is an excellent tool. Ensure your fringe is completely dry before you begin. Set the straightener to a low or medium heat setting to avoid damaging the delicate hairs. Gently clamp the straightener at the roots of your fringe and pull it outwards and to the side in a soft, curved motion. Avoid pulling straight down, as this can make the fringe look flat and lifeless. The goal is to create a subtle arc that blends seamlessly with the rest of your hair.
Setting Your Fringe for All-Day Hold
Once your fringe is styled to perfection, the final step is to make sure it stays in place. The key is to use products that provide hold without making your hair look stiff or crunchy. A light-hold hairspray is your best friend. Hold the can about 20-30 centimetres away from your hair and give it a quick, light mist. This will provide flexible hold without weighing your fringe down. For added texture or to tame any flyaways, you can rub a tiny amount of styling wax or pomade between your fingertips and gently apply it to the ends of your fringe.
Common Mistakes to Avoid
To keep your side fringe looking its best, try to steer clear of a few common pitfalls. One is using too much product, which can make your hair look greasy and heavy. Always start with a small amount and add more only if necessary. Another mistake is using too much heat, which can lead to dryness and breakage. Finally, try to avoid touching your fringe throughout the day. The natural oils from your fingers can transfer to your hair, causing it to become limp and lose its shape. If it needs a refresh, a quick blast of dry shampoo at the roots can work wonders.


