

A longer fringe can beautifully frame the face and add a touch of effortless sophistication to any hairstyle. While it may seem like a high-maintenance choice, mastering a few key techniques can make daily styling simple and predictable. Whether you're aiming for a soft, wispy look or a statement curtain fringe, understanding how to handle your hair is the first step towards achieving that polished, salon-fresh appearance every day. This guide will walk you through everything from the initial cut to daily styling tricks.
Starting with the Right Foundation: The Cut
The success of a long fringe begins at the salon. Communicating effectively with your hairdresser is crucial to getting a cut that not only suits your face shape but also works with your hair's natural texture and your lifestyle. When you go for your appointment, explain how much time you're willing to spend on styling each day. A stylist can recommend a shape that will grow out gracefully and require minimal effort. For instance, a softer, layered fringe is often more forgiving than a heavy, blunt one, as it blends more seamlessly into the rest of your hair as it grows. Consider asking for a 'curtain' style that parts in the middle or a long, side-swept fringe, as both are versatile and relatively easy to manage.
Essential Tools for Fringe Perfection
You don't need a vast arsenal of equipment to style a long fringe, but a few key items will make the process much smoother. Investing in the right tools will give you greater control and help you achieve a professional finish at home.
- A Hairdryer with a Concentrator Nozzle: The nozzle is non-negotiable. It directs the airflow precisely where you need it, which is essential for smoothing and shaping the small section of hair that makes up your fringe.
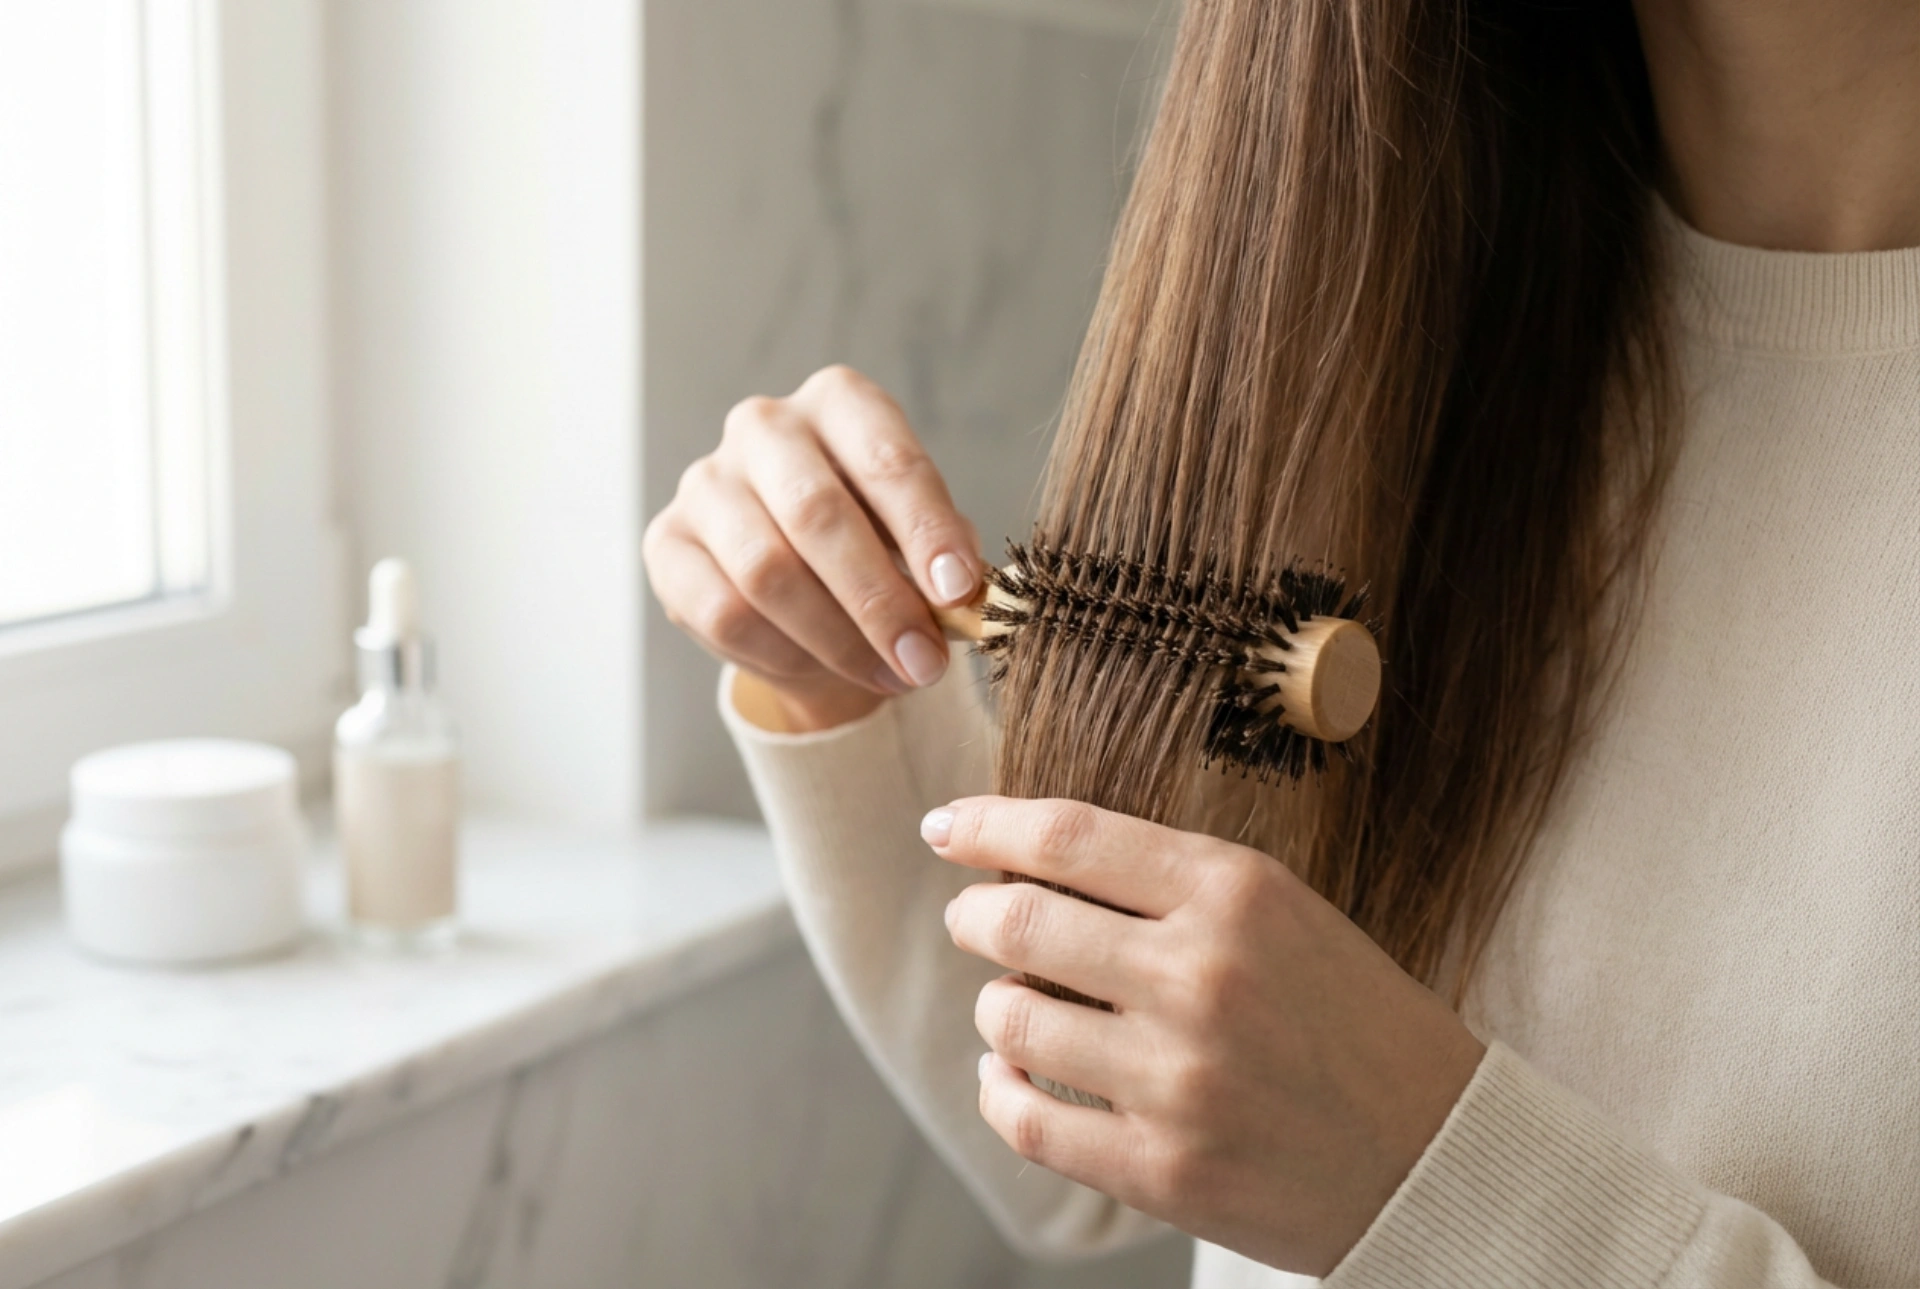
- A Round Brush: A small-to-medium barrel round brush is ideal. A brush with natural bristles can help increase shine and reduce static, while a ceramic or tourmaline barrel can help with even heat distribution and faster drying.
- A Fine-Toothed Comb: Perfect for creating a clean parting and for combing the fringe into place before and after styling.
- Sectioning Clips: These are incredibly helpful for separating your fringe from the rest of your hair, allowing you to focus on styling one area at a time without interference.
- Light-Hold Styling Products: A heat protectant spray is a must to shield your hair from damage. A light-hold hairspray, texturising spray, or a small amount of styling cream can help hold the shape without making your fringe stiff or heavy.
The Art of Drying Your Fringe
How you dry your fringe has the biggest impact on its final look. The goal is to control the roots and direct the hair into the desired shape. It's often best to style your fringe first, while it's still damp, before moving on to the rest of your hair.
The Blow-Drying Method
For a smooth, controlled finish, blow-drying is your best bet. Start with your fringe about 70-80% dry. Attach the concentrator nozzle to your hairdryer and set it to a medium heat and speed. First, use a comb to brush all of your fringe forward. Direct the airflow downwards from the roots to flatten any cowlicks. Next, wrap a section of your fringe around the round brush. Pull the brush forward and down, following it closely with the hairdryer. As you reach the ends, gently roll the brush under to create a soft, natural curve. For a side-swept look, try drying the fringe in the opposite direction first, then flip it back to its final position for added volume and a perfect sweep.
Air-Drying for a Natural Look
If you prefer a more relaxed, bohemian vibe, air-drying is an excellent option, especially if you have a natural wave or curl. After washing, gently squeeze out excess water with a soft towel. Apply a tiny amount of anti-frizz serum or light styling cream if needed. Use your fingers or a comb to position the fringe where you want it to sit. The key to successful air-drying is to avoid touching it as it dries, as this can create frizz and disrupt the natural pattern.
Everyday Styling and Quick Fixes
Once your fringe is dry, you can refine the style or make quick adjustments throughout the day.
- Creating a Curtain Fringe: Part your fringe down the middle. Use your round brush or a straightener on a low heat setting to gently flick each side outwards and away from your face. This creates that signature 'curtain' effect.
- Adding Volume: If your fringe falls flat, a spritz of dry shampoo at the roots can work wonders. Lift the fringe and spray underneath, then massage the product in with your fingertips to create instant lift and texture.
- Taming Unruly Strands: Sometimes a few hairs just won't cooperate. Warm a tiny amount of styling wax or cream between your fingertips and smooth it over the stray hairs to bring them back in line.
- The Day-Two Refresh: If your fringe looks a bit greasy or has lost its shape overnight, you don't need to rewash all your hair. Simply wet the fringe section, apply a heat protectant, and re-dry it using the techniques above. It will look completely refreshed in just a few minutes.





