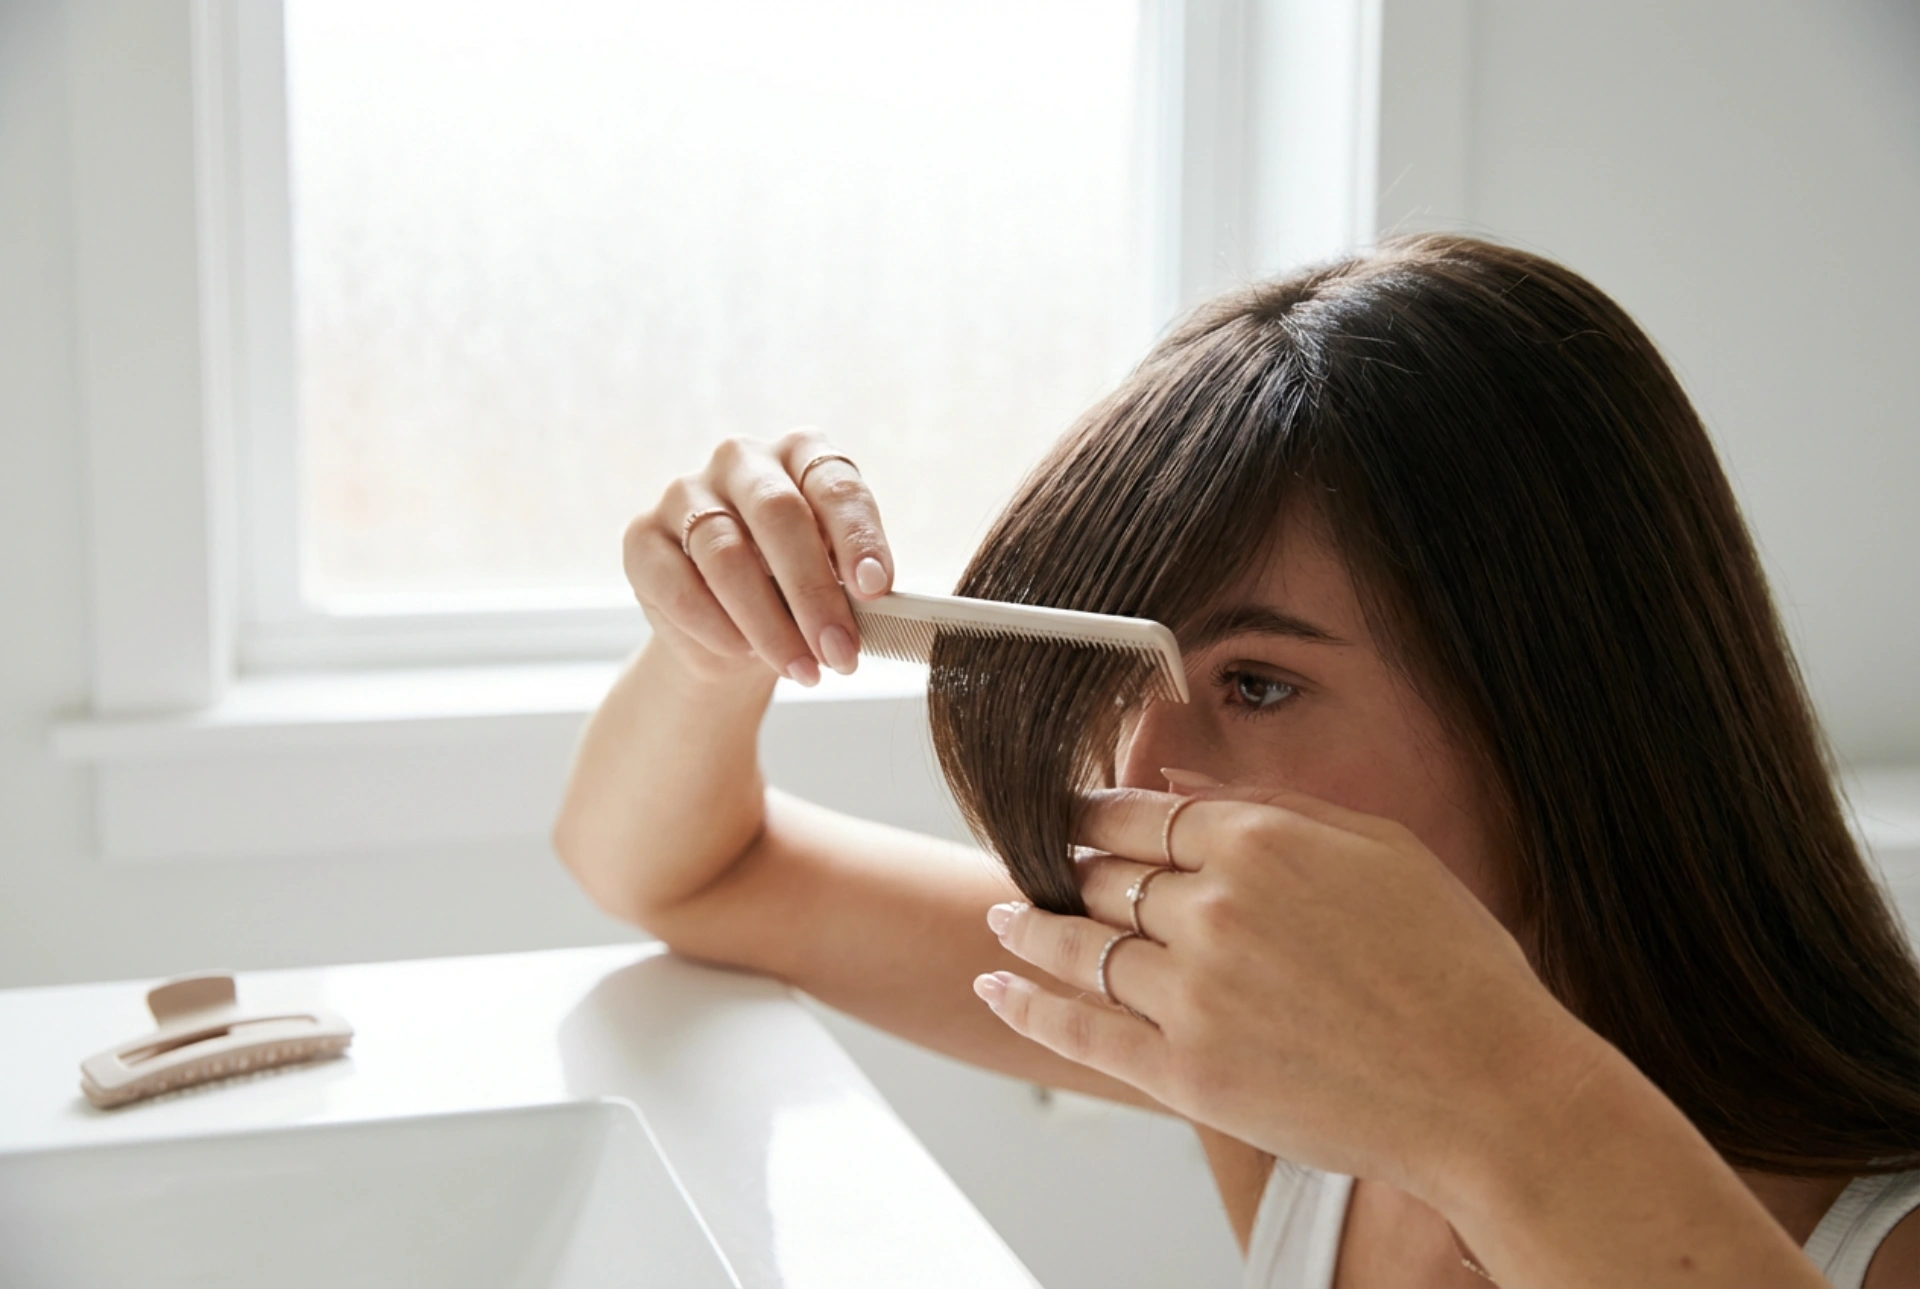


An asymmetrical fringe, also known as a side-swept fringe, is a wonderfully versatile and stylish way to update your look without a dramatic overhaul. It can soften features, add a modern edge, and draw attention to your eyes. Achieving that perfect, gentle sweep of hair, as if by a delicate motion of the hand, is possible at home with the right techniques. This guide will walk you through choosing the right style for you and mastering the art of styling it for a flawless finish every day.
Is an Asymmetrical Fringe Right for You?
Before you take the plunge, it's worth considering how an asymmetrical fringe will work with your face shape and hair type. While it's a very adaptable style, a few considerations can help you achieve the most flattering result.
Considering Your Face Shape
The beauty of a side-swept fringe is its ability to create balance and complement various facial structures. For those with round or square faces, a longer, sweeping fringe can create the illusion of length and soften strong jawlines. The diagonal line breaks up the symmetry and adds a slimming effect. For heart-shaped faces, an asymmetrical fringe can balance a wider forehead. Oval faces are often considered versatile, and an asymmetrical fringe is no exception, adding a touch of chic sophistication to an already balanced shape.
Working with Your Hair Type and Texture
Your hair's natural texture plays a significant role in how an asymmetrical fringe will sit. Straight or slightly wavy hair is often the easiest to style into a sleek sweep. If you have very fine hair, a fringe can sometimes make the rest of your hair appear thinner, so you might opt for a lighter, wispier version. For those with thick hair, a thinned-out or textured fringe will prevent it from looking too heavy. If your hair is naturally curly, an asymmetrical fringe is still an option, but it will have a different, more voluminous character. It's often best to work with your natural curl pattern rather than trying to force it straight every day.
Preparing for Styling at Home
Proper preparation is the key to successfully styling your fringe at home. Taking the time to set up correctly and prepare your hair will make the process smoother and yield more professional-looking results. The goal is to understand how your hair falls naturally before you begin styling.
Essential Styling Tools
Having the right tools on hand is non-negotiable. You don't need a professional salon's inventory, but a few key items will make all the difference. Ensure you have:
- A fine-tooth comb for precise parting.
- Hair clips to section off the rest of your hair, keeping it out of the way.
- A hairdryer with a nozzle attachment for directed airflow.
- A round brush (a smaller one for shorter fringes, a medium one for longer styles).
- A heat protectant spray to shield your hair from damage.
- Optional: A flat iron for an extra-sleek finish and a light-hold hairspray.
Prepping Your Hair
Always start with clean, dry hair. While it may seem logical to cut or style a fringe when it's wet, hair shrinks as it dries, which can lead to a much shorter result than you intended. By working with dry hair, styled as you would normally wear it, you get a true sense of its length and natural fall. This is especially important for those with wavy or curly hair, as the texture can dramatically alter the length.
A Step-by-Step Guide to Styling Your Asymmetrical Fringe
Once you have your fringe, daily styling is what will keep it looking its best. This routine will quickly become second nature.
Step 1: Washing and Applying Product
Start your styling routine on freshly washed and towel-dried hair. Your fringe is prone to getting oily more quickly than the rest of your hair due to its contact with your forehead. Apply a small amount of heat protectant spray to the fringe area to minimise damage from heat styling tools.
Step 2: The Blow-Drying Technique
This is the most crucial step. Attach the nozzle to your hairdryer. Take your round brush and place it under the roots of your fringe. Direct the hairdryer's airflow downwards, from root to tip, while brushing the fringe to one side. Then, brush it to the opposite side. This back-and-forth motion helps to remove any cowlicks and create natural volume at the root. To finish, brush it in the direction you want it to sit, continuing to direct the heat downwards until it's completely dry. This seals the cuticle and creates a smooth finish.
Step 3: Refining with a Flat Iron (Optional)
For a super-sleek, polished look, you can use a flat iron. Ensure your fringe is 100% dry first. Take the fringe section and, starting near the root, gently clamp the straighteners and pull them through the hair in a curved motion, following the sweep across your forehead. A single, fluid pass is usually enough to avoid making it look too flat or stiff.
Step 4: Finishing Touches
To ensure your fringe stays in place all day, you can use a finishing product. A light spritz of a flexible-hold hairspray will keep it in place without creating a crunchy texture. Alternatively, rub a tiny amount of styling wax or pomade between your fingertips and lightly skim over the surface of the fringe to tame any flyaways and add definition.
Maintaining Your Perfect Fringe
An asymmetrical fringe requires a little upkeep to stay in shape. Regular trims, typically every 4-6 weeks, are essential to maintain the length and shape. Between trims, master your daily styling routine. On days when it's not cooperating, a stylish pin or headband can be a chic solution. As it grows out, you can adapt the style, perhaps tucking it behind your ear or blending it more into the longer layers of your hair.





