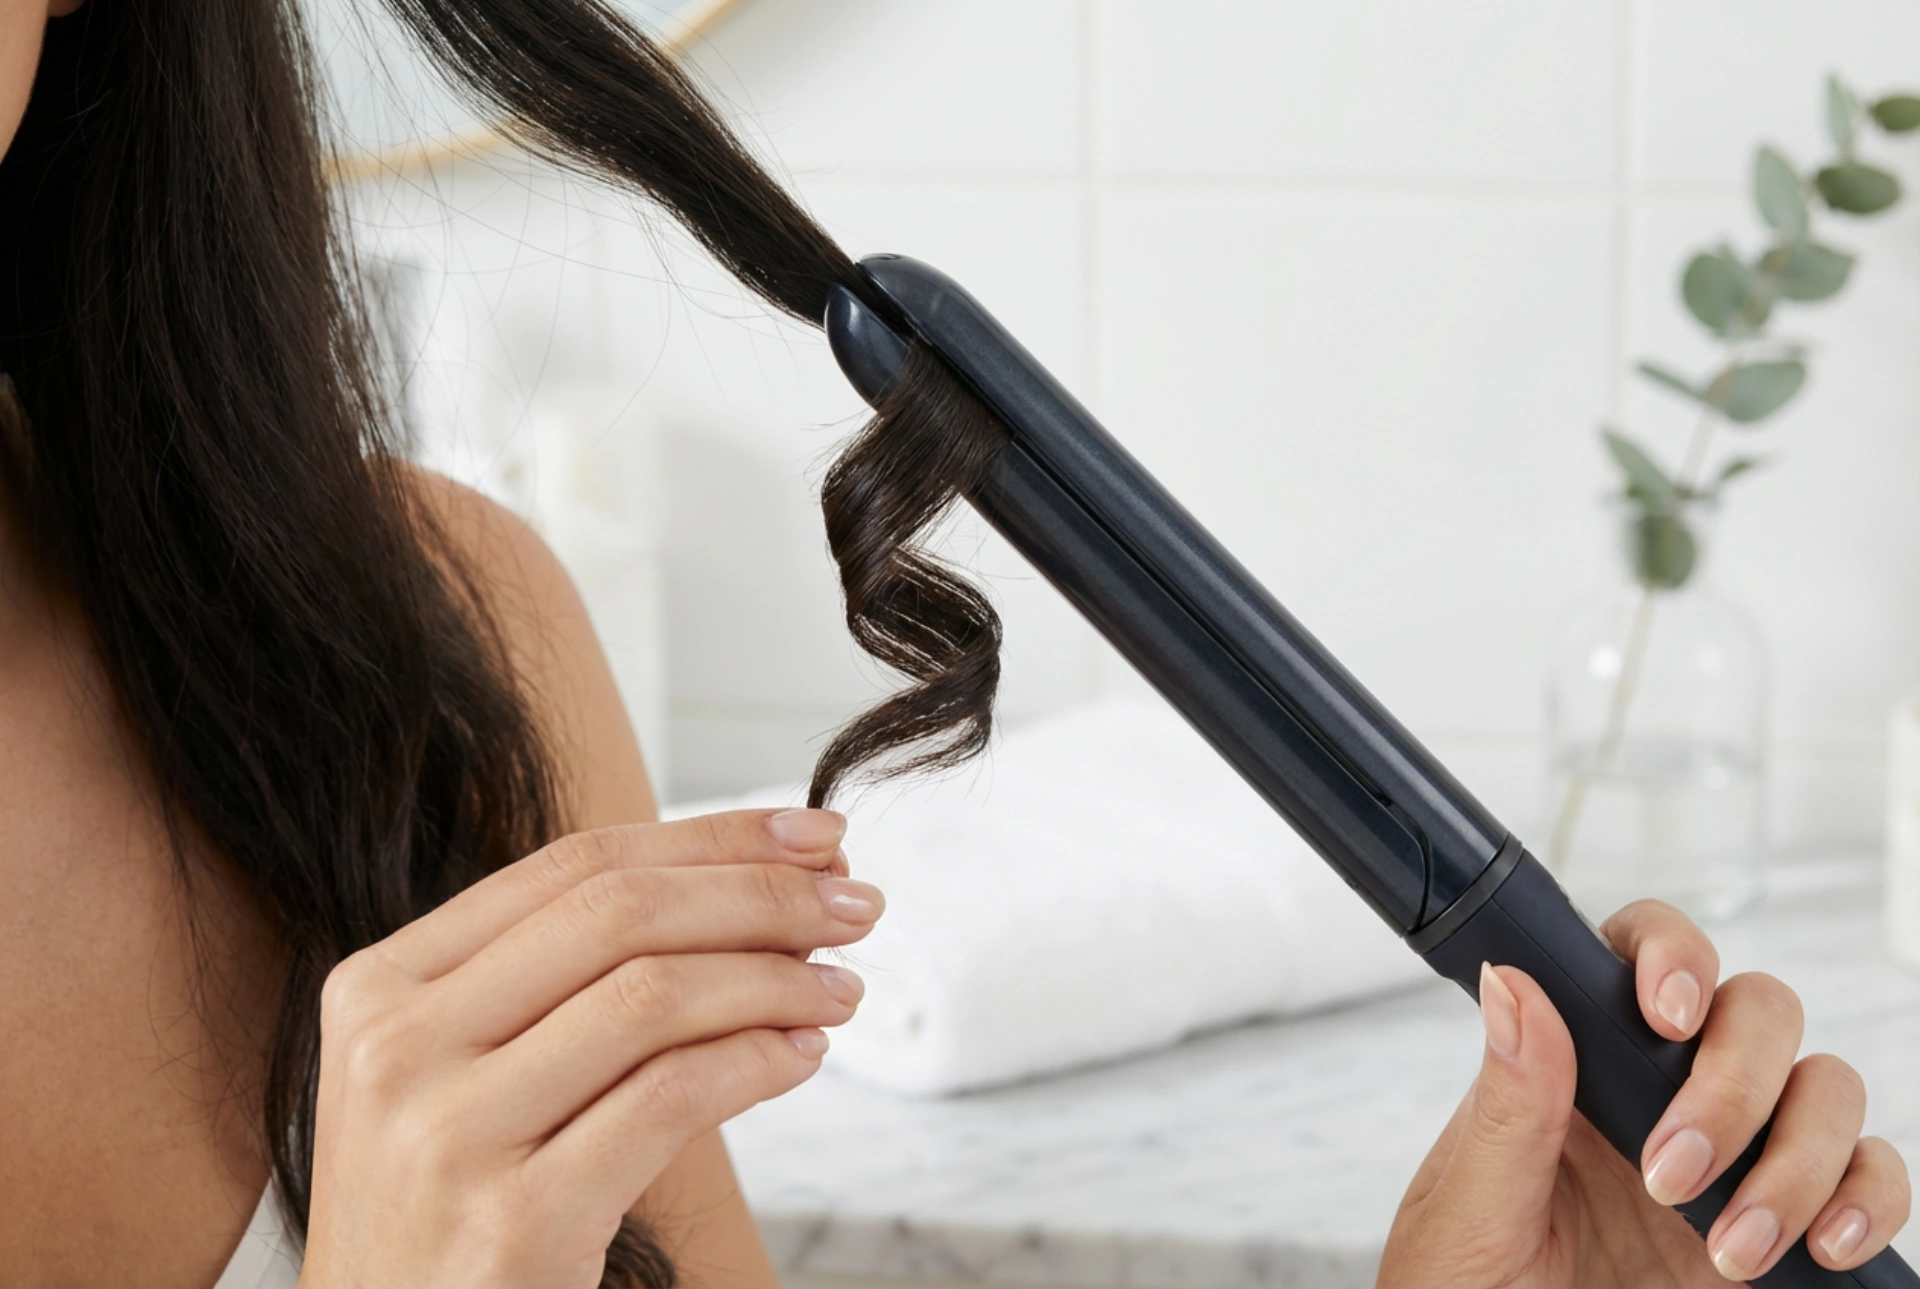


Creating beautiful, bouncy curls is an art, and the curling iron is the artist's most essential tool. Whether you dream of tight ringlets, classic curls, or soft, flowing waves, understanding how to use your styling tool correctly is key to achieving the desired result while keeping your hair healthy. The process, from selecting the right barrel size to the final spritz of hairspray, involves a few simple but crucial steps. Mastering them will transform your hair styling routine and allow you to create salon-worthy looks at home.
Choosing the Right Curling Iron Barrel Size
The diameter of your curling iron's barrel directly determines the size and style of your curls. Choosing the correct one is the first step towards achieving your ideal hairstyle.
Small Barrels (10mm - 19mm)
These smaller barrels are perfect for creating tight, defined curls or springy ringlets. They work wonderfully on shorter hair, as they can easily grip and shape the strands. On longer hair, they can be used to create a very textured and voluminous look. Be mindful that the resulting curls will be very tight, so if you prefer a looser style, you will need to gently separate them with your fingers once cooled.
Medium Barrels (25mm - 32mm)
This is the most versatile and popular range of barrel sizes. A 25mm barrel creates a classic, defined curl, while a 32mm barrel offers a slightly looser, bouncier curl. These sizes work well on almost all hair lengths, from bobs to long locks. If you're looking for a single, all-purpose curling iron, one within this range is an excellent choice for creating a variety of popular curly and wavy styles.
Large Barrels (38mm and above)
If your goal is volume and soft, glamorous waves rather than distinct curls, a large barrel is your best friend. These are ideal for long hair, creating a look that resembles a professional blow-dry. They add body and movement, giving the hair a gentle bend rather than a tight spiral. On shorter hair, they are less effective for curling but can be used to create shape and flip the ends.
How to Prepare Your Hair for Curling
Proper preparation not only protects your hair from heat damage but also helps your curls last longer. Never skip these preparatory steps.
- Start with Dry Hair: Always ensure your hair is 100% dry before applying any hot tool. Using a curling iron on damp or wet hair can cause significant damage and will prevent the curl from forming correctly.
- Apply a Heat Protectant: This is a non-negotiable step. A good heat protectant creates a barrier between your hair and the hot barrel, minimising moisture loss and protecting the hair cuticle. Spray it evenly from roots to ends.
- Section Your Hair: Divide your hair into manageable sections using clips. Working with smaller, organised sections ensures that every strand is heated evenly, resulting in a more uniform and polished finish. A typical approach is to create a top and bottom section, then divide each into left and right.
The Curling Technique: Timing and Temperature
The way you apply heat is critical for both the health of your hair and the quality of your curls. Finding the right balance of heat and time is essential.
Finding the Right Heat Setting
Not all hair types require the highest temperature. Fine, delicate, or colour-treated hair is more susceptible to damage and should be styled at lower temperatures (around 150-170°C). Normal hair can typically handle medium heat (170-190°C), while thick, coarse, or hard-to-curl hair might need a higher setting (190-210°C). It is always best to start at a lower temperature and only increase it if the curls are not holding.
How Long to Hold the Hair
The ideal duration for holding a section of hair around the barrel is typically between 5 and 10 seconds. Holding it for less time may result in a weak curl that falls out quickly. Holding it for too long, especially on a high heat setting, risks burning and damaging the hair. Experiment to find the sweet spot for your hair type.
Setting and Finishing Your Curls for Long-Lasting Hold
The steps you take after the heat is applied are just as important as the curling process itself. Proper finishing techniques will ensure your style lasts all day.
- Let Curls Cool Down Completely: This is the most important secret to long-lasting curls. Heat shapes the hair, but the cooling process is what sets the shape. As you release each curl from the iron, either let it fall and cool undisturbed or, for maximum hold, pin the curl to your scalp with a clip and let it cool completely in that shape.
- Use a Light-Hold Hairspray: Once all your curls are completely cool, lightly mist your hair with a flexible or light-hold hairspray. Heavy, sticky sprays can weigh down the curls and make them look stiff and unnatural.
- Gently Separate the Curls: For a modern, natural look, gently break up the curls. You can use your fingers to rake through your hair or a wide-tooth comb for a softer finish. Avoid using a brush unless you are aiming for very loose, brushed-out waves, as it can pull out the curls.





