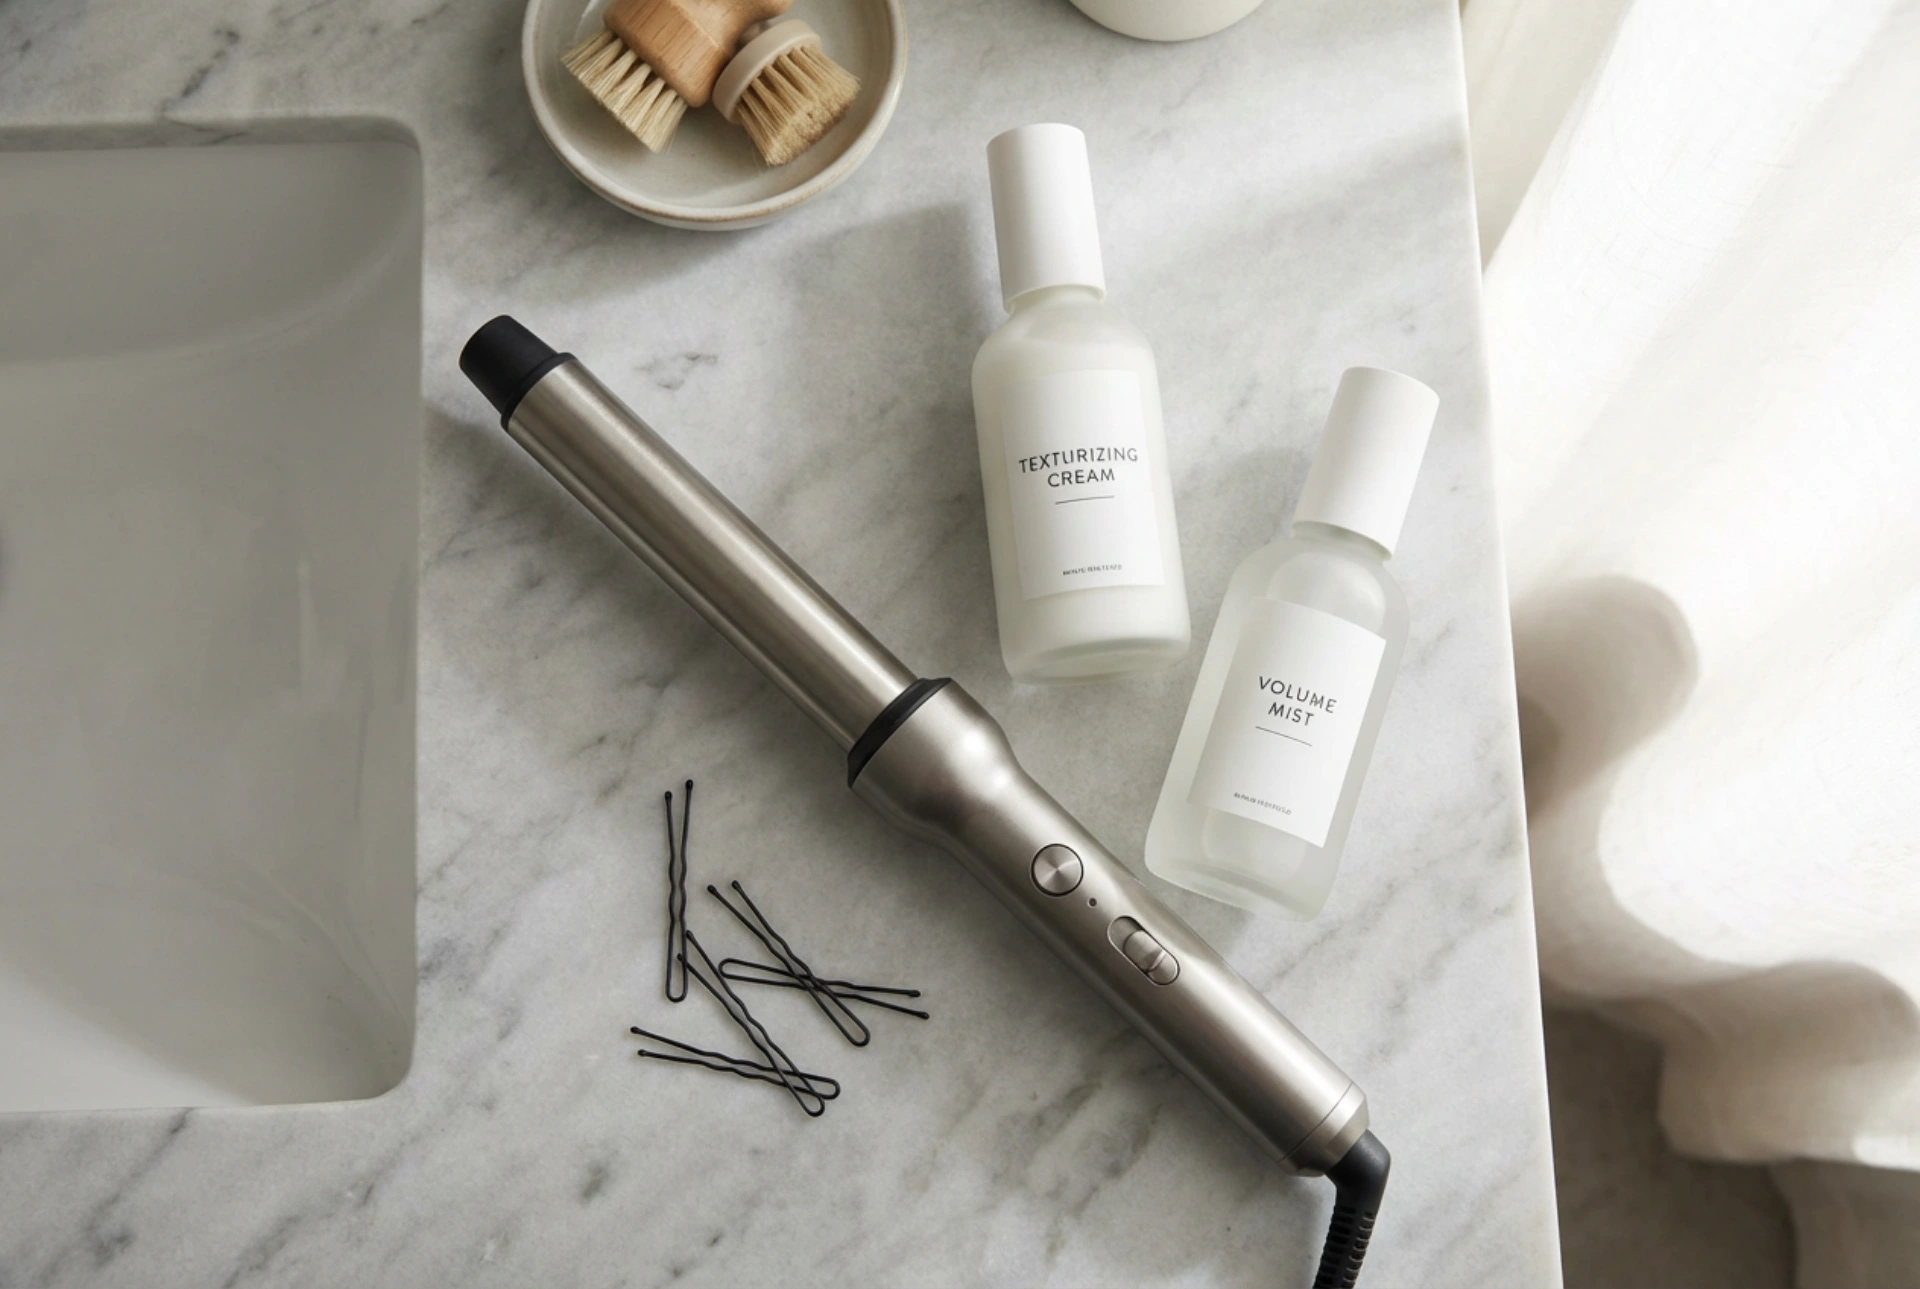


Creating effortless, chic waves on short hair might seem challenging, but it is a look that is both achievable and stunning. With the correct approach, a few key tools, and the right products, you can transform a bob, lob, or even a shorter cut into a beautifully textured style. Forget the idea that waves are only for long locks; short hair provides the perfect canvas for a modern, tousled look. This guide will walk you through the entire process, from preparation to the final finishing touches, ensuring you can master this style at home.
Choosing the Right Tools for Waving Short Hair
The success of your wavy hairstyle heavily depends on the tools you use. For short hair, the size of your styling tool is crucial. A barrel that is too large will only create a slight bend, not a defined wave.
Styling Irons
A straightener, often called a flat iron, is a surprisingly versatile tool for creating waves on short hair. Look for one with plates that are around 1 inch (2.5 cm) wide. This size allows you to get close to the root and create a defined 'S' shape. The technique involves clamping a section of hair, turning the iron 180 degrees, and slowly gliding it down the hair shaft. Ceramic plates are excellent for even heat distribution and minimising damage.
Curling Wands and Tongs
Curling wands and tongs are more traditional choices. For most short hairstyles, a barrel size between 0.75 inches and 1.25 inches (2-3 cm) is ideal. A conical wand (which tapers at the end) can create a very natural-looking wave that is tighter at the root and looser at the end. When using a wand, you wrap the hair around the barrel, holding the end with your fingers. For a modern, undone look, it is essential to leave the last inch or so of your hair straight.
Prepping Your Hair for Styling
Proper preparation not only protects your hair but also helps the style last significantly longer. Never apply heat to hair that is not properly prepped.
- Start with Dry Hair: Ensure your hair is 100% dry before using any hot tools. Styling damp hair can cause significant damage and will result in a weak, frizzy style.
- Apply a Heat Protectant: This is non-negotiable. A good heat protectant spray creates a barrier between your hair and the high temperature of the tool, preventing moisture loss and breakage. Mist it evenly throughout your hair, from roots to ends.
- Add Texture and Grip: Short hair, especially if it is fine, can be silky and refuse to hold a style. Applying a texturising spray or a light mousse before you begin can provide the necessary 'grip' for the waves to form and hold. Sea salt spray is another excellent option for creating a beachy, matte texture.
Step-by-Step Waving Technique
Patience and sectioning are your best friends when styling short hair. Working with small, manageable sections will give you a much more consistent and polished result.
Section Your Hair
Start by clipping away the top half of your hair. This allows you to work on the bottom layers first. Depending on the thickness of your hair, you may need to create even more sections. Working with pieces that are about 1-2 inches wide is a good rule of thumb.
The Waving Motion
Whether using a straightener or a wand, the direction you wave the hair matters. For a natural look, alternate the direction of each wave. Curl one section away from your face, and the next section towards your face. The sections framing your face should always be waved away to open up your features.
- With a Straightener: Clamp a section near the root, rotate the iron away from your face, and glide it down slowly.
- With a Wand: Take a section of hair and wrap it around the barrel, leaving the last inch of the ends out. Hold for 5-8 seconds, then release.
Finishing Touches and Making Waves Last
What you do after the heat is turned off is just as important as the styling itself.
Let It Cool
Do not touch your hair while it is still warm! The waves are setting during the cooling process. If you run your fingers through them too soon, they will fall out almost immediately. Wait at least 5-10 minutes for your hair to cool down completely.
Break It Up
Once cool, gently rake your fingers through your hair to separate the waves and give them a more relaxed, lived-in feel. Avoid using a brush, as this can pull out the waves and create frizz. If you need more separation, you can use a wide-tooth comb.
Set the Style
A light mist of flexible-hold hairspray will keep your waves in place without making them feel stiff or crunchy. For extra texture and volume, you can flip your hair upside down and spritz a texturising spray into the roots and mid-lengths.
Common Mistakes to Avoid
If you are struggling to get the look right, you might be making one of these common mistakes.
- Using a tool that is too hot: High heat damages hair and is not necessary for fine or short hair. Start with a medium heat setting and only increase if needed.
- Curling the very ends: For a modern look on a bob or lob, leaving the last inch of hair straight creates a sharper, more contemporary silhouette. Curling the ends under can look dated.
- Overusing product: Too much mousse, spray, or serum can weigh down short hair, making it look greasy and causing the waves to drop. Start with a small amount and add more only if necessary.
- Not sectioning the hair: Trying to wave large chunks of hair at once leads to an uneven result, with some parts straight and others over-curled.





