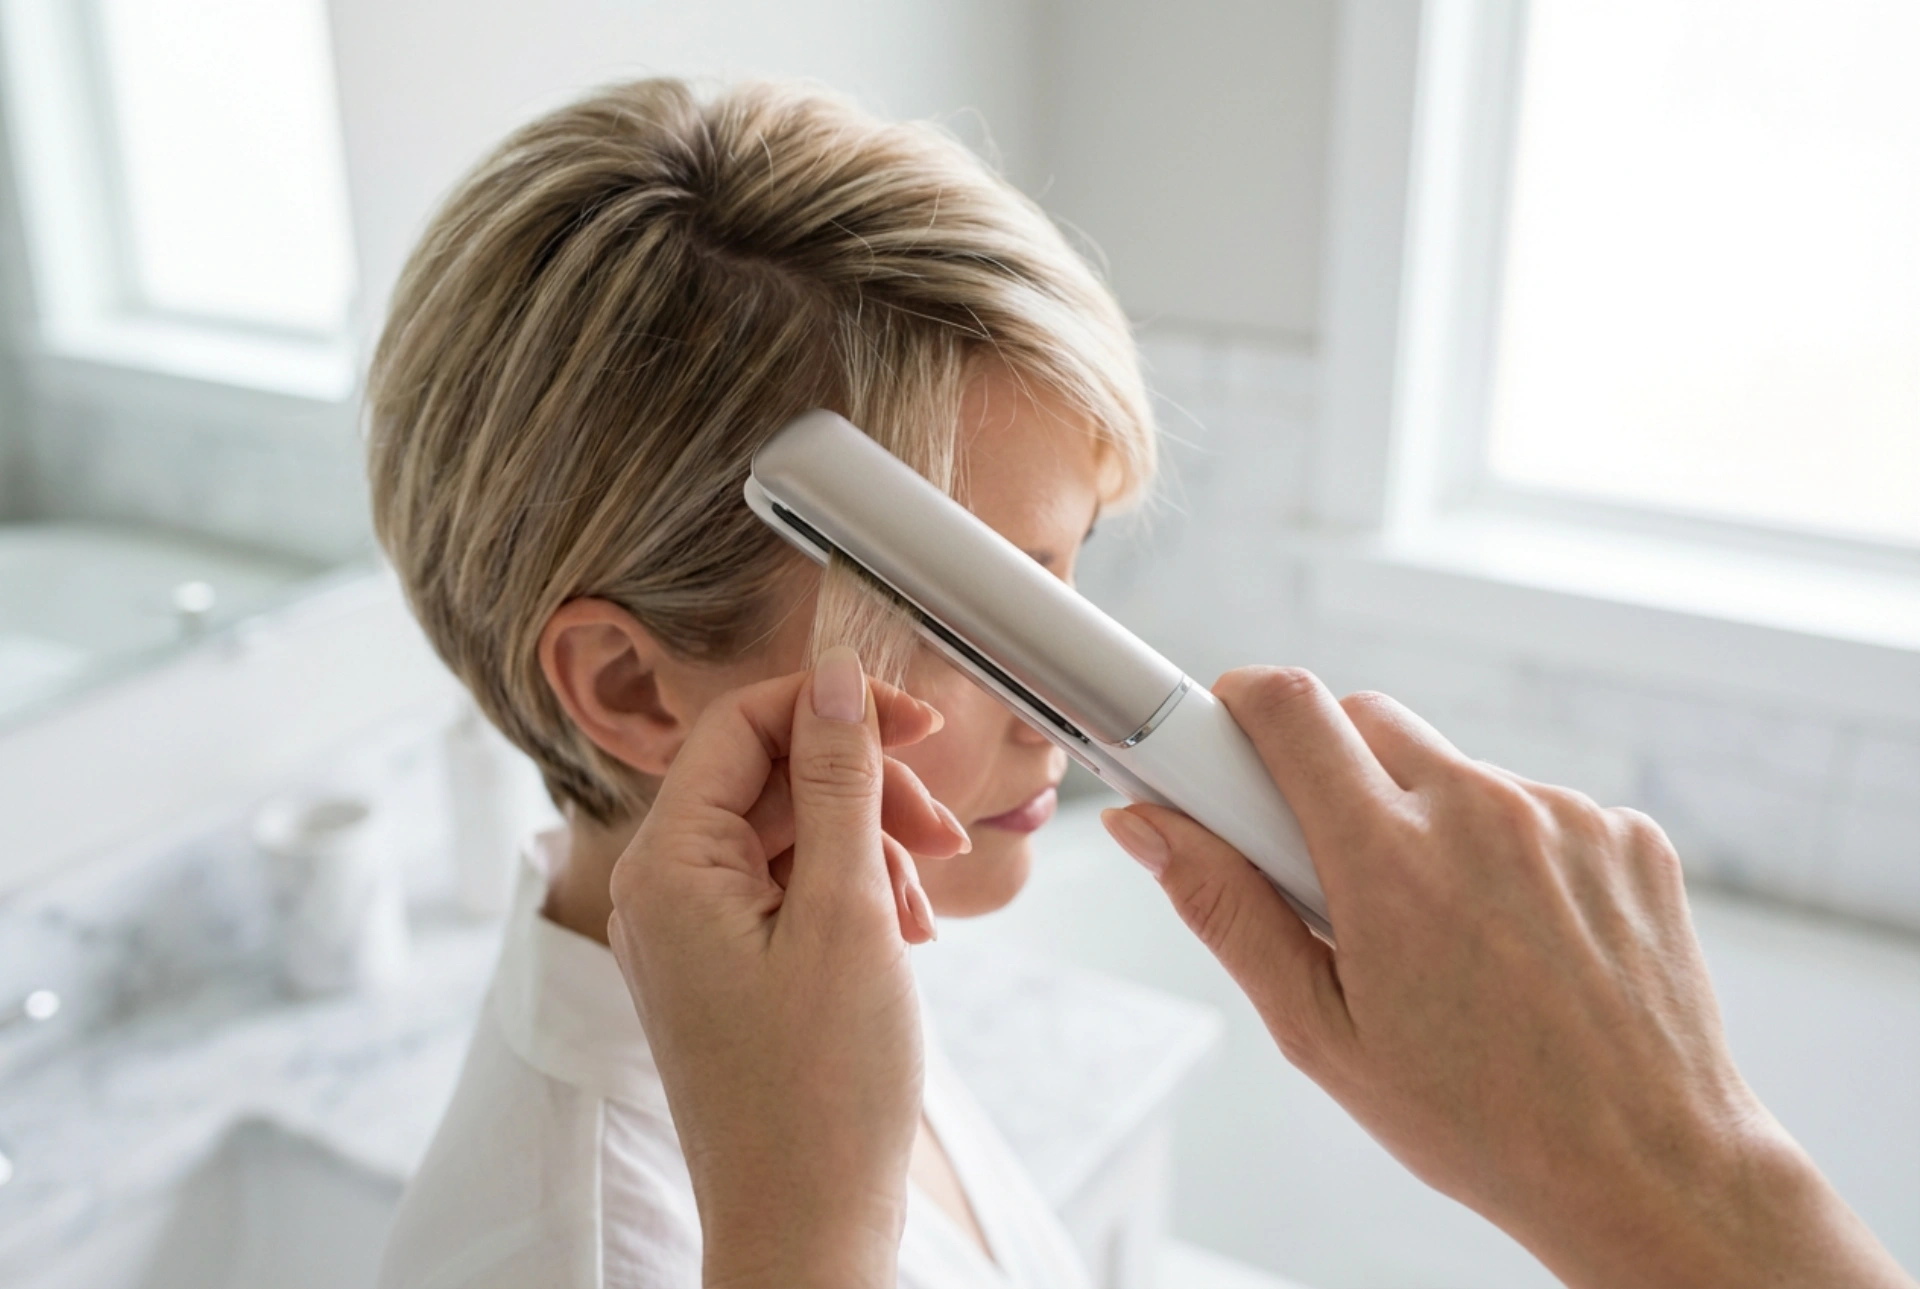


Styling shorter hair requires a tool that offers precision and control. While standard straighteners are great for long locks, they can be cumbersome and awkward to use on pixie cuts, bobs, fringes, and those delicate baby hairs around the hairline. This is where a thin, or slim, straightener comes into its own. Its narrow plates allow for greater accuracy, enabling you to get closer to the roots and manage small sections of hair with ease, achieving a polished look without the fuss. Let's explore how this specialised tool can revolutionise your styling routine.
Why Choose a Thin Straightener?
The primary advantage of a thin straightener lies in its design. The plates, often around 1 to 1.5 centimetres wide, offer unparalleled precision. This makes them the ideal choice for several specific styling tasks that are difficult to achieve with wider plates.
Unmatched Precision for Short Hair
For those with short hairstyles, such as a pixie cut or a short bob, a slim straightener allows you to grip hair right from the root. This is crucial for creating volume, directing the hair's flow, or achieving a super-sleek finish. You can easily work on small, individual sections to create texture or smooth out tricky areas like the nape of the neck.
Perfect for Fringes
A fringe can make or break a look, and styling it correctly is key. Wide straighteners can make a fringe look flat and unnaturally straight. A thin straightener, however, allows you to gently smooth the hair while creating a soft, natural curve that follows the shape of your forehead. You can easily flick the ends in or out, depending on your desired style.
Taming Baby Hair and Flyaways
Those fine, wispy hairs along the hairline, often called baby hair, can be frustrating to manage. A thin straightener can gently smooth them down without the risk of burning your skin, thanks to its smaller surface area. It provides just enough heat and control to integrate them into your hairstyle for a clean, polished finish.
How to Style Short Hair with a Thin Straightener
Using a thin straightener effectively on short hair involves a slightly different technique than on long hair. Follow these steps for professional-looking results at home.
Step 1: Preparation
Always begin with completely dry hair. Applying heat to damp hair can cause significant damage. Before you start, apply a heat protectant spray evenly throughout your hair. This creates a barrier between your hair and the heat, minimising potential harm. Choose a temperature setting appropriate for your hair type; fine or colour-treated hair requires a lower temperature, while thicker hair may need a slightly higher setting.
Step 2: Work in Small, Manageable Sections
Even with short hair, sectioning is important. Use clips to separate the top layers of your hair from the bottom. Start with the bottom section at the nape of your neck. Take a small piece of hair, no wider than the plates of the straightener, and clamp the straightener near the root. Glide it smoothly down to the ends. Repeat this process, working your way around your head and moving up towards the crown.
Step 3: Creating Different Finishes
For a sleek, straight look, pull the straightener directly down from root to tip. To create volume, especially at the crown, lift the hair section upwards at a 90-degree angle from your scalp as you glide the straightener through. For a softer, more textured look, you can twist your wrist slightly as you pull the straightener through the hair to create a subtle flick or wave.
Mastering Fringes and Edges
The fringe and hairline require a delicate touch. A thin straightener gives you the control you need to perfect these visible areas.
Styling Your Fringe
Isolate your fringe from the rest of your hair. Take a small section and, starting near the roots, lightly clamp the straightener. Instead of pulling straight down, pull the straightener forward and slightly downwards, following the curve of your head. This prevents the fringe from looking stiff. Move quickly and avoid holding the straightener in one spot for too long.
Smoothing Baby Hair
Set your straightener to a low temperature. Carefully take the baby hairs you want to smooth and quickly pass the straightener over them in one fluid motion. The goal is just to tame them, not to make them perfectly flat. This technique helps to create a neat hairline and control flyaways for an overall sharper look.
Tips for Safe and Effective Use
To keep your hair healthy while using a thin straightener, always follow best practices for heat styling.
- Always Use a Heat Protectant: This is the most important step in preventing heat damage.
- Choose the Right Temperature: Start with the lowest effective temperature for your hair type and only increase if necessary.
- Keep Moving: Never pause or hold the straightener on one section of hair for more than a few seconds to avoid creating dents or causing damage.
- Clean Your Tool: Product buildup on the plates can cause them to pull on your hair and distribute heat unevenly. Wipe the plates with a damp cloth when the tool is cool and unplugged.
- Don't Overdo It: Avoid straightening the same section of hair multiple times during one styling session. If you need to touch up, wait until your hair has completely cooled.





