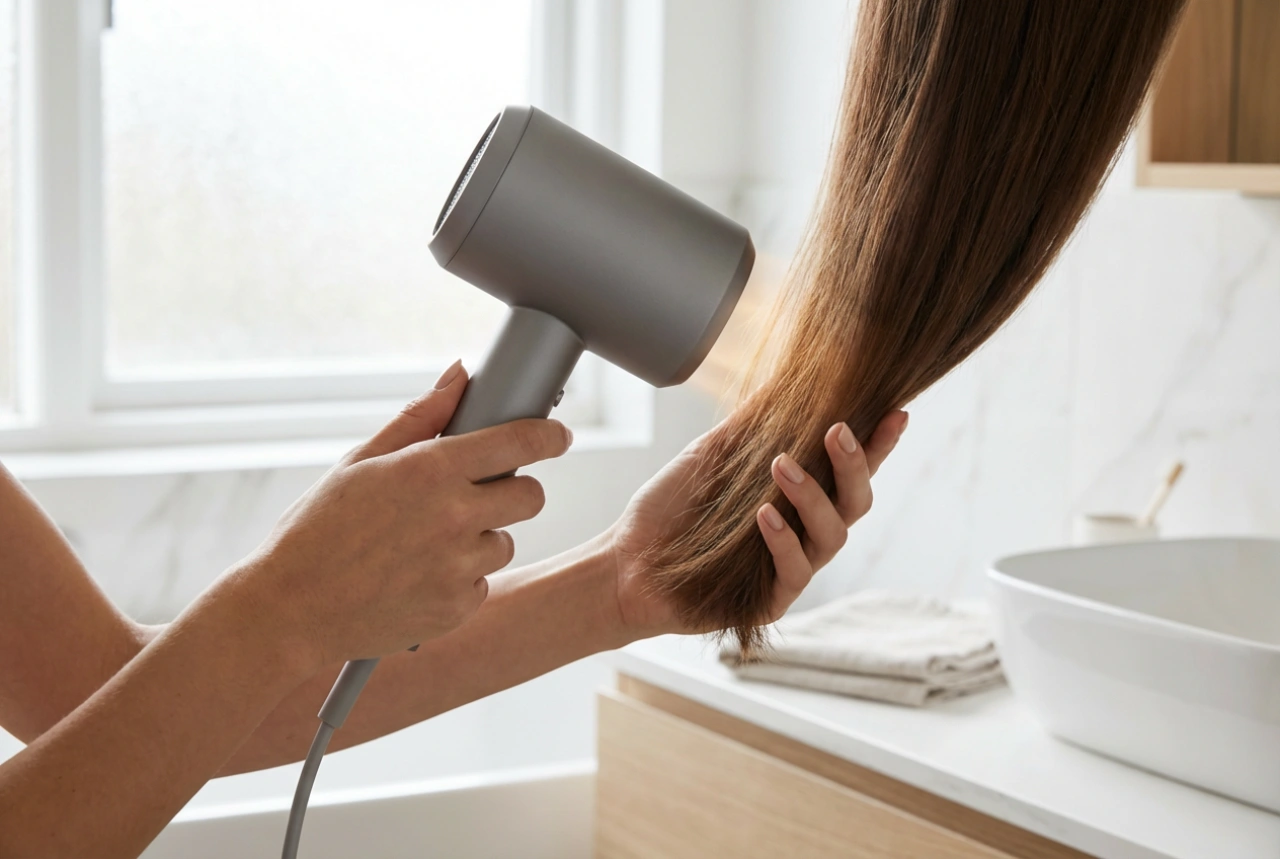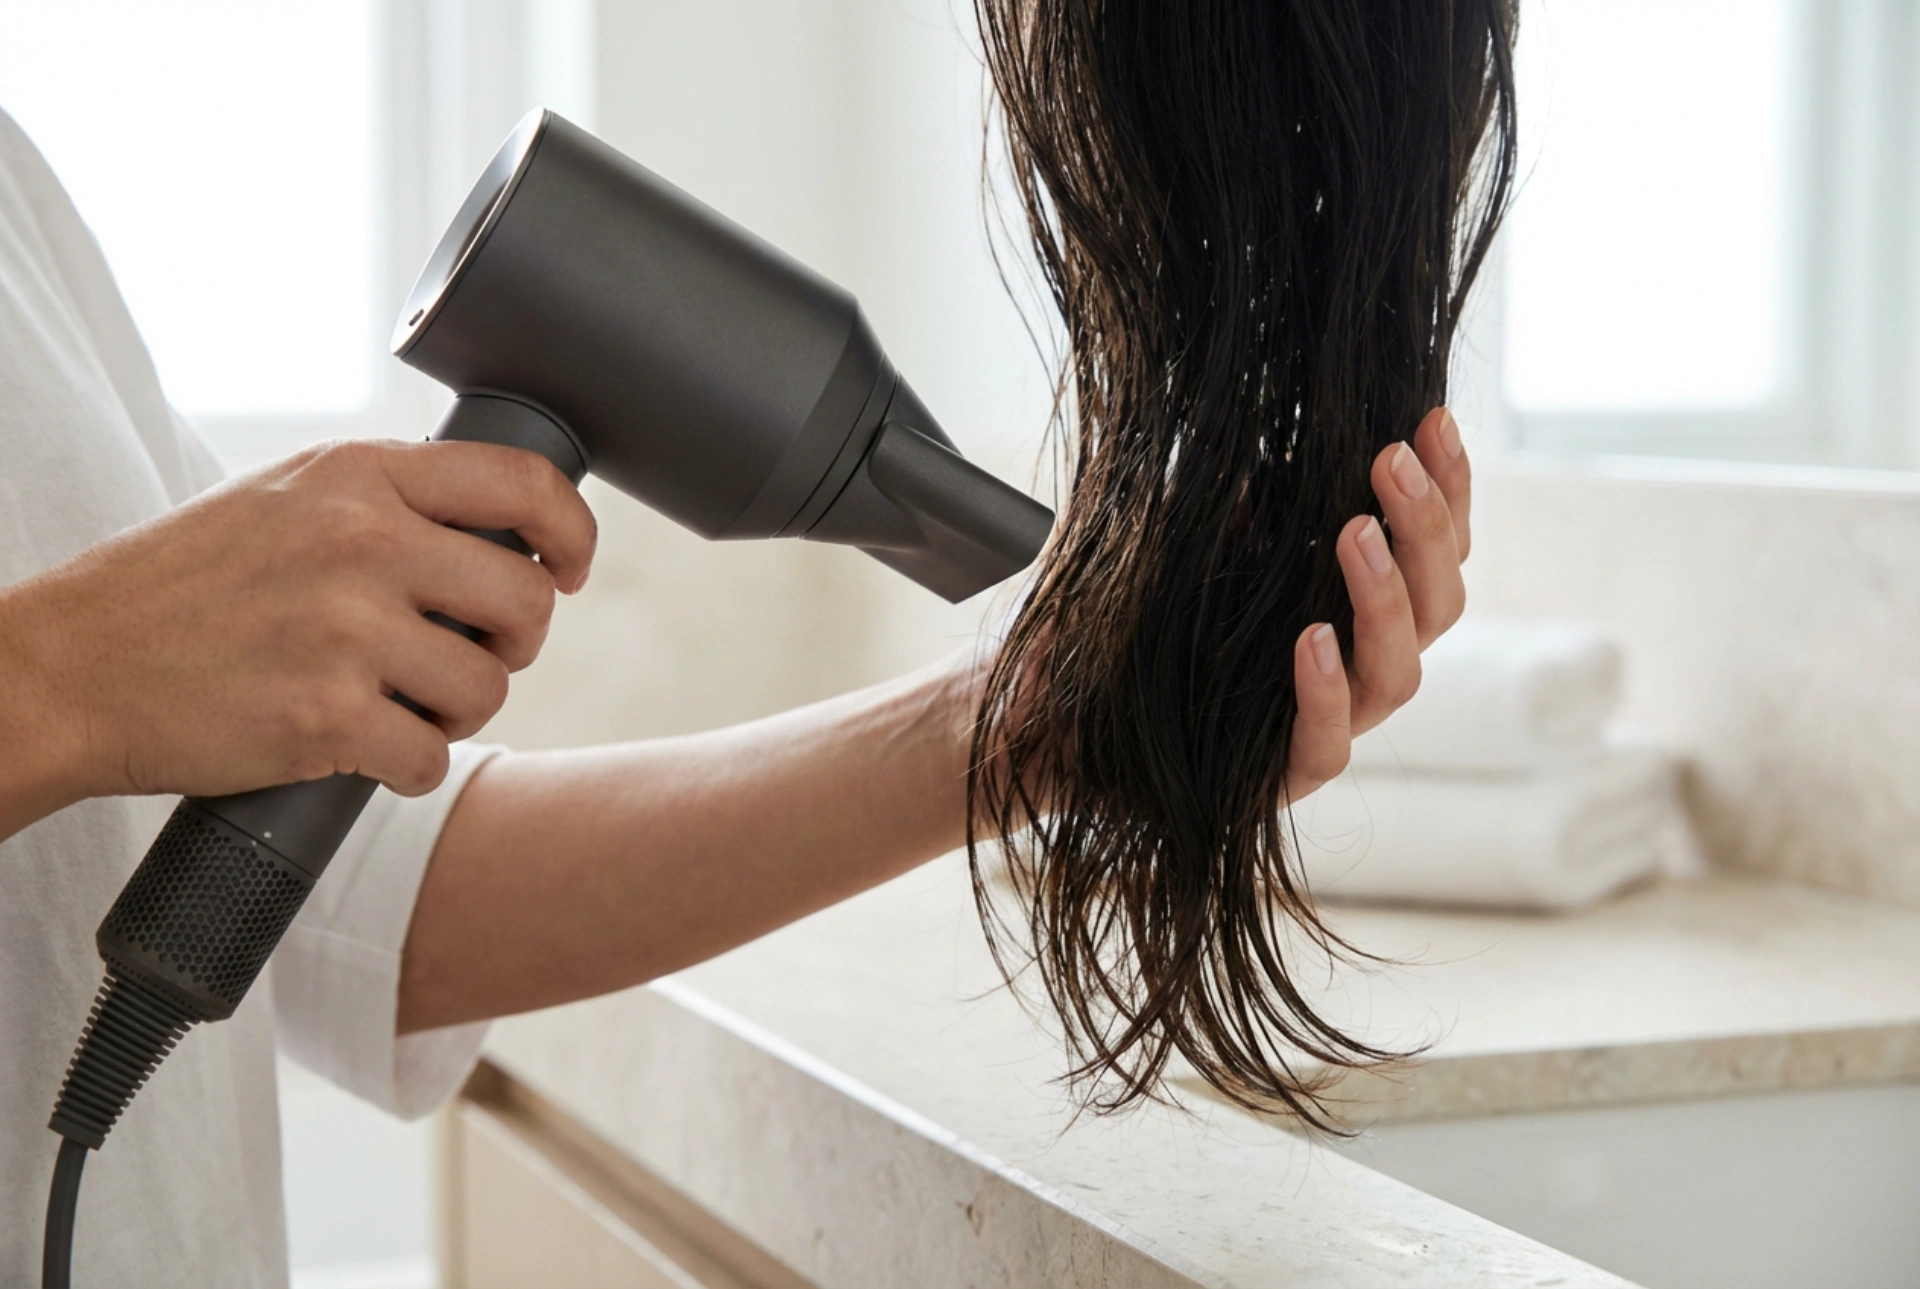


Achieving a salon-standard blow-dry at home begins with understanding the tools in your hands. Observing a precise drying routine, where a sleek hair dryer with a concentrator nozzle is gently directed onto damp, lustrous locks, reveals that beautiful hair is not just about luck. It is the result of a careful, deliberate technique that respects the delicate structure of the hair. While high-quality hair dryers were once reserved exclusively for professional salons, modern appliances allow everyone to enjoy professional-grade results from the comfort of their own dressing table. The key to success lies in knowing how to balance power, utilise attachments, and control temperature to prevent thermal damage.
Understanding Dryer Power and Motor Types
When selecting a high-quality hair dryer for home use, the wattage is often the first specification that catches the eye. Power, measured in watts, directly influences how quickly and efficiently the appliance can dry your hair. For most hair types, a motor ranging between 1800 and 2200 watts provides the ideal balance of speed and control. Professional-grade dryers typically feature Alternating Current (AC) motors, which are heavier but offer a more powerful, consistent airflow and a longer lifespan than standard Direct Current (DC) motors. High airflow is actually more beneficial than high heat. A strong, controlled stream of air evaporates water from the hair surface quickly, reducing the overall time your hair is exposed to elevated temperatures. By focusing on airflow speed rather than extreme heat, you can minimise the risk of moisture loss within the hair shaft, leaving the strands supple and naturally shiny.
The Role of the Concentrator Nozzle in Sleek Styling
The concentrator nozzle is perhaps the most critical yet underutilised attachment included with modern hair dryers. This flat, narrow accessory works by narrowing the airflow into a targeted, powerful stream. Instead of scattering the air and causing the hair cuticle to rough up, the concentrator allows you to direct the air exactly where it is needed. To achieve a smooth, glossy finish, the nozzle must always point downwards, from the roots to the tips of the hair. This direction mimics the natural alignment of the hair cuticles, which overlap like shingles on a roof. When air is directed downwards, it seals these cuticles flat, reflecting more light and creating a natural, healthy shine. Using a dryer without a nozzle can cause the hair strands to fly in all directions, leading to friction, tangles, and unwanted frizz. For optimal results, select a medium-sized nozzle that allows enough air to pass through while still maintaining excellent directional control.
Techniques to Dry Hair Without Overheating
Overheating is the primary cause of structural damage, dryness, and split ends. Protecting your hair during the drying process requires a combination of correct distance, motion, and temperature management. Here are the fundamental rules for safe drying:
- Keep your distance: Never press the nozzle directly against the hair or brush. Maintain a safe distance of at least fifteen to twenty centimetres between the dryer and your hair to prevent localized heat build-up.
- Keep the dryer moving: Avoid focusing the hot air on a single section of hair for more than a couple of seconds. Use a continuous, gentle sweeping motion to distribute the heat evenly.
- Utilise the cool shot button: Most professional dryers feature a cold air button. Once a section of hair is dry, blast it with cool air for a few seconds. This cools the hair instantly, locking the style in place and sealing the cuticle for enhanced shine.
- Select the right temperature: Always start with a medium heat setting. High heat should only be used briefly on very thick or coarse hair, while fine or fragile hair should always be dried on a low setting.
Step-by-Step Home Drying Routine
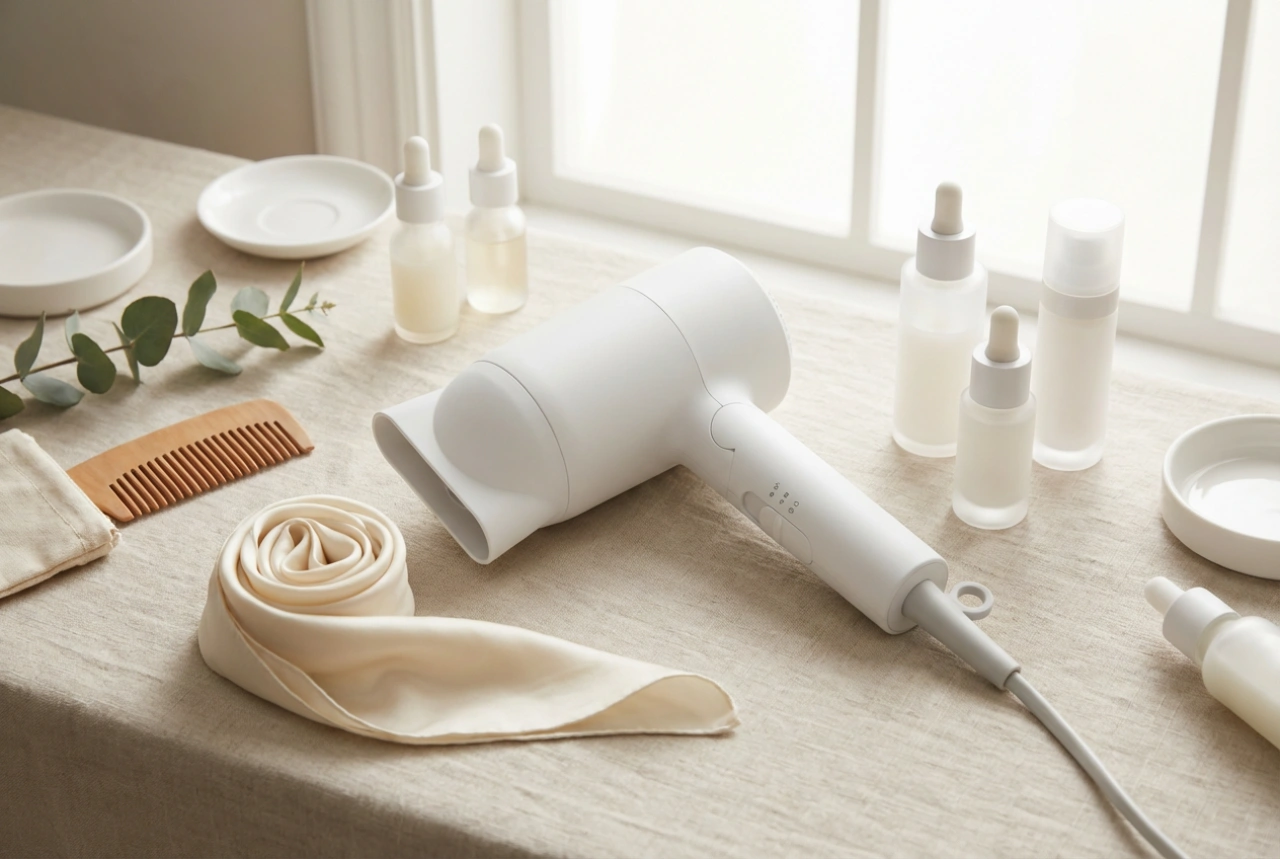
To achieve the best results without compromising hair health, it is essential to follow a structured drying routine. After washing, gently squeeze excess water from your hair using a soft microfibre towel. Avoid rubbing, as wet hair is highly vulnerable to mechanical damage. Apply a lightweight leave-in conditioner or heat protectant to damp strands, ensuring even distribution with a wide-toothed comb.
The Pre-Drying Phase
Before reaching for a brush or attaching the concentrator, use your fingers to gently rough-dry your hair on a medium air setting. Focus on the roots and dry the hair until it is approximately seventy to eighty per cent dry. This initial phase removes the bulk of the moisture quickly without subjecting the hair to the tension of styling brushes while it is at its weakest, wet state.
Sectioning and Final Styling
Once the hair is mostly dry, attach the concentrator nozzle and divide your hair into manageable sections. Secure the top sections with clips and begin styling from the bottom layers upwards. Using a round brush or a paddle brush, gently tension each section, directing the concentrator nozzle downward along the hair shaft. Move the brush and the dryer together in a smooth, continuous motion from root to tip. Finish each section with a blast of cool air to ensure a sleek, long-lasting finish that feels soft and looks incredibly healthy.