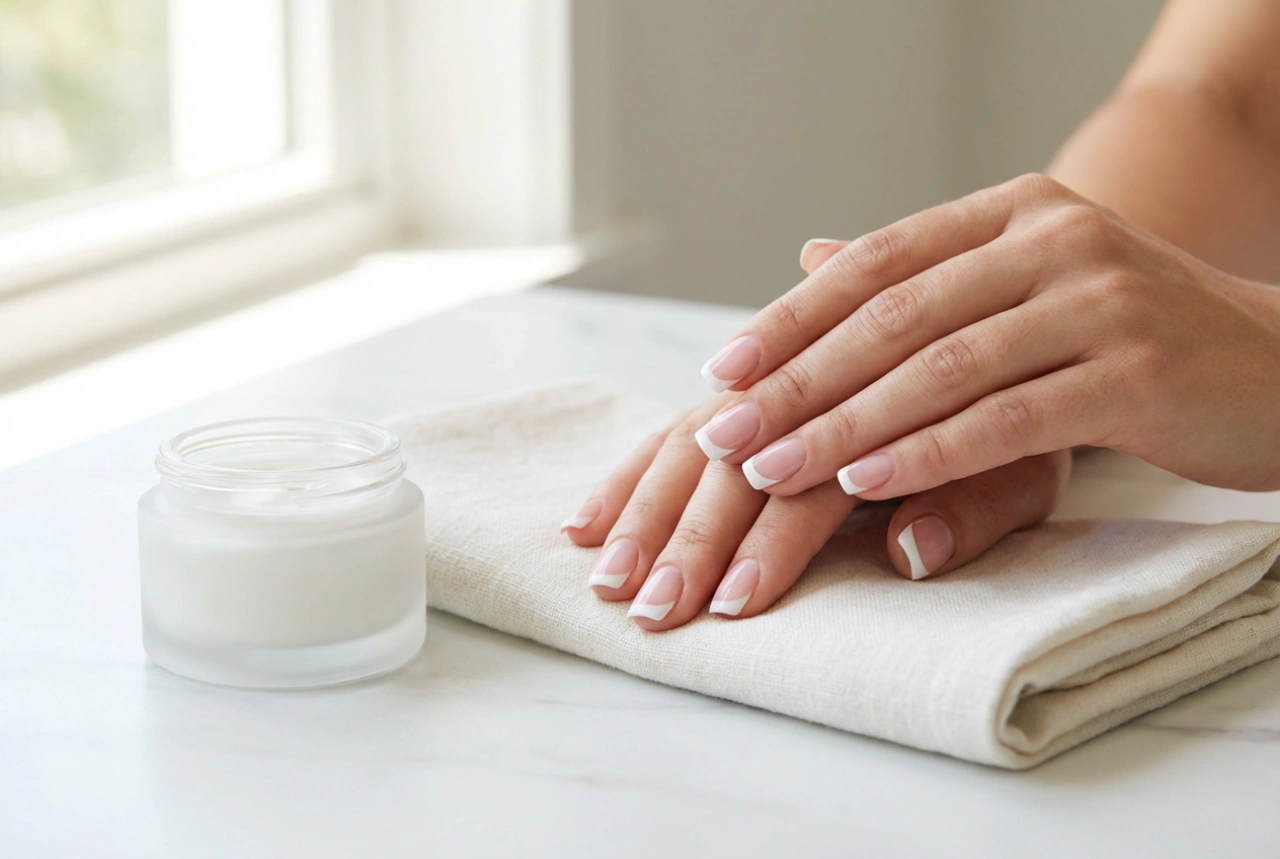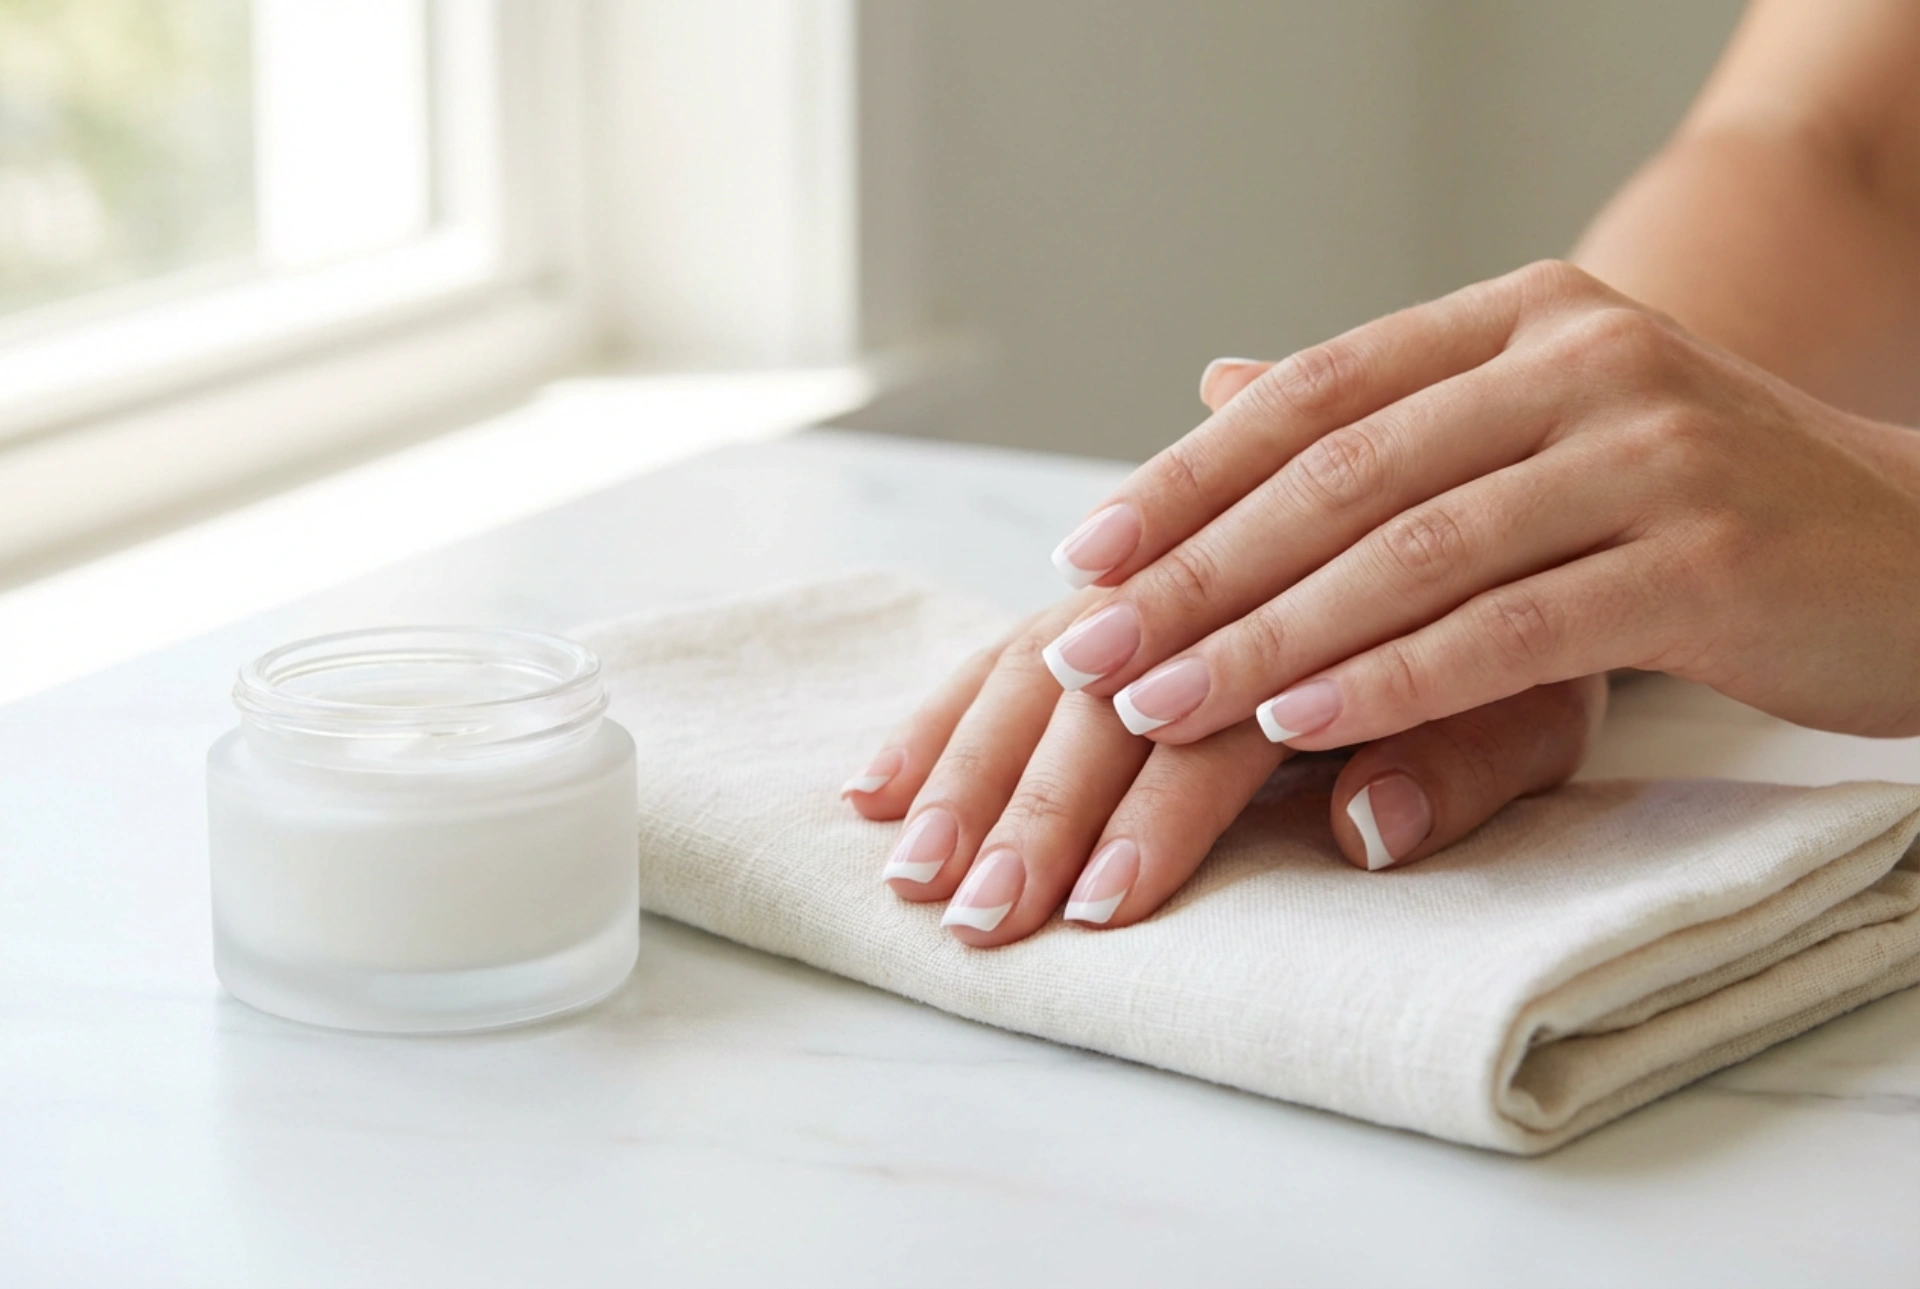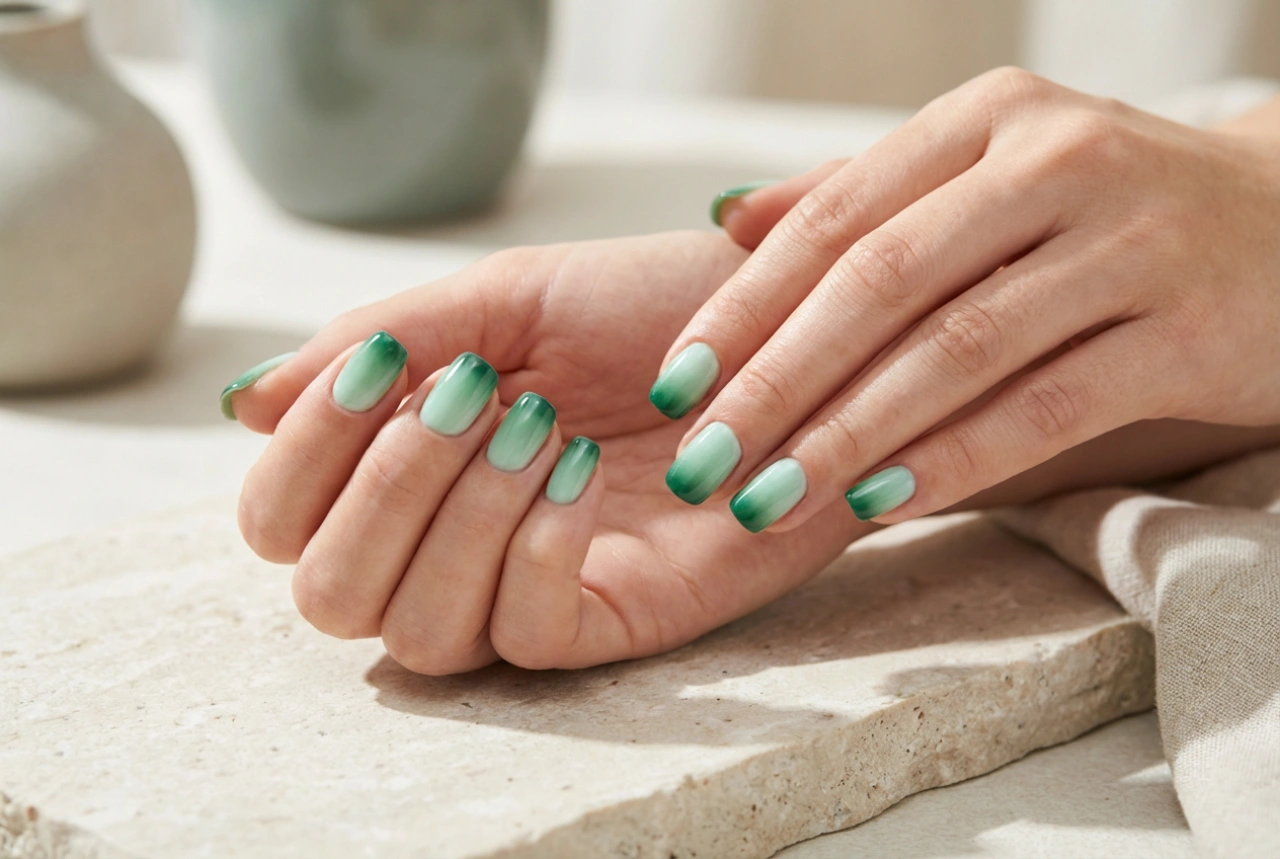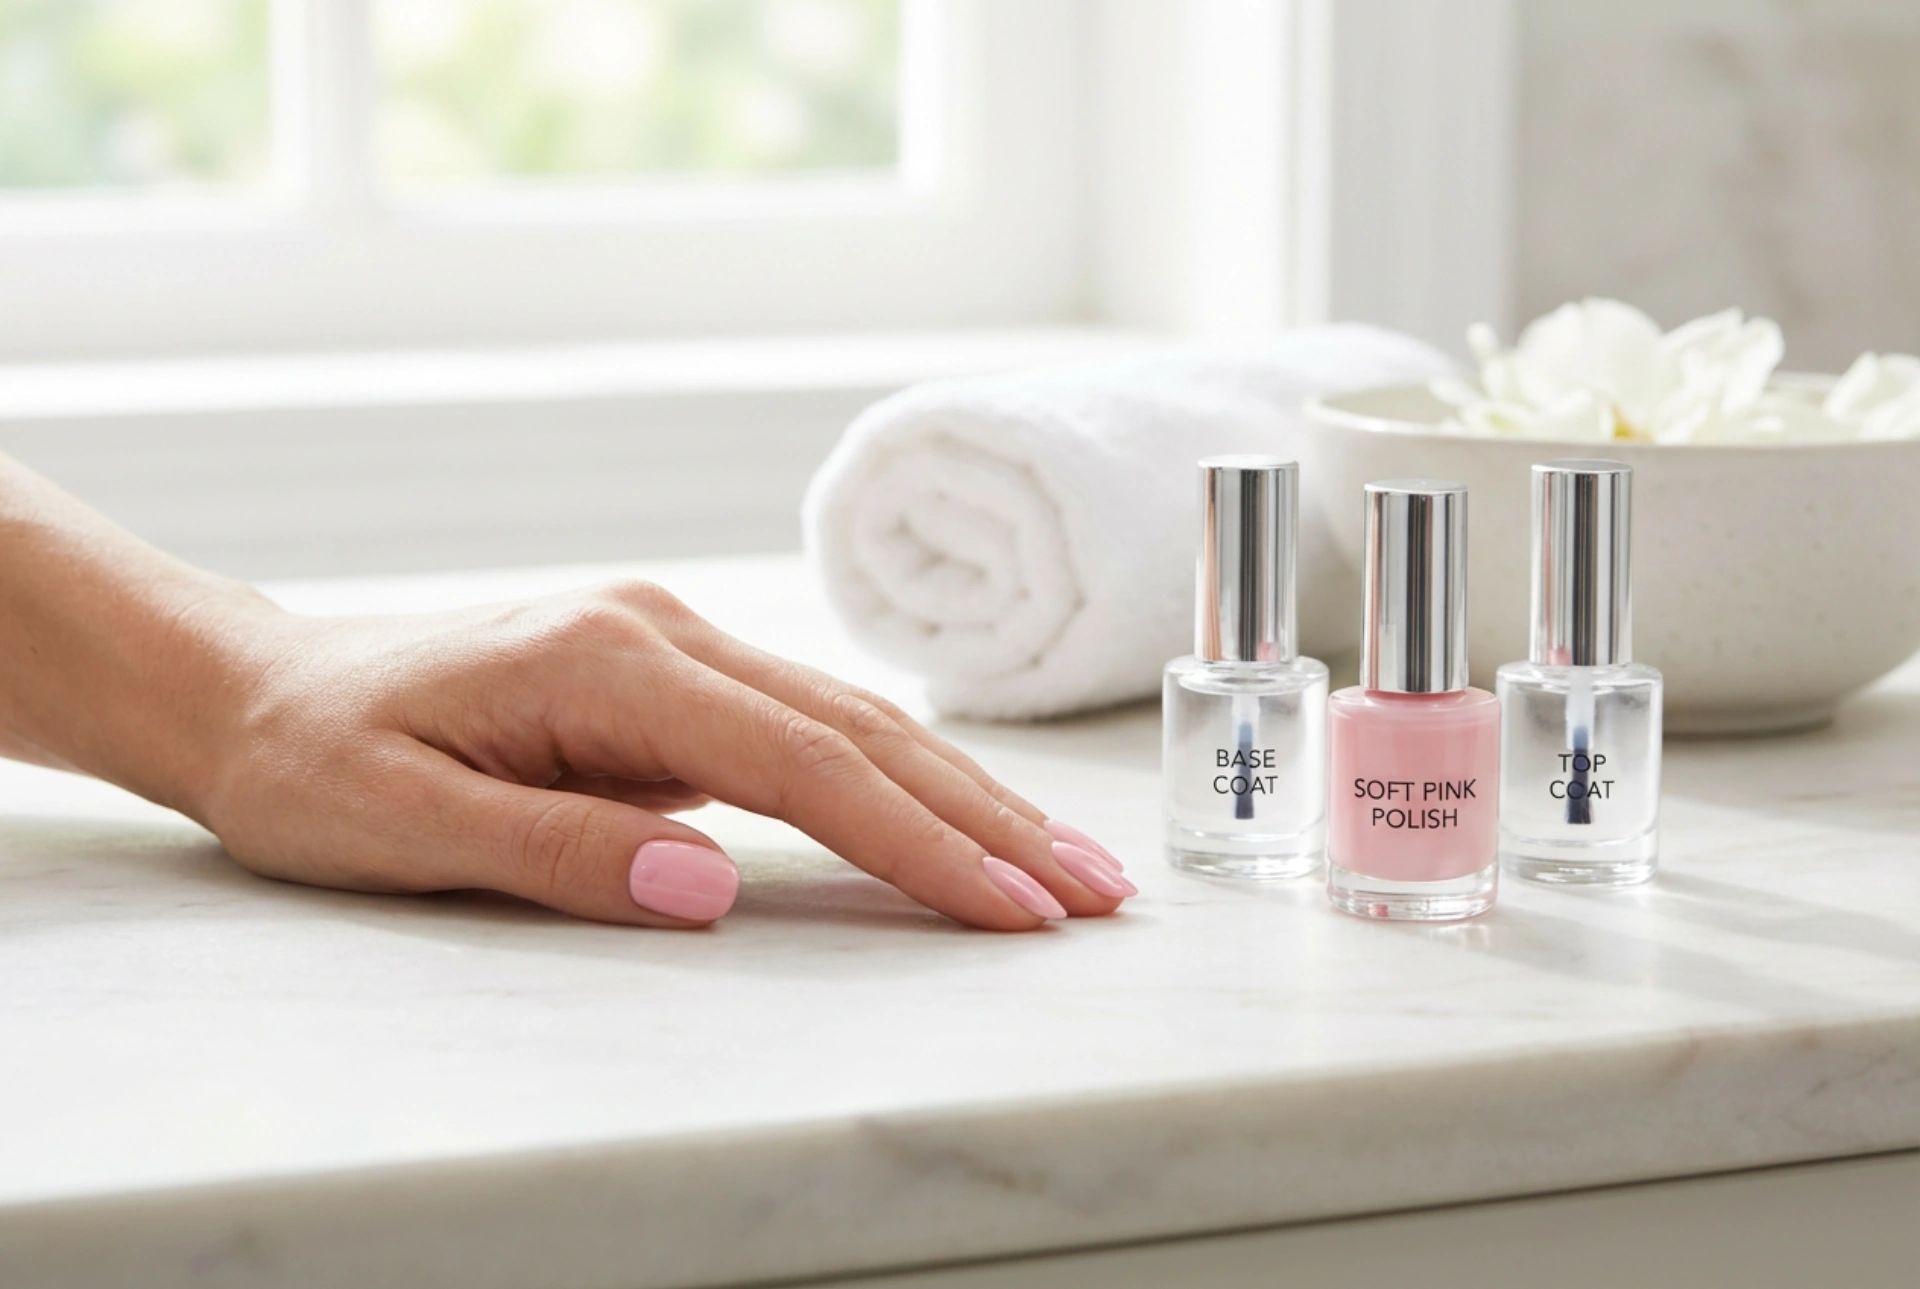


A beautifully executed manicure can instantly elevate your daily style, offering a clean, polished, and elegant look. Among the vast array of choices, soft pink gel nails remain a timeless classic. A flawless finish, featuring glossy soft pink hybrid nails achieved with neatly arranged bottles of base, colour, and top coat, epitomises a sophisticated home beauty routine. Achieving this professional-looking result at home is entirely possible when you follow a structured step-by-step approach. By understanding the role of each layer—from the protective base to the vibrant colour and the sealing top coat—you can create a durable and stunning manicure that lasts for weeks.
Preparing the Nail Plate for a Perfect Manicure
The secret to any long-lasting manicure lies in the preparation of the natural nail plate. Before even reaching for a bottle of polish, it is crucial to ensure that your nails are clean, shaped, and free of natural oils. Begin by gently pushing back the cuticles using a wooden stick or a dedicated cuticle pusher. Keeping the cuticles neat prevents the gel polish from lifting prematurely, as gel products should never adhere to the surrounding skin.
Next, file your nails to your desired shape—whether that is a classic round, a modern square, or a soft oval. Once the shape is achieved, use a fine-grit buffer to lightly remove the natural shine from the nail surface. This step creates a slightly textured surface, allowing the base coat to grip the nail plate more effectively. Be careful not to over-buff, as the goal is merely to prepare the surface, not to thin the nail. Finally, wipe the nails thoroughly with a professional nail cleanser to remove all traces of dust and oils.
Applying the Base Coat: The Foundation of Durability
The base coat is the critical first layer of your gel manicure. It serves a dual purpose: protecting your natural nail plate from pigmentation and providing a strong, adhesive foundation for the subsequent colour layers. When applying the base coat, remember that less is always more. A thin, even layer is much more effective than a thick one, which can pool into the cuticles and cause lifting.
Start by placing a small bead of the product in the centre of the nail and gently spreading it towards the free edge, ensuring you seal the tip of the nail. This technique, known as capping the free edge, is essential for preventing chips. Once applied, cure the base coat under your nail lamp according to the manufacturer's recommended time. After curing, the surface will remain sticky; this is completely normal and acts as a binding layer for the colour coat. Do not wipe this sticky residue away.
Selecting and Applying the Perfect Pink Gel Polish
Soft pink is an incredibly versatile colour choice, suitable for professional environments, casual outings, and formal events alike. To achieve a smooth, streak-free application, it is best to apply the pink gel polish in two thin coats rather than one thick layer. This ensures that the UV or LED light can penetrate the product completely, curing it thoroughly throughout.
Apply the first layer of pink polish with light, even strokes, starting slightly away from the cuticle and moving down to the tip. Remember to cap the free edge with each layer of colour. Cure this first layer completely. If the coverage looks slightly sheer, do not worry; the second coat will build up the intensity and even out the pigment. Apply the second layer using the same technique, cure it, and enjoy the rich, beautifully saturated pastel finish.
Sealing the Look: The Magic of the Top Coat
The final step in your gel manicure journey is the top coat. This layer is responsible for that high-gloss, glass-like finish that makes gel nails so desirable. It also acts as a protective shield, safeguarding your manicure against scratches, household chemicals, and daily wear and tear.
Apply the top coat evenly over the entire nail, paying special attention to the free edge to seal in all previous layers. Once cured, depending on the type of top coat you use, you may need to wipe away the tacky dispersion layer with a lint-free pad soaked in nail cleanser. If you are using a non-wipe top coat, this step is unnecessary. The result is a stunning, durable, and sophisticated pink manicure that radiates elegance.
Essential Home Care Tips for Long-Lasting Gel Nails
To maintain the pristine look of your freshly manicured nails, a few simple post-manicure habits can make a significant difference:
- Apply cuticle oil daily to keep the skin around your nails hydrated and healthy.
- Wear protective gloves when performing household tasks or washing dishes to shield your nails from harsh detergents.
- Avoid using your nails as tools to open cans or peel stickers, as this can lead to micro-cracks and lifting.
- Maintain a consistent hand-care routine using nourishing hand creams to enhance the overall beauty of your manicure.