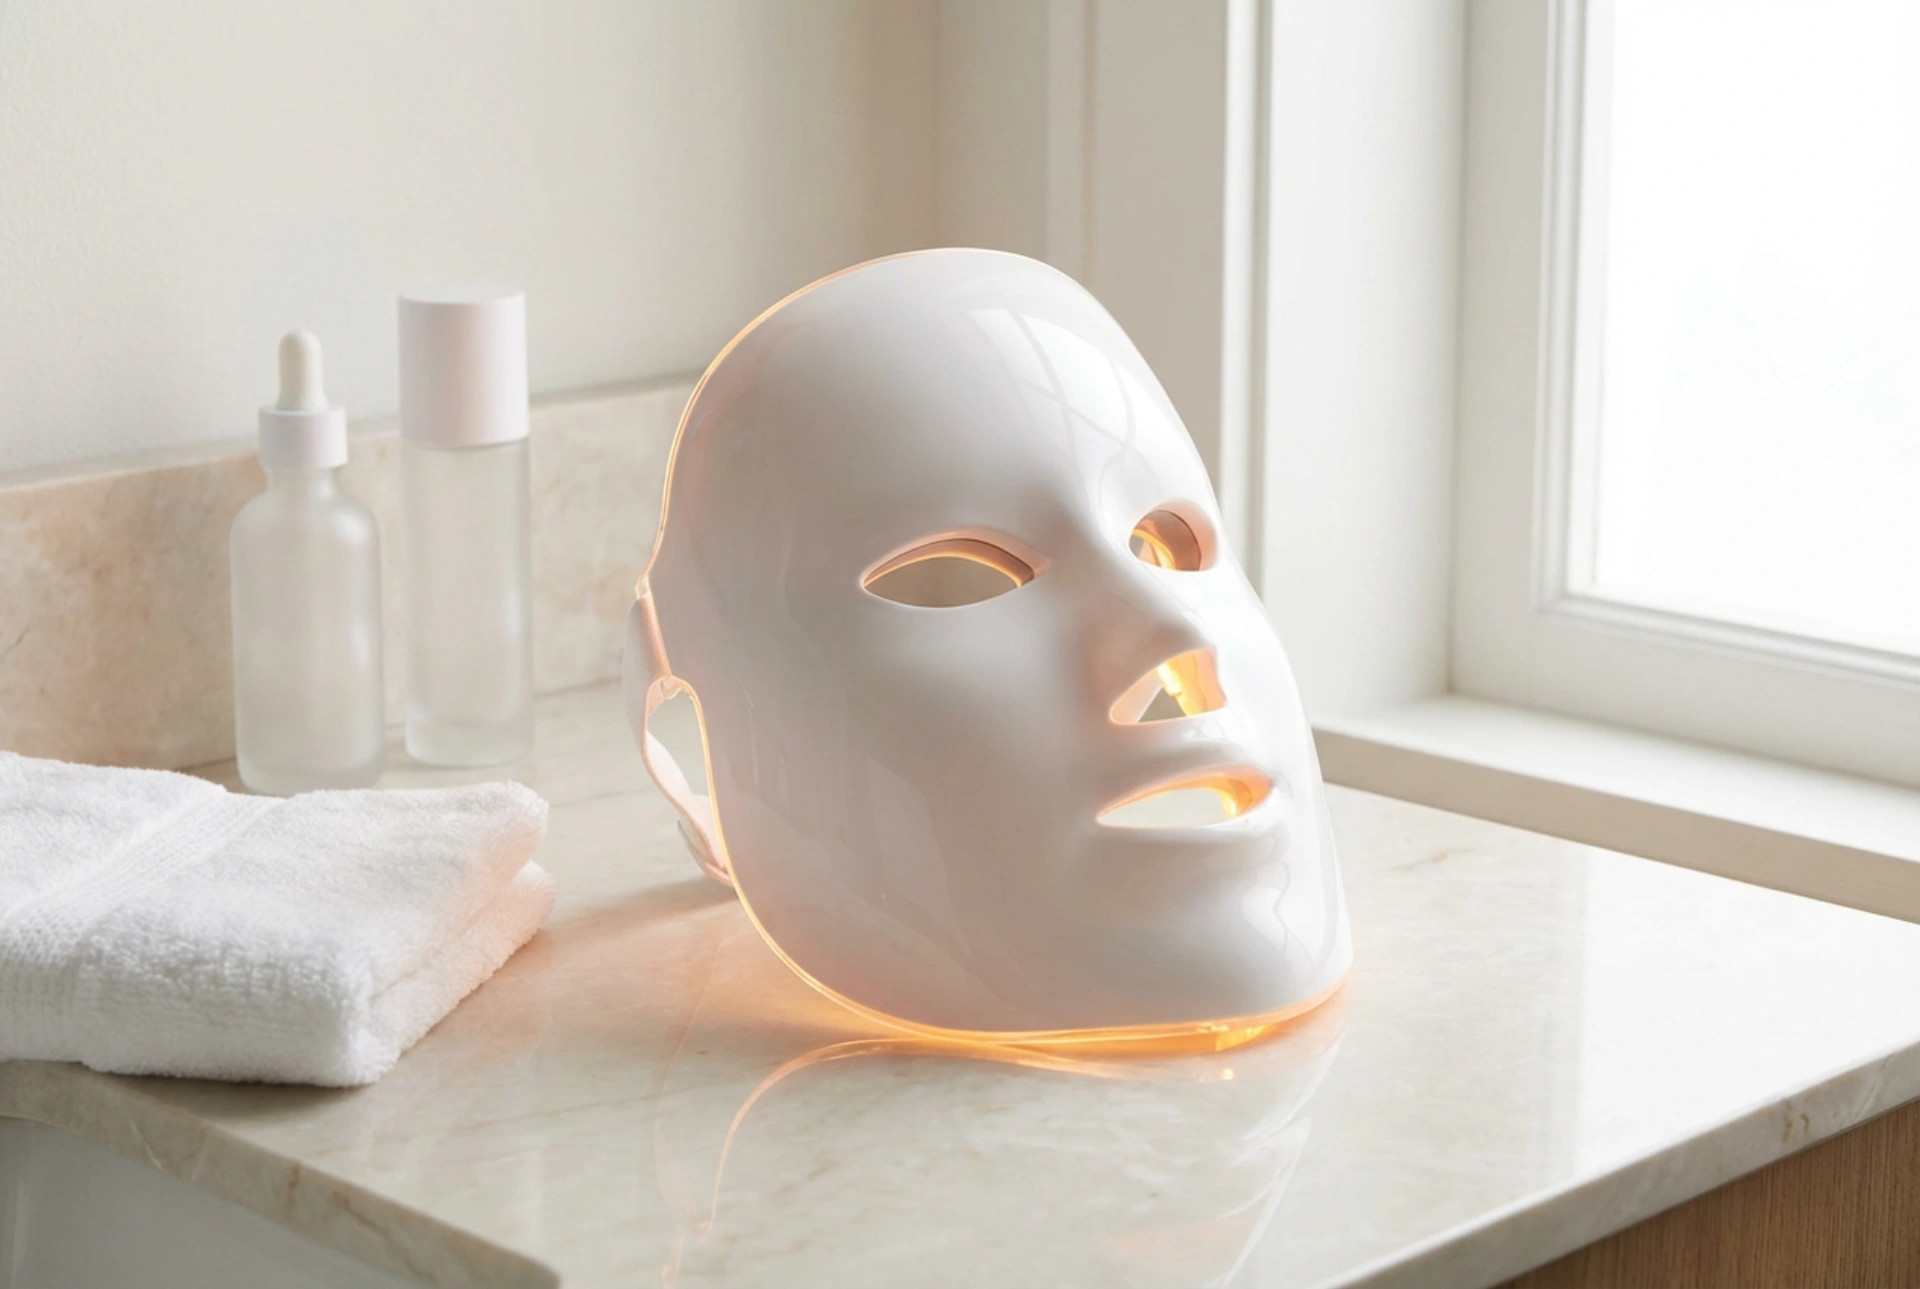


At-home beauty technology has brought sophisticated rituals from the salon into our own bathrooms, with LED face masks leading the charge. These futuristic devices promise to elevate a standard skincare routine into a moment of high-tech self-care. However, to make the most of your device, it's crucial to understand how to use it correctly and safely. Integrating an LED mask isn't just about putting it on; it involves proper skin preparation before and dedicated care after to truly complement your skincare goals.
Understanding Your LED Mask
An LED (Light Emitting Diode) mask is a cosmetic device that uses non-invasive, visible light to address various aspects of the skin's appearance. Different colours of light penetrate the skin to different depths and are associated with different cosmetic benefits. It's essential to remember that home-use devices are less powerful than professional ones and are designed for regular, consistent use. Always start by reading the manufacturer's manual for your specific device, as it is the primary source of truth for its operation.
- Red Light: This is perhaps the most common option. In cosmetic terms, it is used in routines that aim to soothe the skin and reduce the appearance of fine lines and wrinkles, promoting a plumper, more youthful look.
- Blue Light: This wavelength is often chosen by those with blemish-prone or oily skin. It is used to help balance the complexion and maintain a clearer-looking skin surface.
- Amber or Yellow Light: This colour is typically associated with calming and soothing the appearance of sensitive skin. It can be part of a routine to help reduce the look of redness and promote a more even skin tone.
- Green Light: Often included to help with the appearance of uneven pigmentation, green light is used in routines targeting a brighter, more uniform complexion.
Some masks allow you to choose a single colour, while others cycle through multiple colours in one session. The choice depends on what you want to focus on in your skincare routine.
Preparing Your Skin for an LED Session
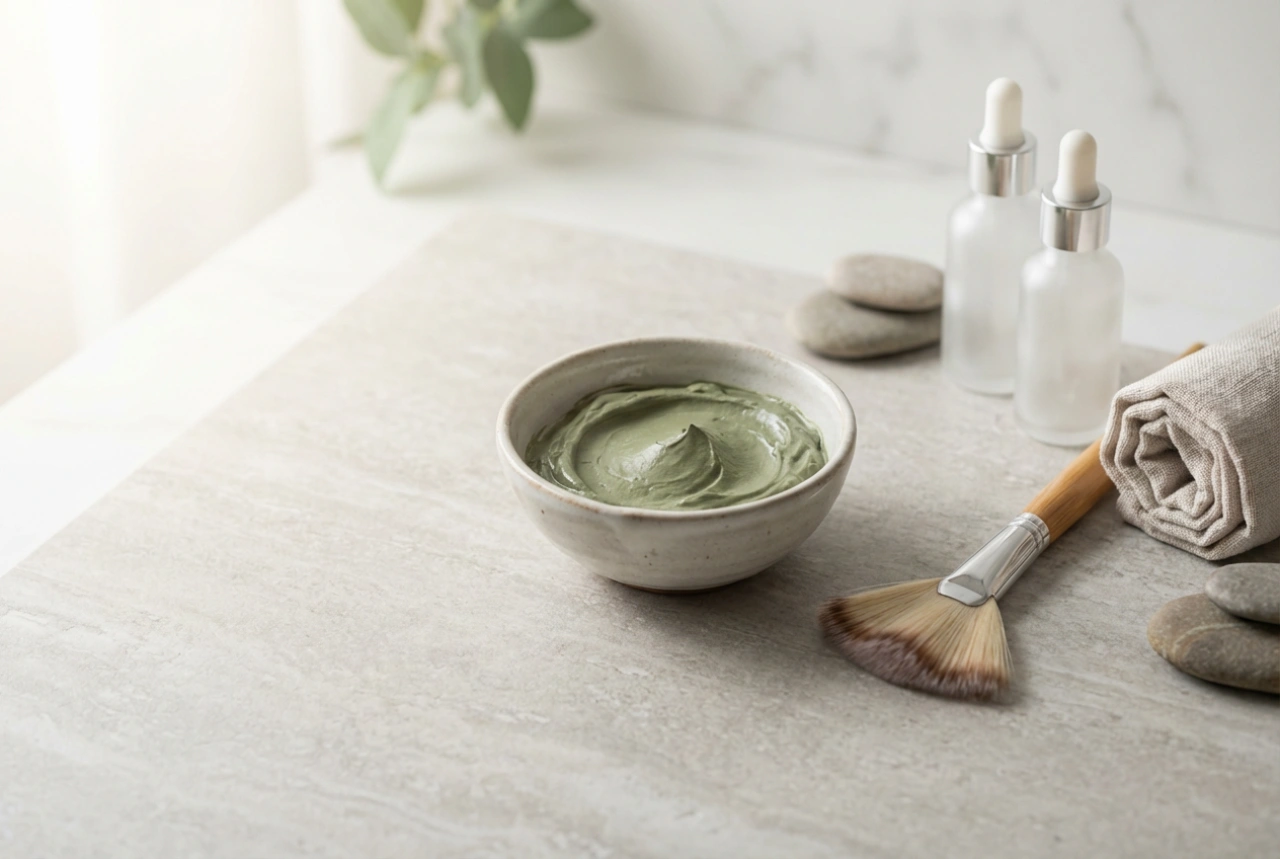
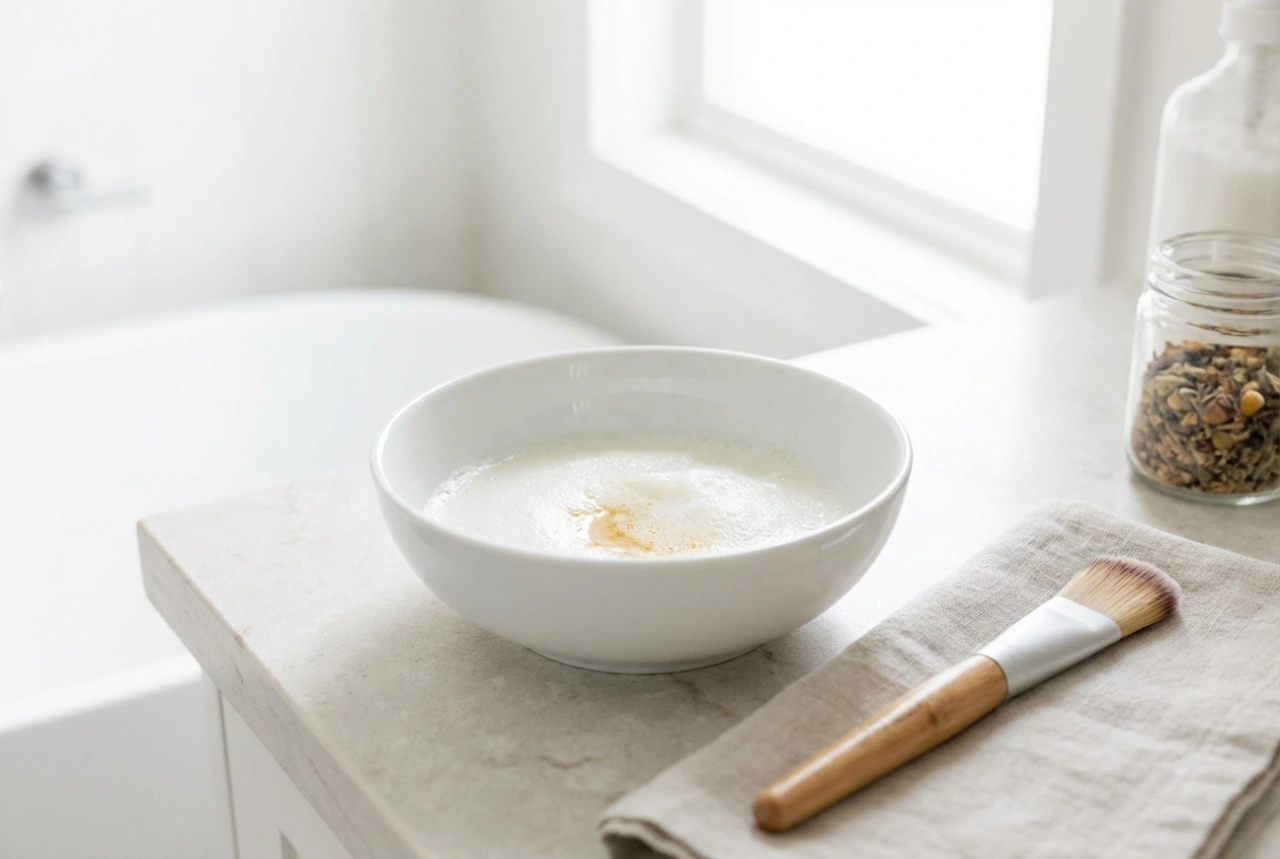
Proper preparation is key to an effective session. The light needs to reach your skin without any barriers, so a clean canvas is non-negotiable.
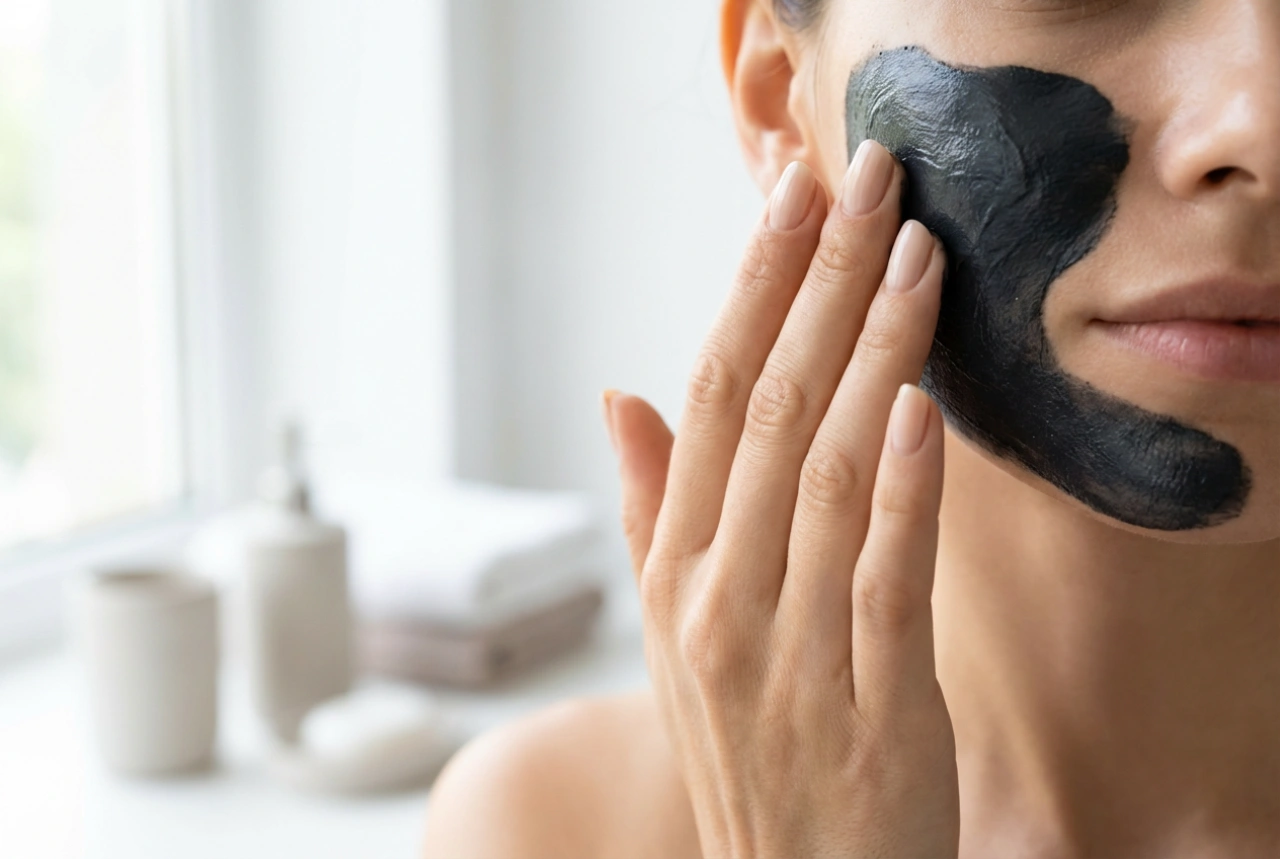
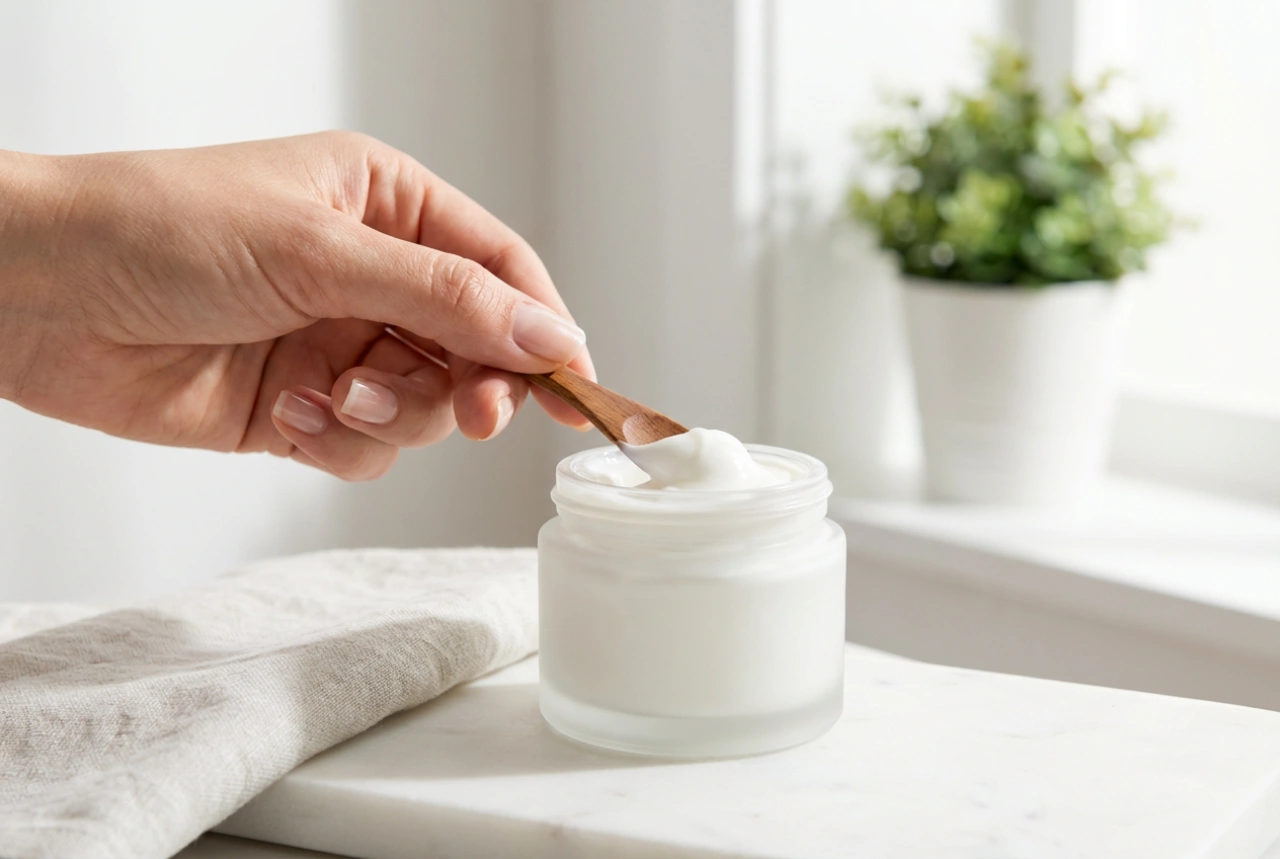
First and foremost, cleanse your face thoroughly. Use a gentle cleanser to remove all traces of makeup, sunscreen, and daily grime. Your skin should be completely bare. Pat your face dry with a clean towel. At this point, you have a choice to make: apply the mask to dry skin or over a serum.
- On Dry Skin: This is the most widely recommended method. Using the mask on clean, dry skin ensures that there is nothing to obstruct the light particles, allowing for maximum potential penetration and effectiveness.
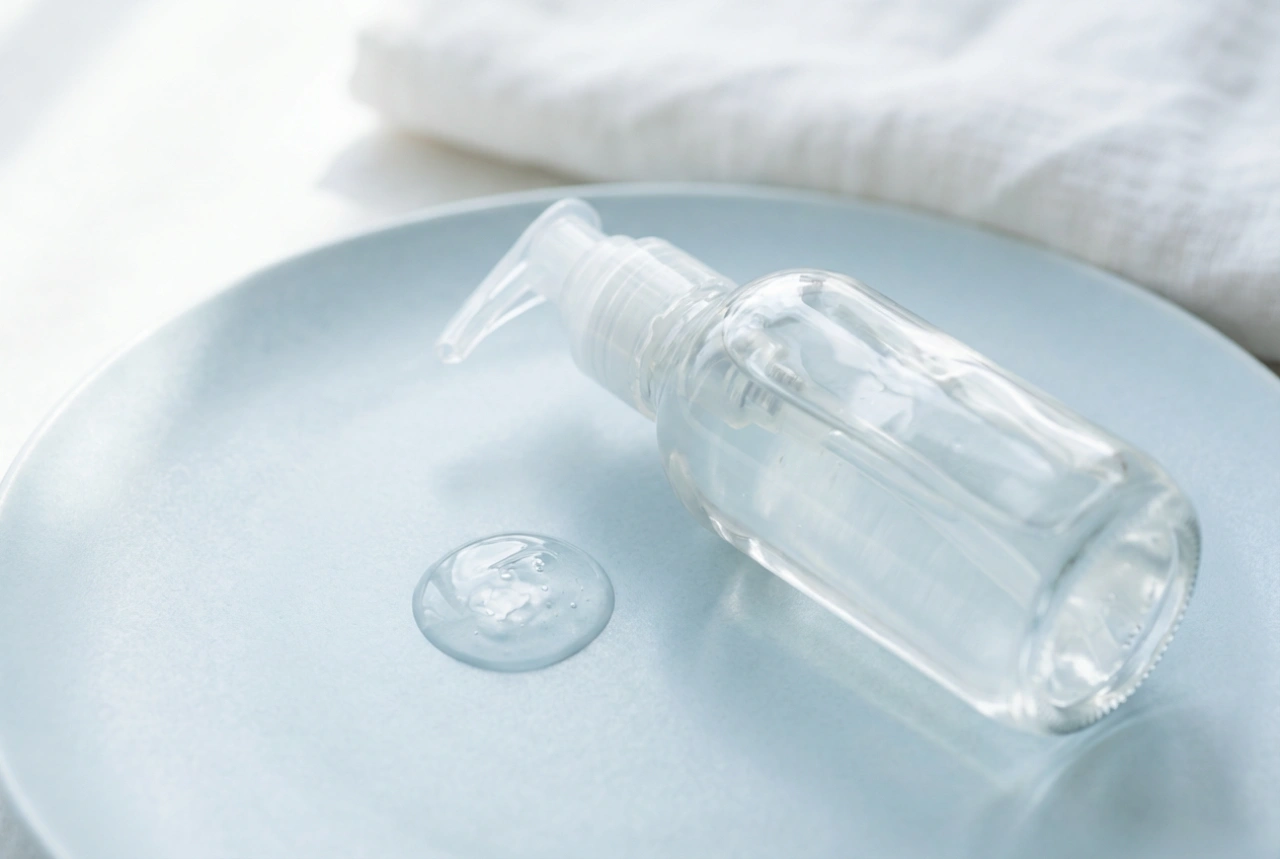
- Over a Serum: Some users prefer the feeling of using the mask over a product. If your device's manual permits this, choose your serum wisely. Opt for a lightweight, water-based, and transparent formula, such as a simple hyaluronic acid serum. Avoid using any products containing active ingredients like retinoids or vitamin C immediately before your session, as their interaction with the light is unknown and could potentially cause irritation. Also, steer clear of oils or thick creams that can block the light or reflect it away from the skin.
How to Use the Mask: Duration and Frequency
Once your skin is prepped, you're ready to begin. Adhering to the recommended session time and frequency is crucial for safety and for seeing gradual results.
Most at-home LED masks suggest a session time of between 10 and 20 minutes. It can be tempting to think that longer is better, but this is not the case. Over-exposing your skin can lead to sensitivity, so always stick to the time specified in your user manual. For frequency, a common recommendation is to use the mask 3 to 5 times per week. Consistency is far more important than intensity. A short, regular session will be more beneficial in the long run than an occasional, lengthy one.
During the session, ensure your eyes are protected. Most masks come with built-in blackout eye goggles or recommend using separate protective eyewear. Even if the light seems gentle, you should never look directly into the LEDs.
Post-Session Skincare and Mask Maintenance
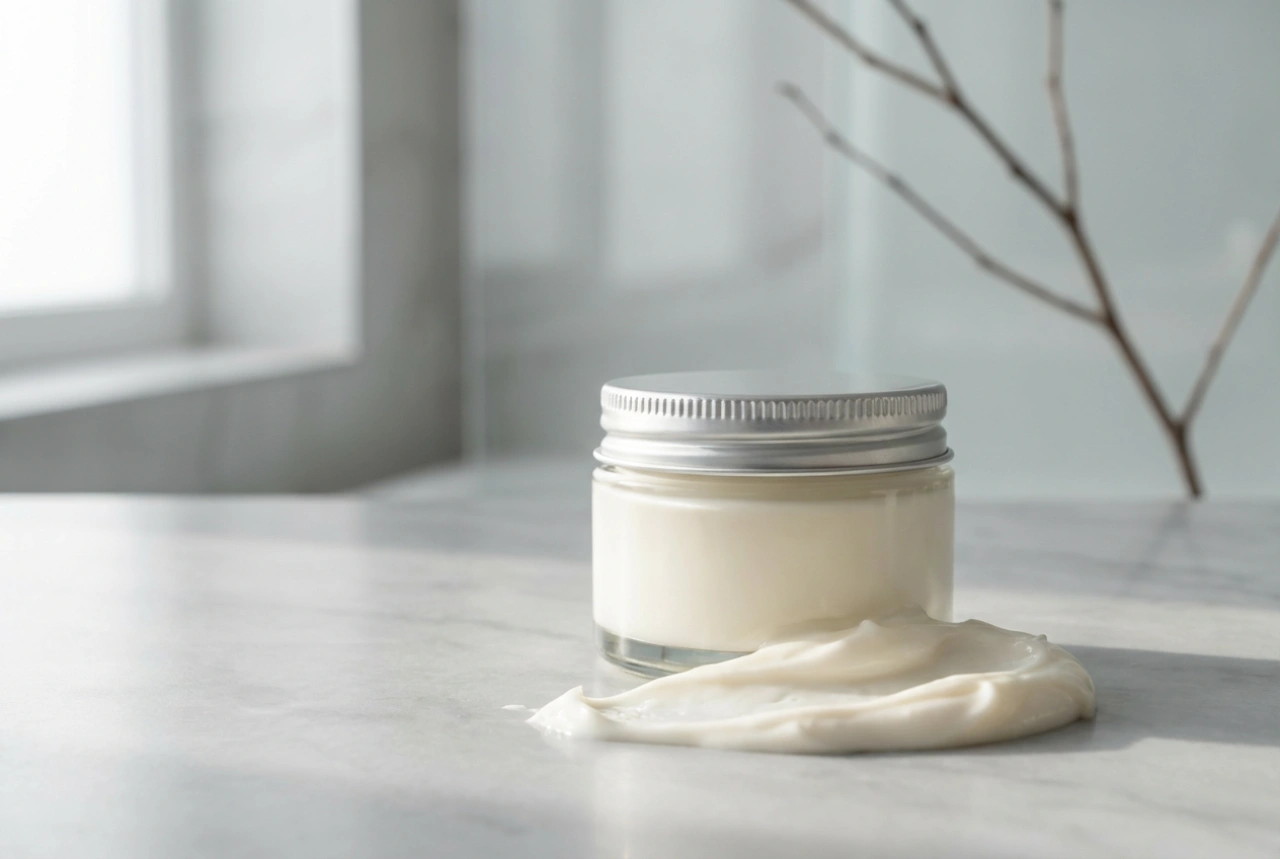
What you do after your session is just as important as what you do before. Once you remove the mask, your skin is perfectly prepped to absorb nourishing ingredients. This is the ideal time to apply your favourite serums, treatments, and moisturisers. Focus on products that hydrate, soothe, and support the skin barrier, such as those containing hyaluronic acid, ceramides, peptides, or niacinamide. Finish with a good moisturiser to lock everything in.
Finally, don't forget to care for your device. A clean mask is essential for a hygienic routine. After each use, wipe down the inside of the mask with a soft, slightly damp cloth or an alcohol-free antibacterial wipe, as recommended by the manufacturer. Allow it to air dry completely before storing it in a safe, dry place. Never submerge your mask in water or use harsh chemical cleaners, as this can damage the electronic components and the surface.