


Magnetic eyelashes have revolutionised the world of beauty, offering a simple, glue-free way to enhance your eyes. For those who desire a subtle boost rather than dramatic volume, selecting a natural-looking pair is key. As suggested by the delicate appearance of finely crafted lashes, the goal is effortless beauty. However, a common challenge is achieving a seamless blend without visible gaps between the false lash and your natural lash line. This guide will help you choose the right style and apply it perfectly for a flawless finish.
Understanding the Types of Magnetic Lashes
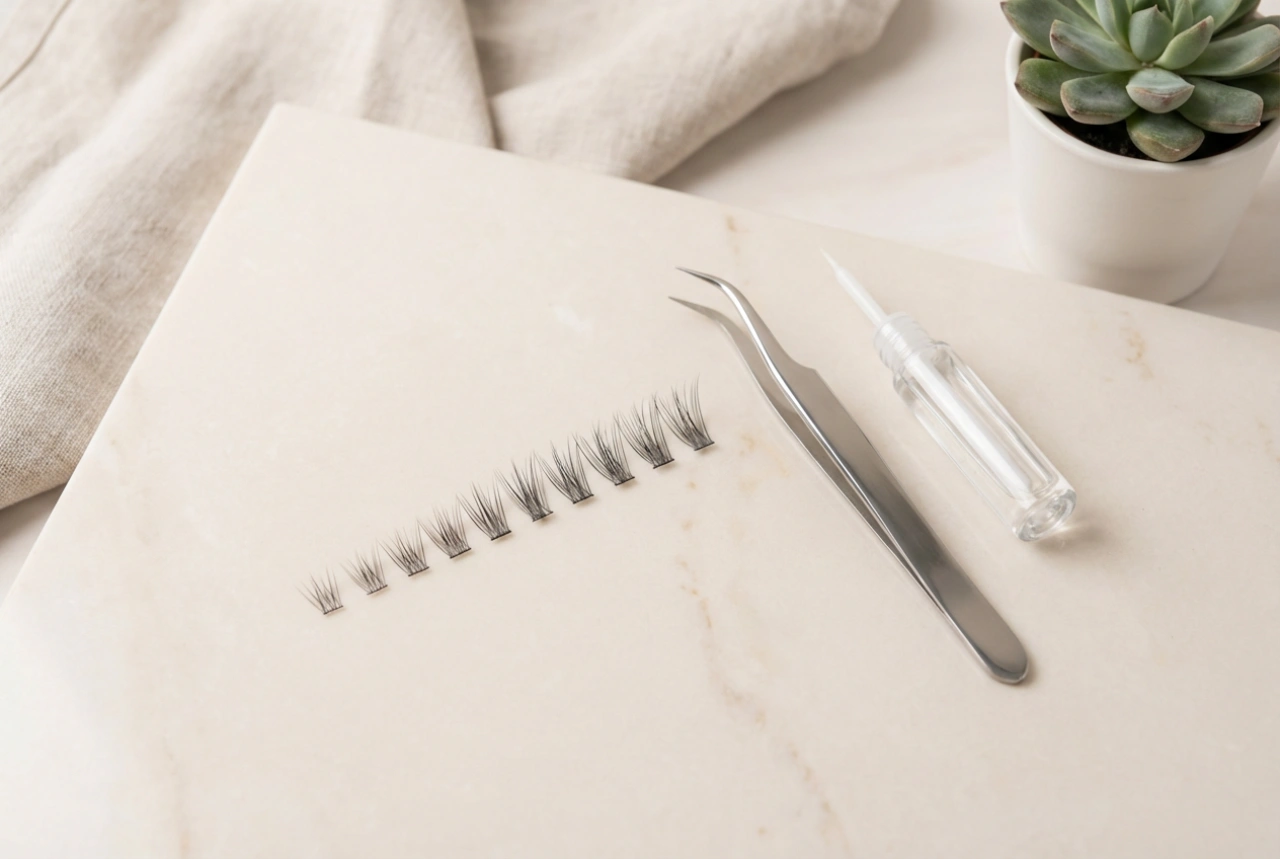
Before choosing a style, it’s helpful to understand the two main systems available. The first and most common type uses a magnetic liquid eyeliner. You apply the liner along your upper lash line, let it dry, and the strip of lashes, which has tiny magnets embedded in its band, clicks into place. The second type works like a sandwich, with a top lash strip and a bottom accent strip that have opposing magnets. You place the top strip on your natural lashes and then bring the bottom strip up from underneath to snap them together, encasing your natural lashes in between.
Which is Better for a Natural Look?
Both systems can look natural, but the magnetic liner method often provides a more seamless appearance. The eyeliner darkens the lash line, which helps to camouflage the lash band and fill in any minor gaps. Sandwich-style lashes can sometimes look bulkier at the base if not aligned perfectly, but they are an excellent option for those who prefer not to use eyeliner.
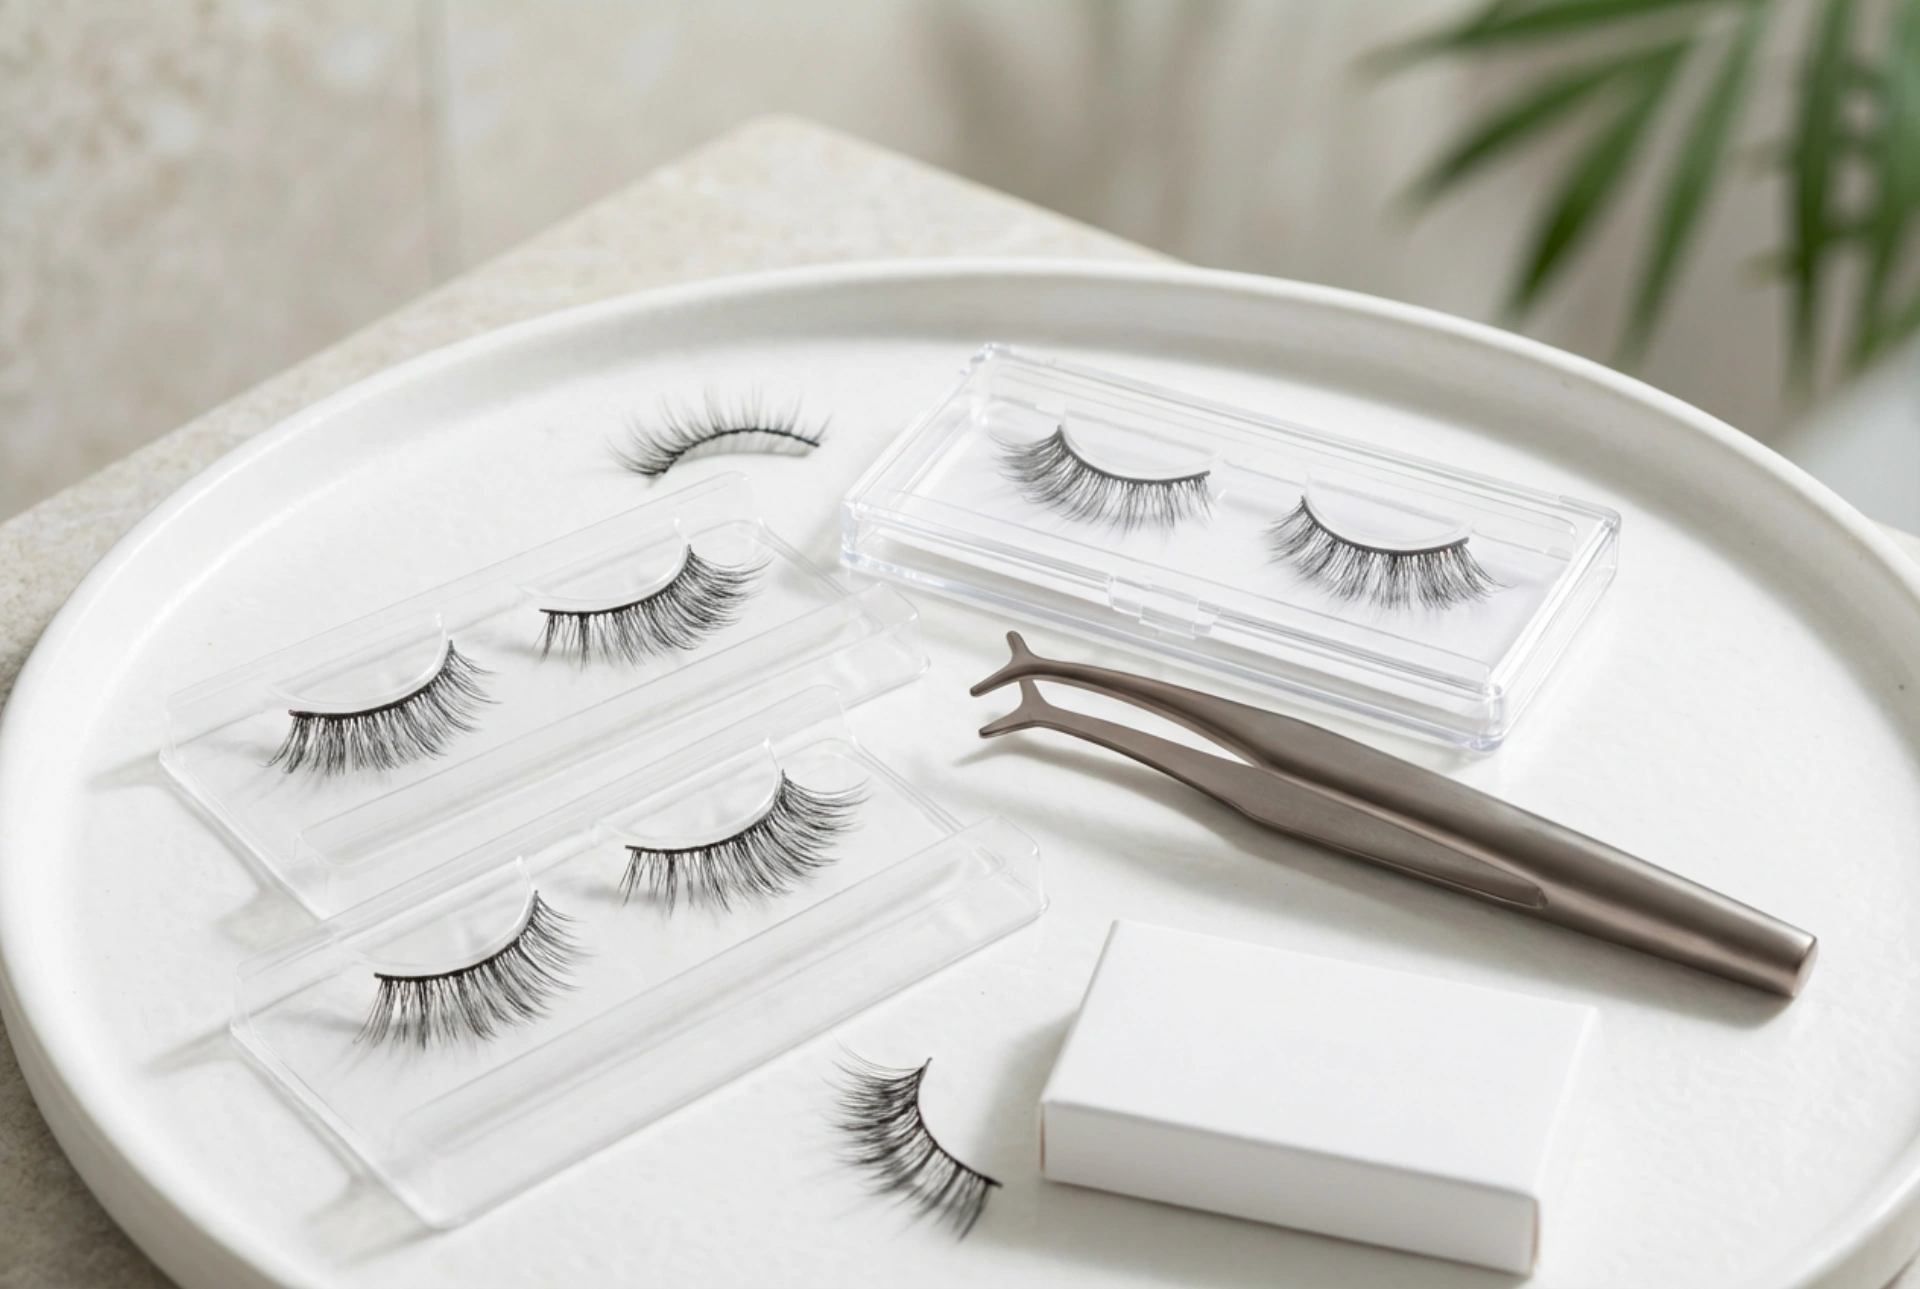
Key Features for a Natural Appearance
When shopping for natural-looking magnetic lashes, pay close attention to the details of their construction. It’s these subtle elements that make the difference between an obvious falsie and an enhancement that looks like your own lashes, but better.
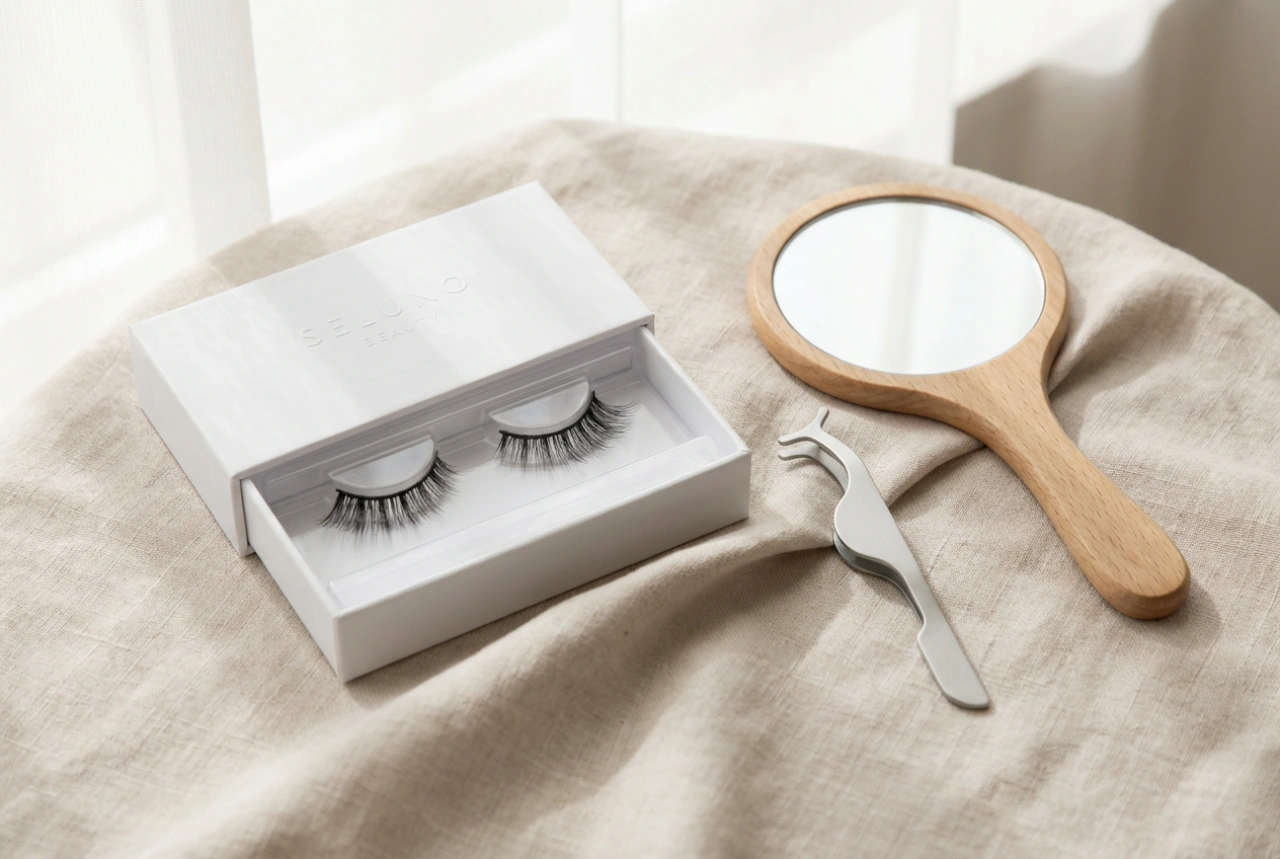
- A Thin and Flexible Band: The lash band is the foundation. Look for a very thin, flexible band, often referred to as a 'nano-band' or 'clear band'. A black band can also work well, as it mimics the effect of eyeliner. The more flexible the band, the better it will conform to the curve of your eyelid, preventing the ends from lifting and creating gaps.
- Tapered, Criss-Cross Fibres: Natural lashes are not uniform in length or direction. Choose styles where the lash fibres are of varying lengths and have a subtle criss-cross pattern. The tips should be tapered and soft, not blunt, to mimic the delicate finish of real hair. High-quality synthetic fibres are excellent for achieving this look.
- Modest Length and Volume: To avoid an overpowering look, select a style that is only about 25% longer and fuller than your natural lashes. Styles described as 'demi', 'wispies', or 'accent' lashes (which are only applied to the outer corners) are often excellent choices for a discreet enhancement.
- The Right Shape for Your Eye: Lashes come in different shapes. A 'round' style, with longer lashes in the centre, can help make eyes appear larger and more open. A 'cat-eye' style, which flares out at the ends, elongates the eye. Choosing a shape that complements your natural eye shape will result in a more harmonious and natural look.
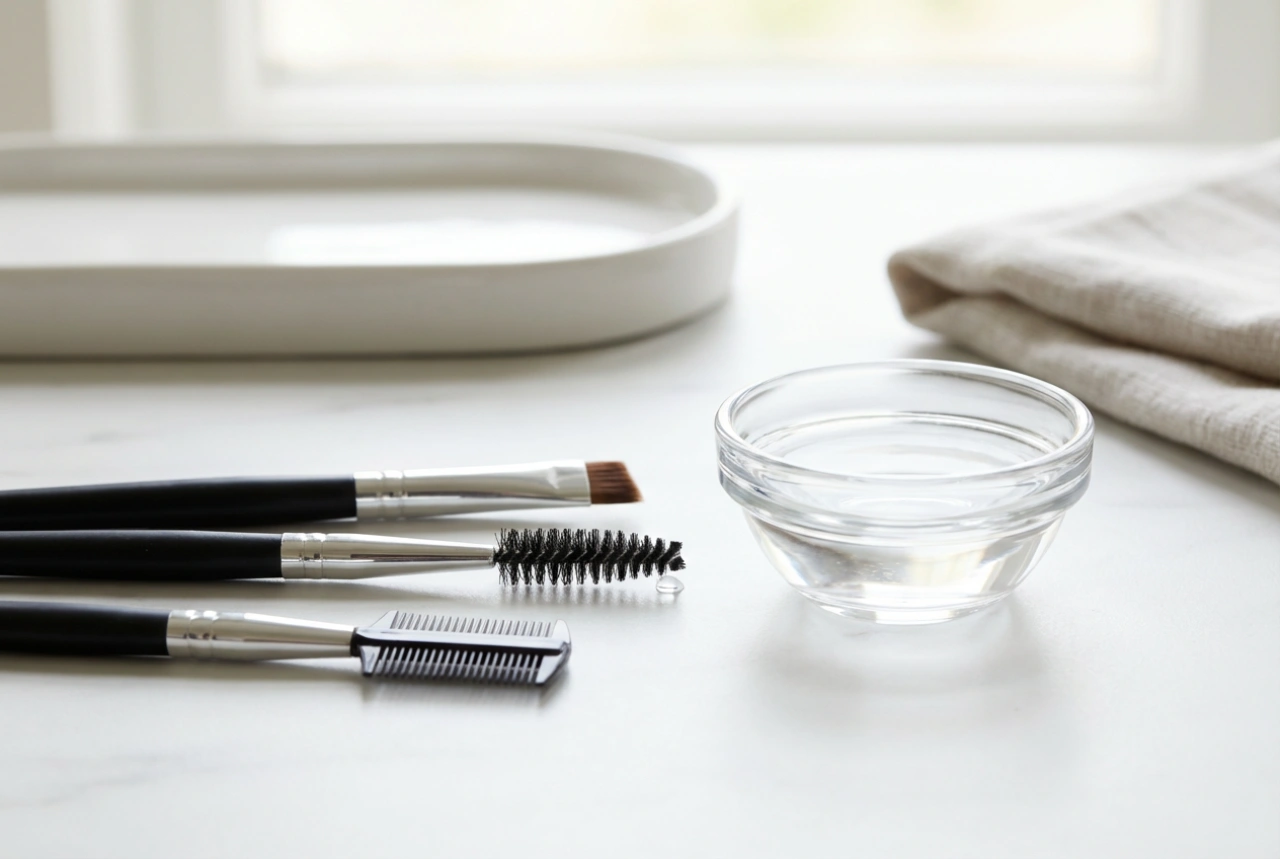
Application Tips to Avoid Gaps
The perfect application is just as important as choosing the right lashes. Gaps usually occur when the lash band is not sitting snugly against your real lash line.
Step 1: Measure and Trim
This is the most crucial step. Before any application, hold the lash strip up to your eye to check the fit. If it extends beyond your natural lash line, it will be uncomfortable and prone to lifting. Always trim the lash from the outer corner, cutting through the band just after the last magnet you want to keep. Never trim from the inner corner, as this will remove the shorter, more natural-looking fibres.
Step 2: Perfect Your Liner (If Using)
If you are using a magnetic eyeliner system, apply a smooth, consistent line as close to your natural lashes as possible. Don't make the line too thin. A line that is the same thickness as the lash band works best. Applying two coats can strengthen the magnetic hold, especially at the inner and outer corners where lifting is most common. Ensure the liner is completely dry before attaching the lash.
Step 3: Precise Placement
Look down into a mirror to get a clear view of your lash line. Using your fingers or a non-metallic lash applicator, bring the magnetic lash towards the liner. It should start to pull and snap into place. Aim to place the centre first, then gently press down the inner and outer corners to ensure they are secure. For sandwich lashes, place the top strip on your lashes, then bring the bottom strip up to meet it, ensuring they align perfectly at the base.
Care and Maintenance
To keep your natural-looking magnetic lashes in top condition, proper care is essential. After each wear, gently remove them by pulling from the outer corner. If using liner, clean any residue from the magnets with a cotton bud and an oil-free makeup remover. Store the lashes in their original case to help them maintain their shape and stay clean. With proper care, a single pair can be worn dozens of times, making them a sustainable beauty choice.