


False eyelashes can be a wonderful tool for accentuating the eyes, offering added length and volume for a captivating look. Contrary to common belief, they don't have to appear dramatic or artificial. With the right technique, involving careful trimming, precise gluing, and skilful mascara application, you can achieve a result so natural that it seamlessly enhances your own lashes. This guide will walk you through the steps to master an effortless and sophisticated application, transforming your beauty ritual.
Choosing the Right Lashes for a Natural Look
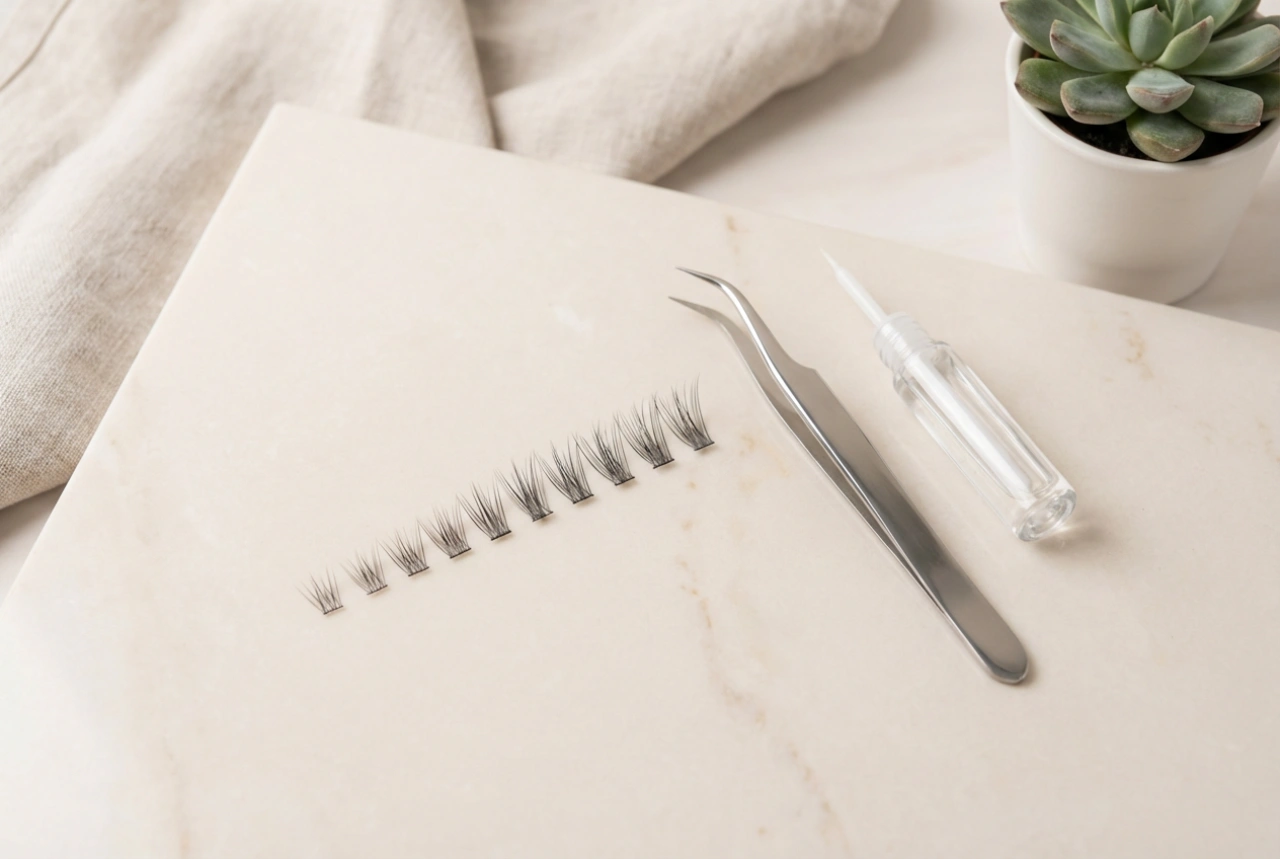
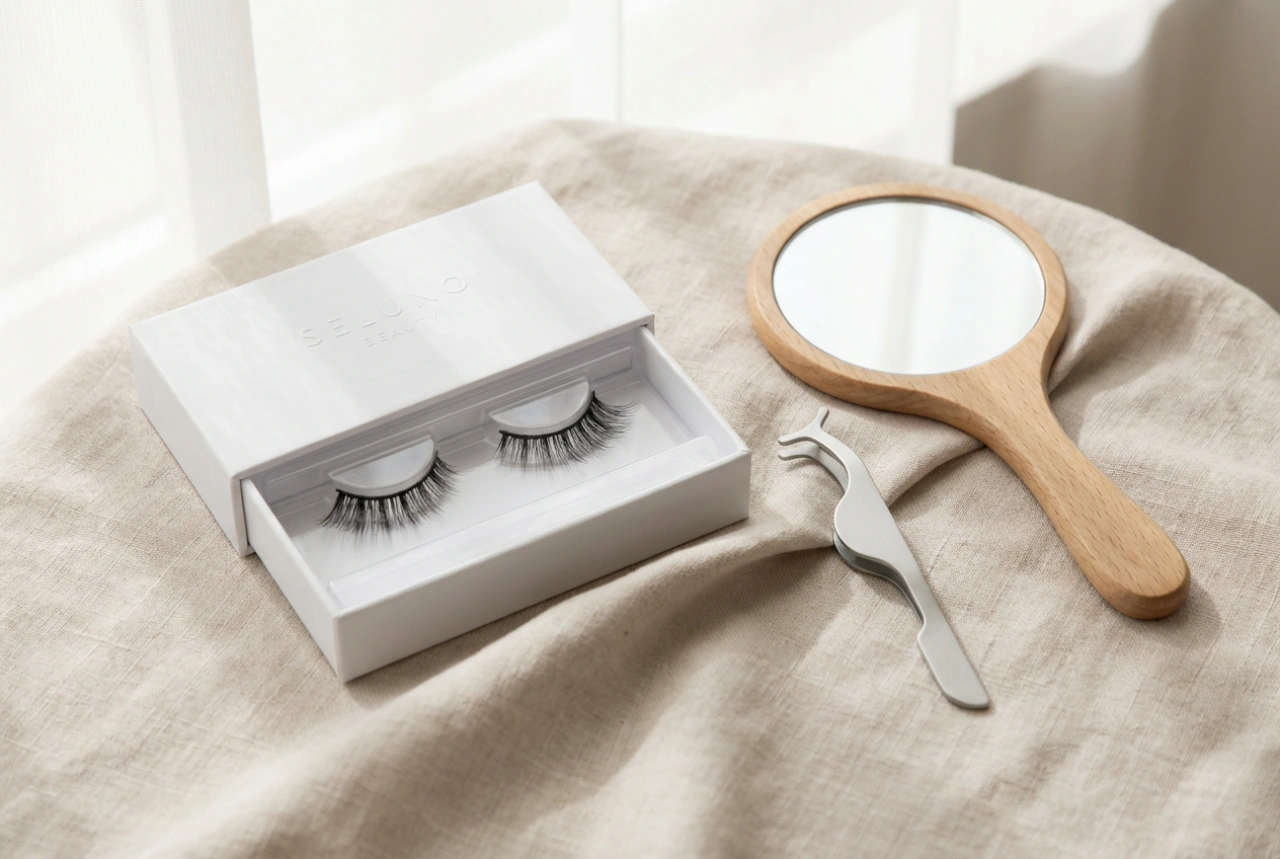
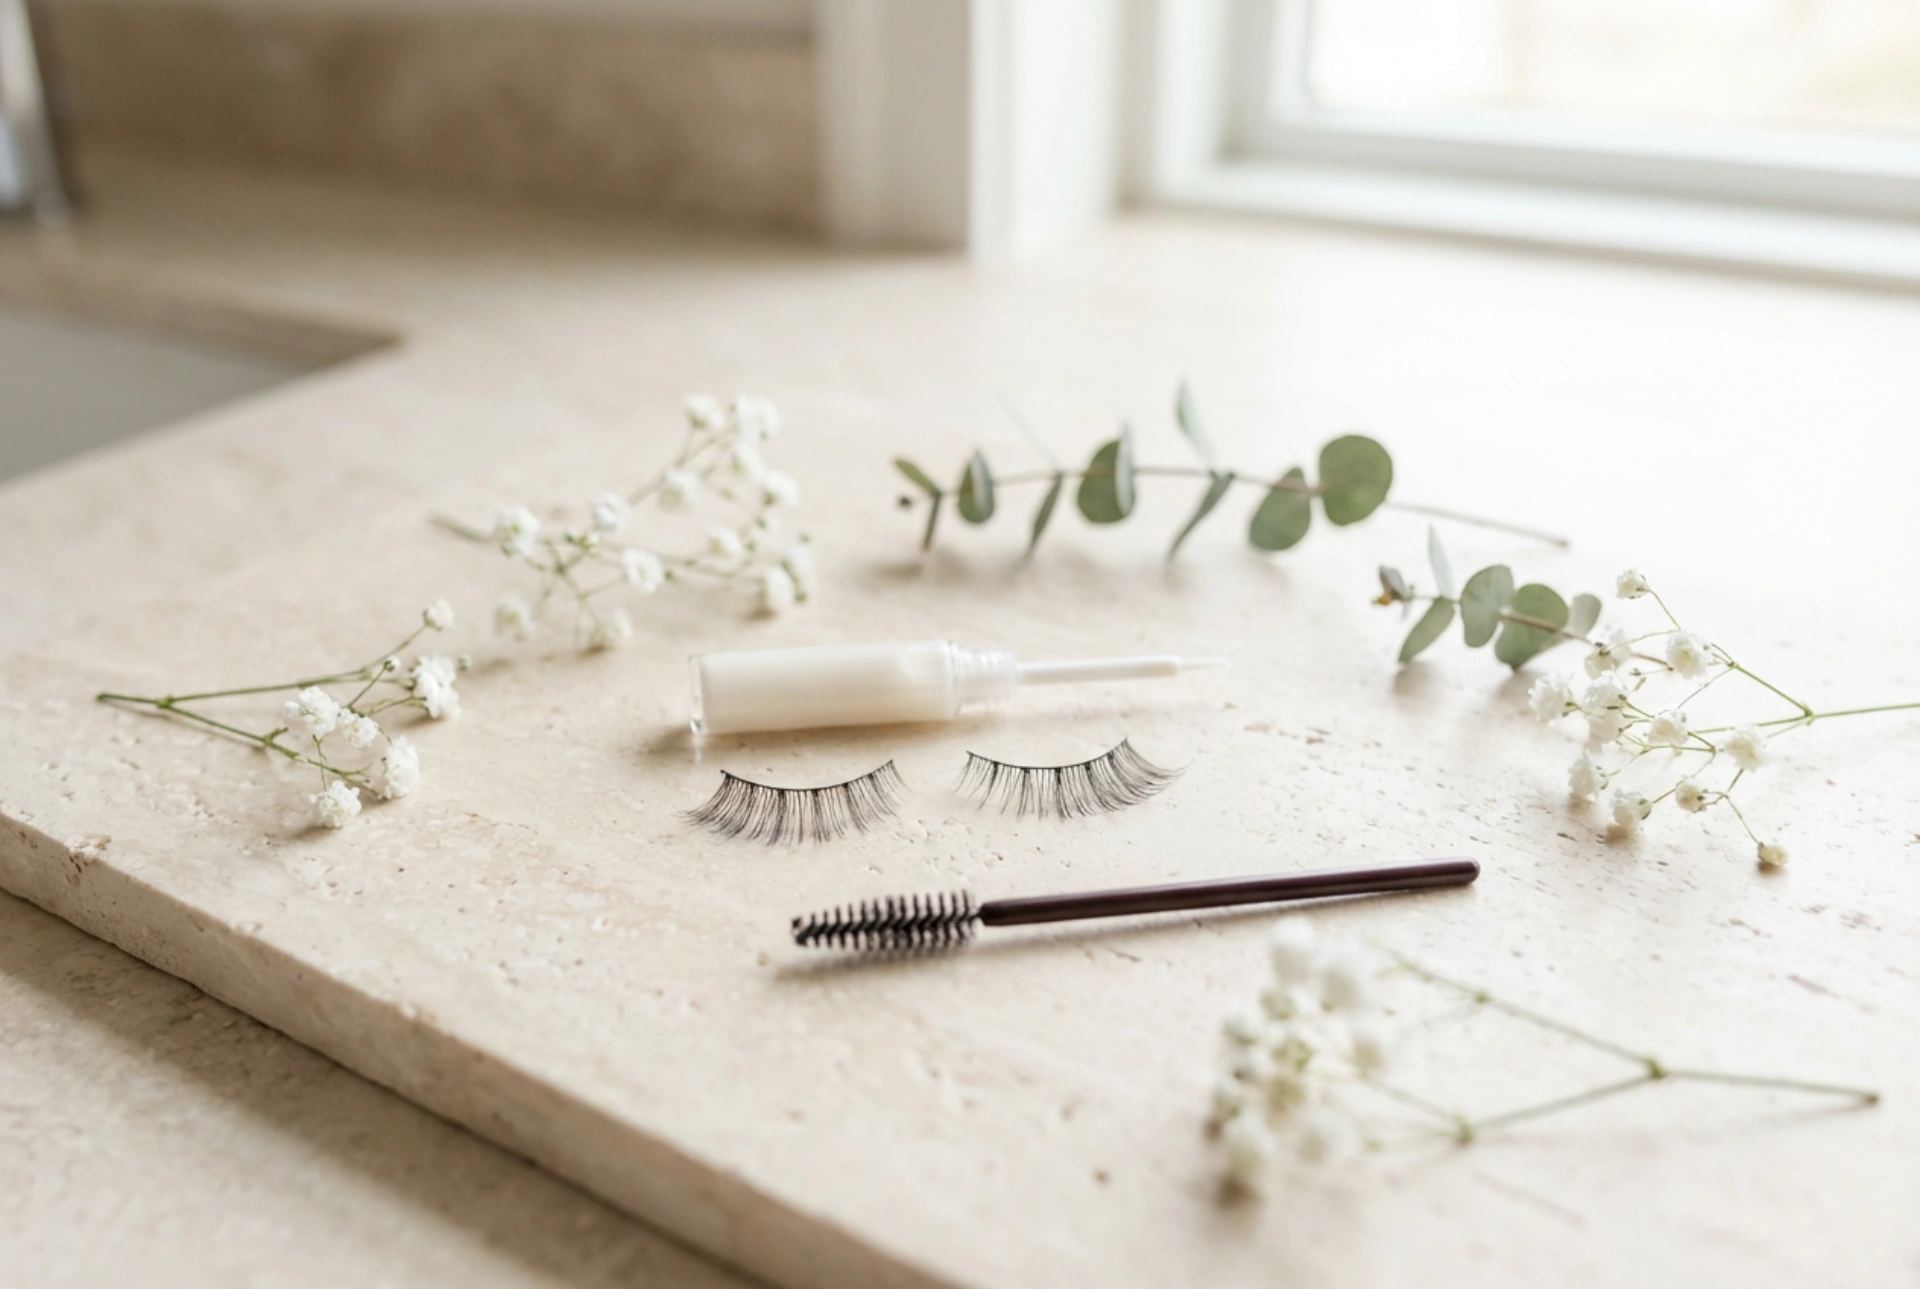
The first step towards a natural finish is selecting the appropriate style of false eyelashes. Opt for lashes that are not overly dense or long. Look for styles described as 'wispy' or 'natural'. These often feature finer, varied-length fibres that mimic the growth pattern of real lashes. Lashes with a clear or very thin, flexible band are also preferable, as they are less noticeable on the eyelid and blend more easily with your natural lash line. Individual or cluster lashes offer the most customisable and natural look, but strip lashes can be just as effective if chosen and applied correctly.
Key Characteristics to Look For:
- A thin, flexible, and preferably transparent lash band.
- Varied lengths of lash fibres to mimic natural growth.
- A criss-cross or 'wispy' pattern rather than a dense, uniform row.
- Lashes that are only slightly longer than your natural ones.
Preparation is Key: Measuring and Trimming
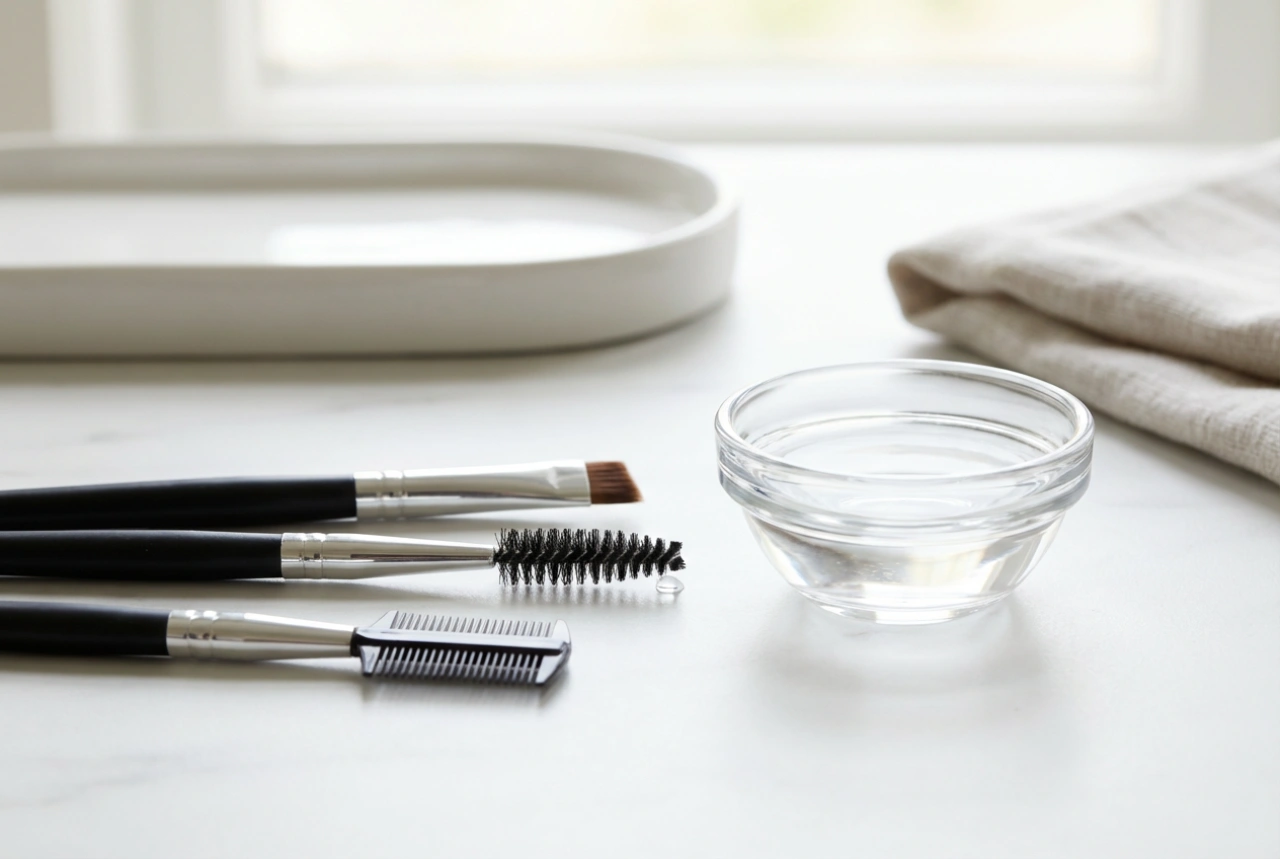
One of the most common mistakes is applying a lash strip straight from the box. Most are made to a standard length that is too long for the average eye, which can cause discomfort and an unnatural appearance. Customising the fit is essential. To do this, hold the lash strip against your eyelid, aligning the inner corner of the strip with where your natural lashes begin. See where the strip ends in relation to the outer corner of your eye. The false lash should not extend beyond your natural lash line. Using small scissors, trim the excess length from the outer edge, not the inner one. Trimming from the outer side preserves the natural taper of the shorter lashes at the inner corner.
The Art of Application: Gluing with Precision
Proper glue application is crucial for both longevity and a clean look. Squeeze a thin line of lash adhesive onto the lash band. Avoid applying too much, as this can get messy and take longer to dry. A common and effective trick is to wait for about 30-45 seconds after applying the glue for it to become tacky. Applying the lash while the glue is still wet will cause it to slide around on your eyelid. When the glue is tacky, it will adhere instantly and securely upon contact.
Placement Technique:
- Using tweezers or your fingers, look down into a mirror. This position flattens the eyelid area, making it easier to see and access your lash line.
- Place the lash strip in the centre of your upper lash line, getting it as close to the roots of your natural lashes as possible.
- Once the centre is secure, gently press down the inner corner, followed by the outer corner.
- Use the back of the tweezers or a clean fingertip to press the entire lash band firmly against your skin to ensure it's fully attached.
Blending for a Seamless Finish
The final step is to merge your natural lashes with the false ones. This is what truly creates that seamless, 'are they real?' effect. After the glue has completely dried, you can use a clean mascara wand or an eyelash curler to gently press your natural and false lashes together. Then, apply a light coat of mascara. Wiggle the mascara wand at the base of your lashes to coat both your natural and the false ones, effectively 'locking' them together. This simple act hides the lash band and makes it impossible to tell where your lashes end and the false ones begin. Focus the mascara at the root to create depth and leave the tips looking feathery and light.