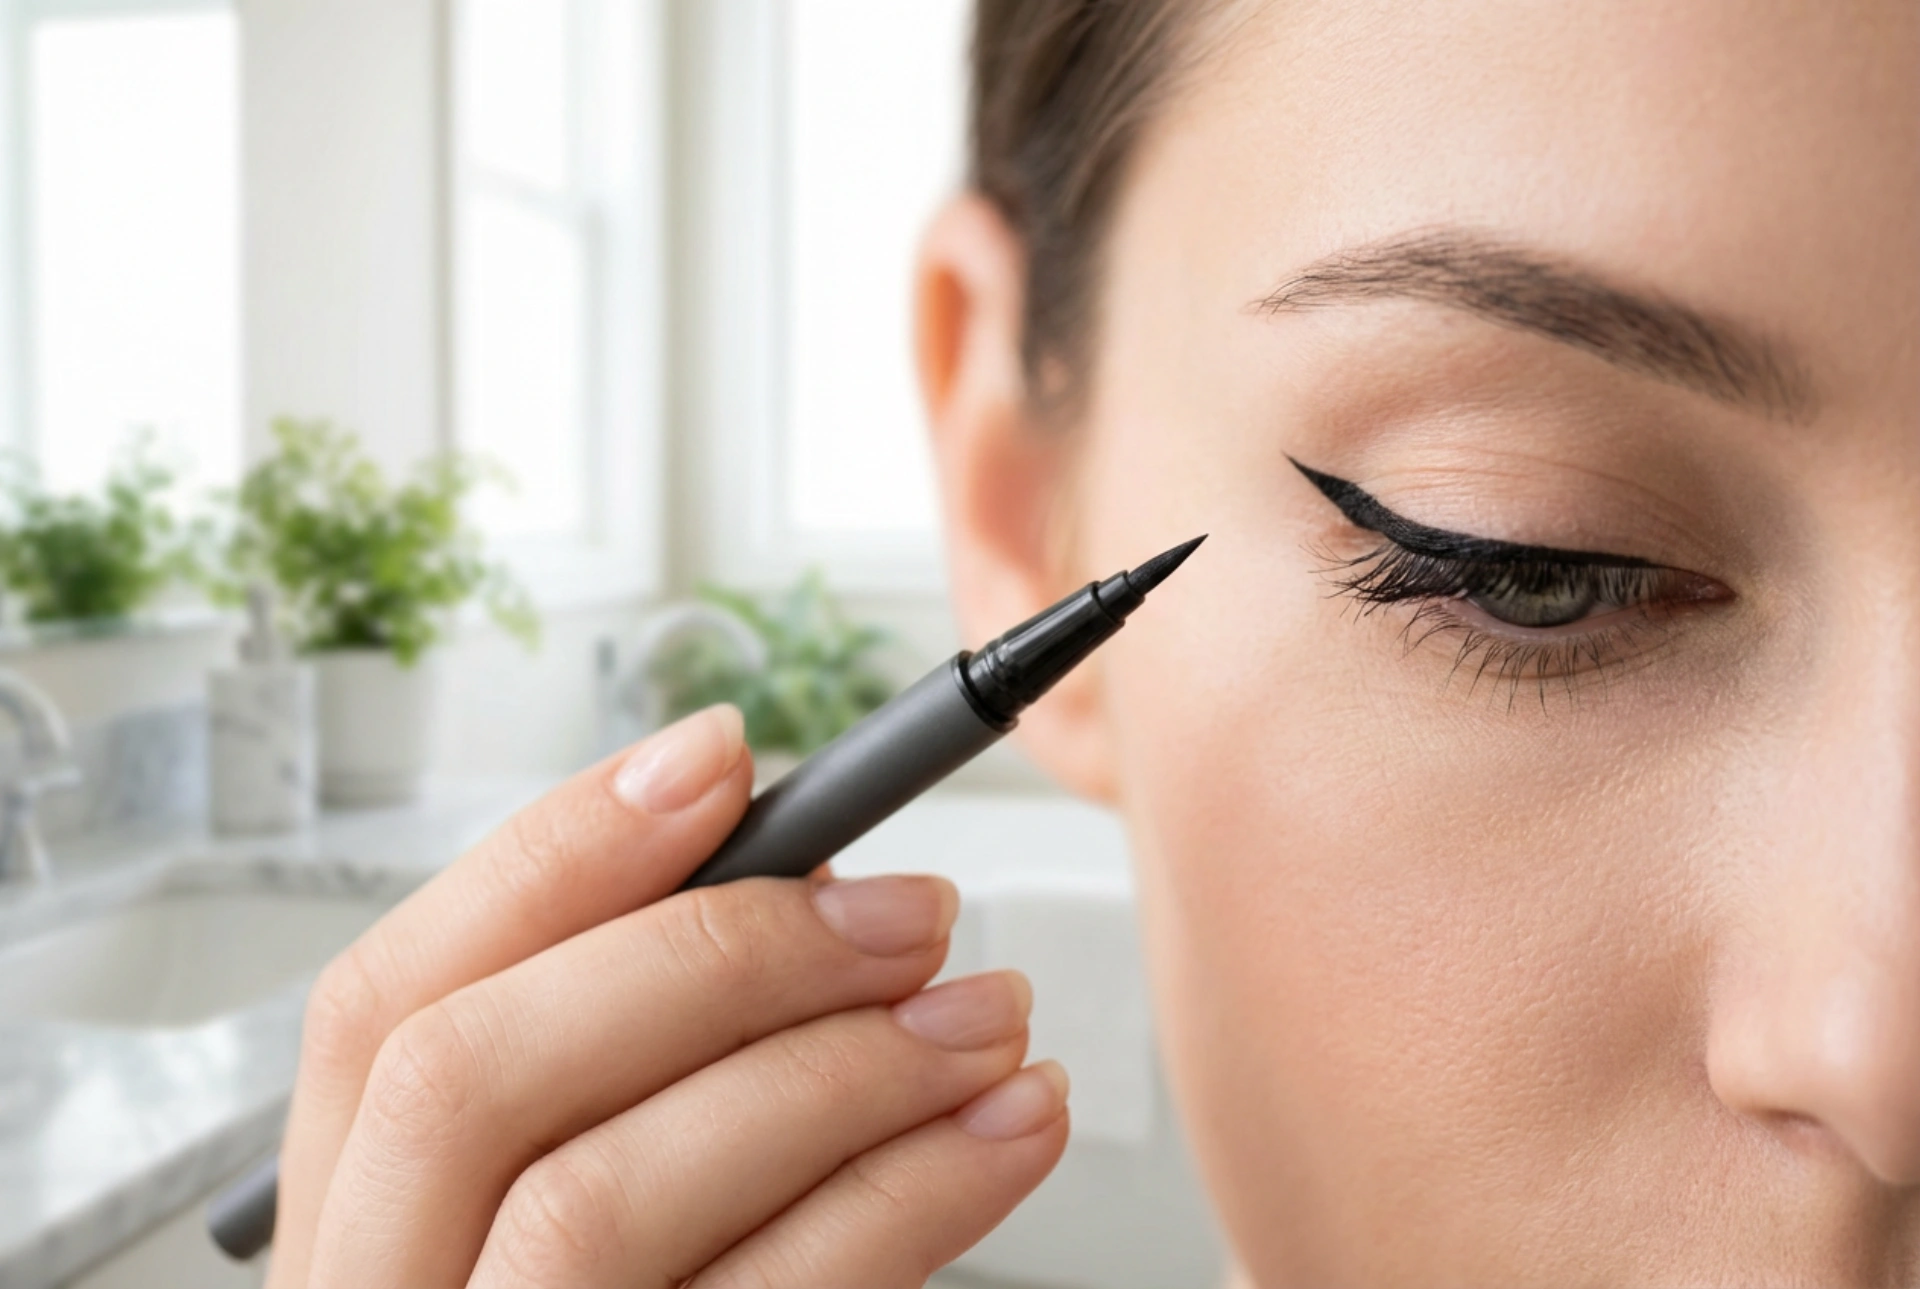


Perfectly applied eyeliner can define, enhance, and transform the look of your eyes, adding a touch of elegance or drama to any makeup style. Achieving that flawless, crisp line, as seen in a beautifully executed wing, might seem like a skill reserved for professionals, but it's a technique anyone can master with practice and the right guidance. This article will break down the process step by step, from choosing your tool to adapting the style to best suit your unique eye shape, helping you achieve a polished and precise application every time.
Choosing Your Eyeliner Tool
The first step to mastering eyeliner is selecting the right product for your desired look and skill level. There are several types of eyeliner, each offering a different finish and application experience.
Pencil Eyeliner
Ideal for beginners, pencil liners are forgiving and easy to control. They are perfect for creating a soft, smudged look or for tightlining (applying liner to the upper waterline to make lashes appear fuller). For a sharper line, ensure the pencil tip is well-sharpened. They offer less intensity than liquid or gel options but provide excellent versatility for everyday wear.
Liquid Eyeliner
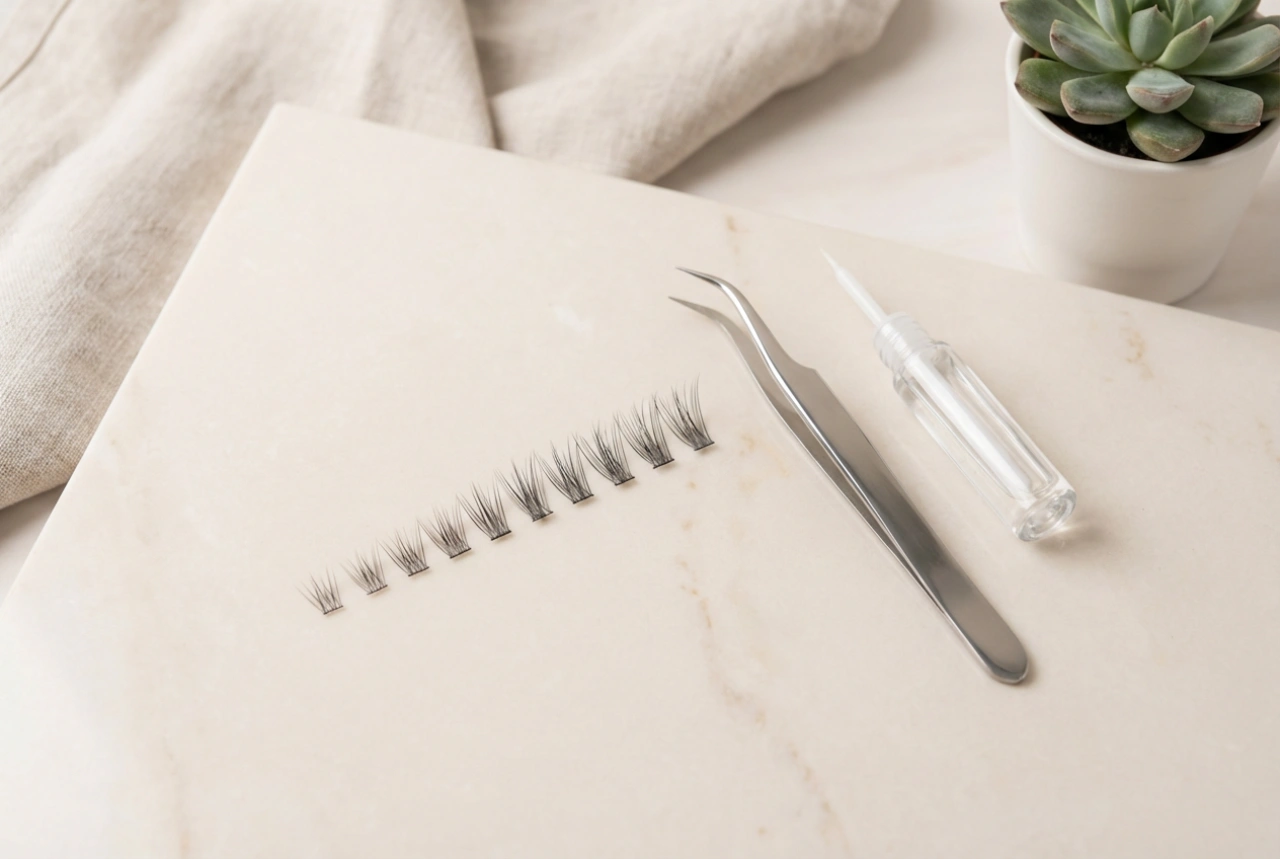
For a sharp, defined, and dramatic line, liquid eyeliner is the go-to choice. It typically comes in a bottle with a fine brush applicator or as a felt-tip pen. Pen-style liners offer more control and are often easier for beginners to handle than traditional brush tips. Liquid liners deliver intense colour and a long-lasting finish, making them perfect for creating the classic winged look.
Gel Eyeliner
Gel liners, which come in a small pot and are applied with a separate angled or fine-tipped brush, combine the best of both worlds. They glide on smoothly like a liquid but offer the control and blend-ability of a pencil. This makes them a favourite for creating everything from a subtle line to a bold, graphic design. They are also known for their excellent staying power.
The Foundational Technique: A Universal Step-by-Step Guide
Regardless of your eye shape, a few fundamental steps will help you create a clean and balanced line. Patience is key, especially when you are just starting out.
- Prep Your Eyelids: Start with a clean, dry eyelid. Applying an eyeshadow primer can create a smooth canvas, prevent smudging, and help your eyeliner last all day.
- Find a Stable Position: Rest your elbow on a flat surface, like a table or vanity, to steady your hand. This simple trick dramatically reduces shakiness and improves control.
- Create a Guideline: Instead of trying to draw one continuous line, map it out first. Look straight into the mirror and place small dots along your lash line where you want the liner to go. This helps ensure symmetry and a smooth final line.
- Connect the Dots: Using short, gentle strokes, connect the dots you made. Start from the inner corner and work your way outwards. This method gives you more control than attempting a single, sweeping motion.
- Build the Thickness: Once your initial line is in place, you can gradually build up the thickness to your desired level. Add small layers, checking your progress as you go. For a wing, draw a line from the outer corner of your eye, angling up towards the end of your eyebrow, then connect it back to your lash line to form a triangle and fill it in.
Adapting Eyeliner for Your Eye Shape
The most effective eyeliner application enhances your natural eye shape. Here’s how to tailor your technique for different shapes.
Almond Eyes
This shape is considered very versatile. You can start with a thin line at the inner corner and gradually thicken it as you move towards the outer corner. A classic, subtle wing at the end will beautifully accentuate the natural lift of your eye shape.
Round Eyes
To create the illusion of a more elongated, almond shape, focus on the outer corners. Apply your eyeliner starting from the middle of the lash line and extending it outwards into a wing. This draws the focus horizontally and adds length. Avoid applying a thick line in the centre of the eye, as this can make the eye appear even rounder.
Hooded Eyes
For hooded eyes, the key is to ensure the liner is visible when your eyes are open. You may need to create a thicker line than you think. When creating a wing, draw it with your eyes open and looking straight ahead to map out where it will be visible above the crease. This might create a 'bat wing' or 'shark fin' shape when your eye is closed, but it will look like a perfect wing when open.
Monolid Eyes
With a monolid, there is no visible crease on the eyelid. This is a fantastic canvas for bold, graphic liner looks. To ensure the liner is visible, you'll likely need to draw a thick, prominent line. A dramatic wing or a floating liner style can look particularly striking.
Downturned Eyes
To create a lifting effect for downturned eyes, focus on drawing the eye upwards. When applying your liner, start the wing just before you reach the outer corner and flick it upwards towards your temple. Avoid lining the entire lower lash line, as this can drag the eye down further. Instead, concentrate all the lift and definition on the outer upper corner.
Extra Tips for a Perfect Finish
- Use a magnifying mirror to get a clear, close-up view of your application.
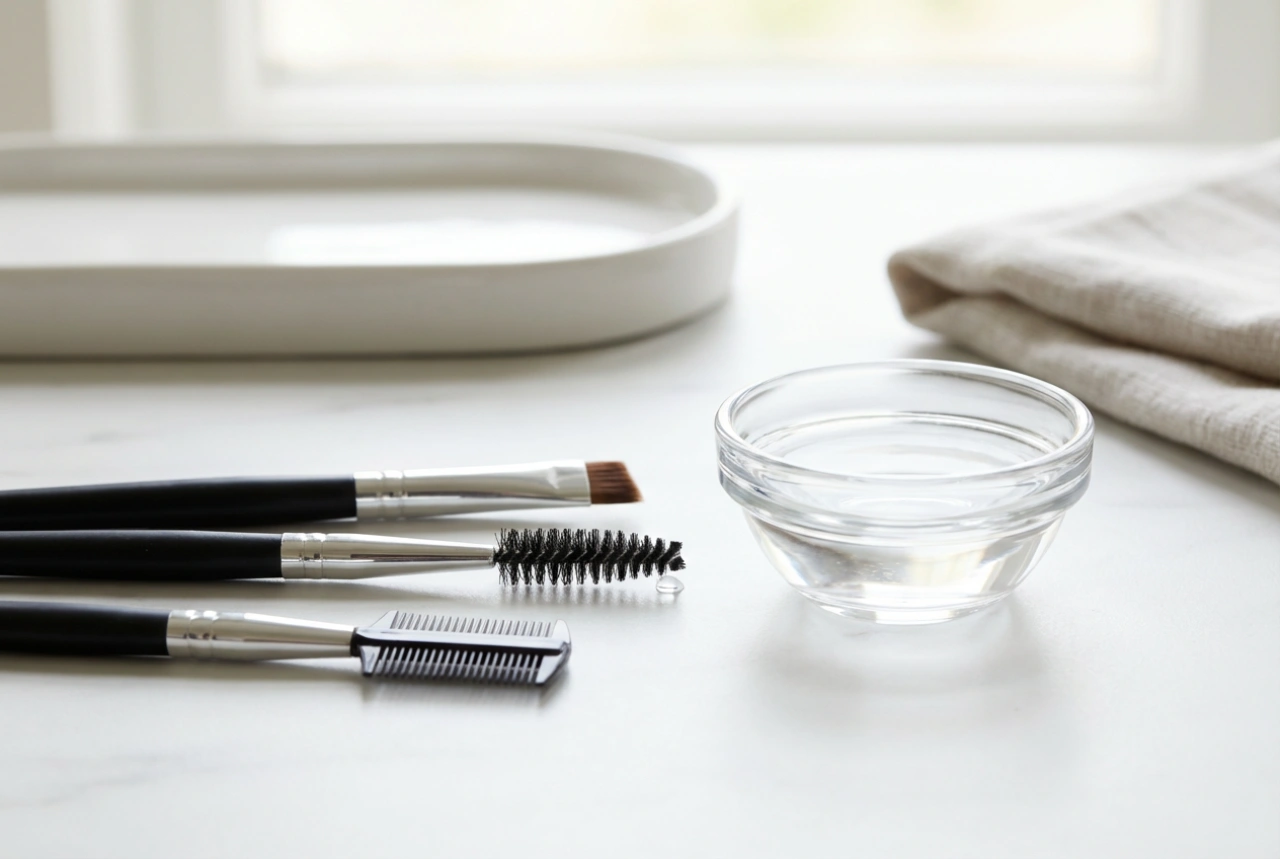
- Don't be afraid of mistakes. Keep a pointed cotton bud and some makeup remover handy to quickly and precisely clean up any smudges or wobbly lines.
- To set your eyeliner and intensify the colour, you can lightly press a matching eyeshadow colour over the top of the line with a small, angled brush.
- Practice makes perfect. Don't be discouraged if your first few attempts aren't flawless. Experiment with different tools and techniques to find what works best for you.