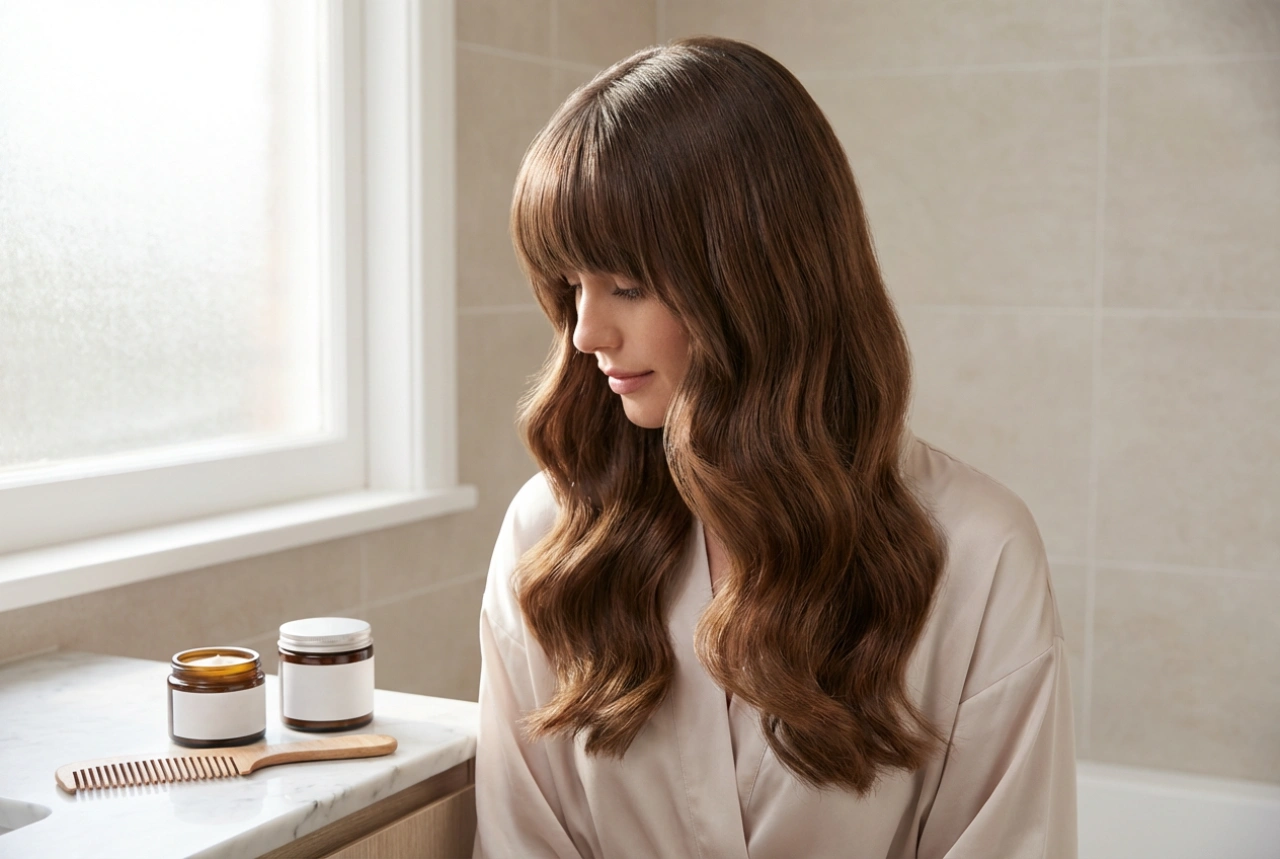


A well-styled side fringe can instantly elevate your look, framing your face and adding a touch of effortless elegance. Achieving that soft, perfectly placed sweep of hair seen in magazines isn't about luck; it's about technique. Whether you're new to the world of fringes or looking to refine your styling routine, understanding the key steps—from drying to setting—is crucial. This guide will walk you through the process of mastering your side fringe, ensuring it looks flawless from morning to night.
Finding Your Perfect Side Fringe
Before you even pick up a hairdryer, it's important to understand what makes a side fringe work. The ideal fringe complements both your face shape and hair texture. A well-chosen style will highlight your best features and blend seamlessly with the rest of your hair.
Consider Your Face Shape
A side fringe is incredibly versatile and can be adapted for almost any face shape:
- Oval faces: This shape is considered very balanced, so most fringe styles work well. You can experiment with different lengths and thicknesses.
- Round faces: A longer, sweeping side fringe can create angles and add definition, visually elongating the face.
- Square faces: A soft, wispy side fringe that hits around the cheekbone can soften a strong jawline.
- Heart-shaped faces: A light, layered side fringe helps to balance a wider forehead with a narrower chin.
Work with Your Hair Texture
Your hair's natural texture plays a significant role in how a fringe will sit. Fine hair benefits from a slightly thicker fringe to create an illusion of volume, while very thick hair might need some texturising to avoid looking too heavy. If you have wavy or curly hair, a longer side fringe is often easier to manage and can be styled to blend with your natural texture.
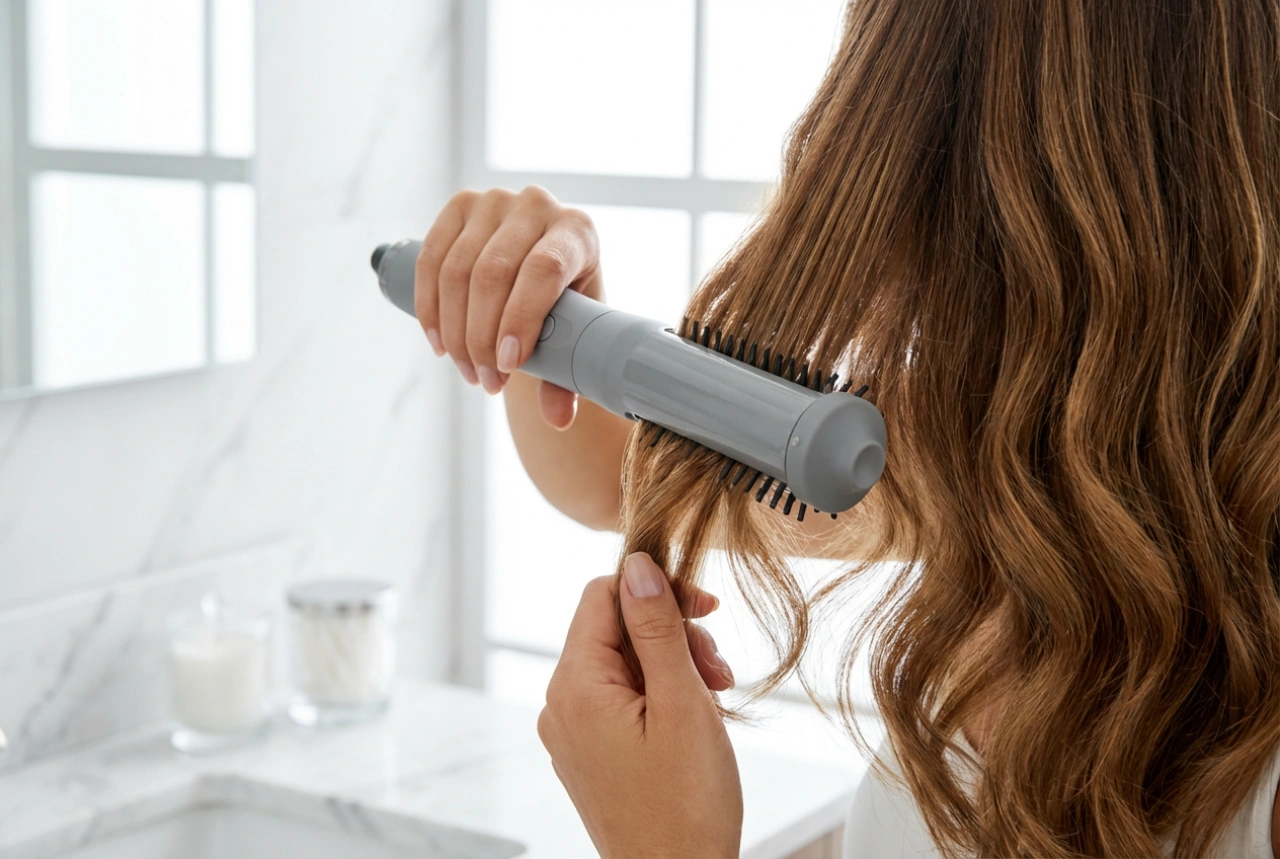
The Art of Blow-Drying Your Fringe
The secret to a well-behaved fringe lies in the blow-dry. This is the foundational step that dictates how your hair will sit for the rest of the day. Always style your fringe first, right after washing, as it dries faster than the rest of your hair and can become unruly if left to air-dry.
Step-by-Step Drying Technique
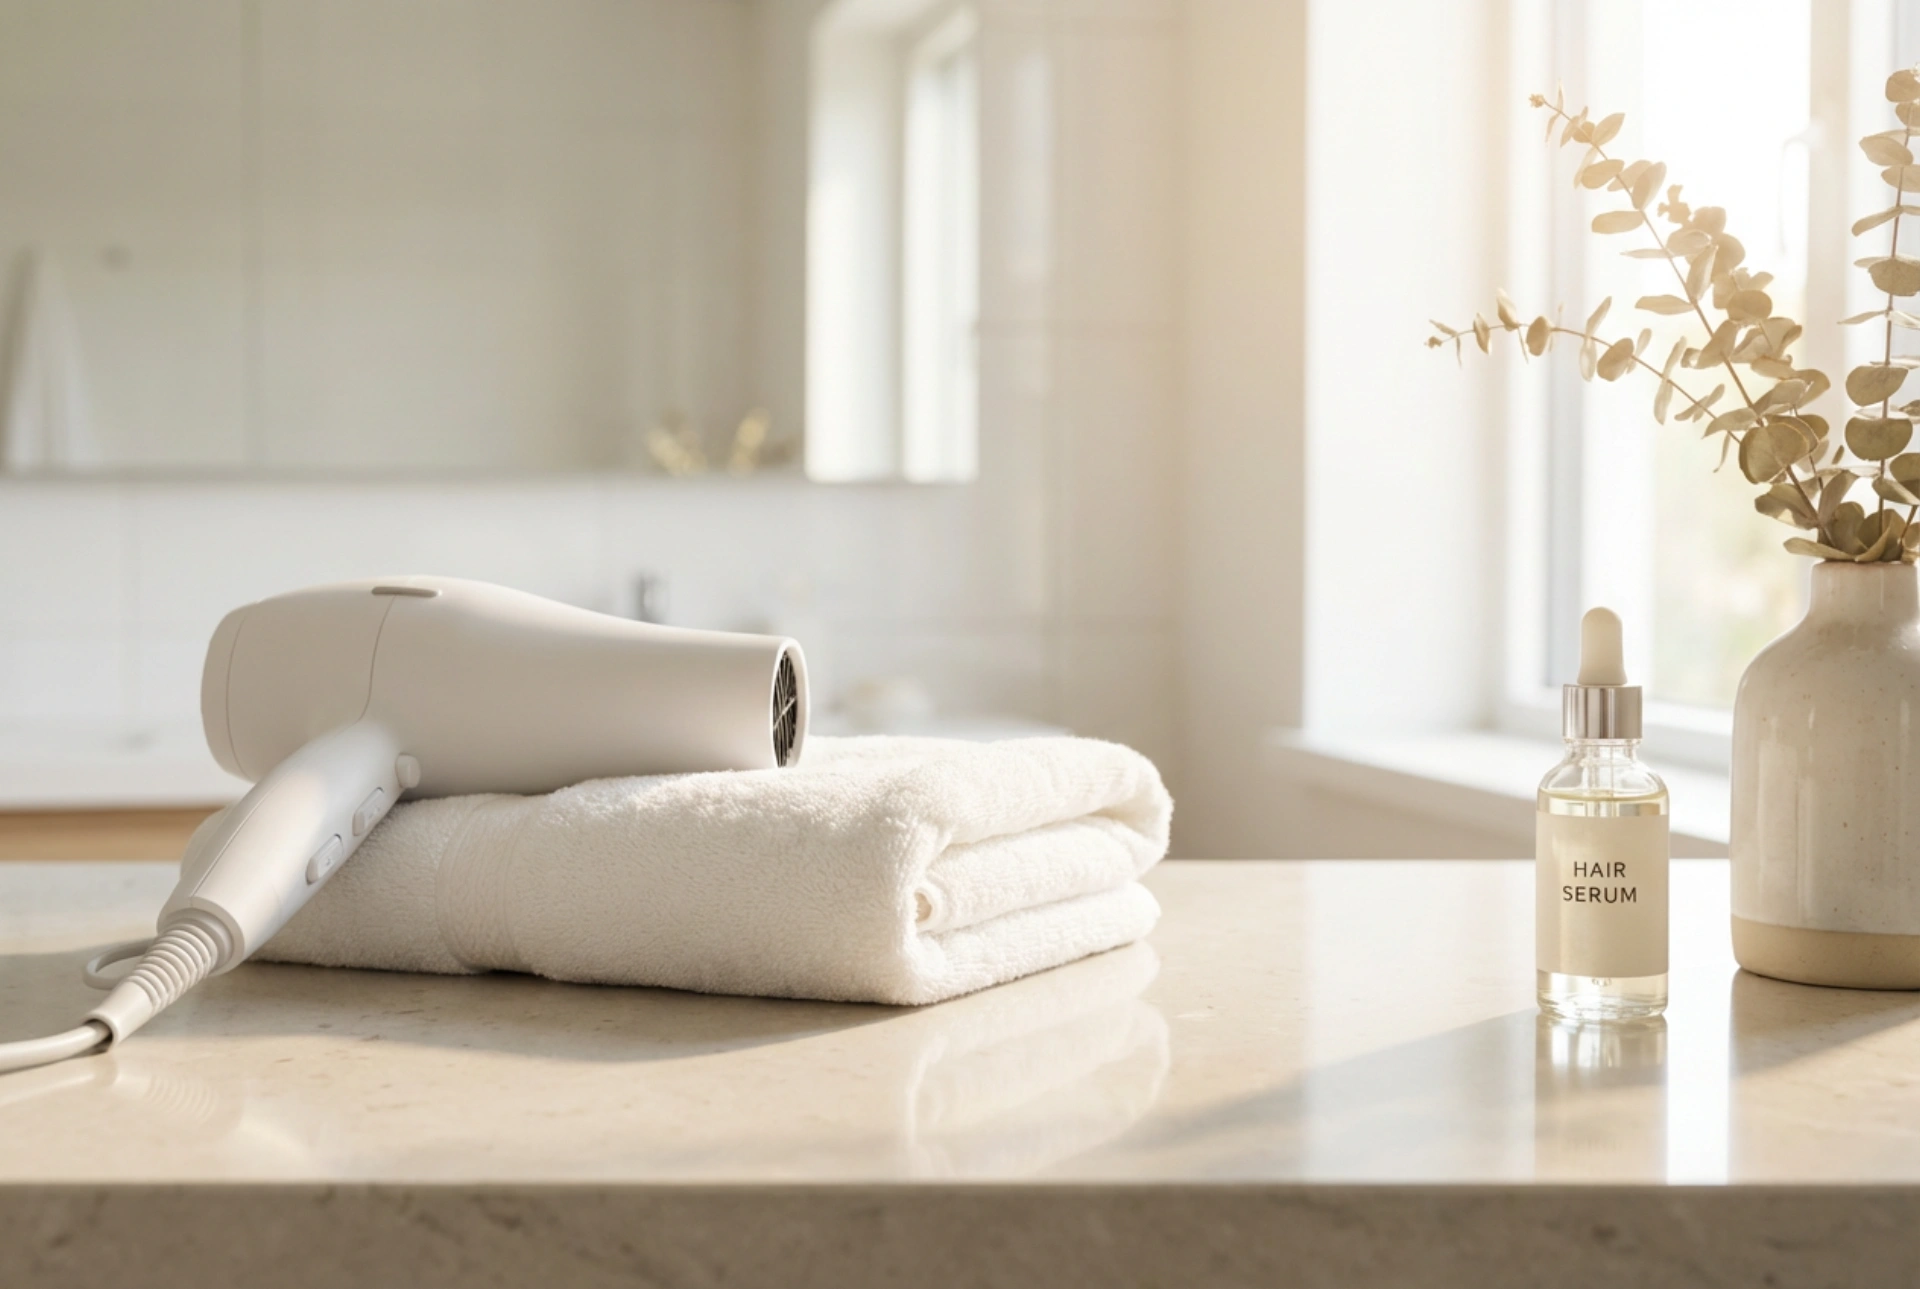
- Start with damp hair: Your fringe should be damp, not sopping wet. Gently towel-dry it before you begin.
- Use the right tools: A nozzle attachment on your hairdryer is essential for directing airflow precisely. A medium-sized round brush or a paddle brush will help you achieve a smooth finish.
- Direct the airflow correctly: Hold the hairdryer above your head, pointing the nozzle downwards along the hair shaft. This helps to smooth the cuticle and reduce frizz.
- Brush in multiple directions: First, brush and blow-dry your fringe to one side, then to the other. This 'confuses' the hair roots and prevents them from settling into a stubborn parting. Finally, brush the fringe forward and down over your forehead.
- Create the sweep: Once the fringe is about 80% dry, use your round brush to sweep it to your desired side. Roll the brush underneath the hair, lifting slightly at the root and directing the heat, to create a gentle curve rather than a flat finish.
Mastering the Ideal Angle and Parting
The angle of your fringe determines how it frames your face. A deep side part creates a more dramatic, sweeping effect, while a parting closer to the centre is more subtle. Use the tail end of a comb to create a clean, sharp line for your parting. The end of the fringe should ideally taper off, blending into the rest of your hair. Don't be afraid to experiment to find the parting that feels most natural and flattering for you.
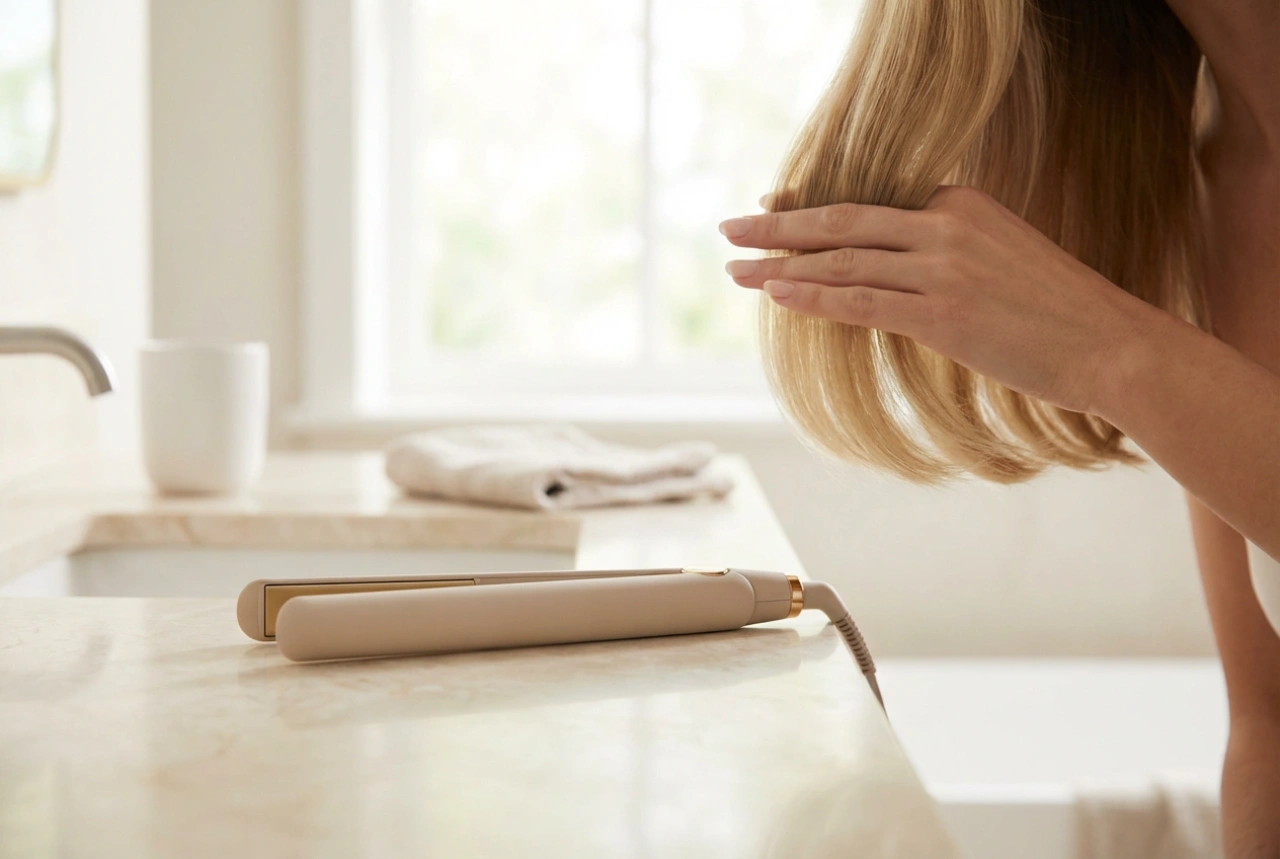
Securing Your Fringe for All-Day Hold
Once you've perfected the shape, the final step is to set it in place without making it look stiff or greasy. The goal is a natural, touchable hold that withstands the day's activities.
Choosing and Applying Products
- Light-hold hairspray: Instead of spraying directly onto your fringe, which can lead to a stiff, 'helmet' look, spray a light mist onto your fingers or a clean brush and gently run it through your hair. This provides a flexible hold.
- Texturising spray or dry shampoo: A spritz of texturising spray at the roots can add a little grit and volume, helping your fringe stay in place. Dry shampoo is also excellent for this and for absorbing any excess oil throughout the day.
- A touch of wax or pomade: For defining the ends or taming stubborn flyaways, use a tiny amount of a lightweight wax or pomade. Warm it between your fingertips before applying to ensure even, minimal distribution.
By following these techniques, you can take control of your side fringe and ensure it always looks polished and intentional. A little practice is all it takes to make styling your fringe a quick and easy part of your daily beauty routine.