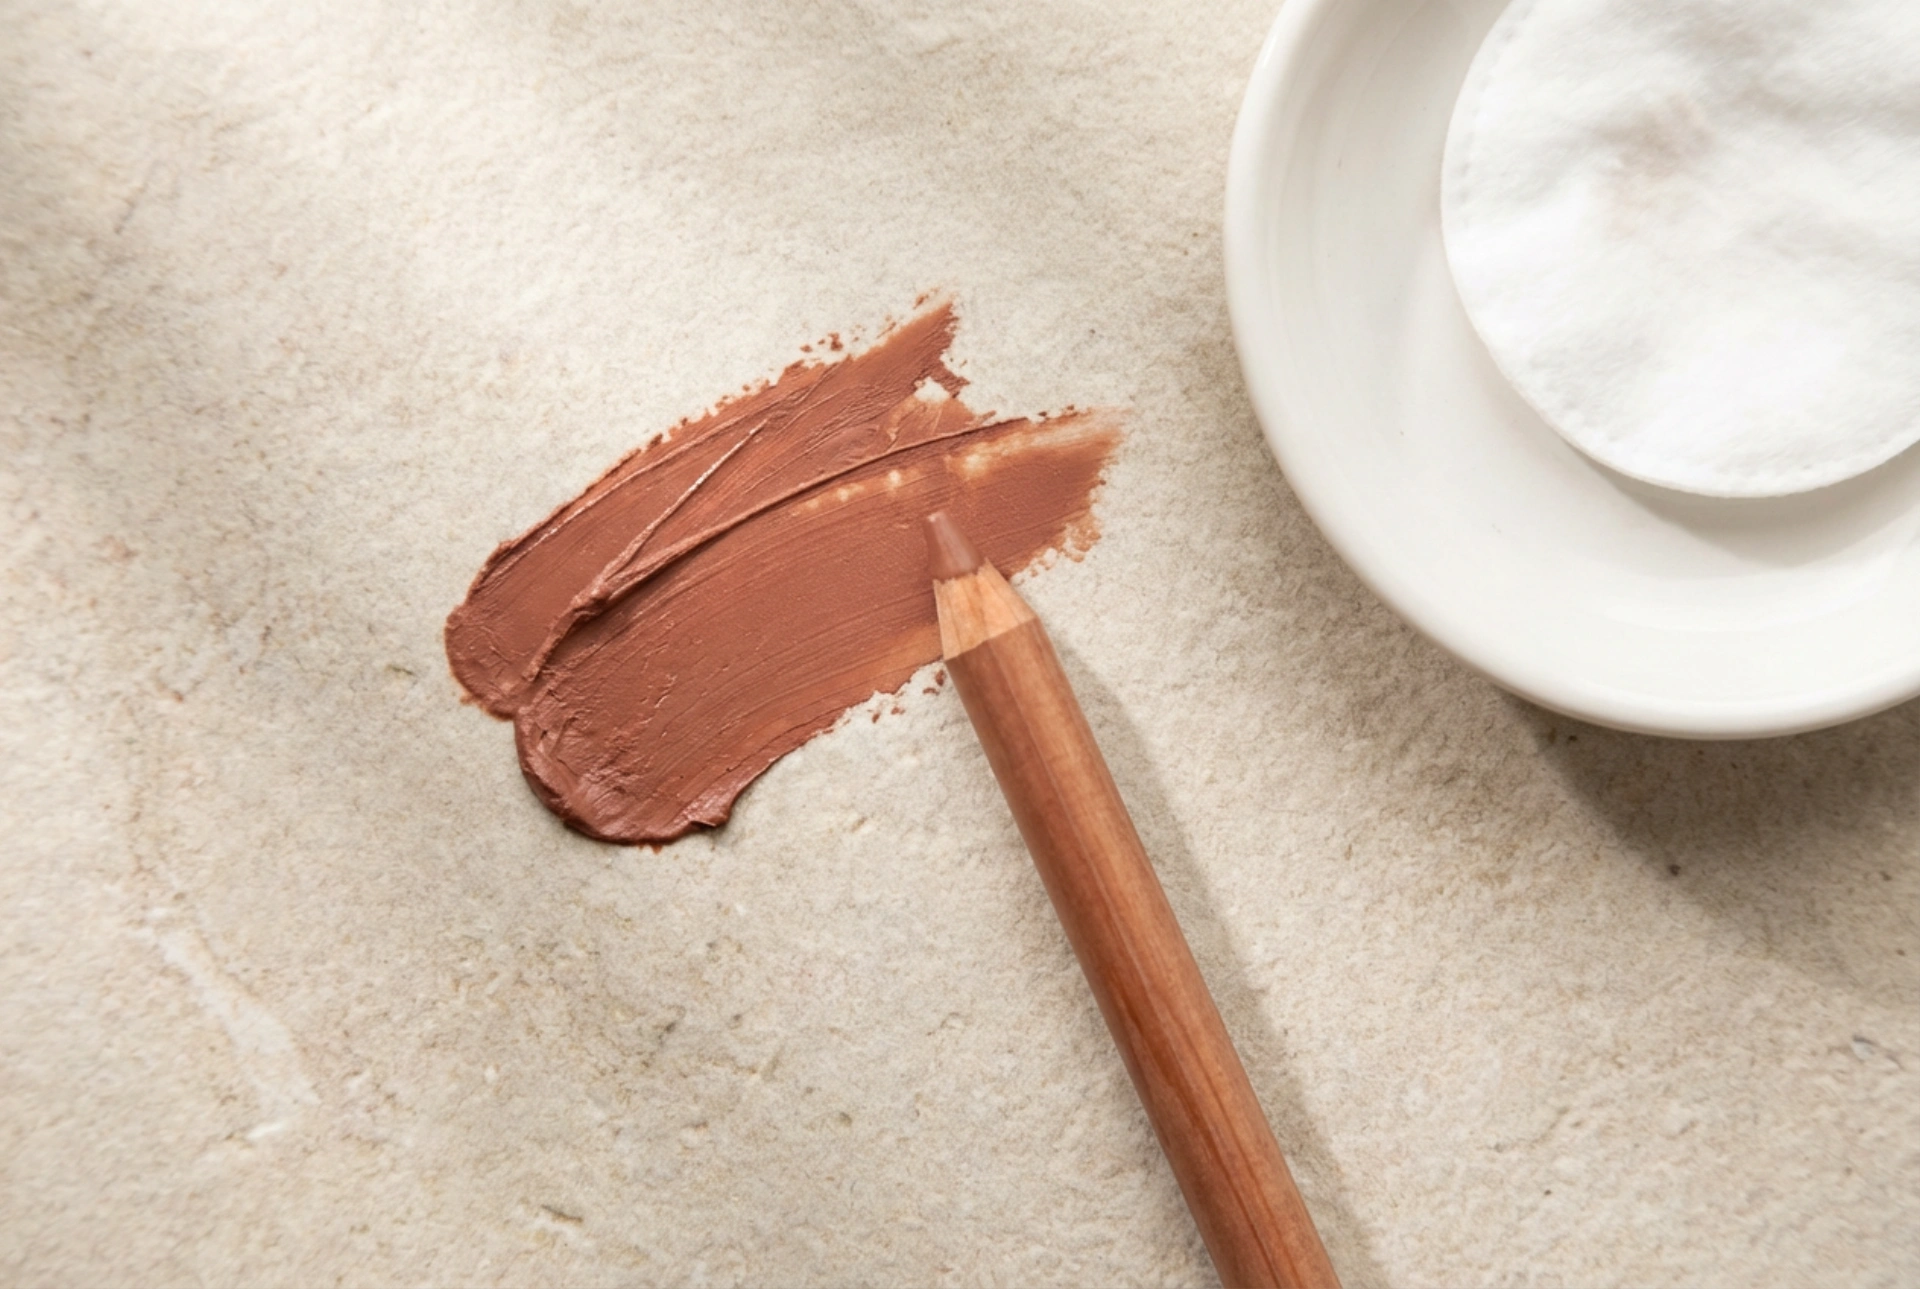


The brown lip pencil is a timeless and incredibly versatile cosmetic that deserves a prime spot in every makeup collection. Far from being just a simple outlining tool, its creamy texture and range of warm, blendable tones allow for a multitude of effects, from subtle definition to a bold, contoured look. Whether you're aiming for effortless elegance or a more structured finish, understanding how to wield a brown pencil can elevate your lip makeup game.
Choosing the Perfect Shade of Brown
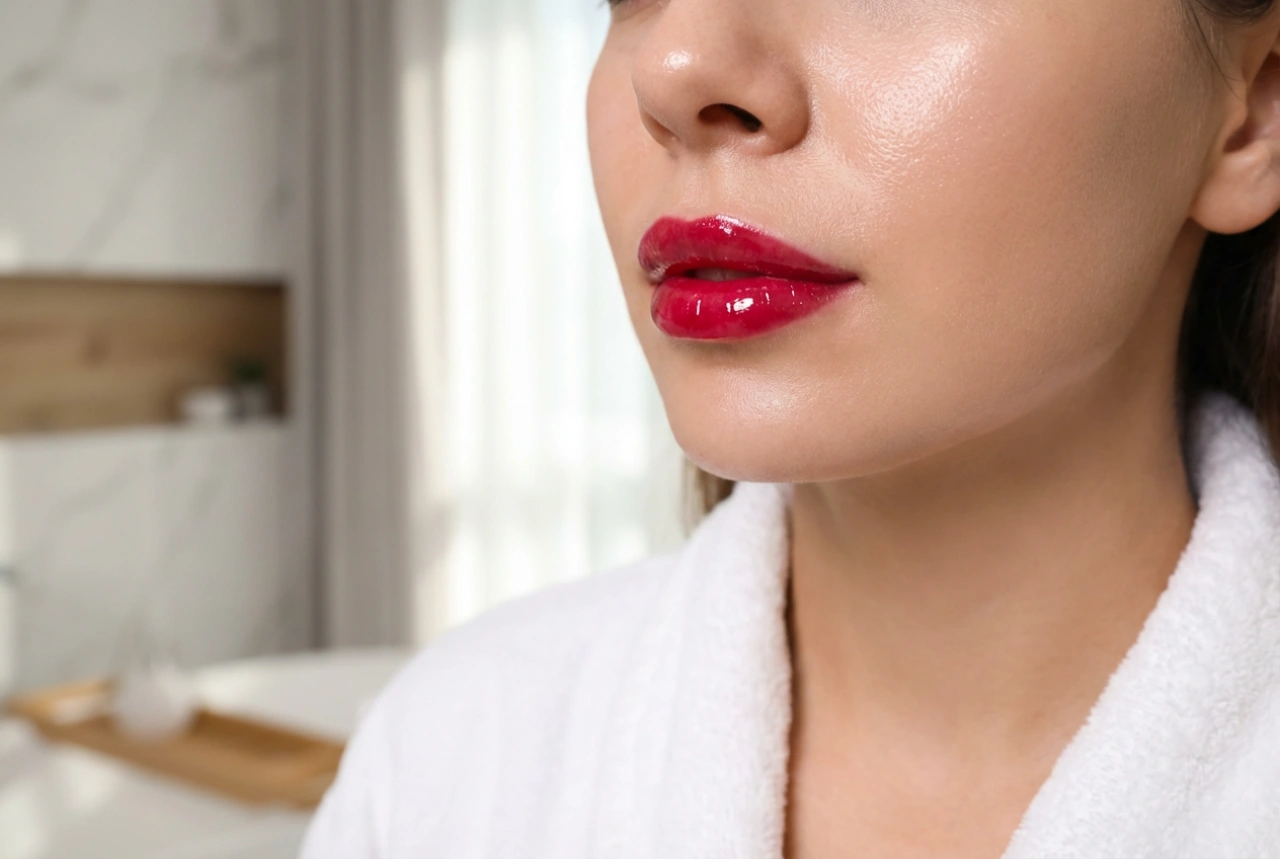
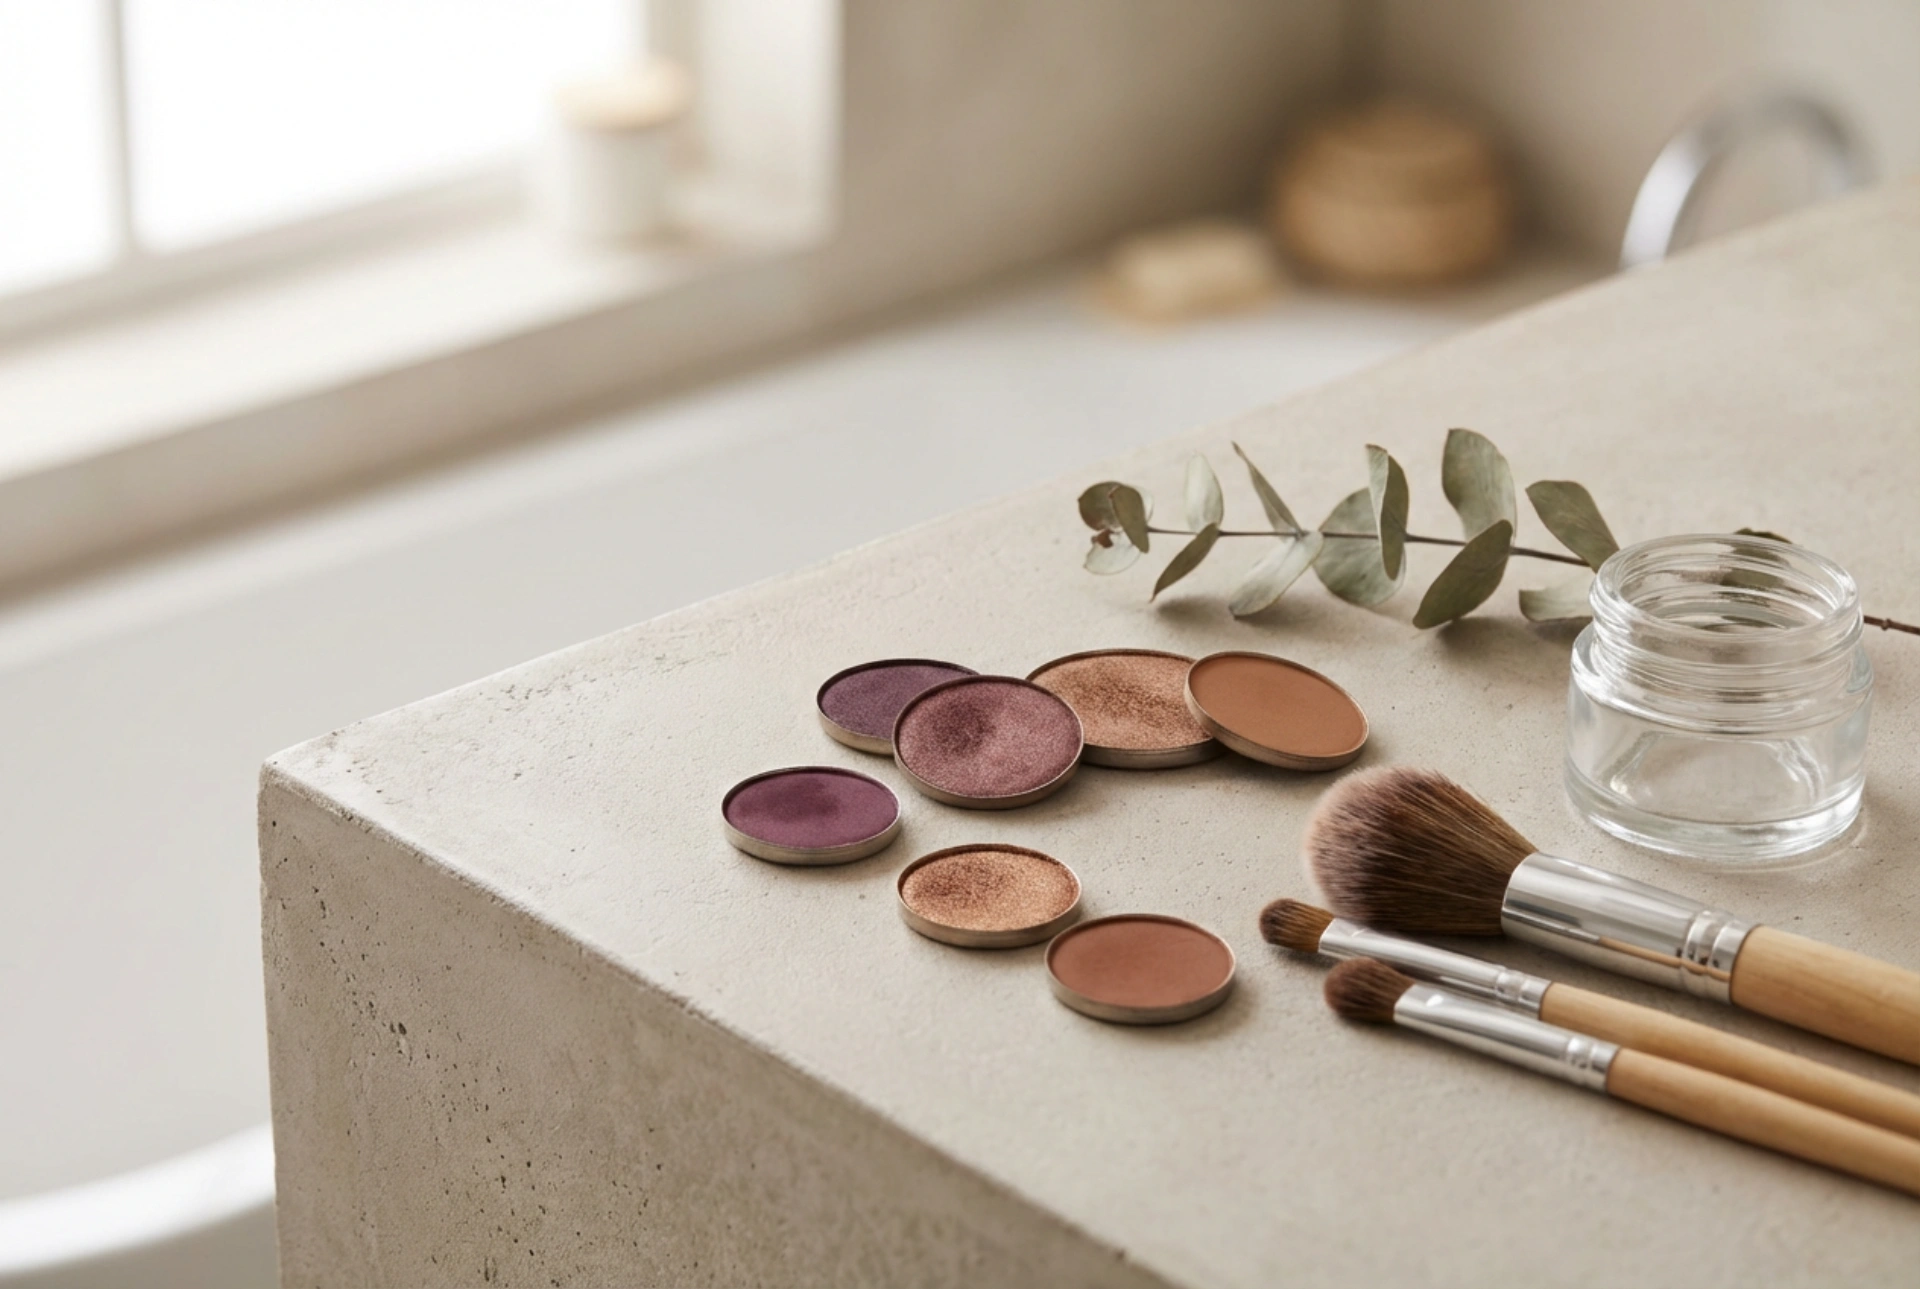
The first step to mastering the brown lip pencil is selecting a shade that complements your skin's undertone and your desired look. For fair skin, lighter, taupe-based browns or rosy browns work beautifully for a natural effect. Medium skin tones can explore a wide range of shades, from warm caramels to richer chocolate browns. Deeper skin tones are wonderfully enhanced by deep espresso and mahogany shades, which provide stunning definition. Consider the occasion: a shade one or two levels deeper than your natural lip colour is perfect for everyday definition, while a darker brown can be used to create a more dramatic, contoured effect.
The Art of Lip Contouring and Definition
Using a lip pencil to contour is about creating shape and dimension. It's a simple technique that can subtly enhance your natural features.
Defining Your Natural Lip Line
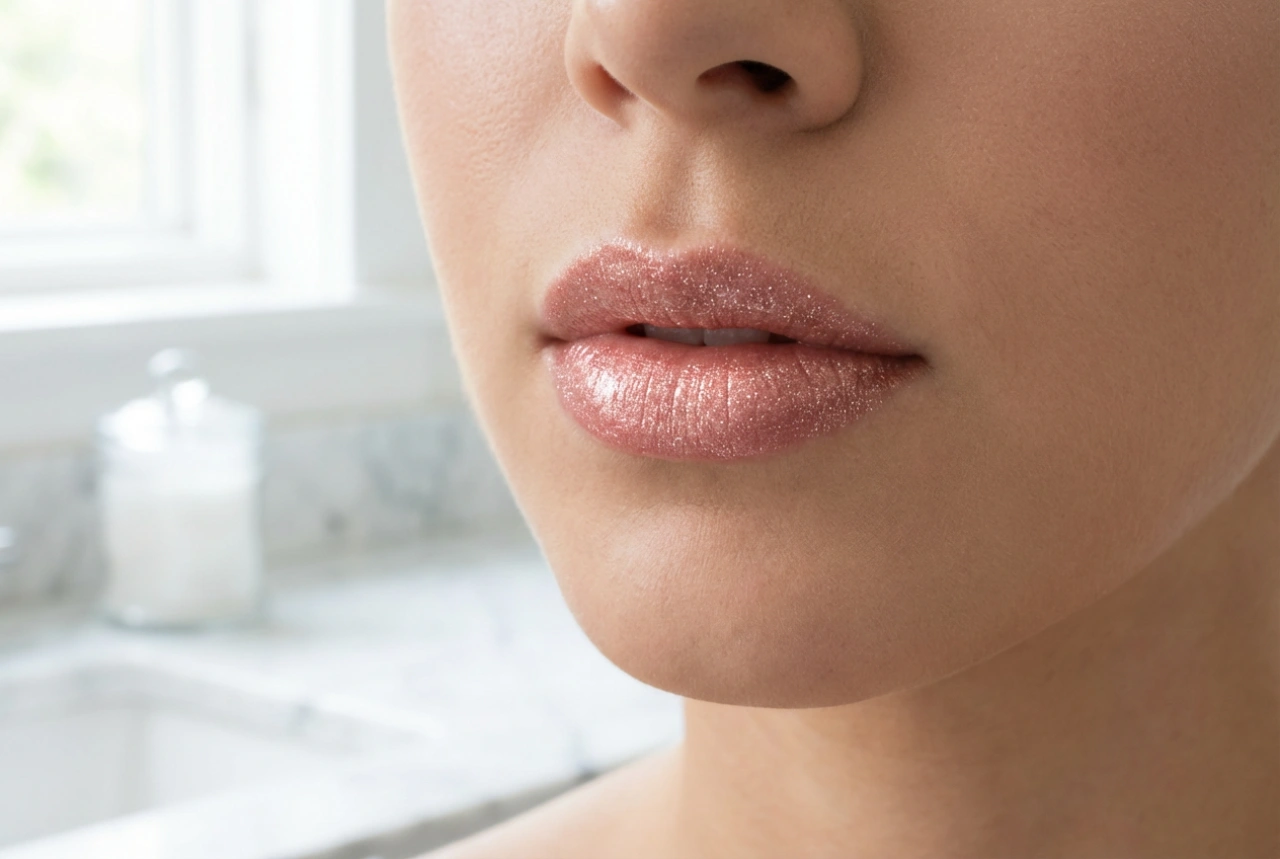
For a clean and polished look, start by tracing your natural lip line. Use short, light strokes rather than drawing one continuous line; this gives you more control and a softer result. Begin at the Cupid's bow, outlining its 'V' shape, then move to the outer corners and connect the lines. Repeat on the bottom lip, starting from the centre and working your way outwards. This simple step prevents your lipstick from feathering and provides a neat frame.
Creating the Illusion of Fuller Lips
For those who desire a fuller pout, a brown pencil is an excellent tool. The key is subtlety. Instead of drawing far outside your natural lip line, focus on slightly extending the line just above the Cupid's bow and slightly below the centre of your bottom lip. Stick as close to your natural line as possible at the corners of your mouth to avoid an unnatural look. This technique, often called 'overlining', catches the light and creates a believable illusion of volume.
Techniques for Filling and Blending
A brown pencil isn't just for outlines; its creamy consistency makes it ideal for adding colour and creating unique finishes.
As a Full Lip Colour
For a long-lasting, matte lip, you can use the pencil to fill in your entire lip area. After outlining, simply use the side of the pencil tip to colour in your lips. This creates a rich, uniform base that can be worn alone for a sophisticated matte look or used as a primer to increase the longevity of your favourite lipstick.
Creating a Soft Gradient Effect
The gradient or 'ombre' lip is a popular technique for adding dimension. Use your brown pencil to line and fill in the outer corners of your lips, concentrating the colour there. Then, using your fingertip or a small lip brush, gently blend the colour inwards, so it fades towards the centre. You can then apply a lighter nude lipstick or a touch of gloss to the very centre of your lips and press them together to create a seamless, soft transition. This makes the lips appear fuller and more three-dimensional.
Tips for a Flawless Application
To ensure your lip look is polished and long-lasting, keep these simple tips in mind:
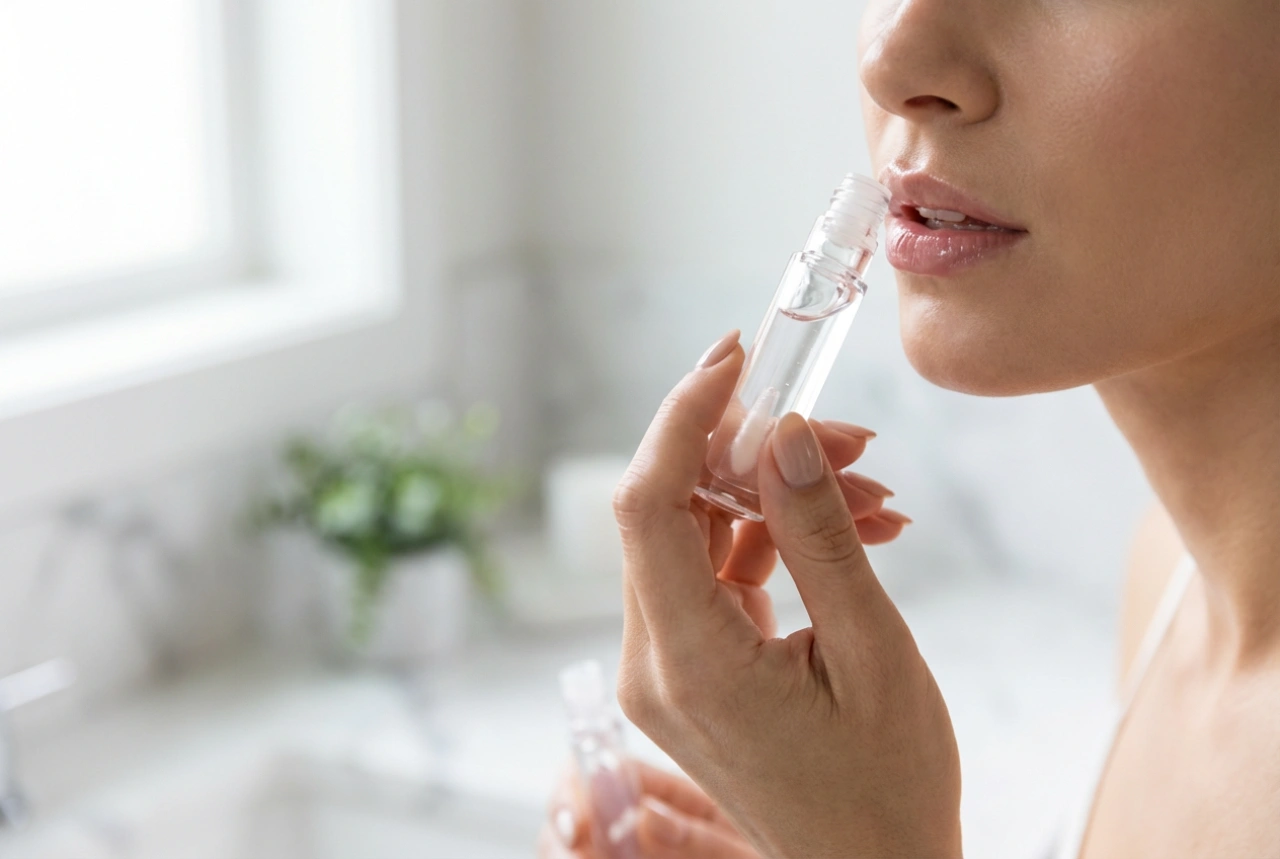
- Prepare Your Lips: Start with a smooth canvas by gently exfoliating your lips to remove any dry skin, then apply a light layer of lip balm and blot off any excess.
- Keep it Sharp: A sharp pencil tip is crucial for creating precise, clean lines. Keep a cosmetic sharpener handy.
- Blend the Edges: For a more natural, less severe outline, gently soften the line with a cotton bud or a small, stiff brush before applying lipstick.
- Set for Longevity: To make your lip liner last even longer, you can lightly dust a small amount of translucent setting powder over the liner before applying your lipstick or gloss.