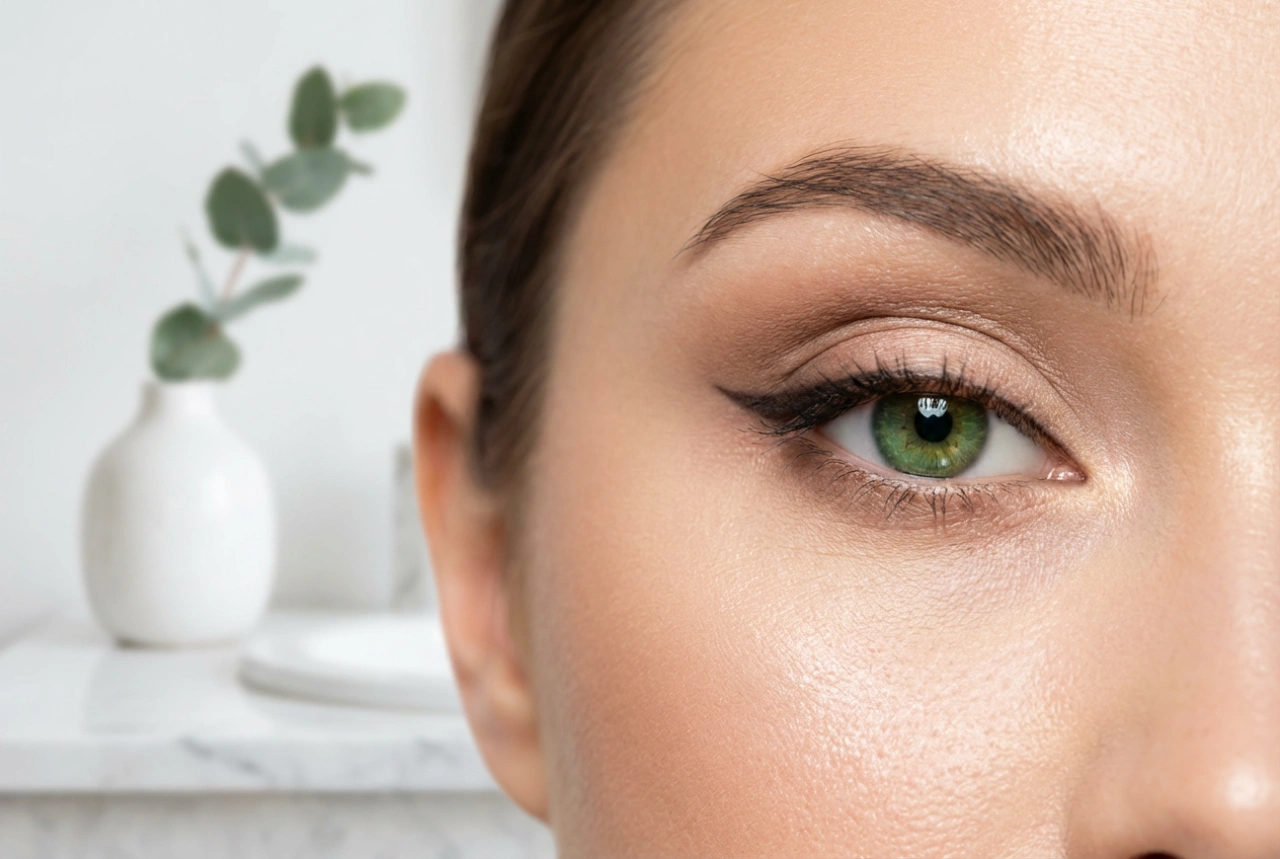


The quest for beautifully defined eyelashes often leads to a desire for a look that is both noticeable and remarkably natural. The goal is to enhance the eyes with lashes that appear longer, fuller, and perfectly separated, without the tell-tale signs of heavy product application. Achieving this subtle, polished finish is an art form that relies on the right techniques, from initial application to the final comb-through. This guide will walk you through the steps to master a natural mascara look that highlights your eyes with effortless elegance.
Choosing the Right Tools for a Subtle Effect
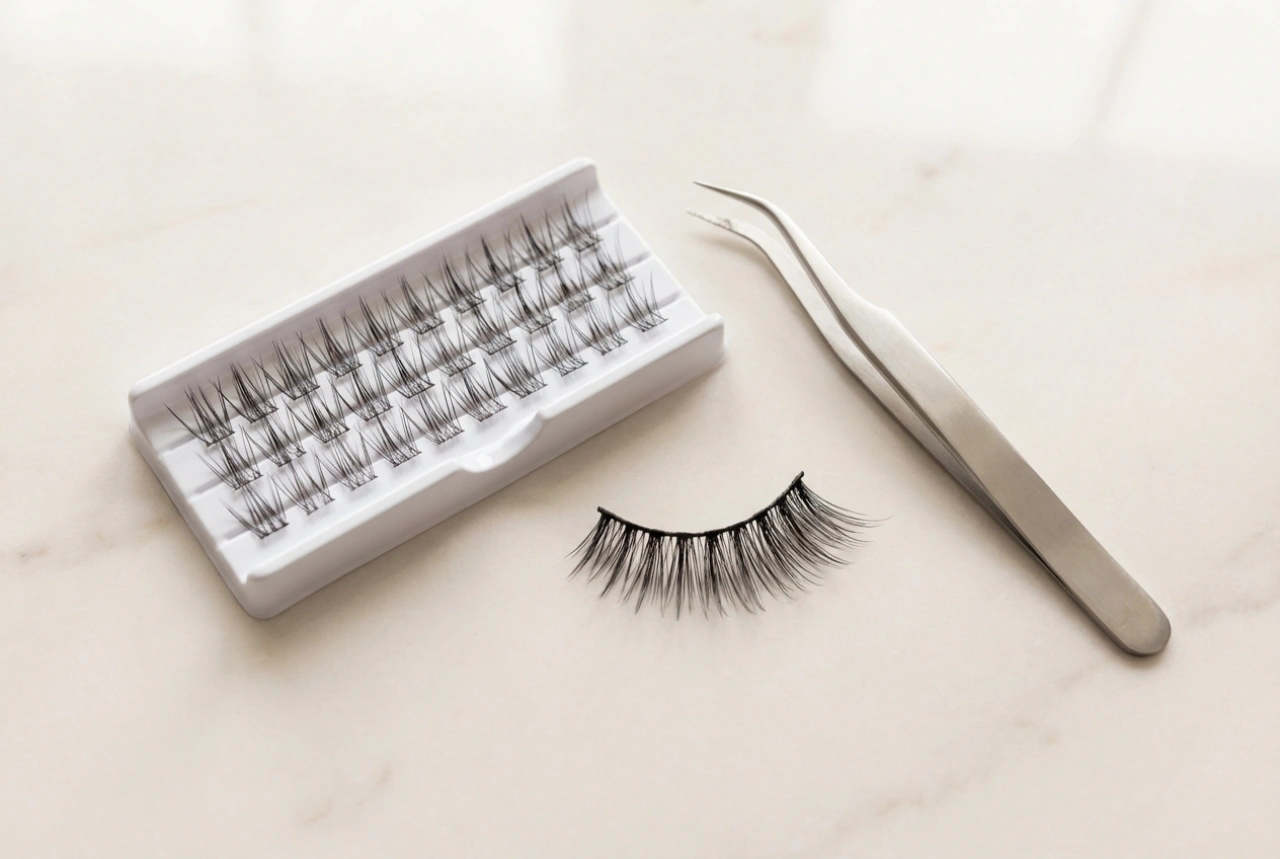
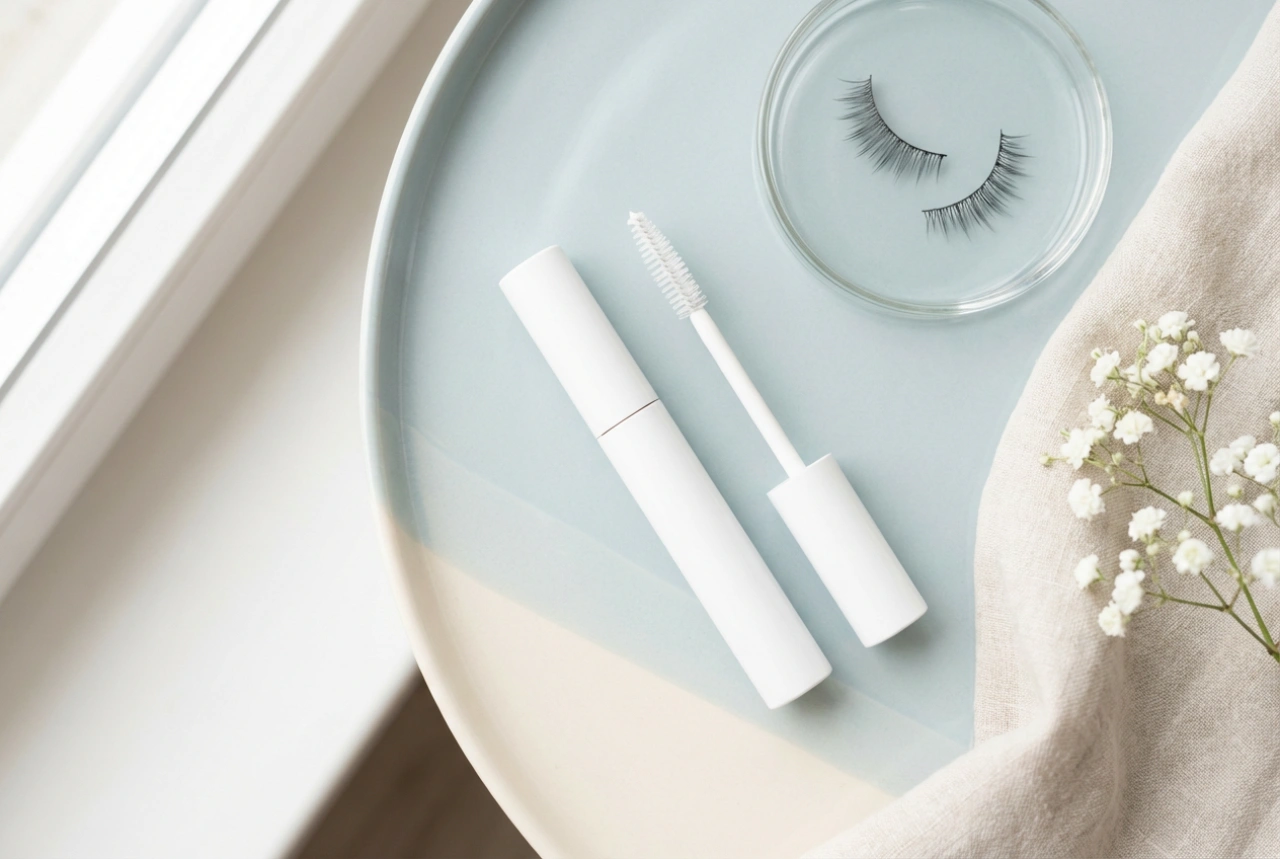
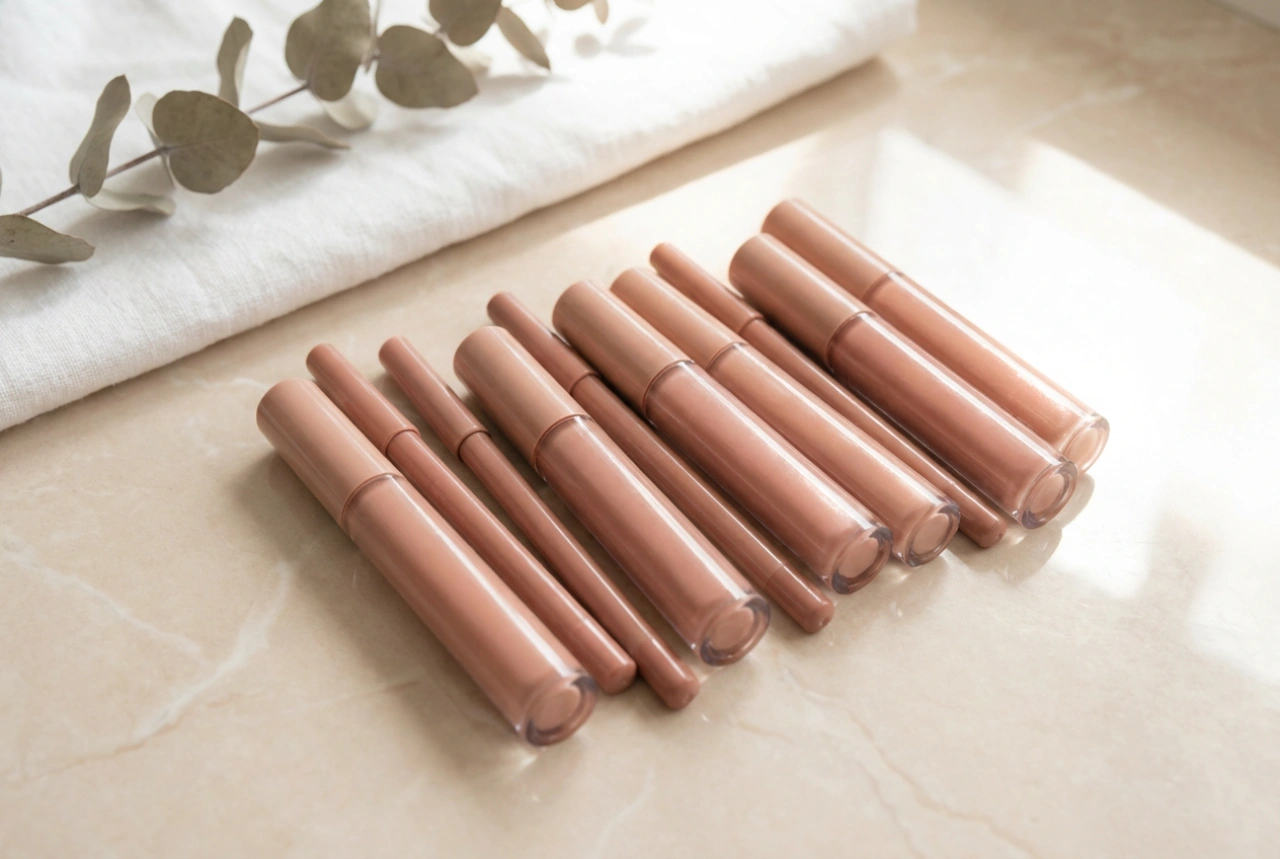
The foundation of a natural lash look begins with your choice of cosmetic and applicator. While we avoid specific product names, understanding the properties to look for is key. Opt for formulas described as lengthening or defining rather than intensely volumising. These are often lighter and more fluid, coating lashes evenly without adding bulk. The mascara wand plays an equally important role. A classic bristle brush is excellent for grabbing each lash and building soft volume, while modern silicone or rubber wands with shorter, sparser bristles offer incredible precision and separation, making them ideal for a clean, defined finish. Consider the shape of the wand; a thinner, more streamlined wand will make it easier to reach small inner-corner lashes and coat the lower lashes without smudging.
The Art of Application for a Flawless Finish
Proper application technique is crucial for avoiding clumps and achieving a natural look. Follow these steps for the best results:
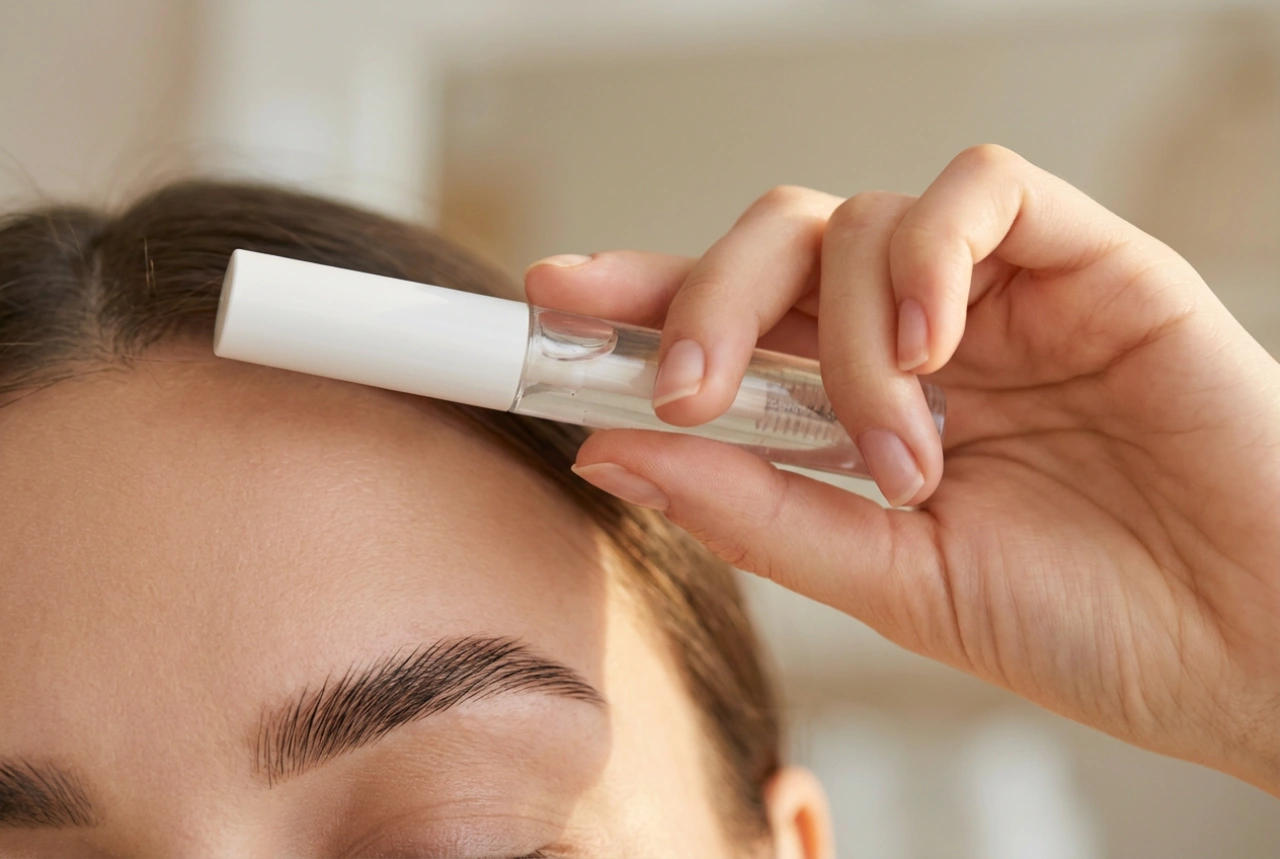
- Start with a clean base: Ensure your eyelashes are clean, dry, and free of any leftover oils or makeup. For an extra lift, you can use an eyelash curler before applying any product, holding it at the base of the lashes for a few seconds.
- Remove excess product: This is a non-negotiable step. Before the wand touches your lashes, gently wipe any excess mascara off on the inner rim of the tube. This single action is the most effective way to prevent clumping from the very start.
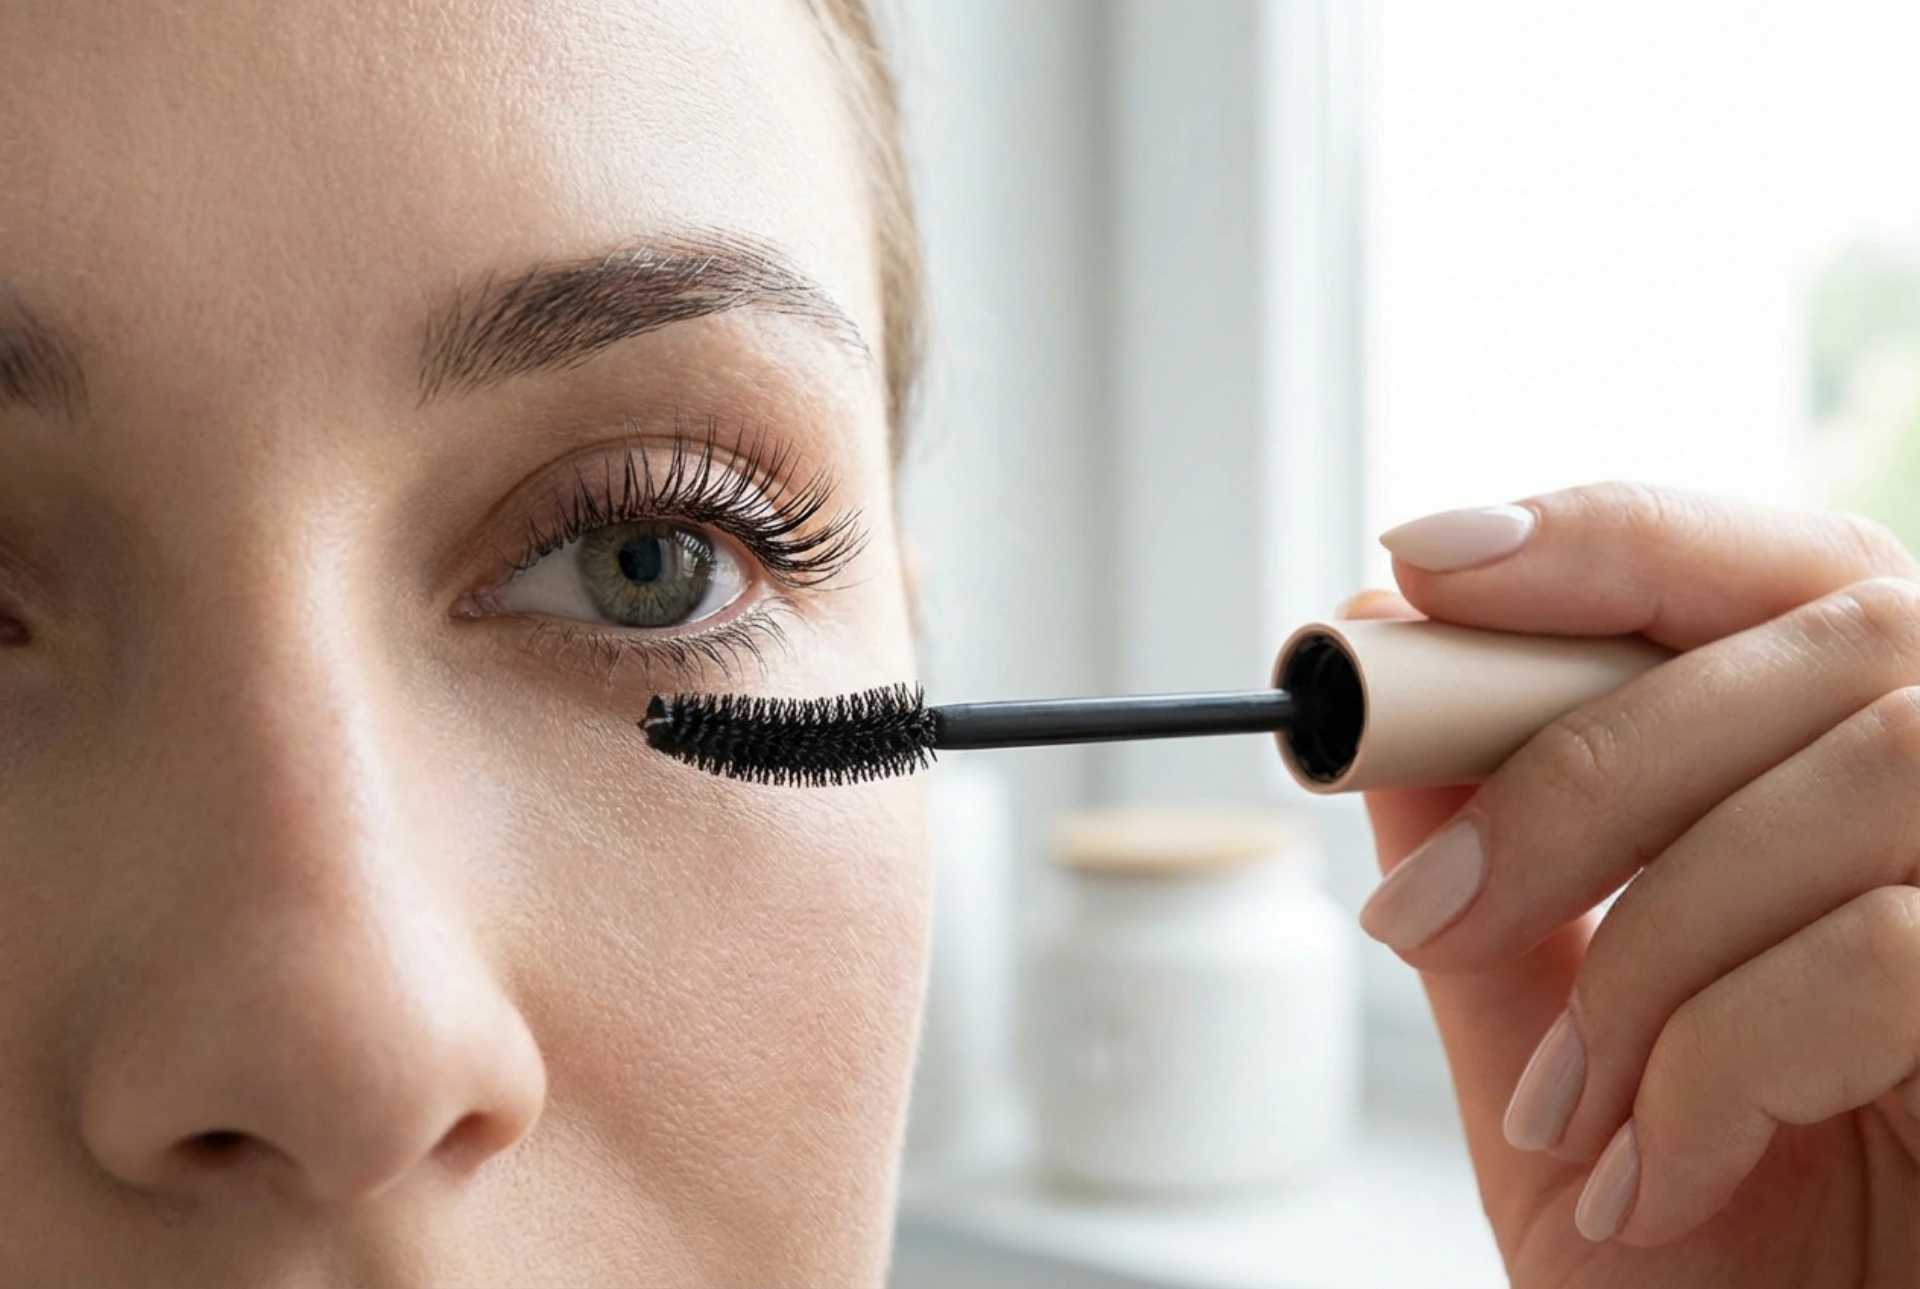
- Use the 'wiggle and pull' method: Place the wand at the very root of your upper lashes. Gently wiggle it back and forth to deposit product at the base, which creates the illusion of fullness. Then, smoothly pull the wand straight up through to the tips of the lashes. This technique ensures the base is defined while the tips remain light and feathery.
- Focus on precision: For lower lashes and the tiny lashes in the inner corner of your eye, use the very tip of the wand to apply a light coat with delicate, vertical strokes.
Mastering Layering Without Creating Clumps
Layering allows you to build intensity gradually, giving you full control over the final look. The secret to successful layering is timing. Apply the second coat while the first is still slightly tacky, but not completely wet. Waiting until the first coat is bone-dry can cause the new layer to flake off or create a stiff, spidery effect. A brief pause of about 30 seconds between coats is usually sufficient. The goal is to build definition, not heavy volume. A second, light coat can enhance length and fullness without compromising the natural, separated appearance of the lashes.
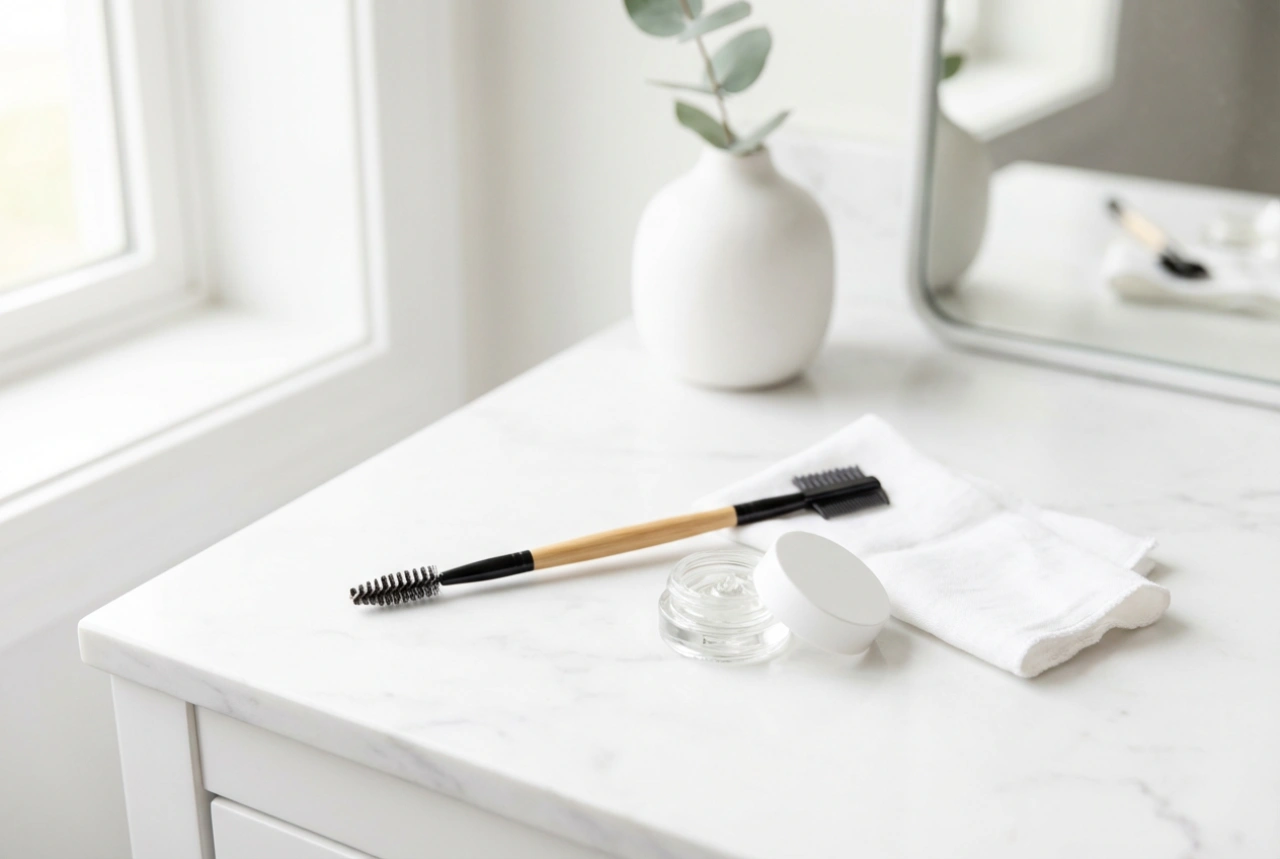
The Final Touch: Combing for Perfect Separation
This final step is what separates a good mascara application from a great one. Using a dedicated tool to comb through your lashes ensures each one is perfectly defined and fanned out. You can use a clean, dry spoolie brush (the same type of brush as a mascara wand) or a specialised metal lash comb. Immediately after applying your final coat of mascara, while it is still wet, gently guide the comb from the base of your lashes to the tips. This action will break up any minor clumps that may have formed and separate any lashes that have stuck together. The result is a beautifully uniform, fan-like effect that looks incredibly polished and clean, perfectly embodying the 'no-makeup makeup' aesthetic.