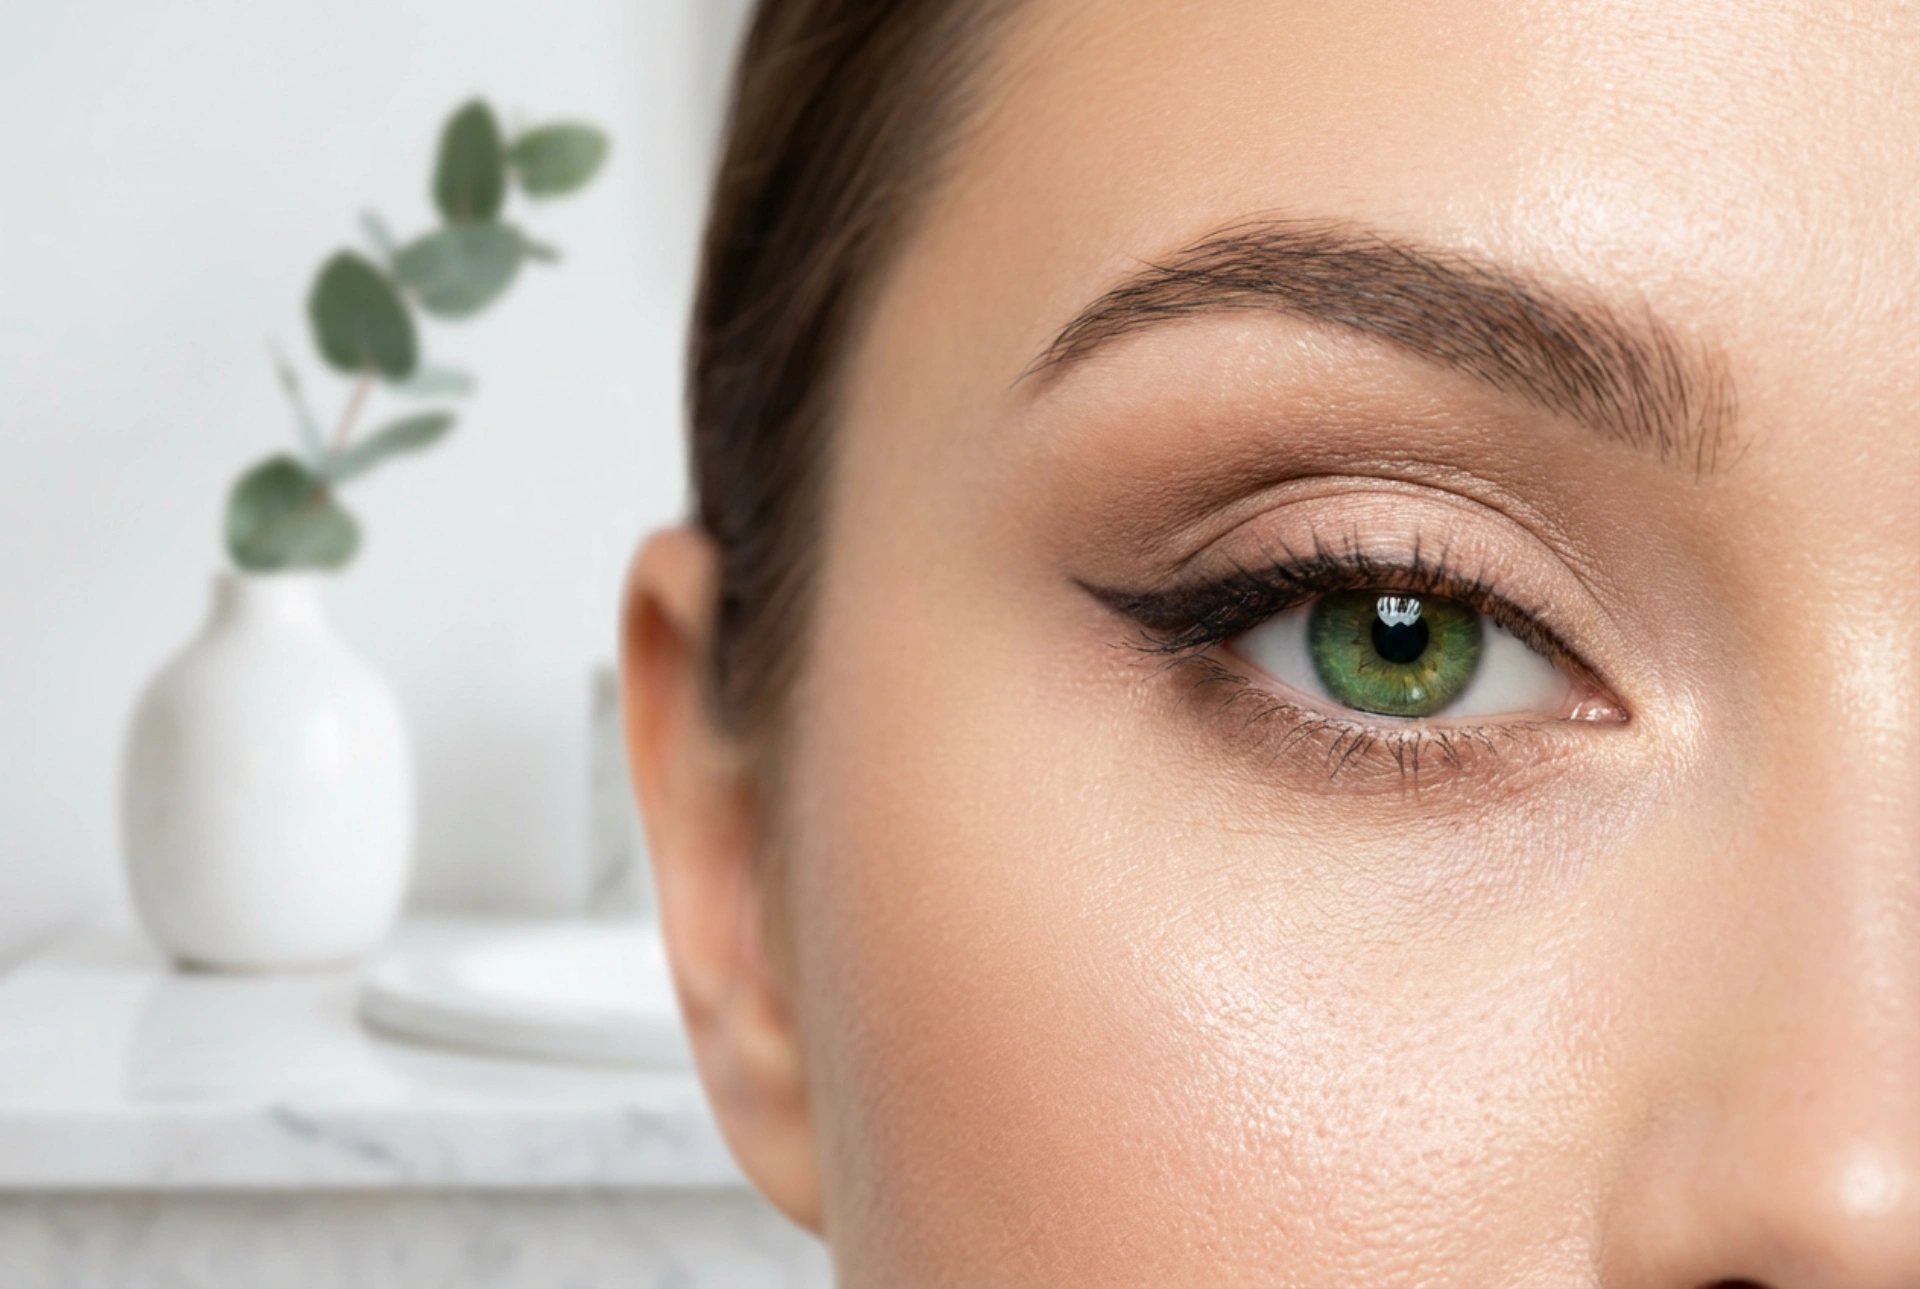


Eye makeup is a powerful tool for self-expression, capable of transforming your look, highlighting your features, and boosting your confidence. The key to a beautiful application lies not in complex techniques, but in understanding the fundamentals: your unique eye shape, the art of blending, and the precision of a well-drawn line. This guide will walk you through each step, helping you create elegant and polished eye makeup looks for any occasion, from subtle daytime enhancements to dramatic evening styles.
Understanding Your Eye Shape
The first step to flattering eye makeup is identifying your eye shape. Different techniques work best for different shapes, helping to create balance and enhance your natural beauty. Look at your eyes in a mirror and determine which category they fall into.
Almond Eyes
Considered the most versatile shape, almond eyes are slightly pointed at the ends with a wider centre. The iris touches both the top and bottom waterline. Almost any makeup style works well with this shape.
Round Eyes
If you can see the white of your eye (sclera) above or below the iris when looking straight ahead, you likely have round eyes. The goal here is often to elongate the eye shape.
Hooded Eyes
This shape features an extra layer of skin that droops over the crease, causing the mobile eyelid to appear smaller. The key is to create the illusion of depth by applying shadow above the natural crease.
Monolids
Common in individuals of East Asian descent, monolids feature a less defined or absent crease. This creates a beautiful, smooth canvas from the lash line to the eyebrow, offering a unique opportunity for creative shadow placement.
Preparing the Lids for a Flawless Finish
Before you even pick up an eyeshadow, proper preparation is essential. A good eyeshadow primer is non-negotiable for a long-lasting and vibrant look. It creates a smooth, grippy surface for powders to adhere to, preventing creasing throughout the day. A primer also helps the true colour of your eyeshadows to pop, making them appear more pigmented on the skin. Simply apply a thin layer from your lash line up to your brow bone and allow it to set for a minute before proceeding with your makeup.
The Art of Eyeshadow Blending
Blending is the secret to a professional-looking eye makeup application. It ensures there are no harsh lines and that colours transition seamlessly into one another. The basic principle involves using at least three shades: a light, a medium, and a dark one.
Step-by-Step Blending Technique
- Step 1: The Base. Start by applying a light, neutral eyeshadow all over the eyelid, from the lash line to the brow bone. This sets your primer and creates a smooth canvas for other colours.
- Step 2: The Transition Shade. Using a fluffy blending brush, sweep a medium-toned matte shade into your crease. Use windshield-wiper and small circular motions to diffuse the colour. This shade bridges the gap between your lid colour and your brow bone highlight, adding dimension. For hooded eyes, apply this shade slightly above your natural crease so it's visible when your eye is open.
- Step 3: Add Depth. Take a smaller, denser brush and apply your darkest shade to the outer corner of the eye in a 'V' shape. Focus the pigment on the outer third of the lash line and blend it gently into the crease, ensuring not to bring it too far inwards. This adds depth and a sultry effect.
- Step 4: Lid and Inner Corner. Pat a light, shimmery, or satin shade onto the centre of your mobile lid with your fingertip or a flat brush. This draws light to the eye and makes it appear brighter. Apply a tiny amount of this same light shade to the inner corner of your eye to create a bright, wide-awake look.
- Step 5: Blend, Blend, Blend. With a clean, fluffy brush, gently go over the edges of all the colours to ensure they are seamlessly blended. There should be no obvious start or end points.
Mastering Eyeliner Application
Eyeliner defines the eyes and can make your lashes appear fuller. Whether you prefer a subtle line or a dramatic wing, the right technique makes all the difference.
The Tightline Technique
For a natural look, try tightlining. Gently lift your upper eyelid and run a soft, waterproof pencil liner along the upper waterline. This fills in the gaps between your lashes, creating the illusion of a thicker lash line without a visible line on your lid.
Creating a Classic Wing
A winged liner can be intimidating, but it's achievable with practice. Start by drawing a thin line along your upper lash line. Then, imagine a line extending from your lower lash line upwards towards the tail of your eyebrow—this is the angle for your wing. Draw a short line at this angle from the outer corner of your eye. Finally, connect the tip of that line back to your lash line, forming a small triangle, and fill it in. Start with a small wing and build it up to your desired thickness.
Finishing Touches
No eye makeup look is complete without mascara. Wiggle the wand at the base of your lashes to build volume before pulling it through to the tips to add length. Apply one or two coats to both your upper and lower lashes. Remember to also pay attention to your eyebrows, as they frame your eyes. Brush them into place and fill in any sparse areas for a polished and cohesive final look. With these steps, you can confidently create stunning eye makeup that enhances your unique beauty.





